
I’ve flown a drone over an active eruption in Iceland on more than 200 separate visits, across every eruption on the Reykjanes peninsula since 2021. To be clear: I’ve learned most of what I know the hard way. Bricked sensors, melted props, drones that refused to come home because the lava confused their compass.
Every time a new eruption kicks off in Iceland, I get the same wave of messages: how close can I fly? Which drone? Do I need a gas mask? I made a YouTube video on my top ten tips back in 2022, and this article is the written version. Same ten tips, more room to explain them properly, plus a 2026 update for the drones I’m flying now (the Mavic 4 Pro and the Mini 5 Pro, rather than the DJI Air 2S I shot the original video with). If you’re heading out to a fissure in Iceland with a drone, this is what I wish someone had handed me before my first flight over Geldingadalir. I also wrote a book about that eruption, New Earth, if you want the full visual story. Let’s dive in!
Disclaimer: This article is not sponsored in any way. Some of the links in this article are affiliate links, which means I may earn a small commission if you buy through them, at no extra cost to you. As an Amazon Associate I earn from qualifying purchases. All opinions in this article are my own. If you (dis)agree, I invite you to open a discussion in the comment section.
The Short Version
Not enough time to read the whole thing? Here is the short version. Check for a Temporary Flight Restriction first, never trust automatic Return To Home over lava, always shoot bracketed, keep the drone moving, and leave more battery margin than you would over flat ground. Everything else is nuance. The full ten tips are below.
Why Flying A Drone Over A Volcano Is Different From Anything Else
A volcano breaks most of the assumptions your drone was designed around. The air above an active flow can be far hotter than ambient. Hot air rising off a fissure mixes with cold Atlantic wind and creates rotors, updrafts, and unpredictable convection winds that don’t show up on any forecast. The lava itself emits enough heat that the underside of your drone may suffer if you hover too long, and the iron-rich basalt around the flow can interfere with the drone’s compass at certain temperatures. On top of all that, you’ll almost never be alone there. Iceland’s Reykjanes eruptions, most of them at Fagradalsfjall, draw photographers from everywhere, which means dozens of drones in the same hundred metres of airspace, all transmitting on adjacent frequencies, all coming back to the same ridge.
None of that is in your drone’s manual. So before we get to the ten tips, two things you should do before you ever launch.

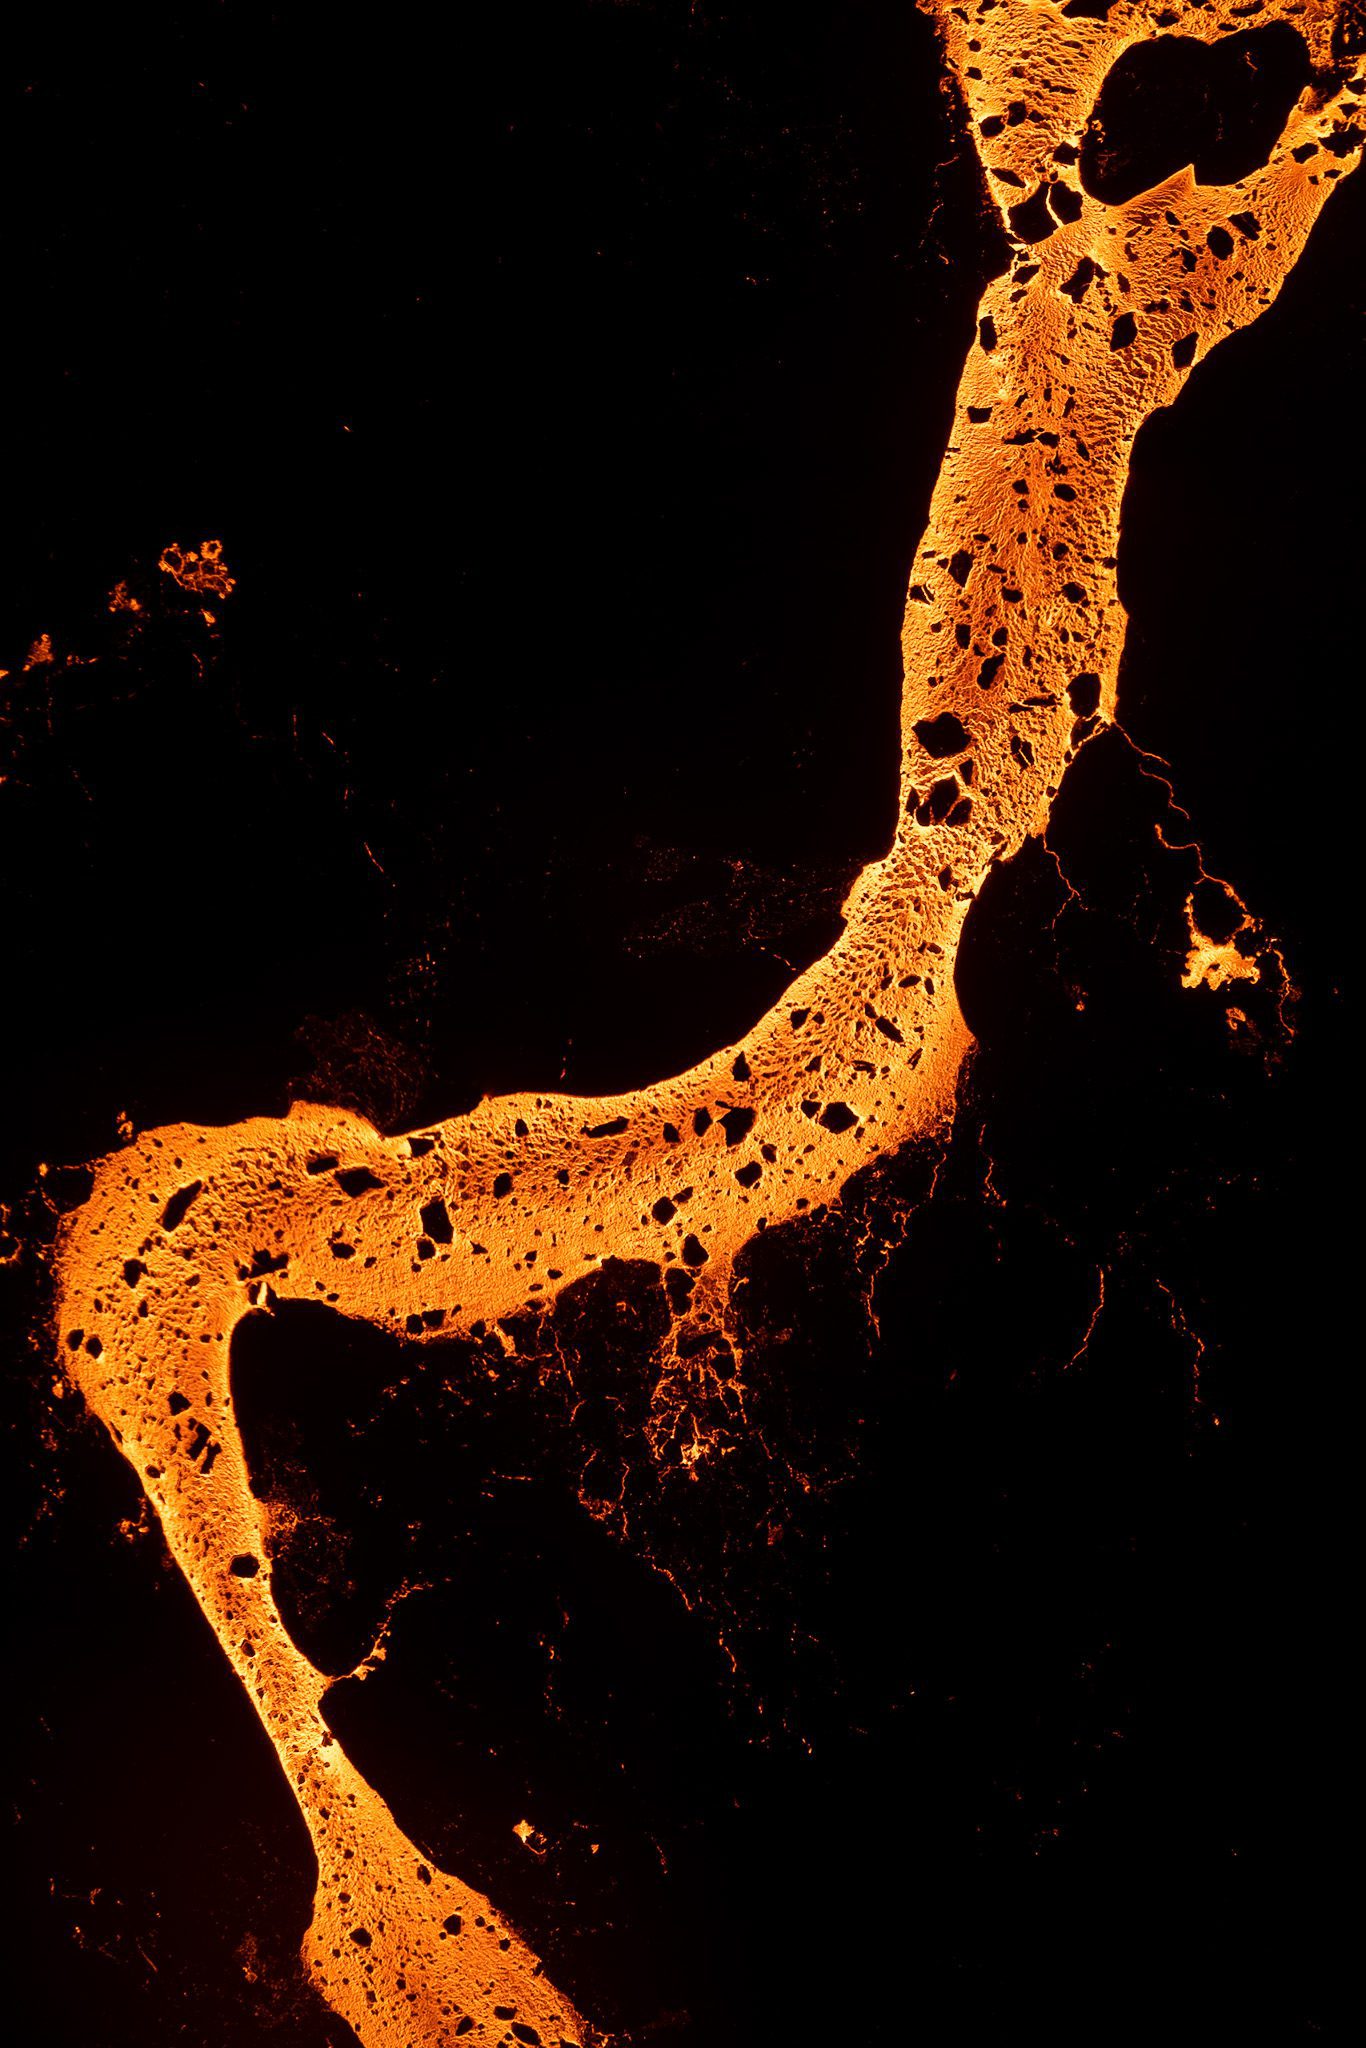
The July 2025 Sundhnúksgígar eruption from above. The heat is not the only thing you’re flying into. The air behaves differently here.
Before You Fly: Check For A Temporary Flight Restriction
The Department of Civil Protection closes drone airspace around active eruptions on very short notice. Helicopters and small fixed-wing aircraft fly over the area for monitoring and sightseeing, so a stray drone is a real safety problem.
Three sources to check before you drive out:
- The Department of Civil Protection and Emergency Management notices at almannavarnir.is
- Visit Reykjanes’s drone information page, which they update for each eruption
- The Icelandic Transport Authority (Samgöngustofa) announcements
If a Temporary Flight Restriction is in place, that’s the end of the conversation. Don’t fly anyway, and don’t fly “just for a minute”. For the rest of the regulatory picture (the 120 m altitude cap, the BVLOS rule, sub-250 g exemptions), I keep a separate guide on drone regulations in Iceland updated each season.
On the geofencing side, modern DJI drones may flag an eruption area as a GEO zone after the fact and refuse to take off. If you’ve previously unlocked the zone in DJI Fly, that unlock may not survive a battery swap or a firmware update. Check it before you drive an hour out to a remote car park.
Tip 1: Don’t Trust Automatic Return To Home
This is, in my eyes, the single most important tip on this list, and I want you to take it seriously. The heat coming off the lava can interfere with the drone’s compass at certain temperatures. The drone still knows where it took off, because GPS isn’t affected, but it may not know which direction it’s facing. When you trigger Return To Home (manually, or because the drone forces it), the drone may set off the wrong way. It might fly into a mountain. It might run out of battery and drop into the lava field.
Two ways to protect yourself:
- Before you launch, look around and memorise your surroundings. Pick a landmark you can recognise from the air. Don’t just rely on the map on the screen.
- Wear something colourful. A red or yellow jacket, ideally. At a busy eruption there can easily be a hundred people on the ridge with you, and from the drone’s camera everyone turns into the same grey blob. A bright jacket can be the difference between you spotting yourself and you watching your drone wander.
When you do come back, fly the drone home manually using visual line of sight. Don’t trust the icon on the map. Trust your eyes.
From above, everyone on the ridge looks the same. A bright jacket is the difference between a landmark and a blur.
Tip 2: Always Shoot Bracketed
Lava is a light source, not just a subject. It emits its own light, and the surrounding landscape is often deep shadow or twilight blue. The dynamic range between the brightest patch of orange and the darkest part of the cooled crust will exceed your sensor’s single-frame range every time. Single-exposure shots can look fine on the LCD and disappoint on the desktop.
I shoot a 3-shot bracket as a minimum: one stop under, normal, one stop over. Most DJI drones do this automatically (AEB mode in the photo settings). In Lightroom I do an HDR merge of the three.
I usually go further and stitch panoramas, because a drone’s stock 24 mm equivalent often feels too tight for the scale of an eruption. A vertical panorama for me is three frames tilted up and down, each bracketed, which works out to nine RAW files for one final image. A wide horizontal panorama is nine frames, each bracketed, so twenty-seven RAW files. Lightroom handles the HDR and the stitch in one operation if you select all files at once and choose Photo Merge > HDR Panorama.
It sounds like a lot. It is. But the difference between a bracketed pano and a single frame off a drone above an eruption is the difference between a memory and a print on the wall.

Aurora above the Sundhnúksgígar eruption. Frames like this only exist if you bracket. Single-exposure would lose the lava or the sky.
Tip 3: Don’t Fly Too Close To The Lava
If you can feel heat on your face, your drone is feeling more. The underside of a drone is where the most heat-vulnerable bits sit: the downward sensors, the gimbal motor, sometimes the camera assembly. Drones can come back from a close flight with melted plastic on the bottom and a sensor that no longer reads. In a worse case, the propellers themselves can soften enough that the drone struggles to fly.
The most dangerous claim you’ll hear at an eruption, in my opinion, is “I was flying at 100 metres above the lava and it was fine”. That’s almost never accurate. The altitude your remote shows is the altitude above where you took off, not above the lava. If you took off from a ridge well above the lava field, you can sit at “50 metres” on the readout and actually be much higher than that above the surface. If you launched from the valley floor right next to the lava, “50 metres” might mean fifty metres above molten rock. Same number on the screen, completely different flight.
Wind matters too. On a strong wind day, the heat plume gets pushed sideways and you can fly noticeably lower without the drone cooking. On a still day, the same altitude can be too warm. So how close is too close? Honestly, there is no universal safe number I can give you. Watch the drone, watch how it behaves, and back off if you feel it. Also, never fly into the gas plume. It’s hotter than the surrounding air and it’s carrying sulphur dioxide and particulates that can damage motors.
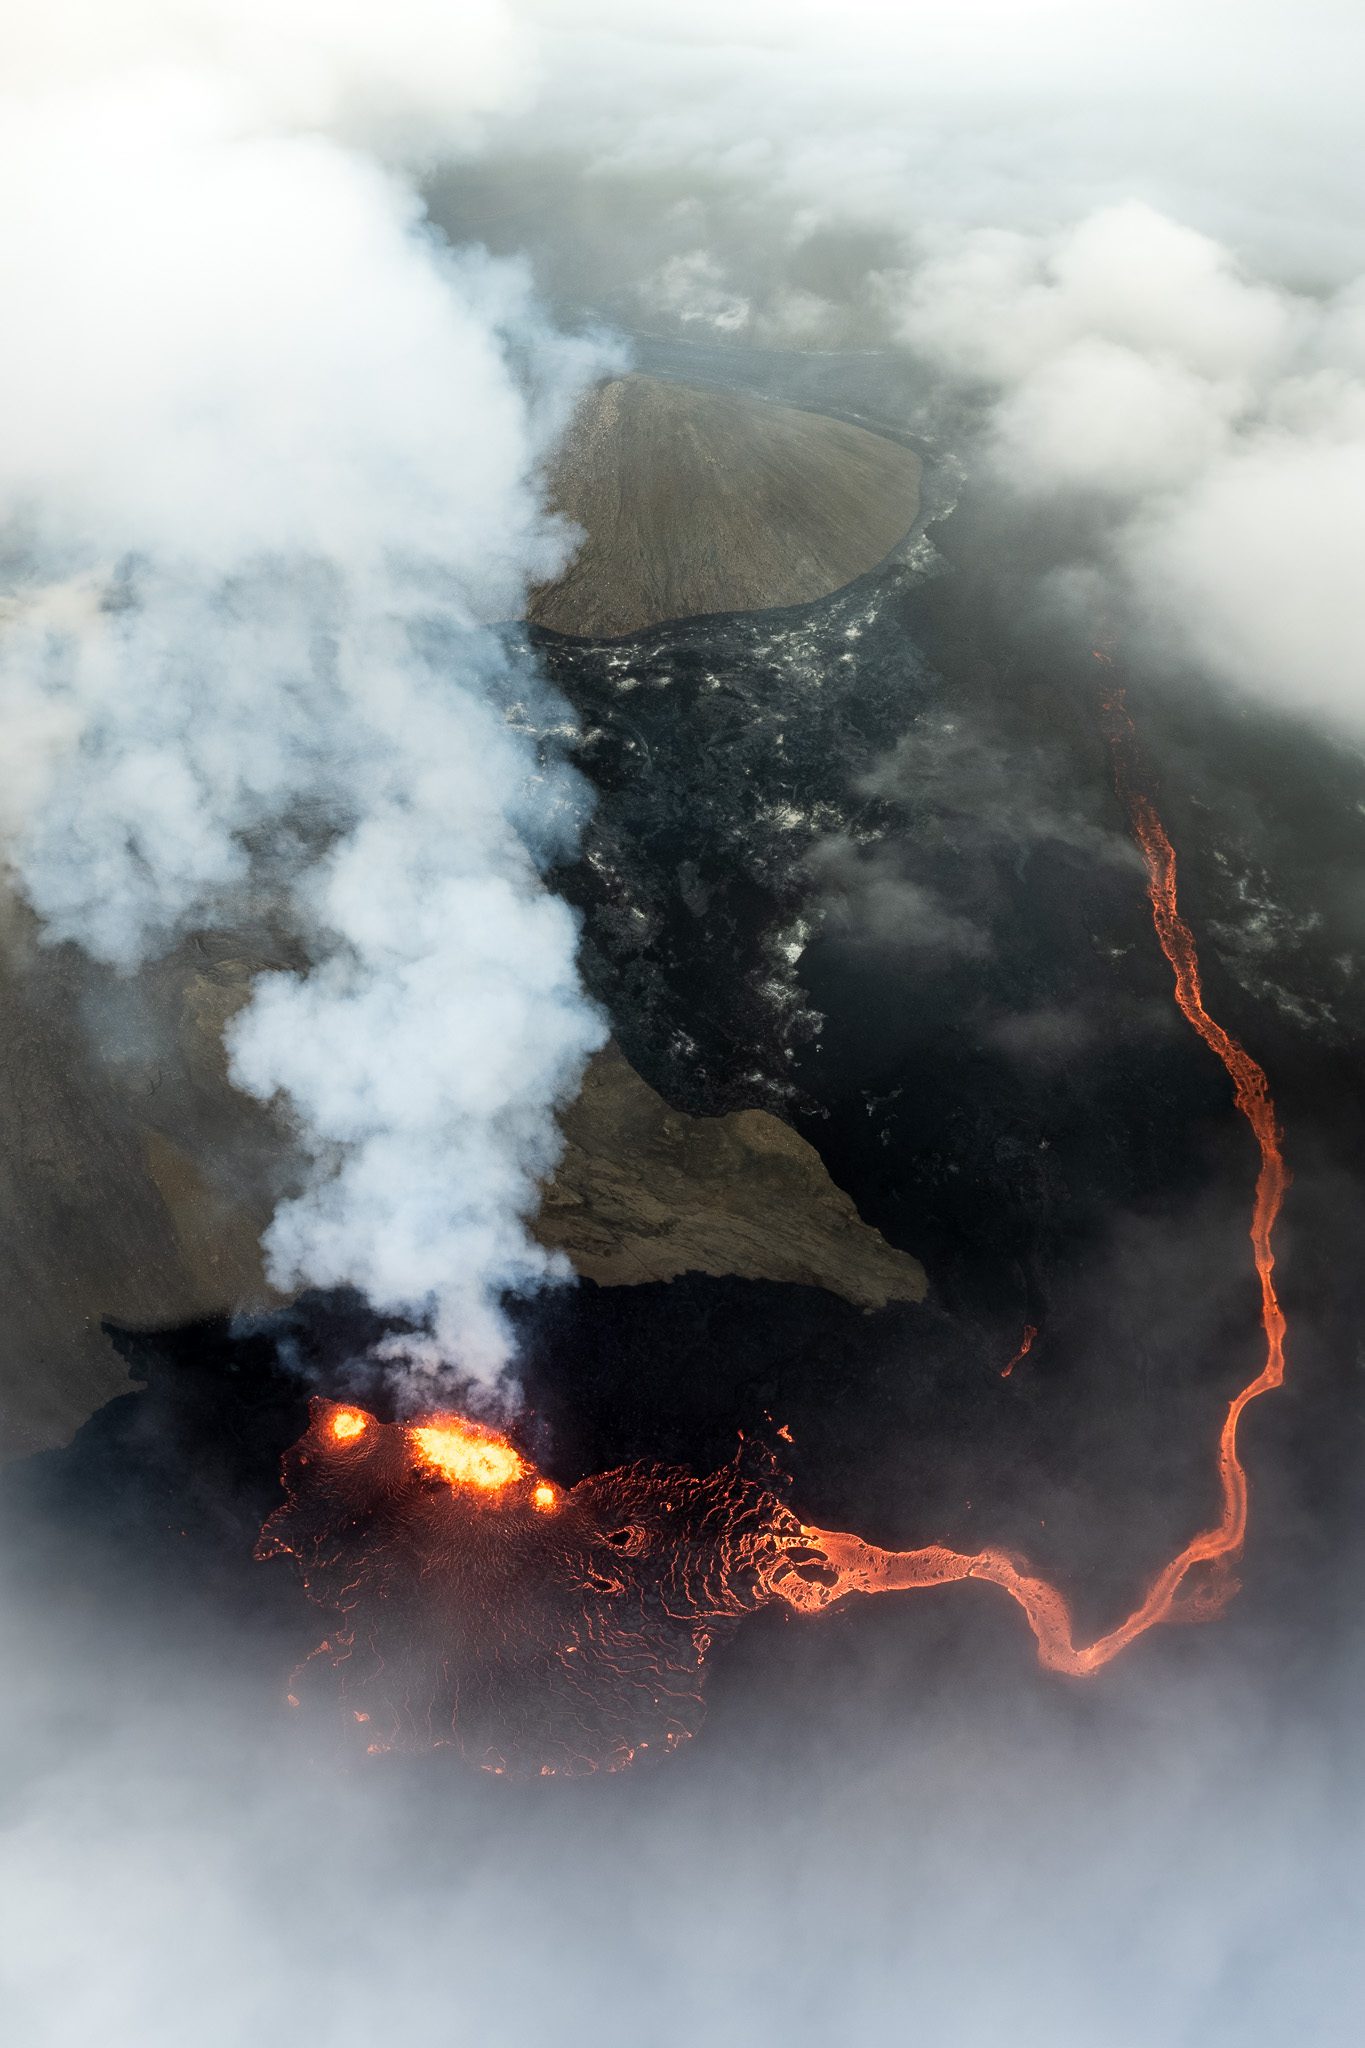
Close on a fountain at Meradalir. Thirty seconds is the limit before you have to move.
Tip 4: Shoot In Cropped Video Mode
The crop modes on modern drones let you keep more distance for the same framing. On the DJI Air 2S I flew in the video, recording 4K at 60 fps uses a crop of the sensor instead of the full readout, which effectively gives you a tighter field of view. That meant I could sit further from the lava and still fill the frame the way I wanted.
The same idea applies to the drones I fly now:
- The Mavic 4 Pro has a crop mode at 4K 120 fps that gives you the same benefit.
- The Mini 5 Pro has a 4K 100 fps crop, which is genuinely useful for a sub-250 g drone where you really do want every metre of stand-off you can get.
If you’re shooting stills, it matters less because you can always crop in post. For video, it’s a free range extension, and at an eruption, range equals safety.

A newer eruption on the Reykjanes peninsula, shot at 4K 60 in crop mode. The extra reach let me stay well back from the plume.
Tip 5: Keep The Drone Moving
A stationary drone above a vent is a drone that’s cooking itself. Movement keeps cooler air flowing over the heat-sensitive bits underneath. Even a slow orbit is enough. If you absolutely need a static shot (a top-down into the crater, for instance), my rule of thumb is thirty to forty seconds maximum if I’m close, then move and let it cool.
I learned this the bad way. I hovered too long above a fissure during the Geldingadalir eruption, the drone’s processor unit overheated, and the drone forced its own Return To Home. You cannot cancel a forced RTH. It’s the drone telling you it’s done. Which, of course, drops you straight into the Tip 1 scenario: a forced RTH with a possibly confused compass. I got lucky that day. The fix is to never end up there in the first place. Keep moving.
Tip 6: Keep Distance From Other Pilots
Multiple drones in the same airspace interfere with each other. Iceland eruptions draw a crowd, and at busier moments there can be ten or more drones up at once. I noticed during one Geldingadalir session that whenever another pilot’s Mavic 3 got within roughly ten metres of my Air 2S, my video feed degraded severely. Stutters, drops, occasional disconnection. Not their fault, not mine, just physics: the controllers share frequency bands and they fight for them.
Two practical things:
- Take off and land in a spot where other pilots aren’t standing. Give each other room to manoeuvre, especially if you hand-catch the drone (which I usually do).
- Be considerate of the people who came to watch, not to fly. Don’t hover your drone above their heads for a clever overhead. Don’t park yourself with the sticks in your hands directly in their sightline. It’s their eruption too.
That second one isn’t a technical tip, but it’s the one I wish more pilots applied.
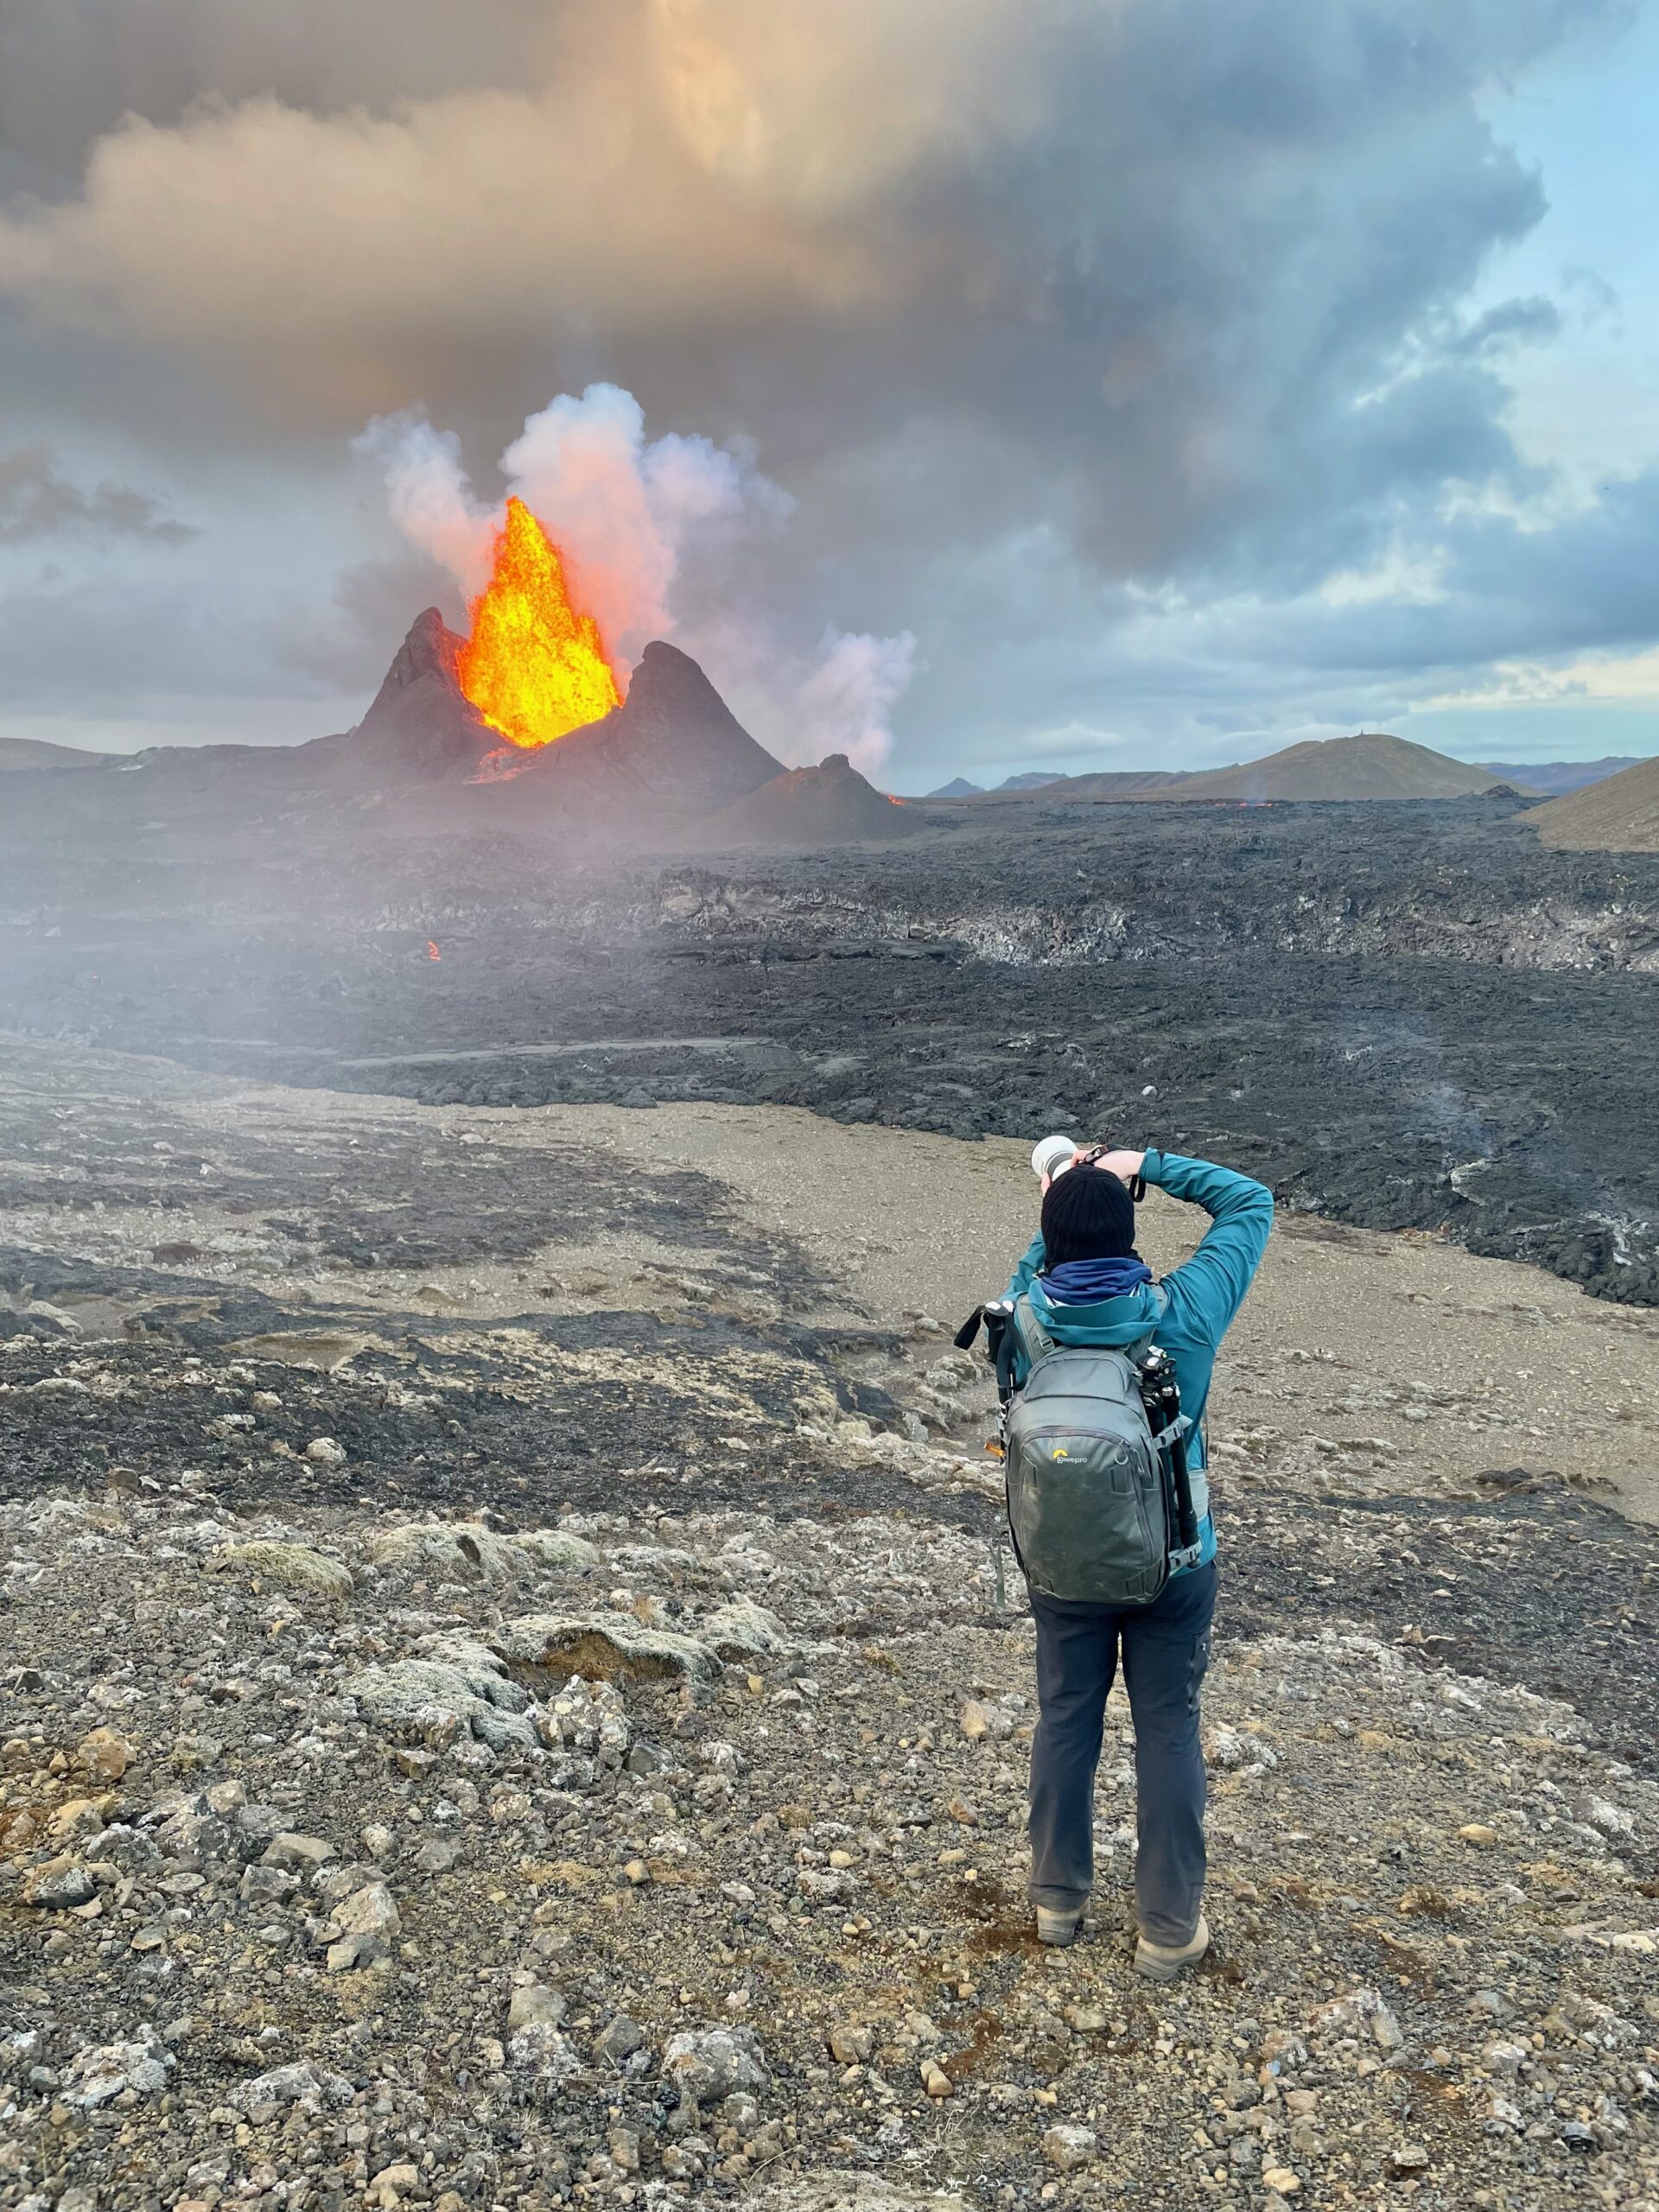
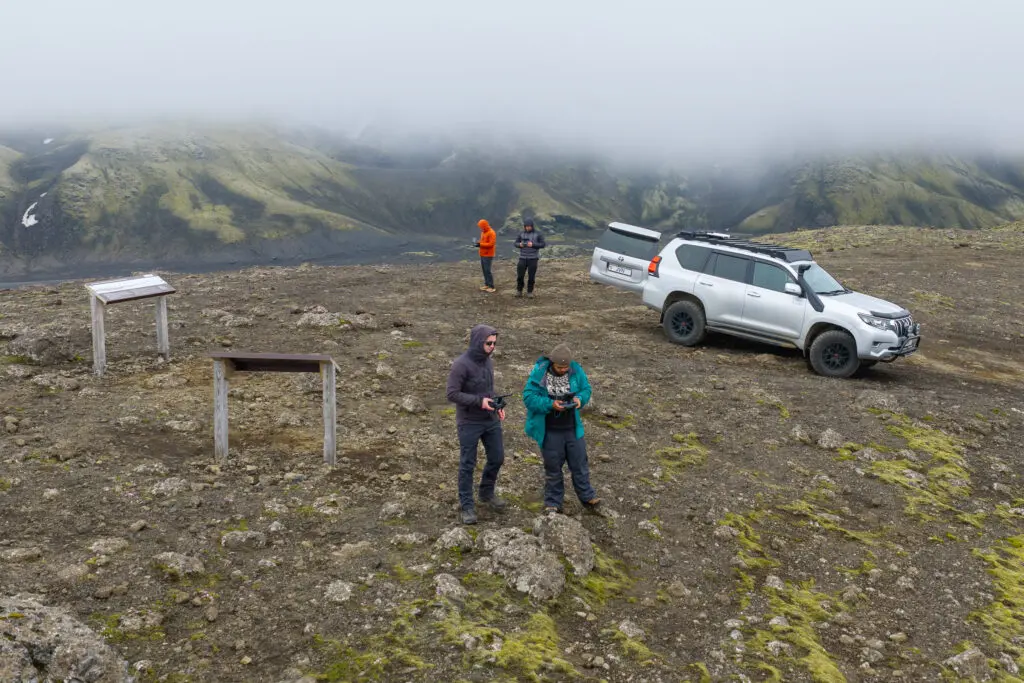
A quiet moment on the ridge before the crowds thickened up.
Tip 7: Watch For Sudden Updrafts And Strong Winds
The airspace above an eruption is the strangest air you’ll ever fly in. Iceland is famously windy on its own. Add hundreds of degrees of rising air from the lava and you get convection winds: hot air shooting up off the flow, cold air rushing in sideways to replace it, rotors, downdrafts, and sudden updrafts that can flip direction in seconds. One moment the drone is rock steady, the next it’s pitching twenty degrees and your video frame is sideways.
If the drone starts behaving strangely, don’t fight it with fast inputs. Slow everything down. Reduce your speed, no sharp turns, no aggressive descents. Try to walk the drone out to a steadier patch of air (often a little higher up and further out from the vent) and then come home. The instinct in turbulence is to yank the sticks. The right move is the opposite.

The wind wrote this image. Cold Atlantic air rolling over the ridge, meeting hot air rising off the cone.
Tip 8: Fly The Drone With The Best Wind Resistance
On an Iceland eruption day, take your biggest drone. I know people who have a Mavic 4 Pro and a Mini 5 Pro and prefer to bring the Mini because it’s lighter to hike with. That’s fine on a calm day at sea level, but it’s a bad trade above a windy fissure. The bigger drone will get back to you. The smaller one may not.
A simple pre-flight test I do every time: launch, fly directly into the wind away from the eruption for a hundred metres or so, and watch how much the drone is fighting it. If it’s labouring just to hold position, you have your answer: don’t go in. If it’s coping, you’ve got margin to work with. The check uses a couple of percent of battery and it has saved me a lot of grief.
For the longer write-up of which drones I’m using and why, I keep an updated guide on the current best drones for landscape and aerial photography. For volcano work in 2026, the Mavic 4 Pro is the one I reach for first, and in my eyes it isn’t even close.
Tip 9: Swap SD Cards Between Flights
This is the cheapest insurance in photography. If you’ve shot a beautiful first flight and the second flight ends in the lava field, all your footage is in that lava field too unless you swapped cards in between. Card readers are tiny. MicroSD cards are practically free at this point. Have three or four in a sleeve in your pocket and rotate them after each flight or each battery.
It’s a thirty-second routine. The morning’s shots live on even if the afternoon’s drone doesn’t. There is no downside.
Tip 10: Leave A Margin On Your Batteries
Don’t wait for the remote to tell you to come home. By the time it does, you’ve usually already eaten the wind margin you needed. My rule above a volcano is to start the return flight well before the drone forces it, and to give myself more cushion than I would over flat ground at home. That costs flight time. It also means I’ve never lost a drone to a low-battery RTH that didn’t quite make it back.
Bonus tip that goes with this one: if you’re already in trouble (overheating, low battery, wind picking up), don’t fly straight home over the lava field. Fly to the nearest patch of regular ground first, then home from there. If the drone runs out of battery, it lands on something you can walk to and pick up. If it runs out over the lava field, it’s gone. And don’t walk on the lava itself to retrieve a drone. Especially not fresh lava: the crust can be days old and still cover something molten underneath. No drone is worth that.

Litli-Hrútur, 2023. One of the last frames from a battery I should have flown home ten percent earlier.
What’s Changed Since I Made The Video
Two things have shifted meaningfully since 2022.
Modern drones are more sensitive to obstacles. DJI’s newer generation (Mini 5 Pro, Mavic 4 Pro, Air 3S, anything from the last couple of years) has forward and downward obstacle sensors that are noticeably more sensitive than the ones on the Air 2S I flew for the video. That’s great in most contexts. Above a volcano, it can become a problem. The sensors may misread shimmering heat haze, smoke, or the texture of cooled lava as obstacles, and the drone will brake or refuse a command. If I’m flying close in, I usually turn off forward obstacle avoidance for the flight. Don’t forget to turn it back on after.
Iceland’s regulatory environment has tightened. The Icelandic Transport Authority now issues Temporary Flight Restrictions around active eruptions much faster than they did during the Geldingadalir eruption in 2021. My separate Iceland drone rules guide stays current on the details.
Neither of these is a deal-breaker. They’re just modern realities that didn’t exist (or weren’t as aggressive) when the video was shot.
Frequently Asked Questions
Can You Fly A Drone Over A Volcano In Iceland?
Yes, in principle, but only if there is no Temporary Flight Restriction in place over the eruption area. Iceland’s Department of Civil Protection and the Icelandic Transport Authority post current TFR notices, and Visit Reykjanes summarises them per eruption. If a TFR is active, all civilian drone flight is banned in the zone. When no TFR is in effect, standard Icelandic drone rules apply: stay below 120 metres above ground level, fly within visual line of sight, and respect the sub-250 g registration exemption only if your drone qualifies.
What Is The Best Drone For Volcano Photography?
For pure image quality and wind resistance in 2026, the Mavic 4 Pro is what I fly. It has the dynamic range to handle the lava-versus-shadow contrast, the wind margin to come back when conditions turn, and a crop video mode that lets me keep distance. If you’re travelling light and the sub-250 g category matters to you, the Mini 5 Pro is a strong second choice, with the caveat that it’s more vulnerable to wind. I would not bring an older Mini-class drone unless the day is unusually calm.
How Close Can You Safely Fly To Lava?
There is no fixed answer. It depends on wind, on how the heat plume is behaving, on how long you spend in any one spot, and on your drone’s tolerance. The safer approach is to start further out than you think you need, watch the drone for any sign of distress (sudden altitude wobble, video stutter, processor warnings), and only edge closer if it’s behaving. Never fly into the gas plume. Never hover stationary for more than thirty to forty seconds if you’re close.
Do You Need A Gas Mask?
For the pilot, sometimes yes. Sulphur dioxide concentrations near an active eruption can be high enough to cause coughing, headaches, and in worse cases real respiratory harm. A half-mask respirator with acid-gas cartridges is a sensible bit of kit if you’re going to be downwind of the plume. The drone itself doesn’t care about sulphur, but you do. For the drone, the bigger concern is heat and particulates (Pele’s hair, fine ash) that can damage motors over repeated flights. Clean the drone after each session.
What Altitude Can You Fly At Above A Volcano?
The legal maximum in Iceland is 120 metres above ground level. Practically, your useful altitude depends on where you took off from: the readout shows altitude above your takeoff point, not above the lava. If you launched from a high ridge, you may be much higher above the lava than the number suggests. If you launched from the valley floor near the flow, you may be much closer to molten rock than you think. Always cross-reference the readout against what you can see.
My Closing Take
Flying a drone above a volcano is one of the most rewarding things I’ve ever done in photography, and one of the riskiest. The ten tips above are everything I’ve learned the hard way across every eruption on the Reykjanes peninsula. Follow them and you’ll come back with images you couldn’t get any other way. Skip them and you may come back without a drone. Honestly? I’d take the images.
Safe flying, and if you see me out on the ridge in a black and white lopapeysa, come say hi.

The Fagradalsfjall Fires, 2021-22. Every one of the ten tips above went into making a frame like this possible.
DISCOUNT
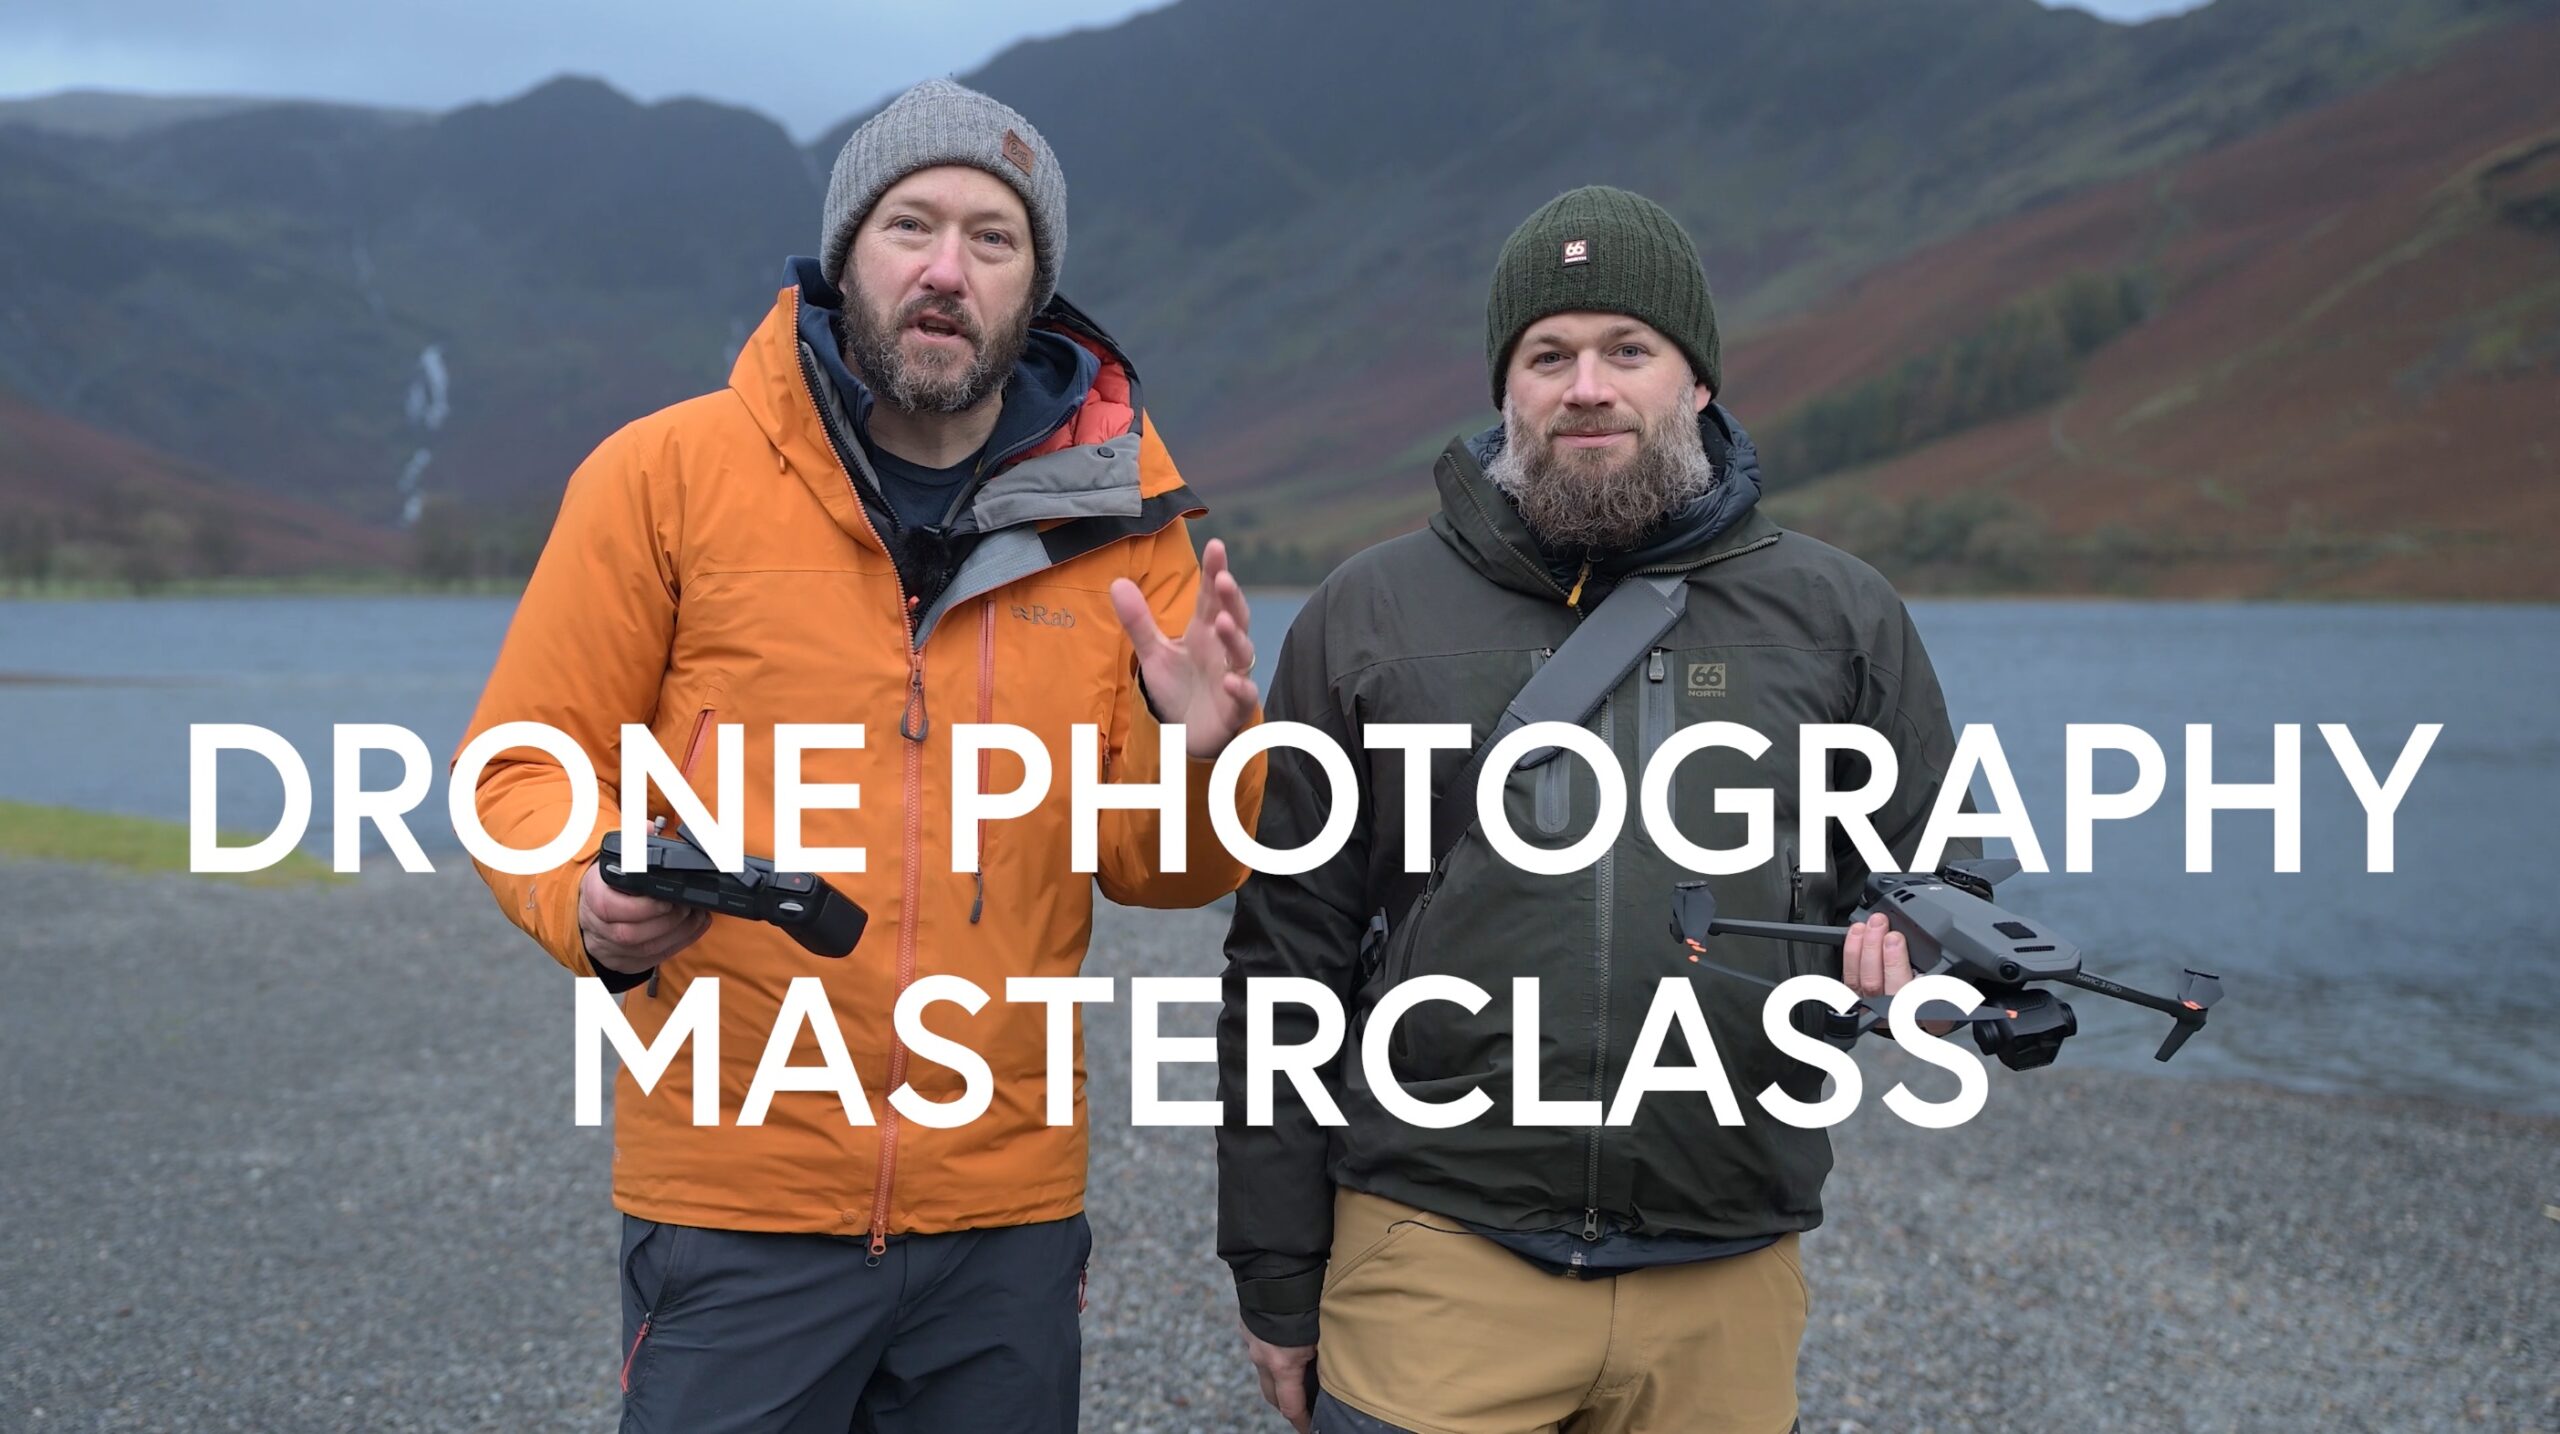
The Drone Photography Masterclass – Video Course
Nigel Danson & Jeroen Van Nieuwenhove‘s complete drone photography video masterclass will explore everything you need to know to start creating the best aerial photographs using any type of drone in 50+ detailed videos. Whether you are a complete beginner or an advanced drone pilot, this video course contains a vast amount of information to level up your drone photography skills.
What Drone Photography Masterclass Participants Said…
Learn Drone Photography With My E-Book
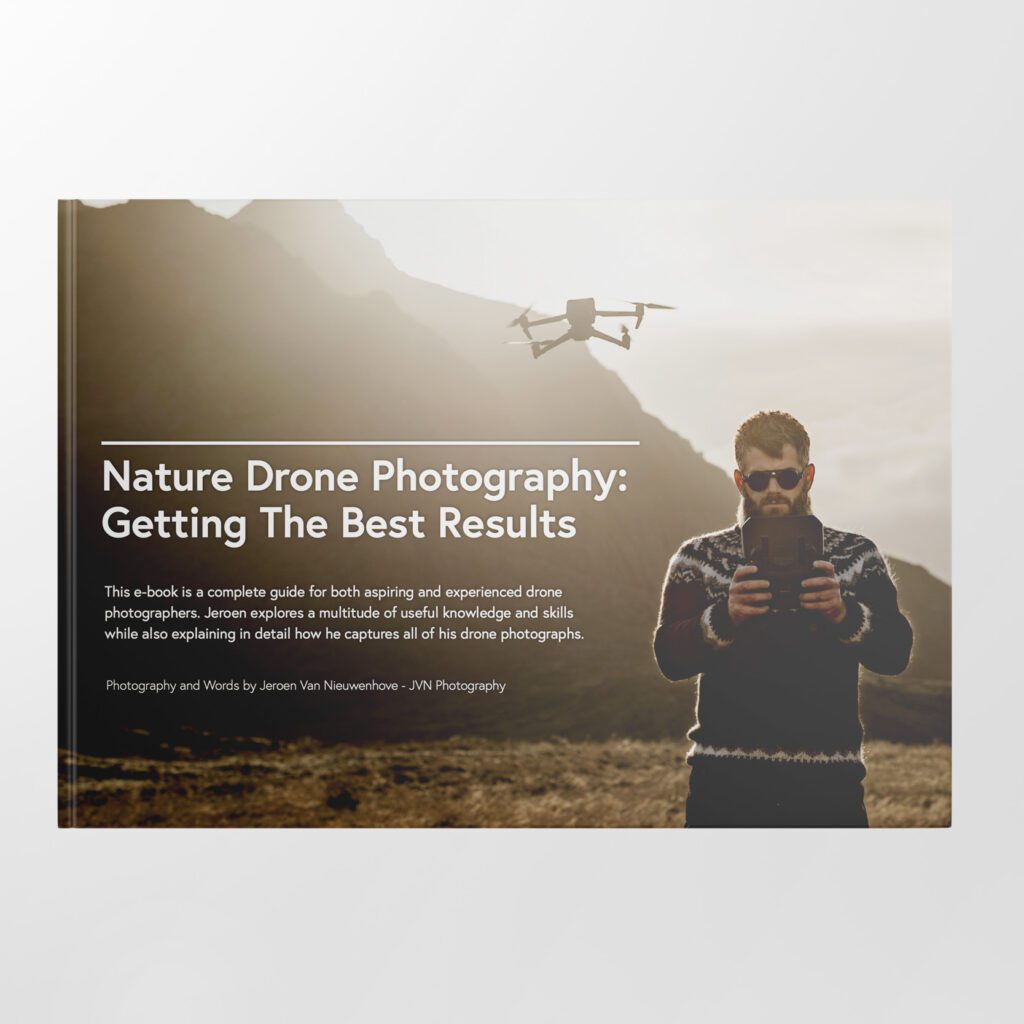
Want to learn how to get the best results with your newly purchased drone? I wrote the most comprehensive guide available on drone photography which teaches you a technique to get the DSLR-like results out of even the cheapest drones.
In 125 detailed pages I explore everything you need to know to start creating the best photographs using any type of drone. Whether you are a complete beginner or an advanced drone pilot, this e-book contains a vast amount of information to level up your drone photography skills.
What to Expect?
- A 125-page educational PDF about nature drone photography with very detailed explanations
- Which drone to get for photography and why
- Important settings and configuration options
- A list of useful skills & tips
- A list of useful accessories and what not to buy at all
- How to research locations for drone photography
- How to compose with a drone and insight into Jeroen’s thought process with plenty of examples
- Thoughtfully planning ahead for your drone shoot
- The how and why of creating bracketed images
- The how and why of shooting HDR panoramas
- What challenges you might face and how to deal with them
- Common mistakes & how to deal with them
- How to stitch your panoramas together
Use EBOOK20 to get 20% off your Nature Drone Photography (E-Book) purchase!


Discover Jeroen’s Photo Workshops in Iceland, Greenland & Beyond
Ready to take your photography to the next level? Join me, Jeroen Van Nieuwenhove, on unforgettable photo workshops in Iceland, Greenland, Antarctica and other exciting destinations. Whether your passion is wildlife photography, bird photography, landscape adventures, or mastering drone photography, each workshop is designed to give you hands-on guidance in some of the world’s most spectacular locations.
From puffins in the midnight sun to Arctic foxes in the wild, from glaciers and volcanoes to dramatic coastlines seen by drone – these journeys are more than workshops; they’re once-in-a-lifetime experiences. Group sizes are kept small, ensuring personal mentoring and plenty of shooting opportunities.
Looking for something specific? Check out Jeroen’s…
- Wildlife & Bird Photography Workshops (Puffins, Arctic Foxes)
- Drone Photography Workshops
- Photo Workshops in Iceland
- Photo Workshops in Greenland
- Photo Workshops in Antarctica
Spots are limited – secure your place today!
Are You Looking For A Specific Photo Workshop?
All Upcoming Photography Workshops With Jeroen
Explore all upcoming photography workshops with Jeroen and take your skills to the next level in some of the world’s most extraordinary locations. From the volcanic landscapes of Iceland to the ice-filled fjords of Greenland and the wildlife-rich polar regions such as Antarctica, each workshop is designed to help you grow creatively while experiencing unforgettable moments in the field. Browse all upcoming departures below and find your next adventure!
LAST SPOTS
LAST SPOT
LAST SPOTS
OPEN FOR BOOKINGS
OPEN FOR BOOKINGS
LAST SPOTS
WAITLIST
WAITLIST
WAITLIST
WAITLIST
WAITLIST
WAITLIST
WAITLIST
Choosing the right photography workshop is about more than just visiting iconic locations. It’s about experience, safety, timing, and personal guidance. Below you’ll find honest reviews from photographers who have joined me on landscape, wildlife & drone photo workshops in Iceland, Greenland and other locations. These testimonials reflect real experiences in small groups, hands-on instruction in challenging conditions, and the level of care Jeroen aims to bring to every workshop.
These reviews are verifiable on Jeroen’s public Google Business profile.


Support Jeroen’s Work
As an independent photographer, Jeroen partially relies on your support to keep producing worthwhile content such as blogs, photographs, books and much more. If you want to support his work, it is possible to do so by buying his e-books & books.
You can also sign up to the newsletter to stay up to date on new blog posts, projects, workshops and other interesting information.
Thank you for considering!