
I used to be a different type of photographer. One who always headed out with an unbearably heavy backpack, filled to the brim with gear. I owned every possible focal length you could conceive, not to mention a neat filter box with 100x150mm graduated filters – all made of glass. Strapped to my backpack was a heavy tripod, which gave me the best stability (or so I thought). Whenever I would go out to shoot, I would take all my lenses with me. Even those which I knew deep inside I wouldn’t need. One kilogram of glass filters? Carrying a fisheye lens for landscapes? The FOMO (fear of missing out) was real. What was I thinking?!
The Burden of Choice (& Weight!)
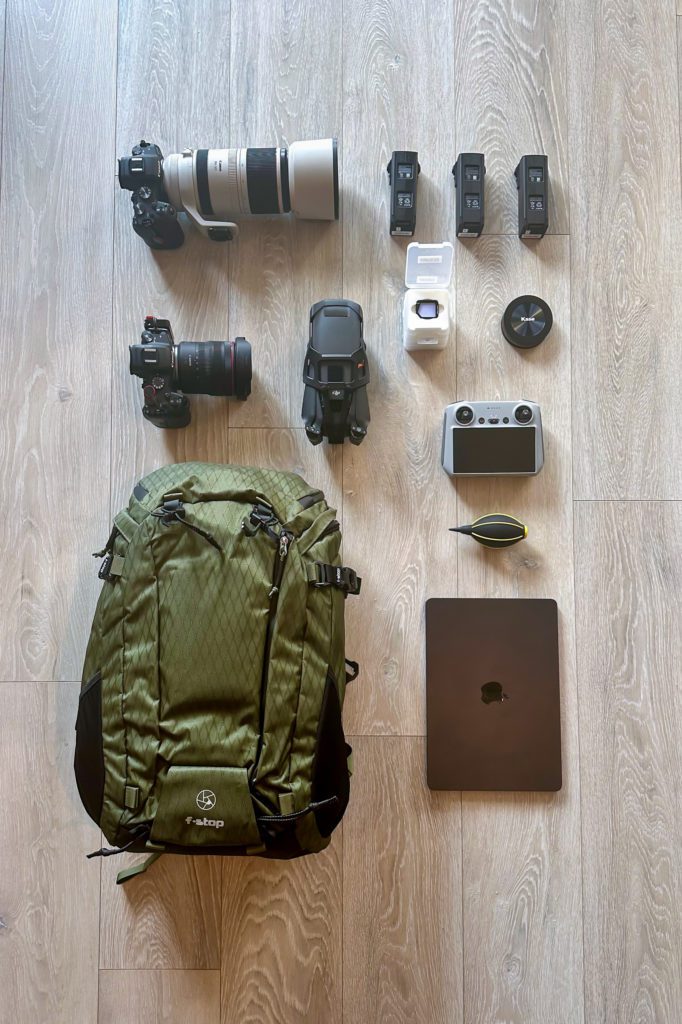
That was the photographer I was 4 years ago. Today I have a much more minimalistic approach when it comes to my photography gear. At the time of writing, I travel most of the time with only two camera bodies, two lenses, a drone, and the most compact filter kit I could find. So, what changed and why?
At one point, inspired by some of my favourite landscape photographers on YouTube, I realised how the obscene amount of gear I carried was actually holding me back. What I thought was beneficial for my work, was actually destroying my creativity and photography aspiration. Ever since I began downsizing to smaller and lighter gear, I noticed a gradual improvement in my photography.
So how do you approach this? How can you unlock your potential by removing the burden of choice? Which lenses should you leave at home? And more importantly, how can you make a mindful decision on which gear matters to you and which doesn’t? I created a list of 5 tips to help you declutter your gear and make your backpack lighter.
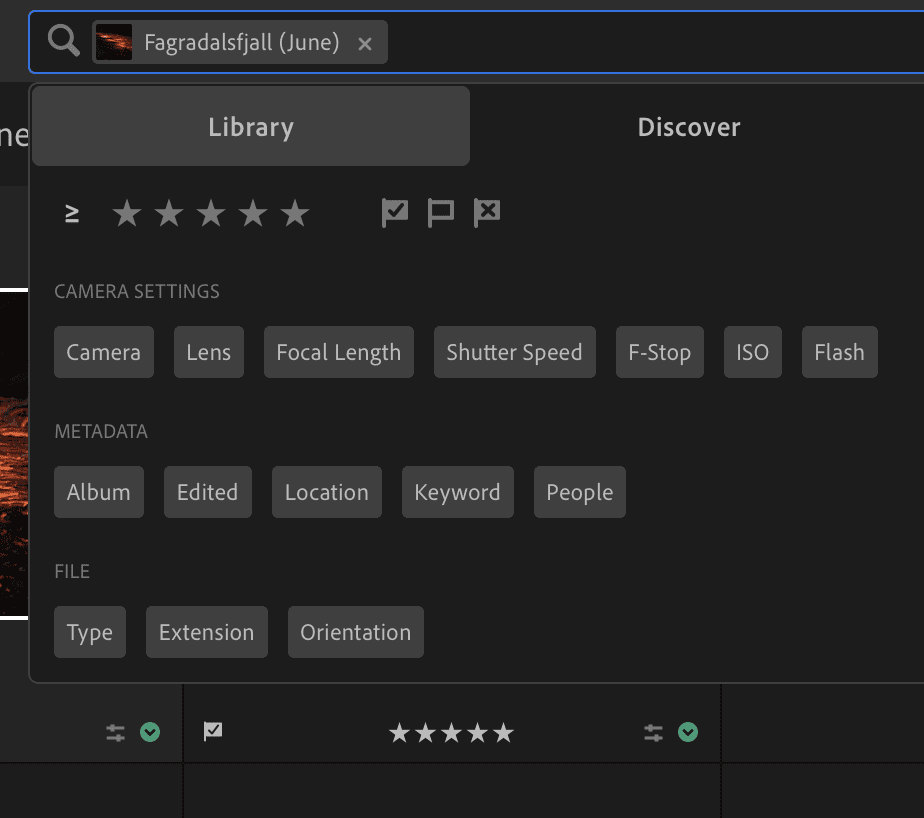
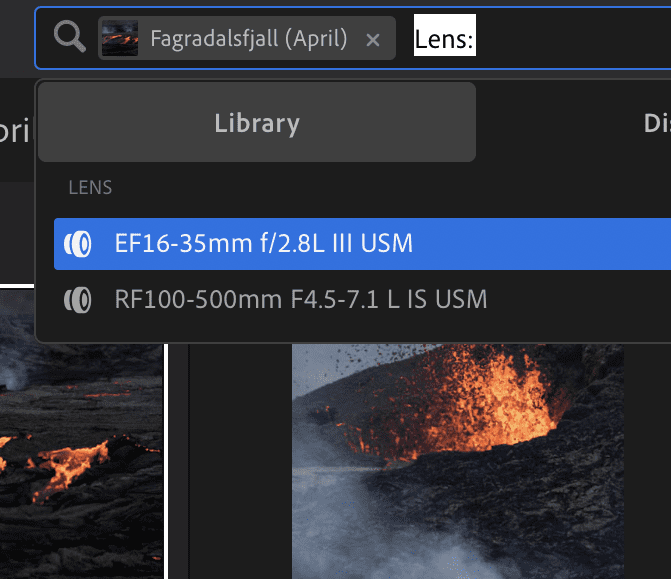
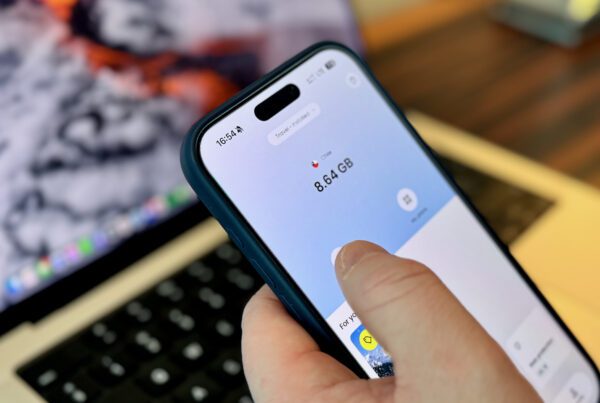
By using the filter options in Lightroom, you can check how many photographs you’ve actually taken (& kept). This can help you determine what gear is actually valuable to you.
Tip 1: Regularly Check Your Gear Usage
It’s important to check what you are using regularly and, arguably even more important, what you aren’t. Below are a few questions I ask myself from time to time as an example:
Do I really need two different wide-angle lenses?
Eg. Do I need the F/2.8 & F/4 version of the same focal range?
Do I use all of the lenses that have overlapping focal lengths or is there one I prefer
Eg. Do I need both a 70-200mm and a 100-400mm?
Do I often use, for example, the 24 to 105mm focal length or not at all?
Eg. I never use this focal range. Am I missing not having this range or not?
Do I often shoot at F/2.8 or not?
Eg. Am I regularly shooting in badly lit situation or can I get by with something else?
It’s vital to regularly investigate what lenses, focal ranges, and apertures you are actively using. But how can you easily determine what you use most often and which ones you use rarely?
If you organise your photographs in a tool such as Adobe Lightroom Classic, you can easily produce a list of how many photographs you took using a specific lens, camera body, aperture and even focal length. I use Lightroom CC exclusively and unfortunately it isn’t as straightforward to filter there. However, using the filter tools in the search bar, it’s still possible to get a good idea of what lenses you use most often.
Tip 2: Switch To Lenses With a Smaller Aperture
Taking it one step further, for many people it might be possible to swap out a large & heavy F/2.8 lenses for a lighter (and often sharper) F/4 version of the same lens. These days with modern sensors in mirrorless bodies and advanced noise reduction software (have you seen the latest update to Adobe Lightroom?) there is less need for lenses with large apertures in the field of nature photography.
By looking at my actual usage, I figured out that I would pretty much always stop down my wide-angle F/2.8 lens to a minimum of F/4. I have even found that when photographing for example the aurora borealis, I tend to increase the ISO to get a correct exposure rather than resorting to switching to F/2.8. The reason for that is that my old F/2.8 wide-angle lens is considerably sharper at F/4. During daytime, the vast majority of my shots taken with that lens are taken at a minimum of F/11. So why do I need a heavy, expensive F/2.8 lens?
If you find yourself in a situation where you would still use a F/2.8 wide-angle at night, could you get by with a compact, lightweight F/2.8 prime lens? There is a lot to think about and looking at your actual usage will again help you determine what you actually need.
However, it’s good to note that this might not necessarily apply to your genre of photography. I can imagine scenarios where you will still want to opt for a larger aperture lens. This could be, for example, if you are also a videographer or if you are a wildlife photographer where you require every bit of speed you can get. Although even in that last scenario, I have found you can achieve a lot at very high ISO in combination with noise reduction software.
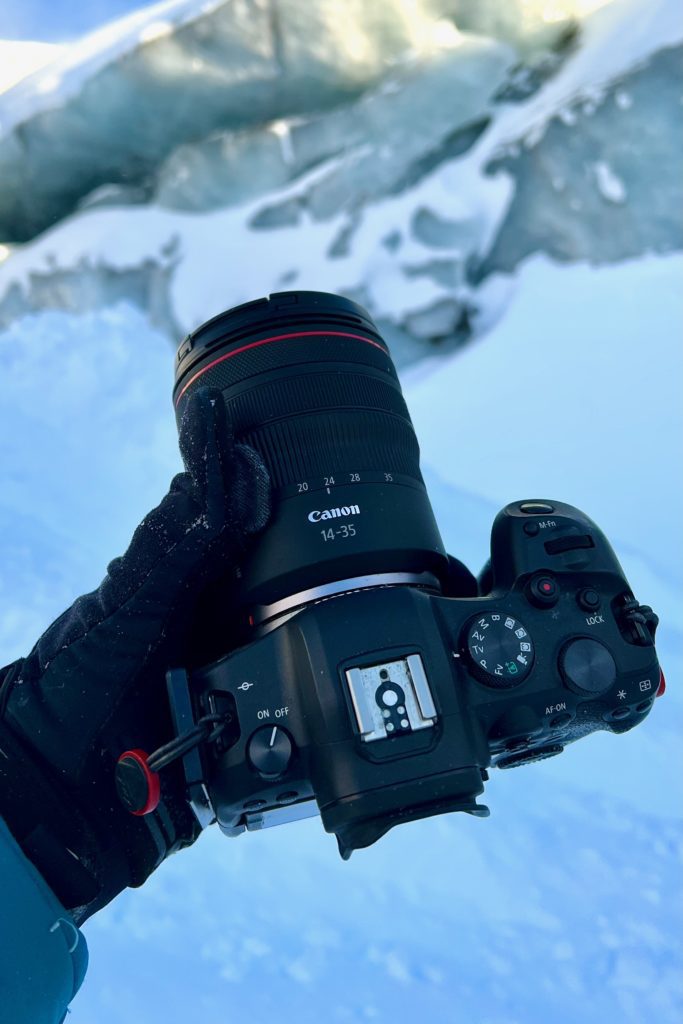
Switching from the Canon EF 16-35 F/2.8 III to the Canon RF 14-35mm, which I’ve reviewed before, not only allowed me to gain that extra millimeter on the wide end. It also meant less weight, less space used and no need for an adapter. This simplified my workflow in the field a lot.
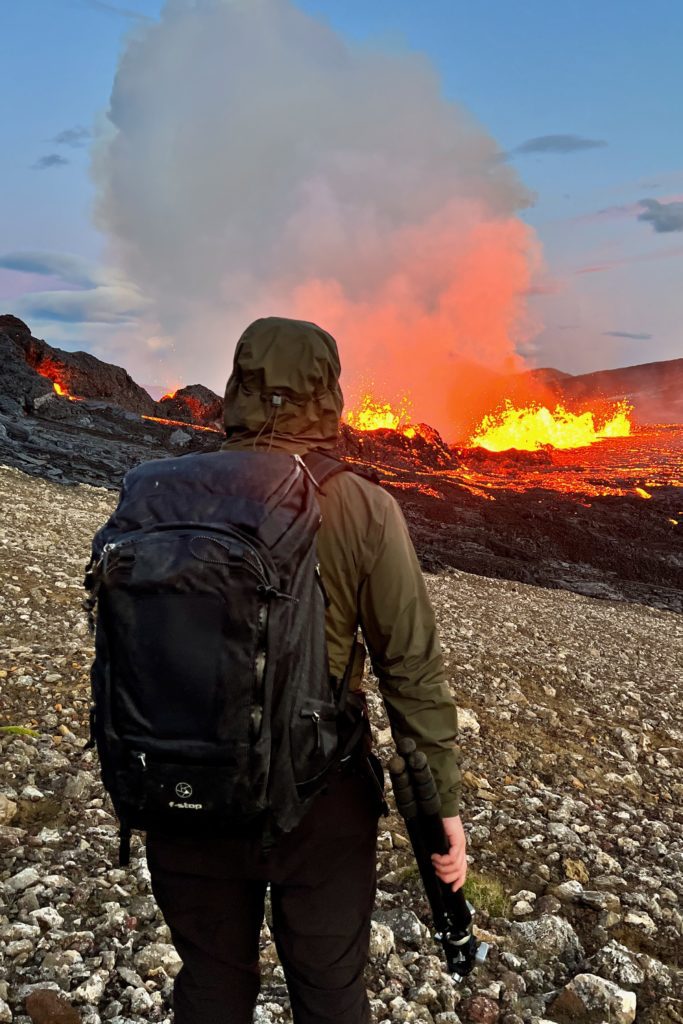
Limiting your options in the field means carrying less gear and less time wondering what equipment to use when you come across unique opportunities such as this.
Tip 3: Limit Your Options In The Field
While it is certainly tempting to bring every bit of gear you own, in the off chance you might need it, I have found that it is more likely to be a hinderance than a blessing. Having too much choice in the field puts unnecessary constraints on your creativity in several ways.
First, because of the increased weight that comes with carrying a lot of gear, I wouldn’t explore locations as much as I should have. I didn’t spend nearly enough time finding new & more interesting perspectives and took the lazy approach because I would get exhausted. Secondly, when I did arrive at a scene, I spent a long time deciding what lenses (or filters) to use instead of actually shooting, looking around and finding more interesting compositions.
There are a few questions you can ask yourself before heading out on an adventure to prevent bringing unnecessary gear:
1. What will I be photographing?
Eg. How close will I get to my intended subject? What type of shots am I after: abstracts or all encompassing overview shots?
2. What focal range do I need to cover to get the shots I am envisioning?
Eg. Do you want to focus on details & abstract or are you looking for very wide shots?
3. What aperture lens do I need for this type of photograph?
Eg. Do you need F/2.8 if you are stopping down to F/11 all the time?
Running through your plans in a step-by-step manner will help you determine what it is you actually need. Of course, if you are suffering from a case of FOMO, as I used to experience, none of this might be very helpful.
Tip 4: Get a Lightweight Tripod
I had, and still have, a complicated relationship with tripods. I like and dislike tripods at same time. However, because tripods are a necessity in my line of work, I tried to find a solution to overcome the negative sides to them.
What I like is that they make me slow down, help me put more thought into my compositions and that I can use them to create interesting long exposure images. However, what I dislike outweighed all those positive aspects until I discovered it can be done differently. I disliked the size of my tripod when folded down and especially how heavy it was. My previous tripod with ballhead weighed around 2.8 kilograms! This often made me leave the tripod in the car, which in turn caused me to miss shots I would have gotten with a tripod. Additionally, when I did take my tripod on a hike, I struggled with using the ballhead. It didn’t feel intuitive at all and I struggled with not being able to make more refined adjustments.
As a result, I spent hours and hours researching various tripod types, different sizes & materials, ballheads & alternatives to them and more. Once you go down that black hole there is no end in sight. However, by doing that I learned that there were numerous, more interesting alternatives to my setup. One thing I learned is that I didn’t have to sacrifice height or stability when finding a more lightweight kit. One conclusion of a certain review really stuck with me. It is easy to make a tripod heavier when you need it to but it is impossible to make it lighter. This realisation made me think out of the box and get away from this notion that I needed a heavy tripod for the best stability.
After a lot of research I found a set of tripod legs with a levelling bowl, made by Leofoto, which were not only extremely light & stable but easy to use in the field. With a levelling bowl it takes seconds to level your camera, even though your tripod itself isn’t level. It essentially levels the base of the tripod. Additionally, I also found a lightweight alternative to my heavy ballhead: a long lens head. Not only is it very light but it also allows me to adjust each axis separately without unlocking the whole head.
Changing to this different, more practical setup shaved off 1,2kg off in weight. I am now almost always taking my tripod as it’s light and practical to use.
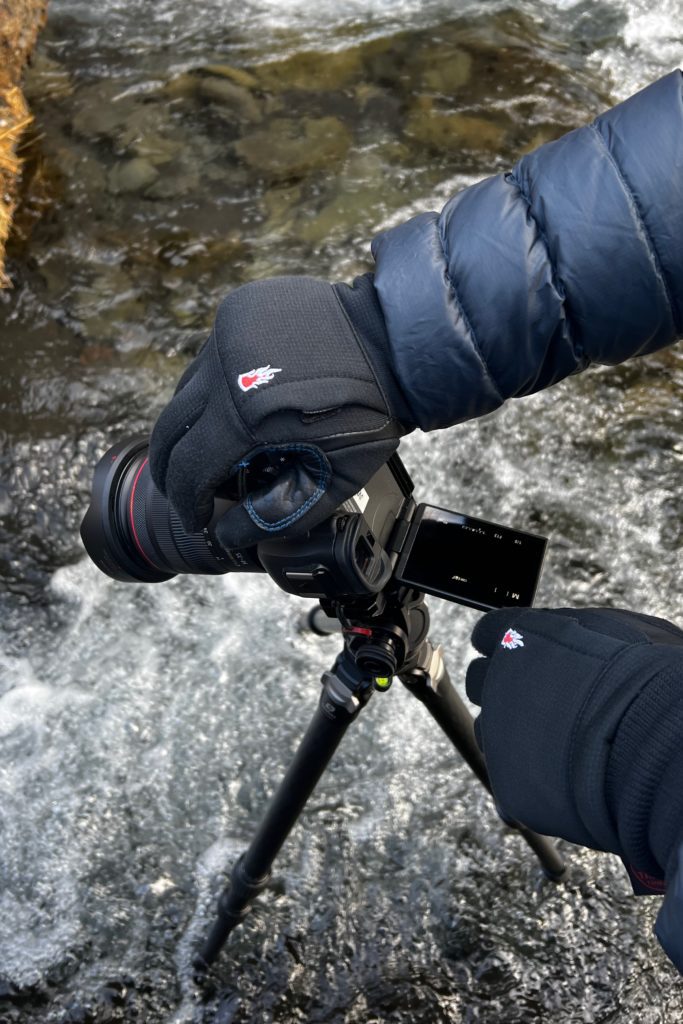
I have a difficult relationship with tripods. Having a lightweight, sturdy tripod increased the chances of me actually using the tripod and taking it along on longer hikes.
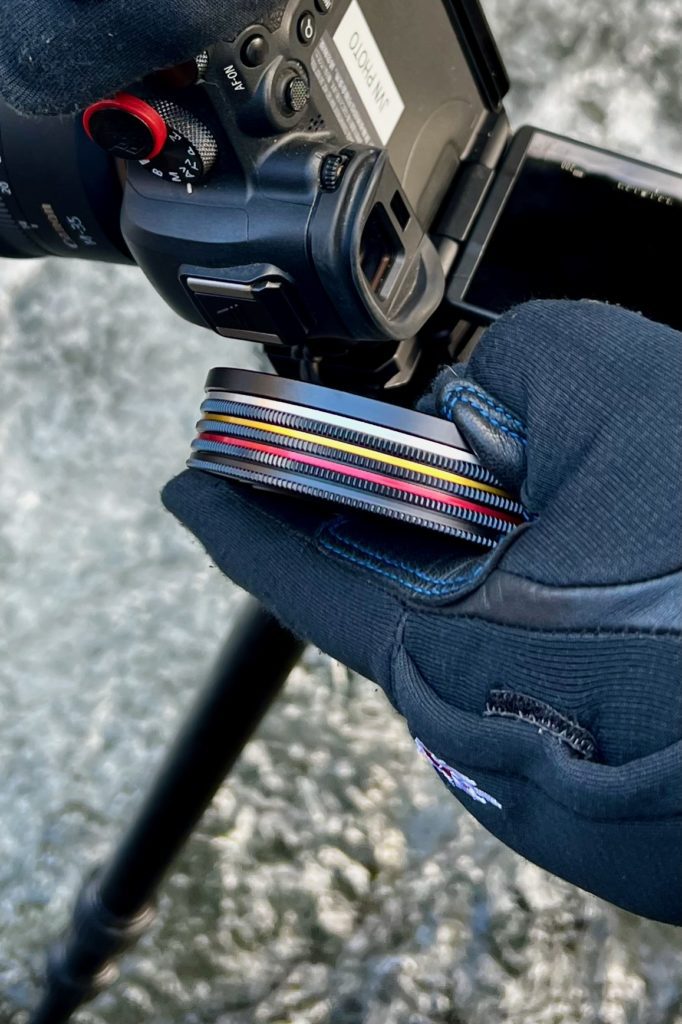
The Kase Revolution magnetic filter set is small, compact and packs down to the absolute minimum footprint it needs. The cover plates, which can be ordered with the filters, allow you to transport them without needing an external case.
Tip 5: Replace Filters With Post-Processing Techniques
When I started out with landscape photography, I quickly encountered filters as a way to improve my photographs. I started using ND filters to create more dreamy captures of waterfalls, which I still use today albeit less frequently. To complement those ND filters, I purchased a few graduated filters to create even exposures in my photographs. At one point, I carried around a box containing a variety of ND and graduated filters together with a filter holder and a polariser. The box weight a whopping 1,1 kilogram which added a lot of (useless) weight to my gear.
Since then I have changed to an extremely compact set of Kase Revolution magnetic filters. The set I use contains a circular polariser and circular ND filters – no graduated filters. Because they are magnetic, they stick together into one set which can be covered on both sides with cover plates. This means you can carry the filters without a box or pouch to contain them in. After switching to an F/4 version of my wide-angle lens, I noticed both of my lenses also had the same filter thread. This means I can use the same set of 77mm on both lenses without needing step-up rings or other bulky items. This further helps me keep my kit compact and efficient.
If you want to know more about the Kase Revolution circular magnetic filters, it’s good to know that I intend on publishing my review of them in the coming weeks. Stay tuned!
UPDATE 11/05/2023: I have now published the review for the Kase Revolution filters.
So why did I stop using graduated filters? The primary reason is that modern cameras have evolved in such a way that I find less and less use for these filters. Newer sensors have vastly increased dynamic range, which allows you to even out the exposure a lot more without losing image quality. In addition, you can also bracket your photographs and blend them together. This requires a bit more time during post-processing but it means you can get by without needing another set of filters. Another downside to using graduated filters is that the filter generally has a straight line dividing the darkened part of the filter from the translucent part. This might work on images with a straight horizon but anything different from that can cause an uneven spread of light.
Extra Tip: Get a Comfortable Backpack
While it isn’t related to minimising your gear, your backpack plays a huge part in the burden of weight. The importance of the quality and comfort level of your photography backpack can not be understated. I’m sure I am not the only one who has owned several different photography bags throughout the years. What I’ve learned in the process is that it’s extremely important to find a bag which is built to provide comfort during periods where you have to carry your bag longer. Having a bag which makes you feel as if you are not carrying anything at all, is a great advantage. A few of the most important characteristics I look for are: decent and comfortable hip straps, an aluminium frame on the inside, weatherproof materials which can withstand a downpour and customisability when you want to take less gear.
At a later date, I will be publishing a review about why I think the f-stop backpacks I use (the Ajna DuraDiamond and Tilopa DuraDiamond bags) fit those requirements perfectly.
Full disclosure in advance: while I am an f-stop ambassador you might think I am writing this because I am being sponsored. However, I am not being sponsored by f-stop. I am a brand ambassador for f-stop because I truly believe they make incredible and practical photography backpacks for people such as me: landscape, nature and outdoor photographers.
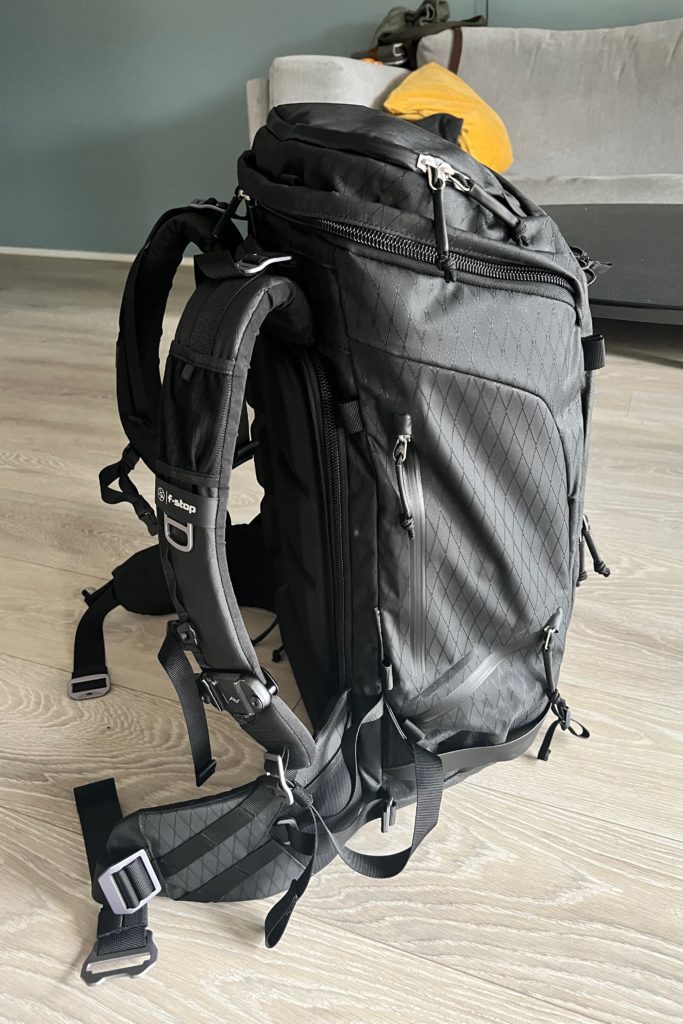
This is the f-stop Tilopa DuraDiamond, which is one of the two photography backpacks I own. I very much enjoy using f-stop bags as they are sturdy, weatherproof and sit very well on my back. Even when fully loaded, I don’t notice the gear.
Conclusion
Changing my photography gear addiction in this step-by-step manner, whilst also dealing with my FOMO, has greatly improved how my photography in the field. In a way, I woke up from a photography gear dream (or nightmare?), which unlocked new potential in me. It has granted me to ability to hike longer, spend more time on finding different compositions and helped me to discover new perspectives.
Do you have other tips to share which improved ? Let me know in the comments?
Support Jeroen’s Work
As an independent photographer, Jeroen partially relies on your support to keep producing worthwhile content such as blogs, photographs, books and much more. If you want to support his work, it is possible to do so by buying his e-books & books or prints.
You can also sign up to the newsletter to stay up to date on new blog posts, projects, workshops and other interesting information.
Thank you for considering!


I found this article by searching “how to simplify photographic gear,” because what I have now, although much less gear than at the craziest times when I’d have two Nikon F6 bodies and half a dozen lenses ON MY PERSON, is still too much. I now shoot Fujifilm GFX and APS-C (the X-series) but even there I find I gravitate toward just a couple of prime lenses and the Fujinon XF 16-55, which is heavy at f/2.8 but a useful focal range of 24-85 approximately. When I take out the GFX 50SII I choose one lens, either the 45mm (35 equivalent) or the wider 23 (18mm equiv.) a lens I find is often too wide. I still have four or is it five other lenses for the smaller camera and one larger, longer one for the GFX, and frankly they hardly ever leave the apartment. So why not, I thought, just eliminate these? But as you write, Fear of Missing Out, or more precisely of missing a shot. But I don’t carry those lenses most of the time, so I’d miss out anyway! It’s totally illogical to keep stuff that is rarely used just for the rare time I may want it. I could rent. I could go without and get what I get in the way of a shot. And travel lighter. And have less STUFF.
I think you describe exactly what I’ve seen with many people who come on my workshops. Every lens for every occasion, even though it’s small. Many find it very liberating to downsize when it comes to gear!