Aurora borealis photography is more accessible than ever, yet the same handful of mistakes still ruins more northern lights photos than bad weather does. With every new season bringing more photographers to the Arctic, and solar activity remaining strong, I thought it would be useful to highlight the mistakes I see most often when photographing the aurora.
And yes, some of these mistakes were also mine during my early days as a northern lights photographer, which means I can also speak from experience.
Let’s dive right in with one of the most common mistakes!
Disclaimer: when you make a purchase via the links in this article, Jeroen may earn a small commission.
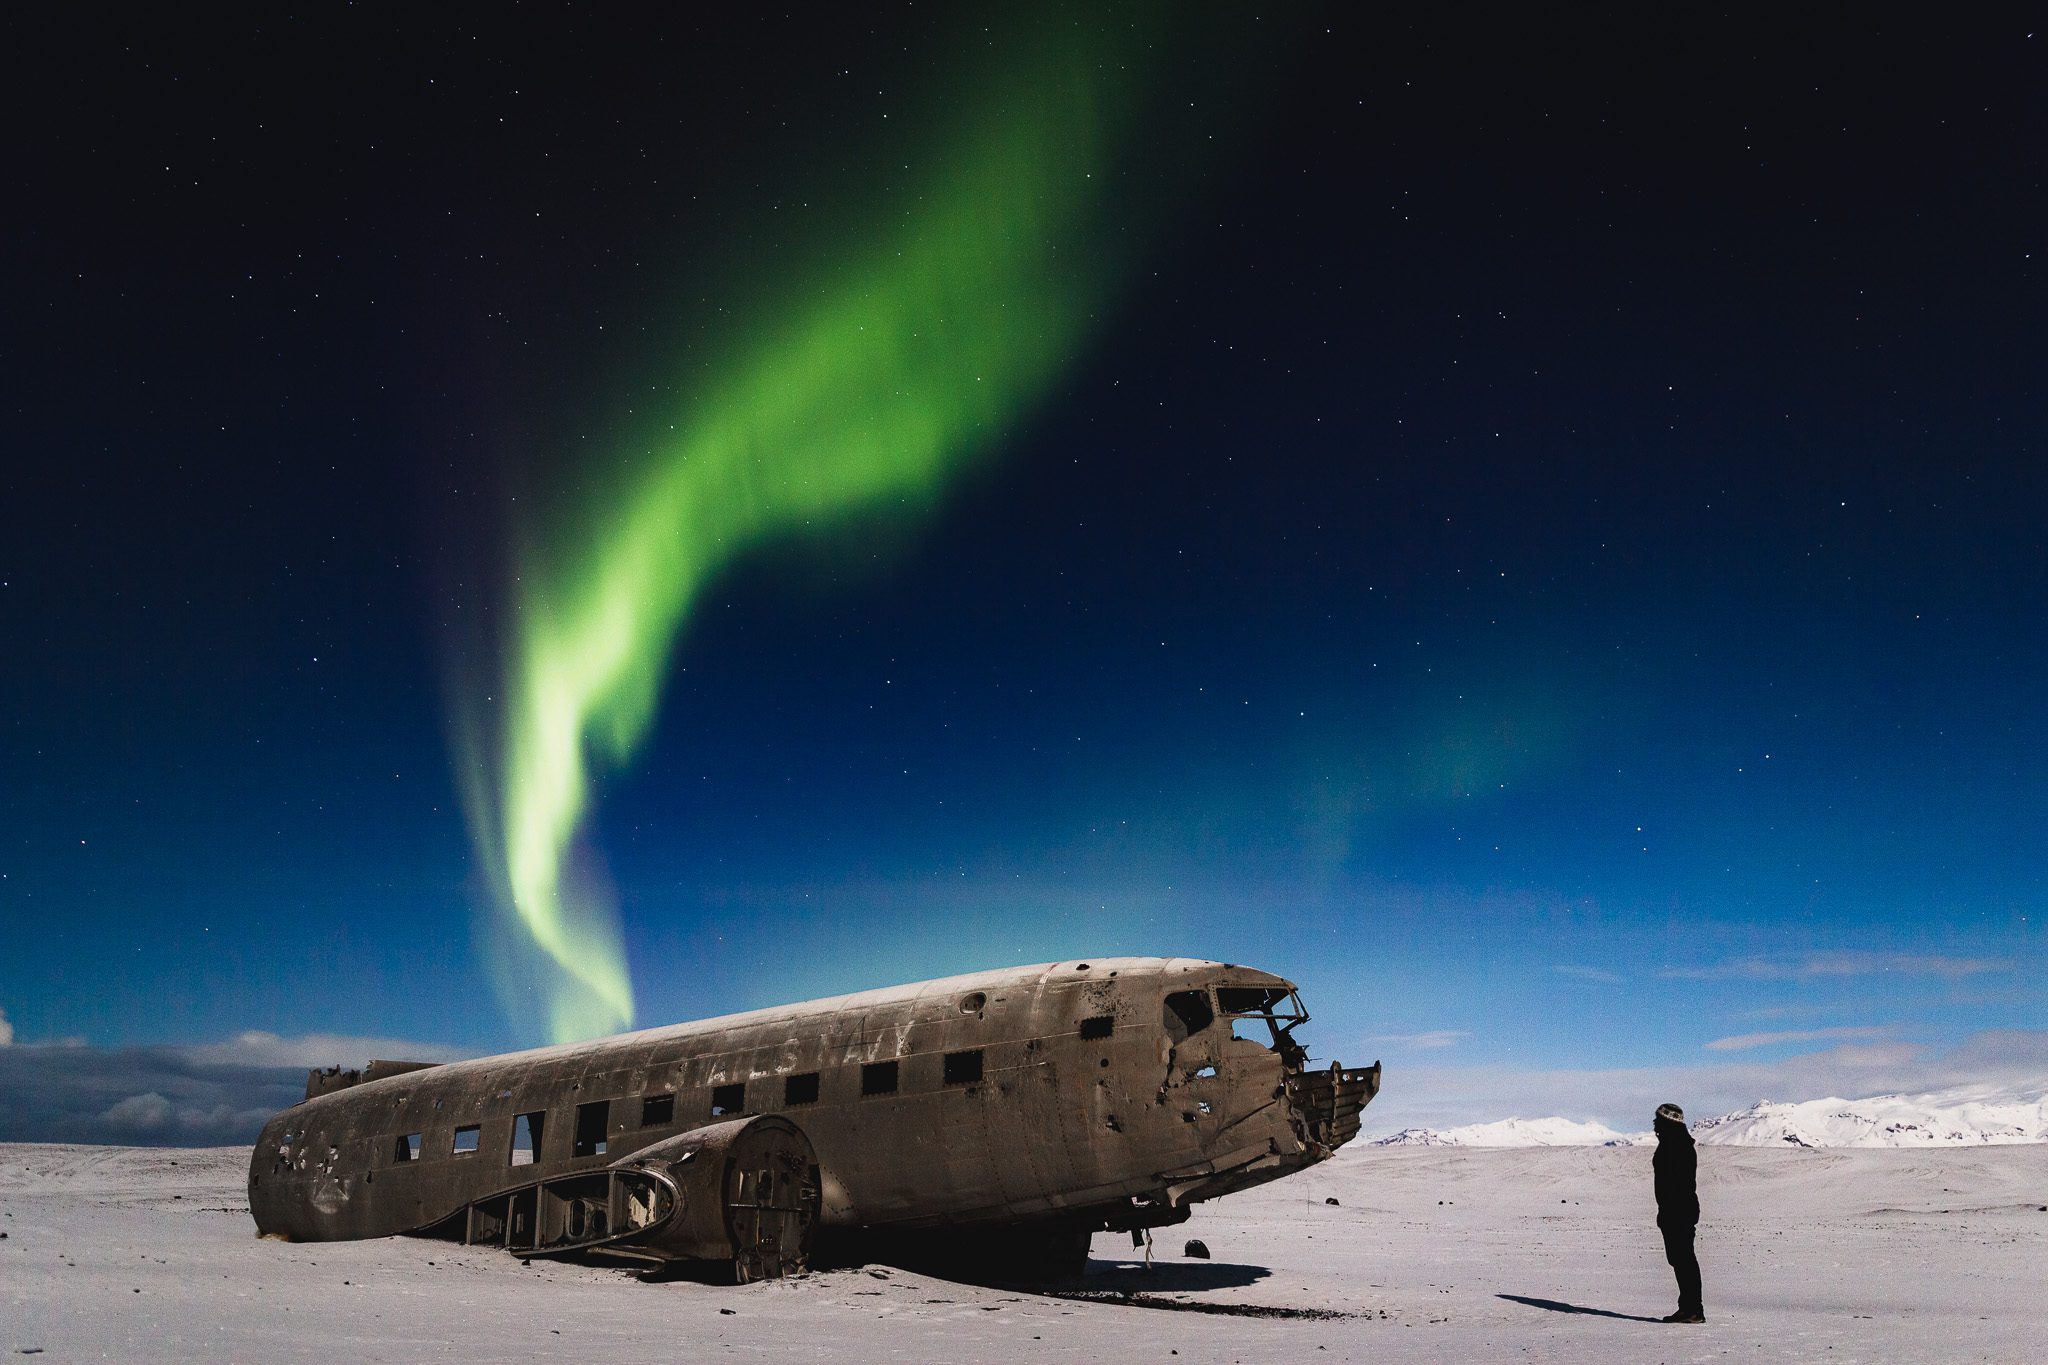
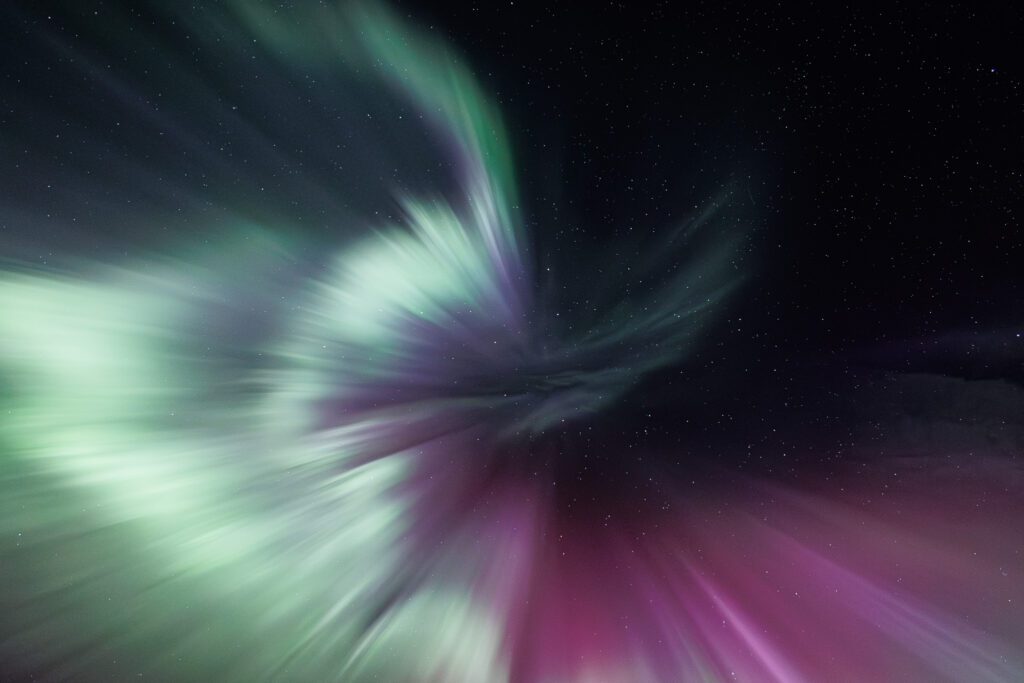
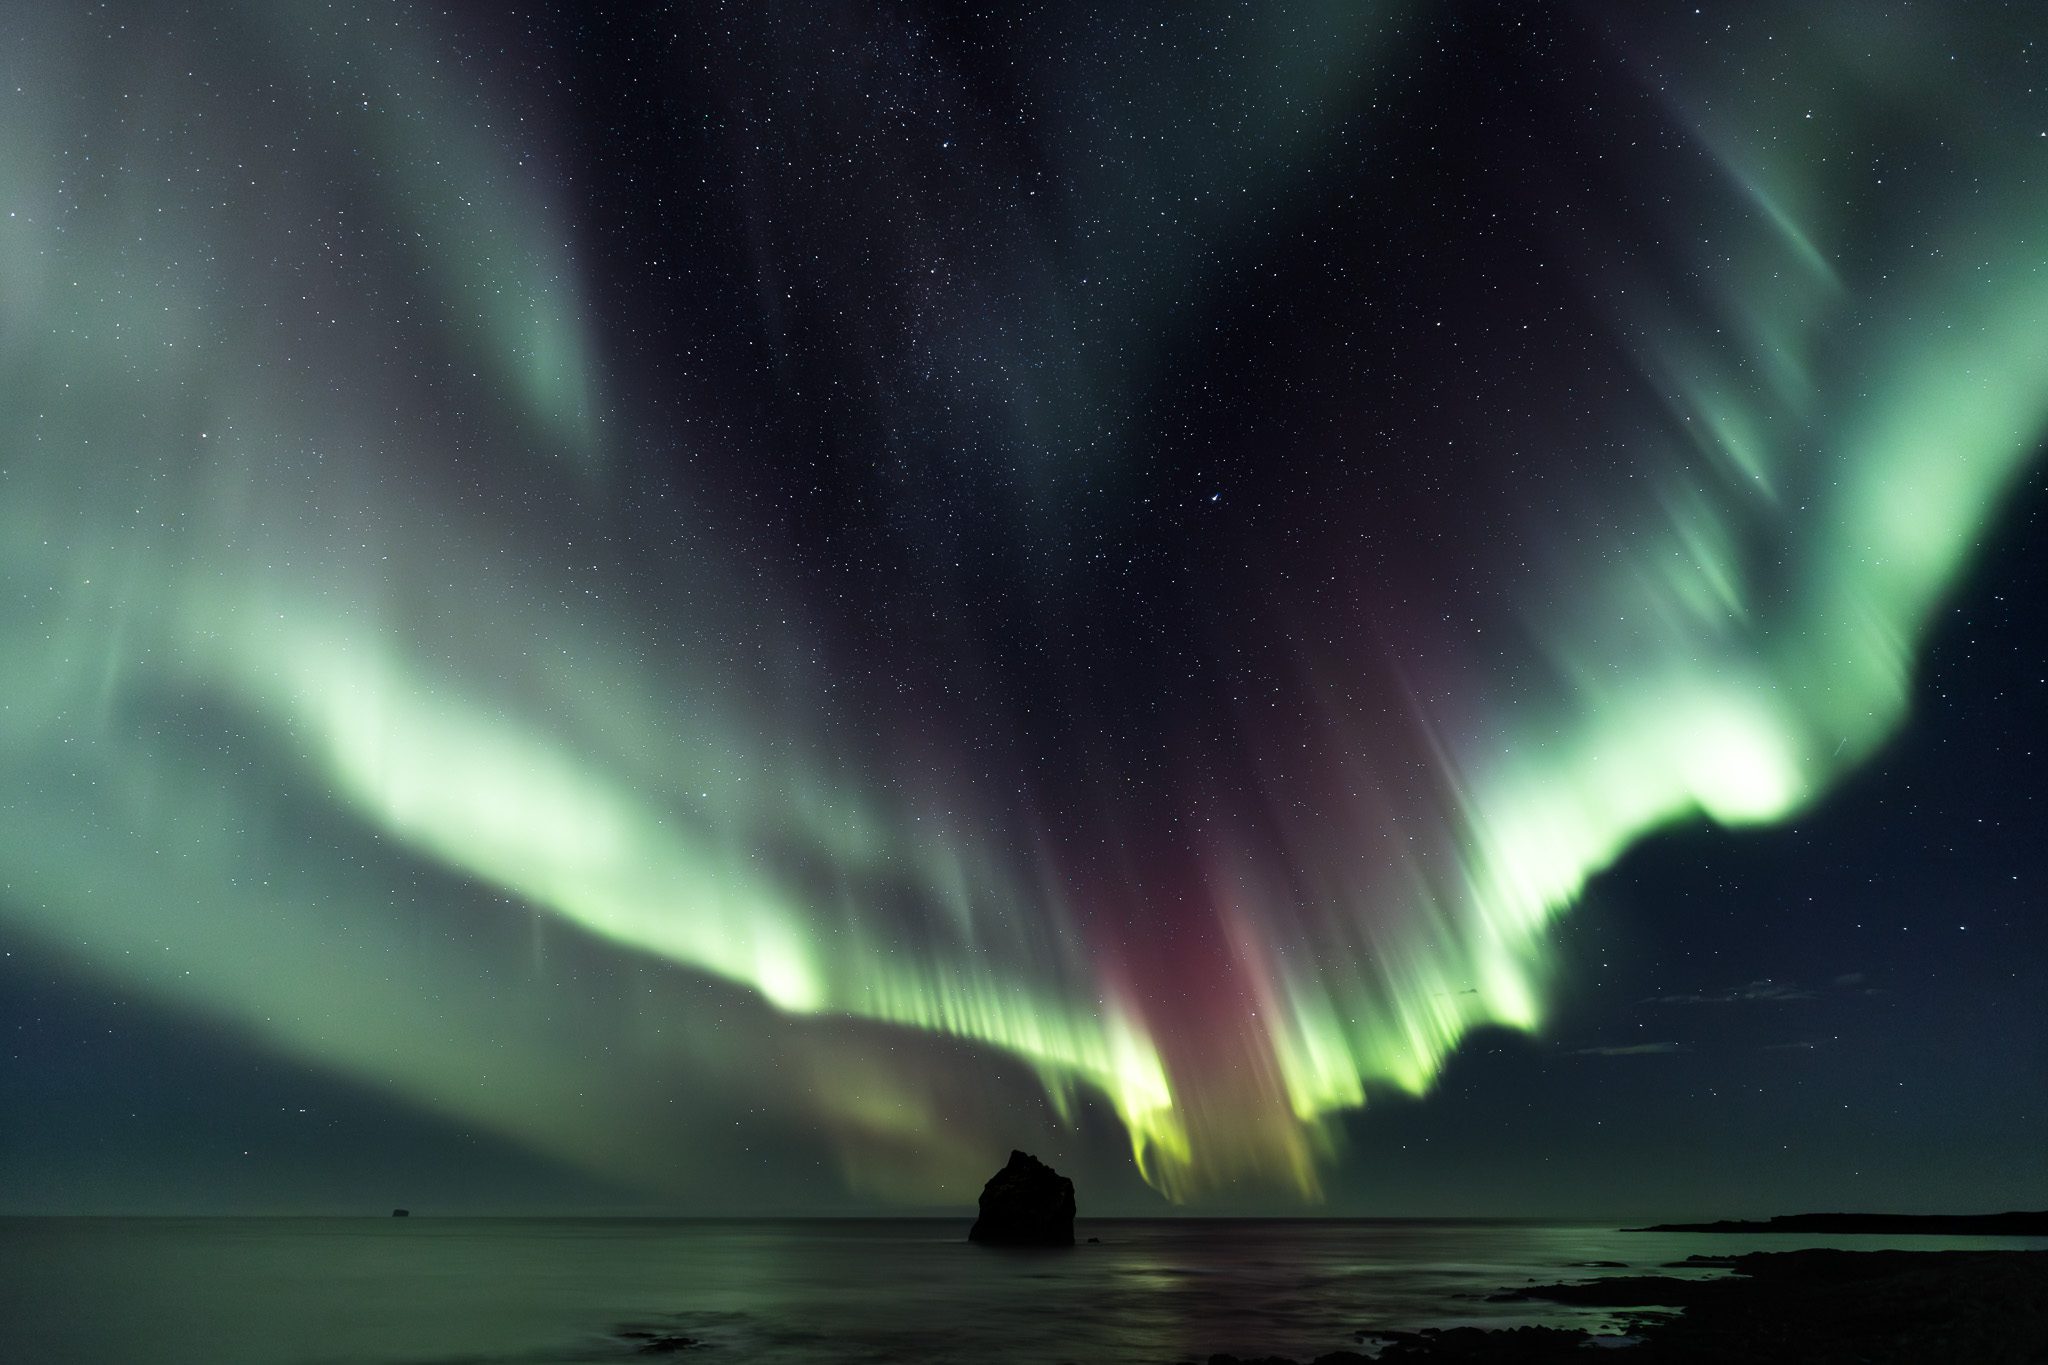
Over the years, I’ve collected many northern lights photographs. However, it all began with this photo of the aurora above the DC-3 plane wreck in Iceland which I shot in 2013. You can read more about the backstory of this photograph in a ‘Behind the Shot’ blog.
1. Exposing More Than 20 Seconds For the Northern Lights
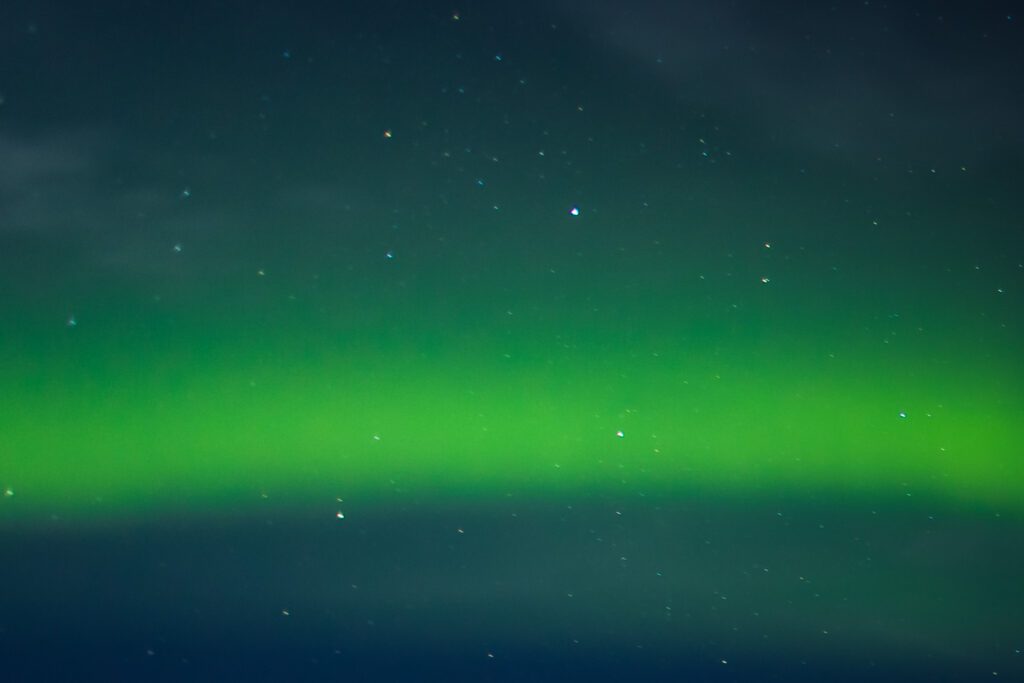
While there is much to be said on how you should expose your northern lights photographs, one thing is essential: never expose your photographs longer than 20 seconds! Especially when the northern lights aren’t that strong, many photographers are tempted to make much longer exposures.
The reason for this is that 20 seconds is more or less the point where stars stop being stars in your photographs and turn into stripes. While this is not noticeable on a small screen, you will notice this right away when you look at them on a bigger screen and especially when printed. The reason for the stripes, or star trails, is the movement of our Earth.
Additionally, creating such long exposures will blur the northern lights due to their movement while you also run the risk of overexposing them when they become more active.
While at first glance this first attempt at one of my favourite aurora shots seemingly looks alright, looks can be deceiving. When I zoom into this photograph beyond 100%, …
… it quickly becomes apparent that I exposed this photo too long. You can see this by zooming in and looking at the stars. Especially at the edges (this is the top left corner), the problem becomes even more visible. While you might think “no one will look at this that zoomed in”, it will be visible when printing larger prints for example.
2. Preferring Longer Shutter Speeds Over Higher ISO’s
Many landscape photographers tend to be very conservative when it comes to ISO due to the image noise higher ISO’s have. If you are one of these photographers, you will have to rewire your brain a bit when photographing the northern lights. As mentioned in the previous section, lengthening the shutter speed means that you will blur the northern lights. While this could work with weaker, more stagnant, northern lights, it will turn more active northern lights into a blurry green mess.
These are the northern lights when pointing my camera straight up. If I would not have photographed them with a short, 2 second exposure, they would not have looked this sharp. The movement at this time was so intense that only short exposure would have worked well.
More modern cameras have much better ISO noise performance and capture great images at high ISO’s as long as your photo is well exposed. Additionally, noise can be dealt with easily in post-processing thanks to tools such as Adobe AI Denoise and Topaz. I have found that in some cases, these tools will even recover details I wouldn’t have noticed without them.

Before denoising the image

After denoising the image
I’ve mentioned it quite a few times on my blog before but the new AI noise reduction tools which are widely available, can fix up even the most extreme noise. This photograph was taken at ISO6400 in the pitch dark, with only the northern lights to illuminate the ground. You might also notice that the image which has reduced noise is slightly darker, which is due to the reduction. This can easily be adjusted afterwards.
3. Not Using A Wide Enough Lens To Capture The Northern Lights
Most photographers will recommend a lens with a large aperture, such as a F2.8 or even a F1.8 lens, for photographing the aurora. While there’s certainly merit to that, as they help with low light situations, such lenses are usually incredibly expensive. On top of that, depending on what you are intending to use as a foreground, you will need to use focus stacking to compensate for the shallow depth of field.
There are of course several affordable large aperture lenses such as Canon’s 50mm Nifty Fifty (available for EF and RF lens mounts). However, generally these lenses have focal lengths situated in the 24-50mm focal range which aren’t very useful when photographing the northern lights due to their narrow field of view. Ideally you want to use a lens which has a focal range between 14mm & 18mm as the aurora is BIG. It also allows you to exaggerate the northern lights at the edges of the frame, resulting in more impressive photographs.
Some exceptions to the expensive wide aperture lenses are the superb Samyang/Rokinon 14mm F2.8 (available for Canon EF, Sony, Nikon and other brands) and Canon’s 16mm F2.8 prime lens. If you are in the market for a lens, specifically for night sky photography I can highly recommend the Samyang/Rokinon, which I used for many years. Today I use the Canon RF 14-35mm F4, which is also my lens of choice for wide-angle landscapes. I switched to this from an F2.8 lens as I pretty much always stopped down to F4 anyway. This is something I detailed in another blog.
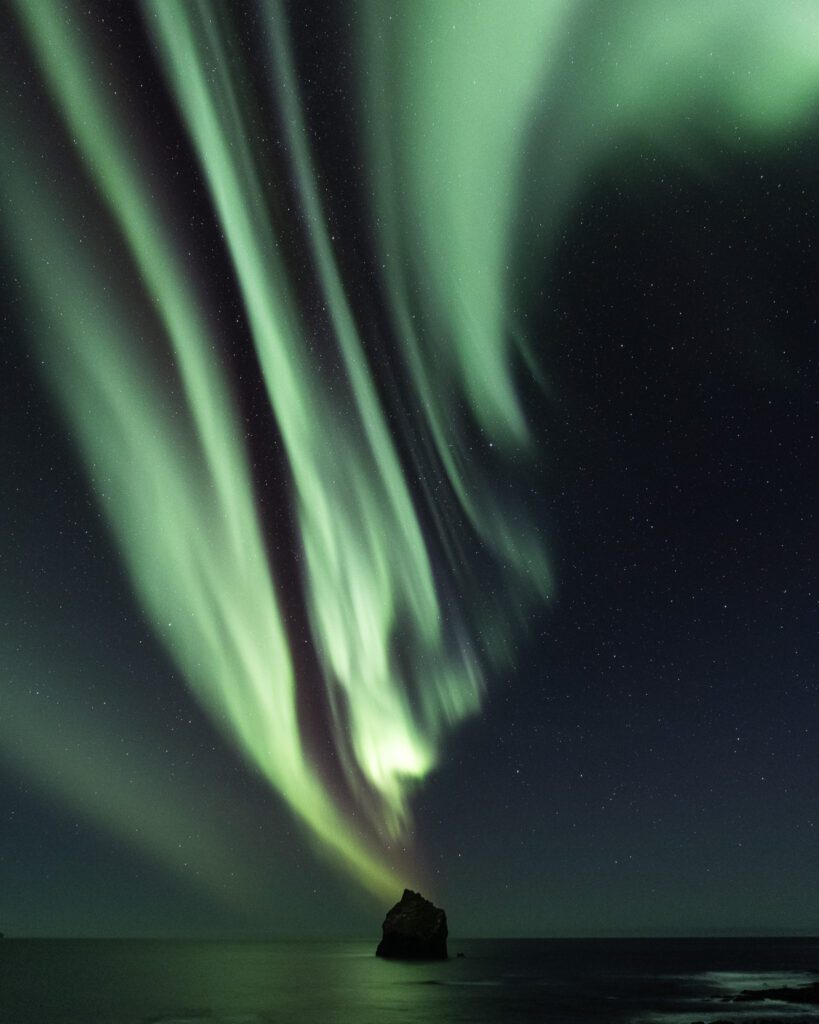
This photograph was taken with a 16mm focal length. I positioned the landscape at the very bottom so the top of the northern lights would be exaggerated due to the lens distortion at the edges.
This was taken during the same night, with a 35mm focal length. As you can see, while the composition works due to its simplicity, the northern lights are far less impressive. This is due to the focal length being too narrow.
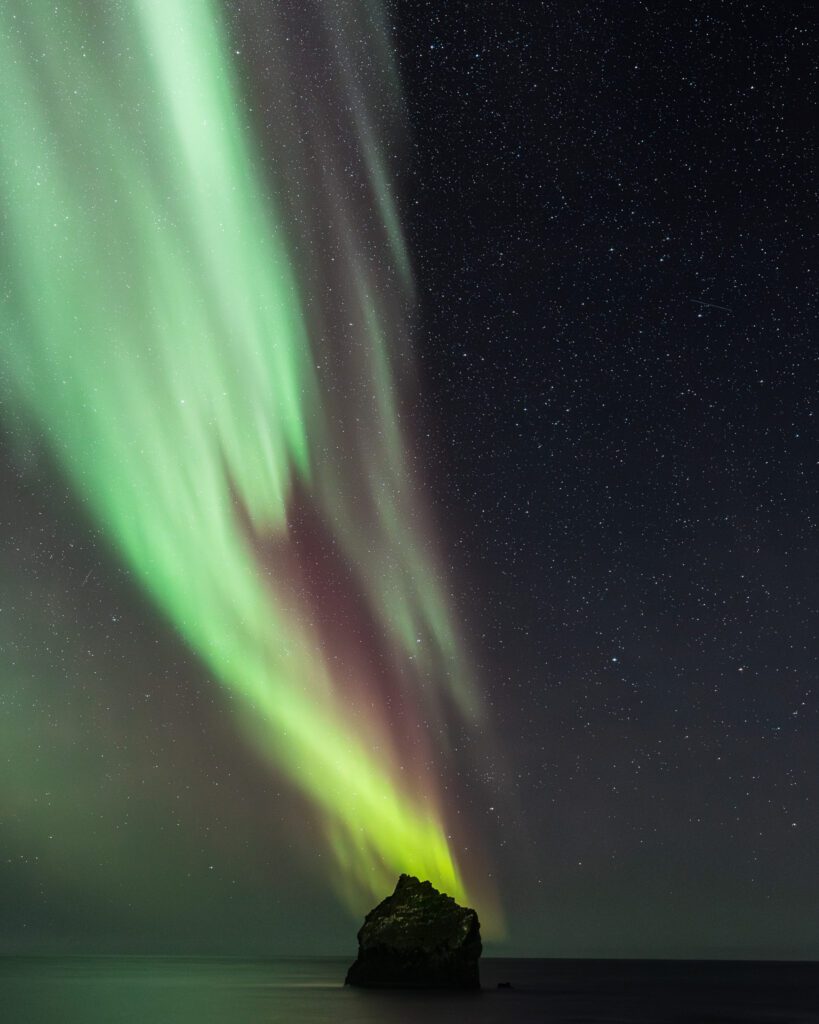
This was again photographed on the same evening with a 16mm focal length. In this case I opted for a horizontal photograph as the aurora was very spread out over the sky. Again, I tilted the camera as high as possible to enhance the display of the northern lights.
4. Not Knowing What Infinity Is On Your Lens’ Focus Ring
While the easiest method is to try and use autofocus on a star (or even the moon) before switching your camera to manual focus, that isn’t always possible. Especially on older DSLR’s this can be difficult or downright impossible. Therefore manually focusing your lens is a method you should master. While you might think it’s just a simple matter of turning your focus ring to infinity, there is an important catch.
Throughout the years, I have noticed that not all lenses have a focus ring which is accurate – especially on cheaper lenses. What I mean with that is that when you twist the focus ring to infinity, it isn’t always exactly infinity. Therefore your image might not be as sharp as it could possibly be. It’s a good idea to test this during daylight by autofocusing to something very far away, outside the scope of the marked focus distances on your lens, to see where your lens’ focus marker actually ends up. If this is different from the infinity marker, I would recommend making a small scratch or marking onto the lens to know where infinity is.
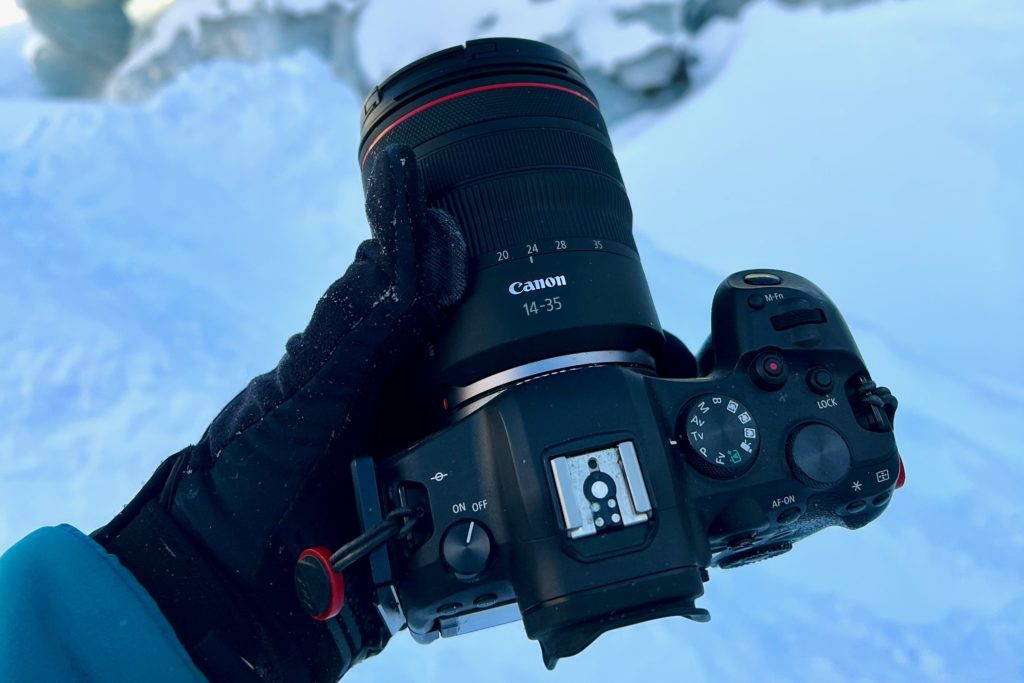
With more modern lenses, such as this Canon RF 14-35mm F4, the focus ring has been moved into the viewfinder. This always for better sharpness due to improve accuracy. Curious to read more about this lens, which I use for northern lights photography? Check out my short review on it.
5. Relying On The KP Index To See The Northern Lights
While this might be interpreted as a controversial statement, and some might even say it’s not true, it’s an eye opener for most people. The widely used Kp index is a pointless metric for northern lights chasers, which could potentially make you miss a potentially great display of the northern lights.
To understand why I say that you need to know what the Kp index actually is. This number signifies the disturbance of the planetary magnetic field. However, the Kp index is an estimated average over the span of three hours. It being a number that’s used as a predictor, while also being an average, makes this metric incredibly unreliable. A quick example: imagine if you have a really intense aurora but it’s only active for 10 minutes, the KP index number might be close to zero while it was still very active for a short time. I can’t even begin to count the times when a Kp value was 0 or 1 and I still witnessed incredible northern lights. This is because the northern lights aren’t static: they fluctuate in intensity, location and shape.
The misconception that the Kp index is a great metric, is fuelled by the fact many official instances (such as the Icelandic Met Office) and even more popular northern lights apps (Aurora Forecast) exclusively use it to tell you whether or not there will be a good aurora. And I admit, I have also been guilty of that when using this metric in the past. I have even said things such as “That was a Kp 7 aurora!”, which means absolutely nothing.
Throughout the years I have found only one reliable app, using useful data, to tell you whether or not there’s a fair chance to see a good northern lights display. This app is called Hello Aurora and if you haven’t installed it yet, I highly recommend you do it right now. The app is available on both iOS/iPadOS/macOS and Android.
Official instances such as the Icelandic Met Office publish predictions using the KP index, which is not a reliable metric.
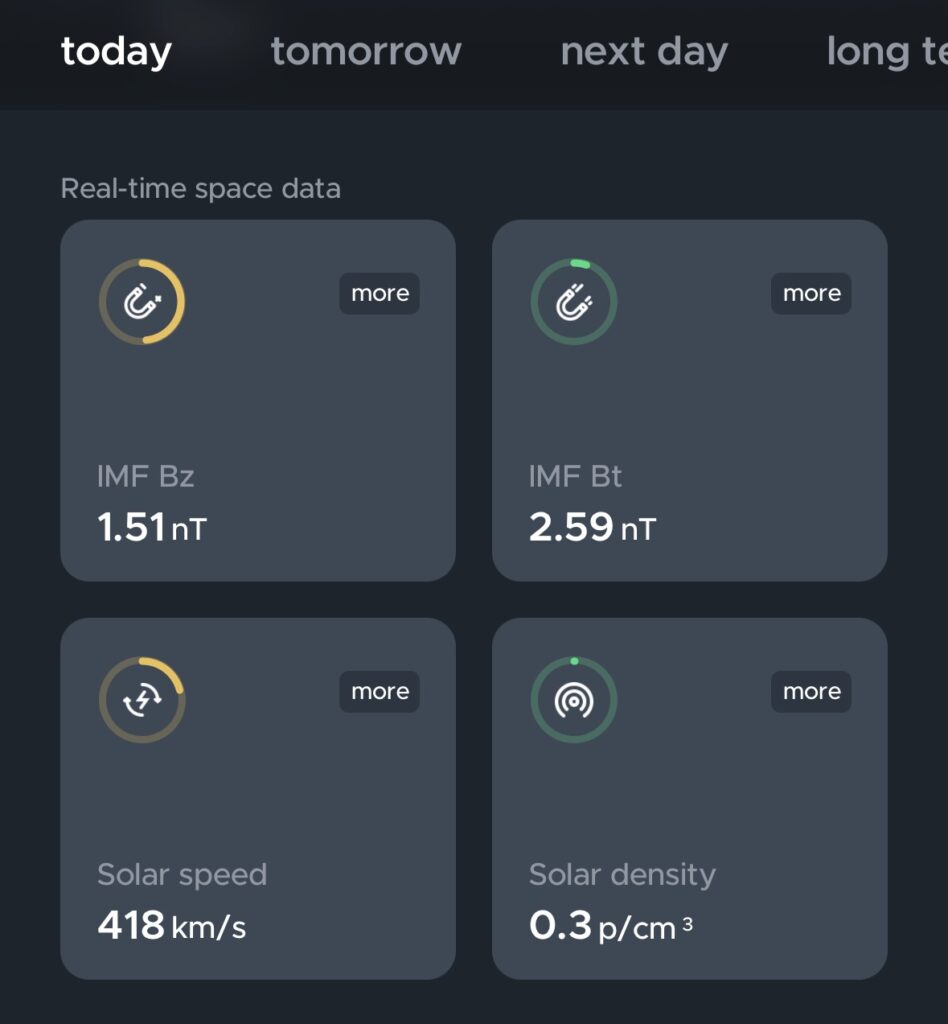
Hello Aurora, my preferred app, makes predictions using measurable data which it shows in real time.
So which metrics are important then instead of the KP index?
When using Hello Aurora, for example, you will find out about metrics such as IMF (interplanetary magnetic field) direction, IMF strength, solar wind speeds and solar wind speed density. Together with that, you get an overview of solar activity during the last sun rotation, which can be indicative of upcoming activity. And importantly, the app does an incredible job at explaining to you what these metrics mean, how they work and why they are relevant.
If you want to learn more about the northern lights and how to read all of the data you can find in apps such as Hello Aurora, I can highly, highly recommend the courses and webinars my friend Adrien Mauduit provides. He is an aurora and space weather expert, which you might know better as Night Lights Films on social media. You might have seen his incredible videos in famous documentaries such as Frozen Planet II.
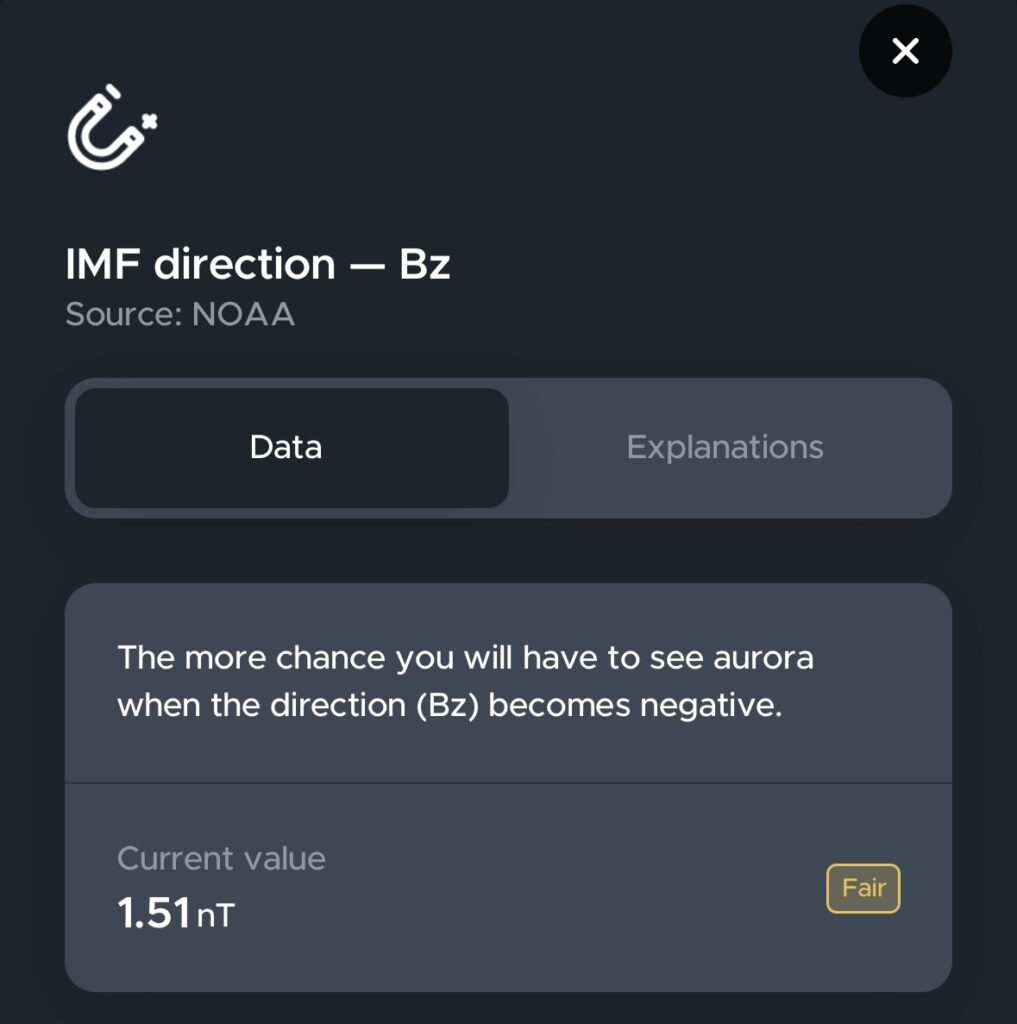
Hello Aurora explains what each metric is and how it signifies whether or not it will be a good northern lights display.
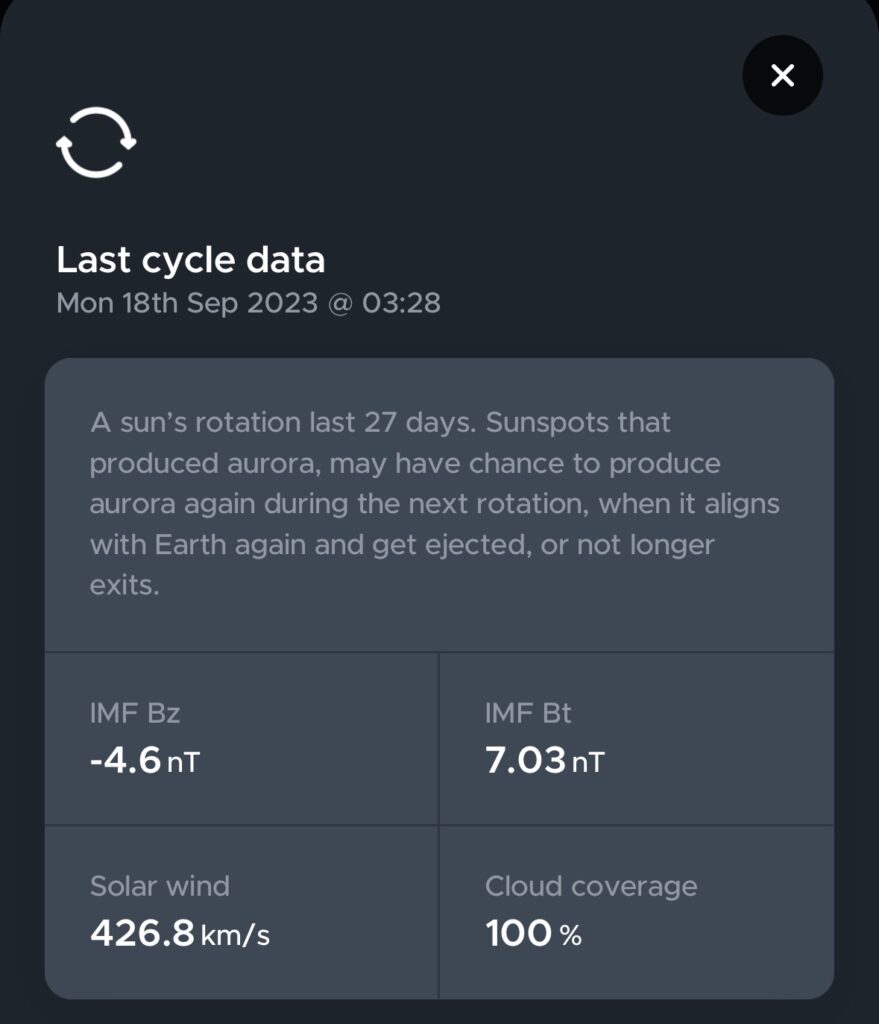
Hello Aurora also shows you data from the last sun rotation which could indicate whether or not the activity will be intense.
Conclusion
There are an enormous amount of misconceptions and mistakes out there. These are just five of them which I’ve seen most frequently throughout my years as a photographer capturing the northern lights. There is much more to be said about photographing the northern lights and I have already shared some of it in my guide on how to photograph the northern lights if you want to know even more.
Do you have tips for other people? Make sure to write them in the comment section!
Frequently Asked Questions
Can You Photograph The Northern Lights?
Yes, you can photograph the northern lights with any modern camera, and even with a smartphone. What matters most is a dark and clear sky, a stable tripod, a wide lens, and an exposure of no more than 20 seconds. If you only have your phone, my guide to photographing the northern lights with an iPhone covers the exact steps.
What Camera Settings Should You Use For Aurora Borealis Photography?
Start with a wide-angle lens between 14mm and 18mm, an aperture of f/2.8 to f/4, a shutter speed under 20 seconds, and raise your ISO instead of lengthening the exposure. Modern AI denoising tools clean up high-ISO noise far better than a blurred aurora can ever be fixed.
Is Aurora Borealis Photography Difficult For Beginners?
No, it is one of the more forgiving forms of night photography once you avoid the five mistakes above. The aurora is bright compared to stars, so as long as you nail focus and keep your exposure under 20 seconds, your first night out can already produce good photographs.
Discover Jeroen’s Photo Workshops in Iceland, Greenland & Beyond
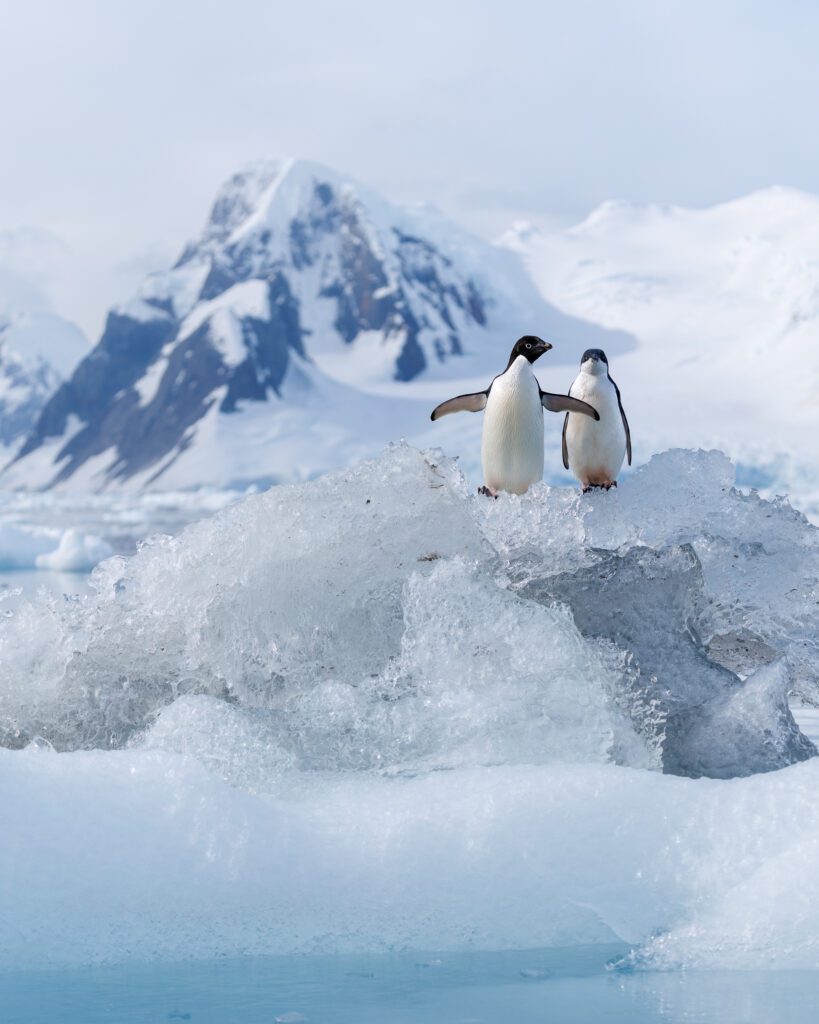
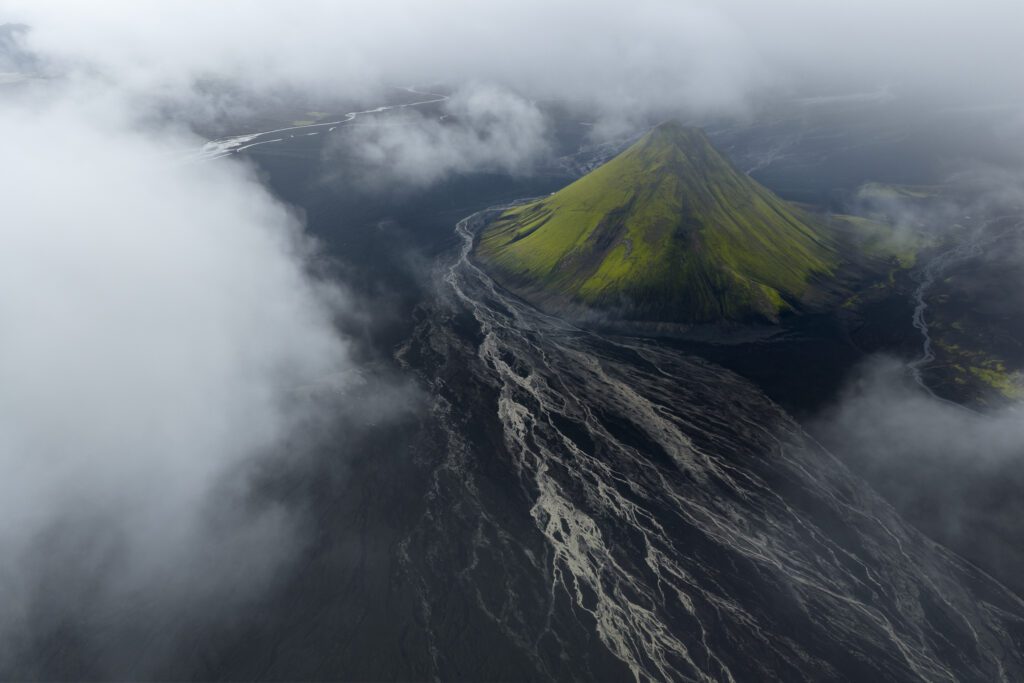
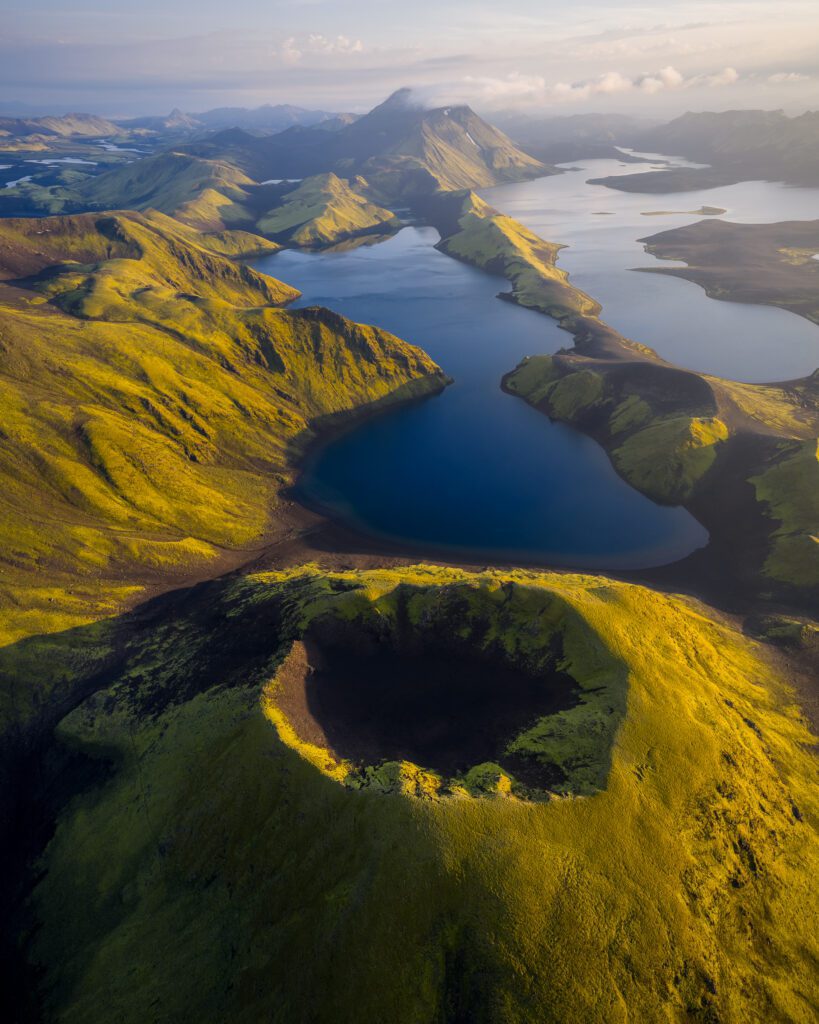
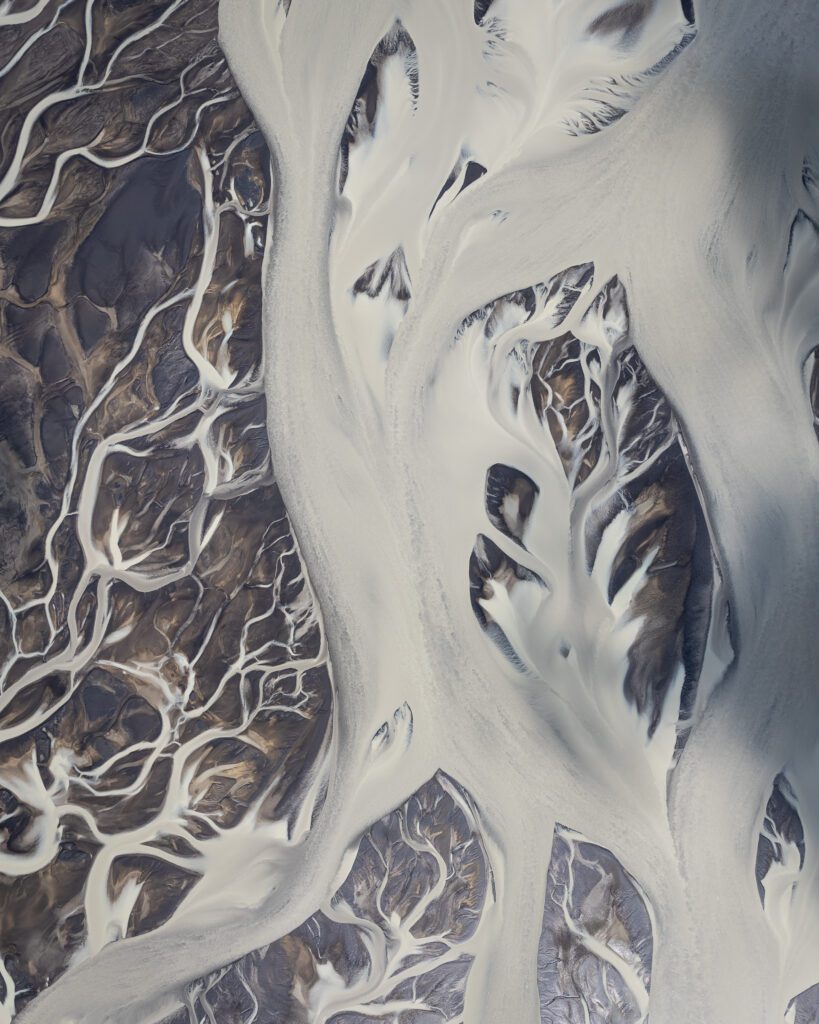
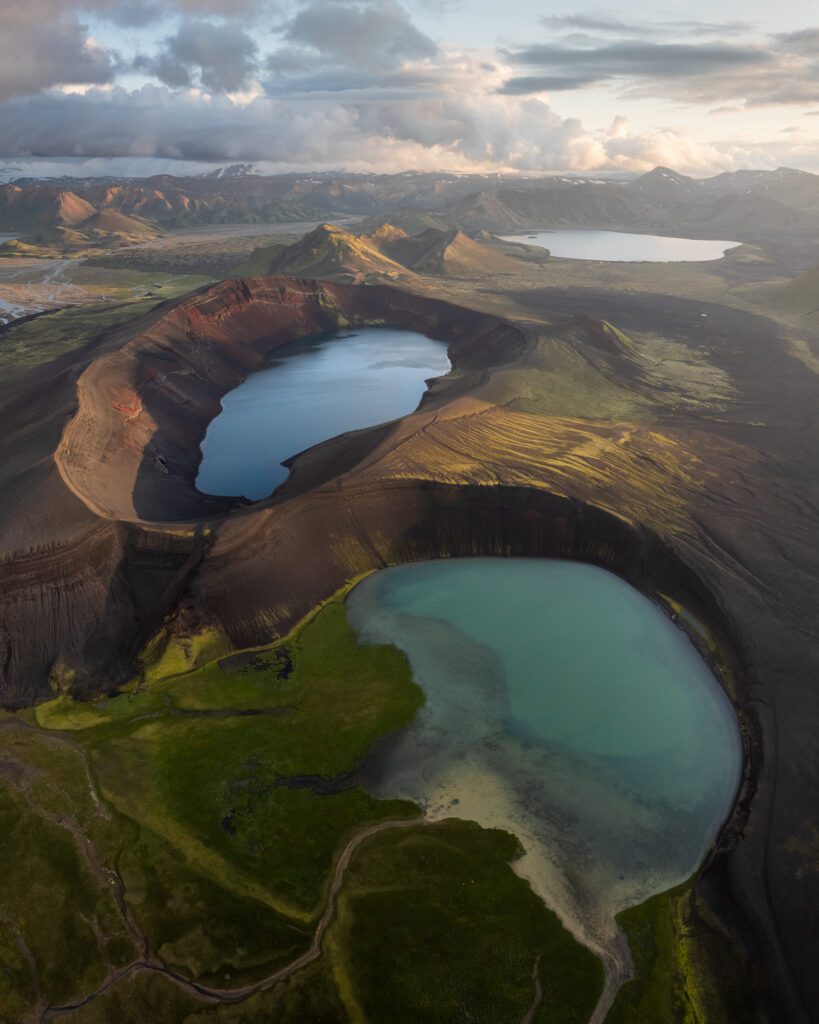
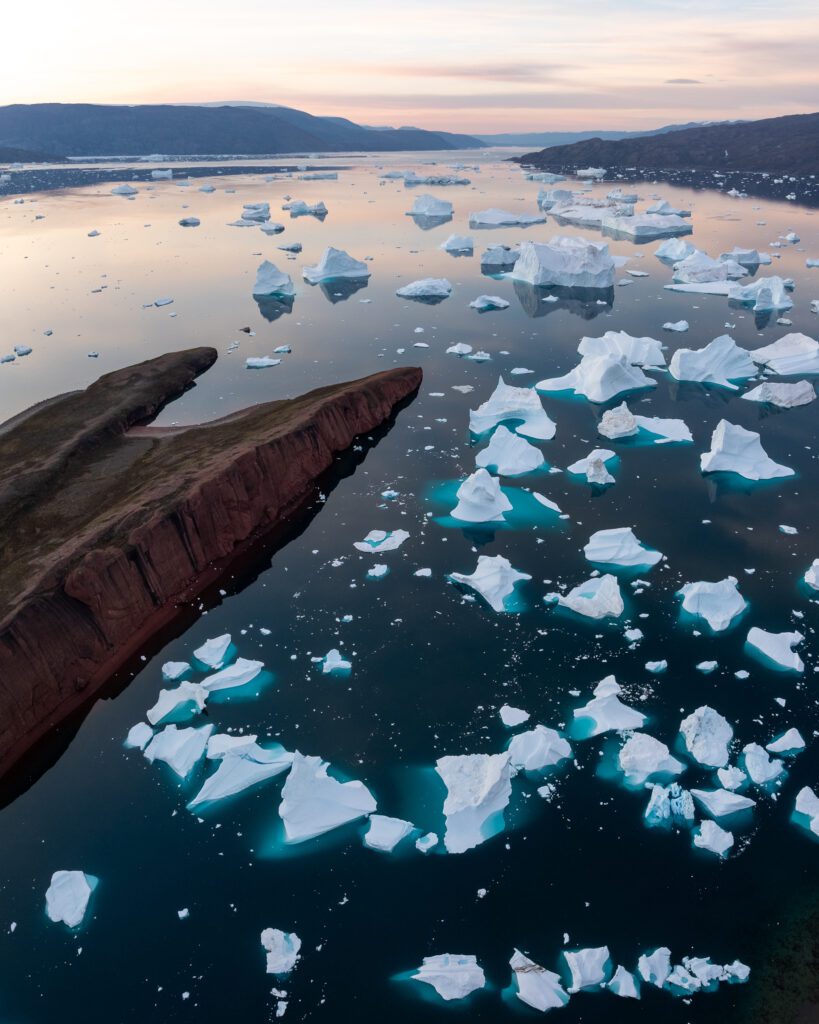
Ready to take your photography to the next level? Join me, Jeroen Van Nieuwenhove, on unforgettable photo workshops in Iceland, Greenland, Antarctica and other exciting destinations. Whether your passion is wildlife photography, bird photography, landscape adventures, or mastering drone photography, each workshop is designed to give you hands-on guidance in some of the world’s most spectacular locations.
From puffins in the midnight sun to Arctic foxes in the wild, from glaciers and volcanoes to dramatic coastlines seen by drone – these journeys are more than workshops; they’re once-in-a-lifetime experiences. Group sizes are kept small, ensuring personal mentoring and plenty of shooting opportunities.
Looking for something specific? Check out Jeroen’s…
- Wildlife & Bird Photography Workshops (Puffins, Arctic Foxes)
- Drone Photography Workshops
- Photo Workshops in Iceland
- Photo Workshops in Greenland
- Photo Workshops in Antarctica
Spots are limited – secure your place today!
Are You Looking For A Specific Photo Workshop?
All Upcoming Photography Workshops With Jeroen
Explore all upcoming photography workshops with Jeroen and take your skills to the next level in some of the world’s most extraordinary locations. From the volcanic landscapes of Iceland to the ice-filled fjords of Greenland and the wildlife-rich polar regions such as Antarctica, each workshop is designed to help you grow creatively while experiencing unforgettable moments in the field. Browse all upcoming departures below and find your next adventure!
LAST SPOT
OPEN FOR BOOKINGS
LAST SPOTS
OPEN FOR BOOKINGS
WAITLIST
WAITLIST
WAITLIST
WAITLIST
WAITLIST

WAITLIST
WAITLIST
What Previous Participants Shared About Their Experience
Choosing the right photography workshop is about more than just visiting iconic locations. It’s about experience, safety, timing, and personal guidance. Below you’ll find honest reviews from photographers who have joined me on landscape, wildlife & drone photo workshops in Iceland, Greenland and other locations. These testimonials reflect real experiences in small groups, hands-on instruction in challenging conditions, and the level of care Jeroen aims to bring to every workshop.
These reviews are verifiable on Jeroen’s public Google Business profile.


")


")


Support Jeroen’s Work
As an independent photographer, Jeroen partially relies on your support to keep producing worthwhile content such as blogs, photographs, books and much more. If you want to support his work, it is possible to do so by buying his e-books & books or prints.
You can also sign up to the newsletter to stay up to date on new blog posts, projects, workshops and other interesting information.
Thank you for considering!