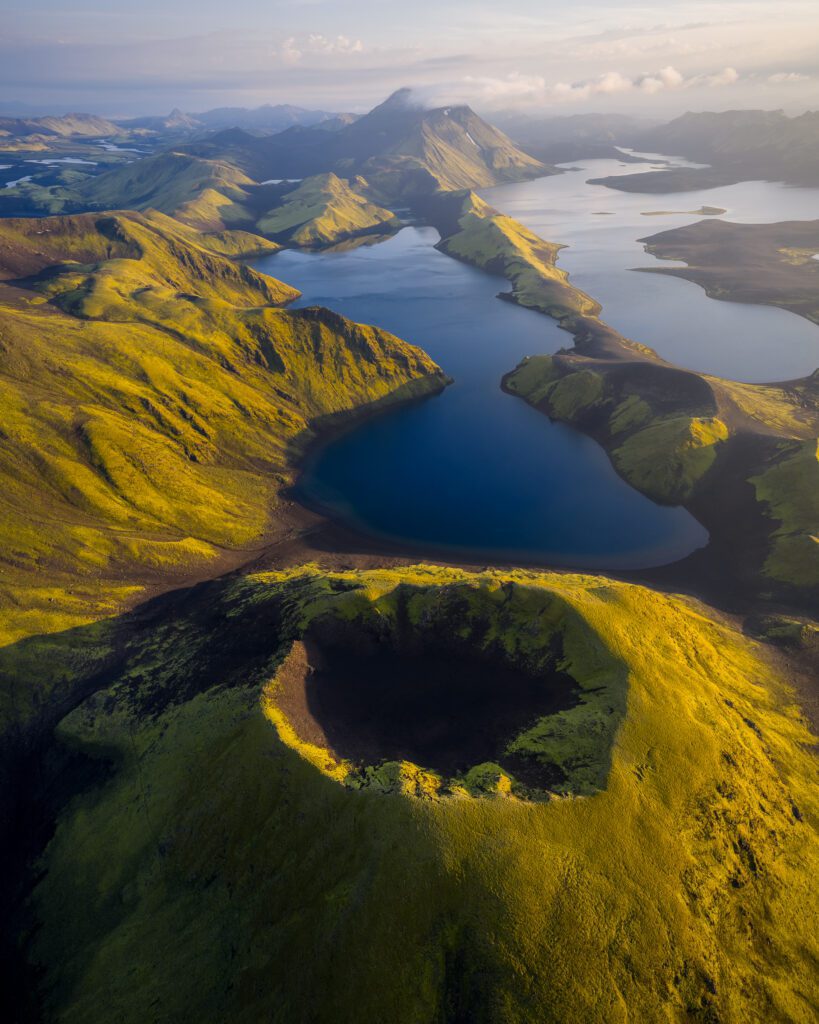
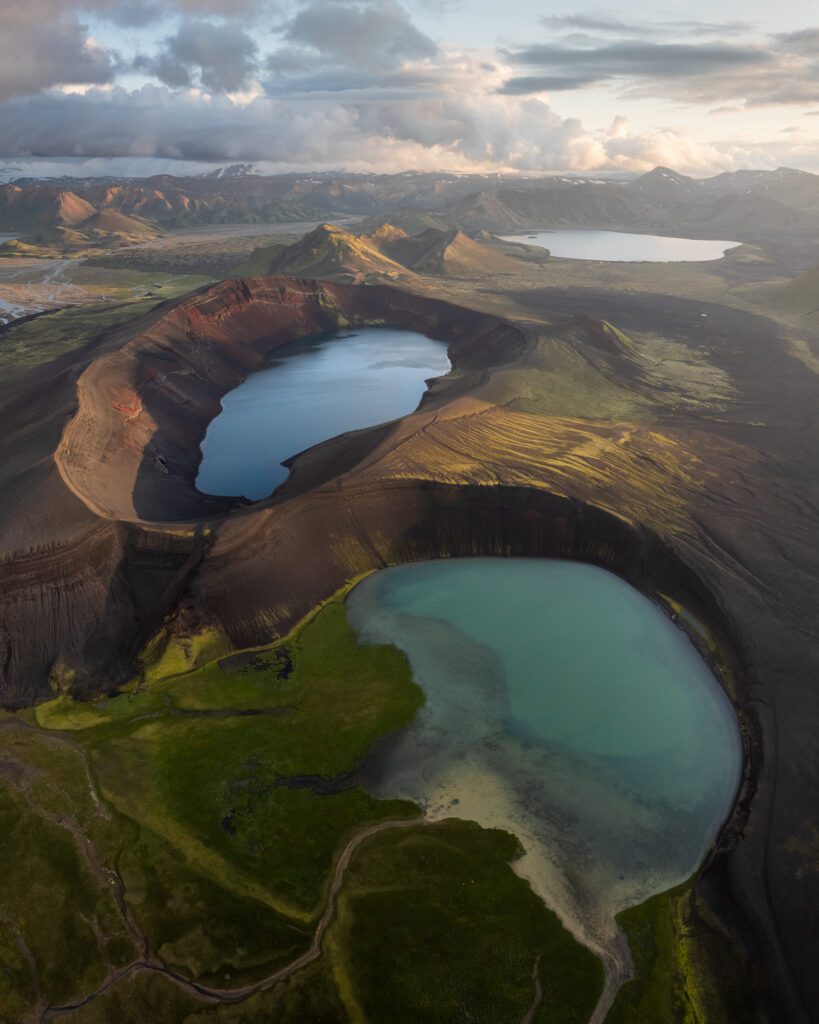
I have spent the last few weeks flying the Antigravity A1 around the Reykjanes Peninsula, which is essentially Iceland turned up to eleven for a 360 drone. Lava fields. Coastal cliffs. The kind of wide-open volcanic terrain that almost begs you to shoot in every direction at once. And that, more than anything else, is the pitch of this drone: you do not pick your angle in the field, you pick it during editing and post-processing.
I’m not going to lie, my first flight was a bit of a mess. There is a real learning curve to flying with a headset on while a motion controller decides where you actually go. You look one way, you fly another, and your brain has a small protest about it. But once that settled, the A1 started doing something I genuinely enjoyed. In this review, I want to share what works, what does not, and how it stacks up against the DJI Avata 360, which I have been flying since late February. Let’s dive in.
Disclaimer: Antigravity sent me the A1 for review. No payment, no editorial input, no obligation to publish anything positive or negative. Some of the links in this article are affiliate links, which means I earn a small commission if you buy through them at no extra cost to you.

I flew the Antigravity A1 most of my time around Reykjanes Peninsula, which is close to my home. The learning curve was admittedly steep for me but it’s good fun to fly. Thanks to the headset flying feels somewhat immersive.
What The Antigravity A1 Actually Is
Quick context if you have landed here cold. The Antigravity A1 is Antigravity’s first drone, a sub-250g 360 platform, which is a sentence that did not really exist as a category until now. You pair it with a headset and a motion controller, you fly it through a real environment, and the camera captures everything around it. Later, in editing, you decide where the camera was looking. Shoot once, frame later.
You actually fly the A1 in one of two modes. By default it puts you in FreeMotion mode, where you point your arm where you want the drone to go, like aiming a flashlight, and pull a trigger to accelerate. The harder you pull, the faster it flies. There is also an FPV mode in the menu, which swaps full-arm pointing for wrist rotation, closer to how an FPV pilot would expect a stick input to behave. FPV mode felt easier and more intuitive to control for me, but the underlying oddity is the same in both. Because you can look around you as if you were wearing a VR headset, I often found myself flying in a direction I was not looking, and that takes some getting used to.
The category itself is interesting. You can stick a 360 camera on a pole and call it done, sure, but a flying 360 camera gives you altitude and movement that a hand-held rig simply cannot. The real question is whether this first-generation drone from a brand-new player on the drone market, in a new device category, gets enough things right.
My honest answer, after a few weeks of flying the Antigravity A1: yes and no.

The Antigravity A1 is essentially a flying 360 degrees camera. The design reminds me of a combination of one of the earlier DJI FPV drones with a Mini-style drone. It has a more conventional drone shape.

The A1 has a headset, that is an essential part of the 360 experience, with a little screen on the outside so people can see what you are looking at.
What’s In The Box
Unboxing the A1 actually surprised me. Antigravity has not skimped on the kit you get out of the gate. Inside the box you can find:
- a shoulder bag
- the drone itself (which sits in a hard case that fits inside of the bag, as opposed to a simple protective clamp)
- three batteries and the charger
- the motion controller
- the headset (with an external battery)
- a landing pad (which I believe the drone uses to accurately land too)
- extra propellers
- the cables you need to connect everything


The Antigravity A1 comes with a lot of items in the box and everything fits inside of a nice, ready-to-go, shoulder bag.
The shoulder bag is well-made, with well-placed cutouts that hold the drone (inside of its hard case), the headset, and the controller without anything rattling around or rubbing on its neighbour. For a first-generation product I expected this to be an afterthought and I’m glad to see that was not the case. My one nit is that it does not have a zipper to close but a velcro strip. Depending on where you live that may not matter much but here in Iceland, a proper zipper would have made it somewhat more resistant to rain and the fine sand/ash that flies around our volcanic island.

As you would expect, the carry case fits everything neatly organised inside of it. Even the hard-shell case fits inside without issues.
The charger for the drone batteries themselves is the one piece of kit where the polish slips slightly. The dock holds two batteries and the third stays inside the drone, so all three travel inside the case. The charging dock is cleverly designed with that flip-out panel for the third battery but in the end I think having a slightly taller dock that just fits all 3 batteries in a row would have been the better choice. Especially because that would allow you to carry an additional fourth battery too. Additionally, if you keep the third battery inside that flip-out slot, it no longer fits cleanly in the bag.

The charger gets the job done but has a quirky design with a flip-out slot for a third battery. I wish the battery charger was taller so the electronics could sit at the bottom, making room for a third battery to slot in.
What I Like
Let’s get one thing straight: the Antigravity A1 is a fun little drone and there is a lot to enjoy about it.
It is genuinely fun to fly, once you get past the learning curve. I do not say this lightly. I fly a Mavic 4 Pro and a Mini 5 Pro most weeks of the year, and they are workhorses. The A1 is not a workhorse like the other two but it is a toy in the best sense of the word, the kind of tool that makes you want to take it out just to mess around. The early flights are a real adjustment though, figuring out where the buttons are on the controller without being able to see your hands, and getting your head around the motion controls, both felt steep to me but admittedly, I have not flown FPV-style drones much before. However, once your brain gets used to the headset and the motion controller, you stop thinking about flying and start thinking about composition. Or, more accurately, about movement, because in 360 land your composition decisions happen later. And once you are there, this thing is a lot of fun to use. There are also a few smaller features that help with immersion such as the Virtual Cockpit mode, where you can get a 3rd person perspective of your flight (sort of like you get on the in-flight entertainment systems of some of the more modern airplanes).
The 360 footage gives you real options in post. This is the actual reason to buy a drone like this. You can fly a single path over a coastline and walk away with four or five completely different shots. A tracking flythrough. A top-down reveal. A profile shot of yourself standing on the cliff edge. A wide environmental scene. None of those required a second take. If you have ever ended a shoot wishing you had also captured another angle, this is the answer to that frustration. It also changes the way you plan a flight. Instead of chasing the cleanest single frame, you start thinking about the most interesting path through a scene, knowing the angles will sort themselves out at the desk later. To edit the footage you can either use the Antigravity app on a mobile device or download the Antigravity Studio application. Both are completely free to use as you’d expect. Antigravity also provides a plugin for Adobe Premiere which allows you to edit their footage directly inside Premiere. No official plugins exist for other software at the time of writing. While the focus of this drone is obviously video, I also wanted to look at the photography. It only seems to be possible to edit the photos within Antigravity’s own software. When I tried loading in the RAW files into Lightroom, for example, I just saw a single frame with the two camera outputs side-by-side.
Sub-250g changes who can fly it and where. This is the spec that may quietly matter most to many of you out there. In a lot of jurisdictions, sub-250g drones sit in a friendlier regulatory bucket. Less paperwork, fewer flight restrictions, more legal airspace. For people who travel with their gear, or live somewhere with stricter drone rules, this category opens up locations that a Mavic-class drone would not. It also opens up buyers. There are plenty of photographers and creators who hesitate getting into drone flying because the entry point feels too heavy and too regulated. The A1 lowers both bars.

The Antigravity app that installs on your phone allows you to do quick and easy edits but you can also load the footage into any modern video editor as well.

Photographs taken with the A1 can realistically only be edited in Antigravity’s own software. This output is what I saw when I opened the files in Lightroom. I assume that editing such images won’t be possible in Lightroom until Adobe adds a fully fledged 360 photography editing experience.

Flying the Antigravity A1 feels immersive and is a lot of fun once you get the hang of it.
There are two batteries and two regulatory classes. The A1 ships UK0/C0-certified at 249g on its standard battery, the EU class you can fly without licensing. There is also an optional 4345 mAh battery that pushes the weight of this drone to 291g and into UK1/C1. That trade gets you longer flight time and the legal right to fly higher than 120 metres above the takeoff point in EU & UK airspace. However, that costs you the UK0/C0 freedoms because you now need an A1/A3 authorisation. Track which battery is in the drone before you take off, the classification follows the weight. I have written more about how this all works in my drone flying in Iceland guide and the 120m altitude rules post. The battery life on paper is slightly better than the Avata 360 (by a minute) on the smallest battery but considerably better with the larger battery. In my real world usage, I did notice the larger battery gave me more flight time compared to the Avata but only by a slim margin.
The headset and controller themselves feel well designed. The headset’s internal screens are sharp and well calibrated, and while they do not cover your entire field of view, they cover enough of it to feel properly immersive. For a first-generation product, the headset hardware punches above its weight. Also the motion controller feels great to hold and while it does take time to get used to the button placements, it’s incredible how much you can do while using the controller with only one hand. In many ways, the experience of it reminded me of controlling the Meta Quest VR headsets.
It handles wind better than I expected, and possibly better than the Avata 360. Iceland is a very windy place most months of the year, and a sub-250g drone has no business being stable in those conditions but the Antigravity A1 surprised me here. The caveat first, because it matters: I have never flown both the A1 and the Avata 360 at the same time in the same wind, so this is a subjective comparison across separate sessions, not a controlled test. But across weeks of flying both, the A1 felt more confident in gusty coastal conditions than the Avata 360, which is the opposite of what I expected from the lighter drone. My guess is the design and shape of the airframe are doing a lot of the work, the A1 just seems to slice through wind a little better. Whatever they have done, credit where it is due, this little thing punches above its grams when it comes to wind resistance.

Controlling the A1 is done one-handed with the motion controller, which feels great to hold. Though, it does take time to get used to the button placements given you can’t see the controller when flying.

Because the build style of the A1 looks more like a regular drone, it gave me the impression that the wind resistance is superior to the Avata 360 which is more of a flat disc in terms of the build style.

Even though the controller fits in one hand, you get access to a very wide range of control options. At first, that may seem overwhelming but once you build a muscle memory for its button layout, it becomes easy.

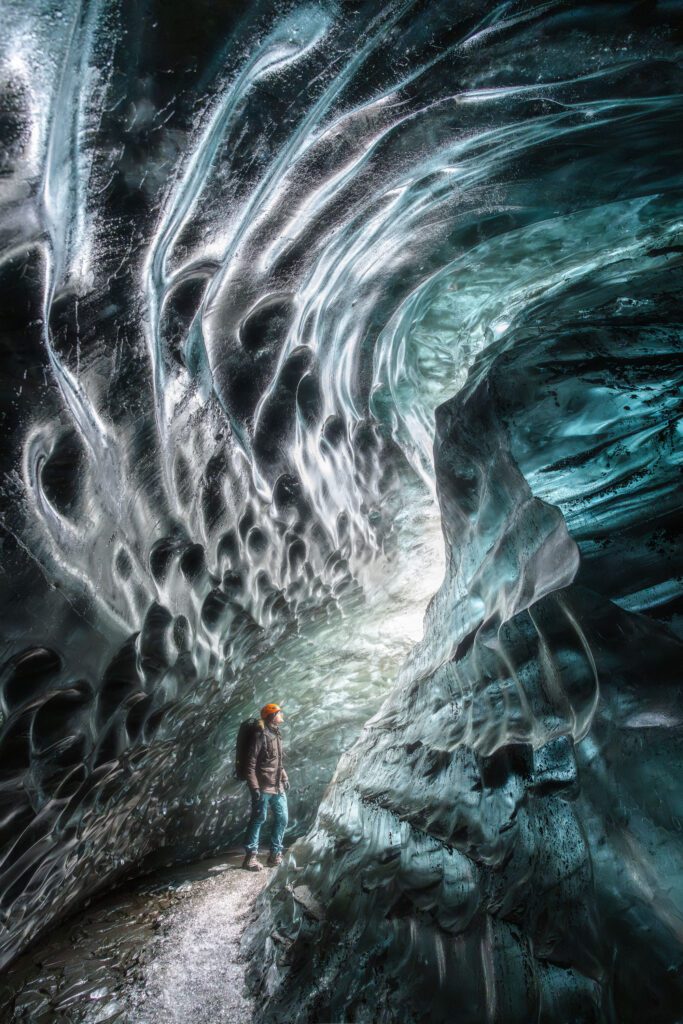
This is a sample image of the Antigravity A1 during the session where I captured most of the images used in this review. It demonstrates that could can get nice, sharp images out of it although in contrast areas such as where the sky meets the rock-face, you can sometimes get a halo-like effect.

Using the A1’s menu system feels a lot like using a Meta Quest and will feel instantly intuitive to those who have experience with it.

All of the available settings can be accessed through this headset on-screen menu and controlling it is done in the same way you use the controller: you just move it around and use the trigger to confirm.

You also get two customisable buttons on top of the already numerous other buttons. They can easily be configured from the headset menu.
Fly These With Me
Stop Reading Reviews, Come Fly
Honestly, the fastest way to know whether a drone is right for you is to fly it somewhere worth photographing. That’s what my Iceland and Greenland workshops are for. I’ll show you how I work, where I shoot, and why I keep choosing certain frames over others. Small groups, real locations, and the kind of light that makes a drone earn its keep.

What I Don’t Like
While my overall impressions are good, there are some things that are not so great or that you need to be aware of if you are considering getting the Antigravity A1.
The image quality has clear limits. Let’s get one thing out of the way first. You cannot expect a sub-250g 360 drone to deliver the kind of image quality you get out of a Mavic 4 Pro. That is not a fair comparison. But within its own category, and especially next to the Avata 360, the A1 lags behind. Dynamic range is tight and shadows fall off quickly. It is fine for social media and it is decent for highlight reels but it is not the file I would expect a serious production value out of. Annoyingly, I found that the 360 stitch line also remains visible in some shots, which seems to be quite reliant on how windy it gets. There is also one specific thing I keep noticing on sunny days. When the sun catches the top camera, the lens flare stops abruptly at the stitch line between the two cameras because the bottom camera does not produce the same flare due to how it is angled down. That seems like a normal limitation but the A1 seems a lot more prone to these flares than I have observed with the Avata 360.
The headset and motion controller take real time to learn. Flying with a headset on is one mental model. Flying with a motion controller is another. Doing both at once, while the drone is recording in every direction so your “facing” is essentially arbitrary, is a third. The first few flights you will look one way and accidentally fly another. Honestly, this is all about practice. I highly recommend planning a couple of practice flights somewhere boring and forgiving before you take this out to a location that matters. Eventually, you will get the hang of it and when you do it is great, but the learning curve is steep from my experience. One minor thing that still gets me is that to switch between photo and video modes you have to long-press the photo/video button instead of using a simple toggle. Fixable with a firmware update perhaps?

This is a JPG of an unedited RAW file from the A1, which shows clearly what I mean with the lens flare. Because the flaring can be large in the frame, it can “leak” outside of the top camera’s field of view which looks very odd in the footage. If the shot you are going for is facing forward, you essentially can’t use it.
The headset is great but it needs some polish. The headset feels really comfortable to wear and it’s a good call to have the battery separated from the headset itself. However, I struggled getting the headset in the right place on my face. Especially the very bottom of what you see often became blurry because I did not quite manage to position the headset right. Perhaps it needs to be slightly bigger or maybe it is the rubber “gasket” getting into my field of view? Finally, there is a neat screen on the outside of the headset that allows others to see what you are seeing, but the screen really needs a boost in both brightness and resolution to be more than a gimmick.
You legally need a spotter. Because you have the headset on, you cannot see the drone in the air, which in most jurisdictions means you legally need someone standing next to you. The Avata 360 sidesteps that issue because it has a normal remote controller and your own eyes.
There are still some firmware quirks. Updating the firmware on the drone, the controller, and the headset on day one was not the smooth out-of-the-box experience I would want for a brand-new buyer. It eventually worked, but I had to retry the updating procedure a couple of times. At times, I also struggled getting the drone to connect to my phone. Whatever I tried, I couldn’t get my phone to connect to the A1’s direct Wi-Fi connection. Of course, that may just be software hiccups which are bound to be present because it’s a first-generation product.
The A1 does not fly backwards. This is one of those quirks that first made me dig through the manual, only to find out that it was in fact not possible. The A1 is indeed not able to fly backwards. For anyone with traditional drone reflexes, who instinctively pulls back on the stick to reverse out of a shot, that is a habit you will have to unlearn. In practice it matters less than I expected, because flying with a headset and a motion controller already changes how you think about direction, but it is still an odd omission to me. Also good to know is that there are also no backward-facing obstacle avoidance sensors.

The screen on the outside of the headset is a very nice touch but the brightness of it is not the best if you are flying in bright conditions.

Because of the design of the trigger on the controller, you can’t actually move backwards. I hope a next generation has a trigger that can be pushed both forward and pulled backwards.
Antigravity A1 Vs DJI Avata 360
The 360 drone market segment is brand new so it’s only natural that people compare the offering on the market today, which consists of only two drones: the Antigravity A1 and the DJI Avata 360. “Which one should I pick?” is a question I keep getting in DMs, so let’s answer it properly. I have been flying the DJI Avata 360 since late February, so a head-to-head comparison between these two is something I can do from my experience.
Specifications Comparison
| Spec | Antigravity A1 | DJI Avata 360 |
| Weight | 249 g (standard) / 291 g (high-cap battery) | 455 g |
| EU/UK drone class | C0/UK0 (std) or C1/UK1 (high-cap) | C1/UK1 |
| Sensor | Single 1/1.28-inch | Two 1-inch equivalent (4:3) |
| Max video | 8K @ 30 fps | 8K @ 60 fps HDR |
| Max photo | 55 MP (DNG RAW) | 120 MP |
| Flight time per battery | 24 min (std) / 39 min (high-cap) | 23 min |
| Wind resistance | 10.7 m/s (Level 5) | 10.7 m/s (Level 5) |
| Live view resolution | 2K @ 30 fps (in headset) | 1080p @ 60 fps (on controller screen) |
| Max transmission range | 10 km (FCC) | 20 km (DJI O4+) |
| Obstacle sensing | Forward + downward vision | Omnidirectional + forward LiDAR |
| Controller required | Headset + motion controller | Standard remote (or goggles + RC Motion 3) |
| Starting price (USD) | $1599 (Standard Bundle) | $479 (drone only) / $979 (Motion Combo) |
However, specifications on paper are one thing but how does it compare in real life?
What Gives DJI Avata 360 An Edge?
Image quality goes to DJI, clearly. The Avata 360 records 10-bit D-Log M, which is a definite improvement over the A1. It also has physically larger sensors, which is most of the reason the dynamic-range gap is what it is. Better highlights, cleaner shadows, much more flexible footage in post. The A1 is not quite in the same league here, and that gap shows up most in tricky light, which in Iceland is most light.
The Avata 360 is also significantly easier to fly. No headset is required and neither is a motion controller. You fly it with a traditional remote and DJI’s flight software, which has years of refinement behind it. If you are coming from any standard DJI drone, the controller feel is instantly familiar, and you also keep visual line of sight on the drone yourself, so no spotter is needed. I came into the A1 with no FPV background and the headset-and-motion-controller workflow was a real wall for me at first. The Avata 360, by contrast, had me producing usable footage on day one. If you are new to this style of drone, the difference in friction between the two is genuinely large.
Price tips it further toward DJI. The Avata 360 retails for roughly half what the A1 costs, which I assume is because of the lack of headset and motion controller. That is not a small detail. You get the better image quality, the easier flying experience, and the more mature ecosystem, for less money. That is a hard combination to argue with.
On build, the Avata 360 is properly tough. I have unwillingly tested this when I crashed mine flying with the obstacle sensors switched off. While trying to configure my settings, I didn’t notice my drone drifted in the narrow canyon and clipped a canyon wall about 1.5 metres above a river. As a result, the drone went straight into the river. After ten minutes underwater I fished it out, dried it, and it still flew, although a couple of its sensors were not quite responding correctly. To be very clear, I do not recommend flying with the obstacle sensors off, and I really do not recommend going for a swim with your drone. But it’s hard to deny that most drones probably would not have survived being submerged for that long, and the Avata 360 seemingly just shrugged it off. That is a meaningful build-quality signal.
That said, the A1 is also well built, but it feels more delicate in the hand and I would not stress-test it the same way. I treat it carefully, and I would recommend that you do too.
Where The Antigravity A1 Wins
So why would anyone buy the A1? There are three big reasons in my opinion.
The first is its weight class. The A1 is sub-250g and the Avata 360 is not. If you live, fly, or travel somewhere where that regulatory line matters, the A1 is in a category the Avata 360 simply cannot reach. That is not a feature comparison. That is whether you can legally take off at all.
The second is the headset-first flying experience. There are drone pilots who love the immersion of a goggles-and-motion-controller setup. If that describes you, and you are willing to put in the hours to master flying it, the A1 leans harder into that style than the DJI does. It is a different feeling. Not better, not worse, different. Some people will love it.
The third is that the A1 surprised me with how well it handled wind, possibly better than the Avata 360. Subjective, because I have never flown both drones in the same wind at the same time, but across separate sessions the A1 felt more composed in gusty Icelandic coastal flying than the Avata 360 did. I suspect the shape of the airframe is doing a lot of that work as it resembles a regular drone more in its design. If your typical conditions are tough, that is worth weighing.

The Antigravity A1 has a lot going for it so the answer between which drone is best for you is not that obvious.
Is The Antigravity A1 Worth It?
The Antigravity A1 is worth it if any of the following describe you. You live, fly, or travel somewhere with strict drone regulations and you need to stay under the 250g line. You actively want a headset-driven flying experience and you are willing to put in the learning hours. You often fly in windy conditions and want a small drone that can actually handle them. Or you already have a serious camera platform for your paid work and want a fun, immersive 360 tool to add alongside it.
The A1 is harder to justify if your main deliverable is high-quality reframed video, you have no interest in flying with goggles and a motion controller, or you do not strictly need the sub-250g weight class. In those cases, the Avata 360 currently gives you better files, an easier flying experience, and a friendlier price tag. The gap is real, and it matters.
A Promising Start From Antigravity
Building a consumer drone from scratch is genuinely hard. I am by no means an expert on how to build a drone but I imagine there are thousands of small engineering decisions that have to come together, in software and in hardware, before a thing in the sky behaves the way you actually expect it to. Plenty of much larger companies have tried to enter this market and come away empty-handed.
Antigravity has not come away empty-handed. The A1 flies well. The footage is usable. The app does what it needs to do. The headset workflow, learning curve aside, actually works. And they have pulled all of that off while staying under 250 grams, which on its own is a serious technical achievement for a 360 platform.
Yes, there are rough edges. The image quality needs to improve. The first-time setup could be smoother. The controls take getting used to. The build feels a touch more delicate than what DJI is shipping. None of that is a death sentence for a first product. All of it is the kind of thing that gets better with iteration, and from what I have flown, Antigravity has put the hard architectural decisions in the right places.
What I am most curious about is what comes next. I am genuinely excited to see where Antigravity is going to take their A1 next. Especially because this is their first drone, it is hard to deny this is a solid product that will keep DJI on its toes which is in the end only good news for the consumer.

I feel like it is crucial to remember that this is a first-generation product from a manufacturer that has never produced drones before. Competition is good for the consumer and it will in my opinion result in faster development cycles in this category.
Final Thoughts
I have spent the last few weeks flying both of these drones here in Iceland, and what I think is that the Antigravity A1 has personality and the Avata 360 has polish. Both have a place. The A1 is a brave first-generation tool that gets enough things right to be worth flying, especially if the sub-250g class or the immersive headset experience is what you are actually after. The Avata 360 is, today, the easier and more capable choice for almost everyone else. Pick the one that matches how you fly, not the one with the better spec sheet.
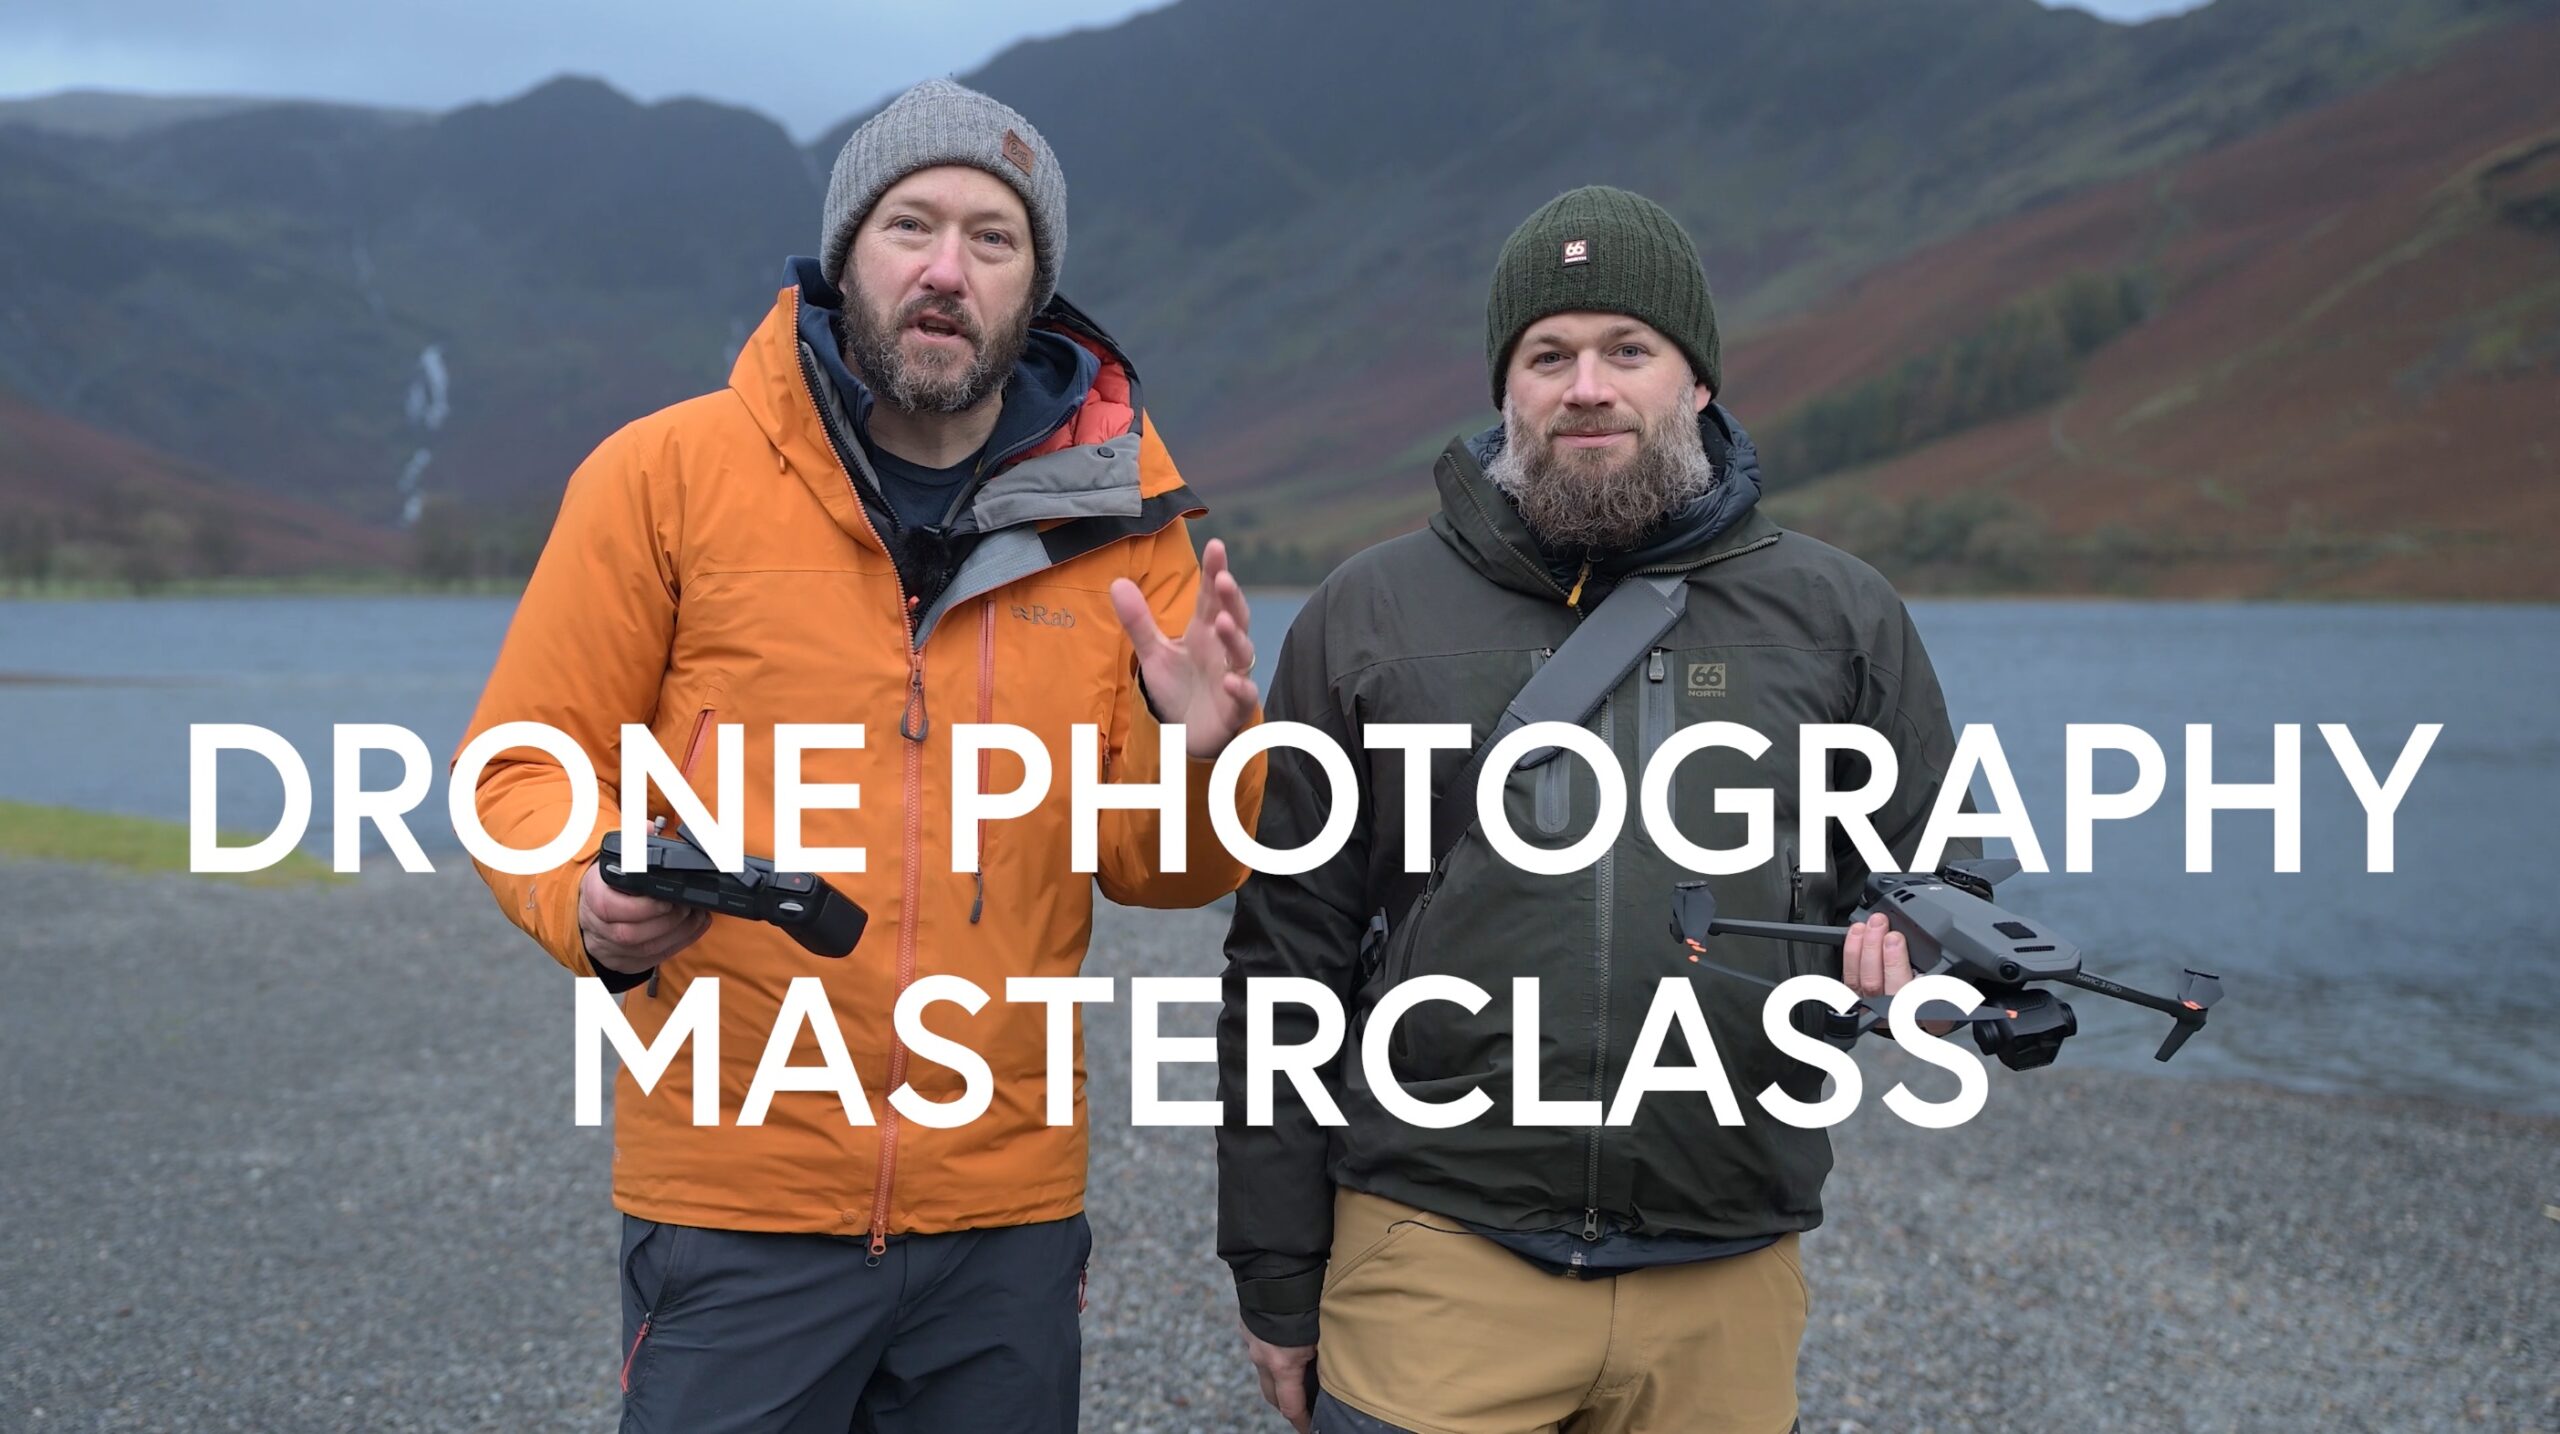
If you are trying to figure out which drone is right for you more broadly, my Best Drones For Photography guide covers all the options across budgets. And if you want to sharpen the half of drone work that has nothing to do with which drone you fly, the Drone Photography Masterclass is where I would start.
Frequently Asked Questions
Is The Antigravity A1 Worth It?
It depends on what you need. The Antigravity A1 is worth it if you need a sub-250g 360 drone to stay within local regulations, if you actively want a headset-first flying experience, or if you often fly in windy conditions. If your priority is image quality, ease of use, or value for money, the DJI Avata 360 is currently the stronger choice.
Is The Antigravity A1 Better Than The DJI Avata 360?
Not for most pilots. The DJI Avata 360 has better image quality, thanks to 10-bit D-Log M and physically larger sensors, a much easier flying experience because it does not require a headset or motion controller, and it retails for roughly half the price of the A1. The Antigravity A1’s real advantages are its sub-250g weight class, its immersive headset-and-motion-controller workflow for pilots who actively want that, and surprisingly capable behaviour in wind.
Can The Antigravity A1 Fly Backwards?
No. The Antigravity A1 does not support backwards flight. For traditional drone pilots who instinctively pull back on the stick to reverse out of a shot, that is a habit you will have to unlearn. In practice it matters less than it sounds on paper, because the headset and motion controller already change how you think about direction.
Is The Antigravity A1 Good For Beginners?
Not really. The headset-and-motion-controller workflow has a real learning curve, especially for anyone with no FPV background. Expect several practice flights before you feel in control. If you are new to drones and want a 360 platform, the DJI Avata 360 is easier to learn and more forgiving while you build your skills.
Can The Antigravity A1 Fly Above 120 Metres In EU Airspace?
Only with the higher-capacity 4345 mAh battery, which moves the drone from C0 (249g, no licence required) to C1 (291g, requires A1/A3 authorisation). On the standard battery in C0, you stay under 120 metres above takeoff in EU airspace.
Can The Antigravity A1 Fly Above 400 Feet In The US?
No. In the US, recreational drone flights are capped at 400 feet above ground level in uncontrolled airspace, regardless of drone class. The A1 falls under FAA’s recreational rules, so sub-250g you do not need to register the drone, but the 400-foot ceiling, visual line of sight, and TRUST test still apply.
How Long Does The Antigravity A1 Fly Per Battery?
On paper, Antigravity quotes 24 minutes with the standard 2360 mAh battery and 39 minutes with the high-capacity 4345 mAh battery. Real-world is less. In Iceland’s wind and cold I consistently saw shorter flight times. Plan for around 70 to 80 percent of the headline number, and always land before the auto-landing prompt kicks in.
How Do You Edit Antigravity A1 Footage?
Three free options for video. The Antigravity app handles quick edits on your phone, the Antigravity Studio desktop application gives you a fuller toolset, and Antigravity offers an Adobe Premiere plugin so you can cut the 360 footage directly inside Premiere. No official plugins exist for Final Cut, DaVinci Resolve, or other editors yet. Photos are more restrictive at the time of writing. The DNG files can be opened in Lightroom but they show up as a single frame with both camera outputs side by side, so for stills you are realistically stuck with Antigravity’s own software until Adobe adds a proper 360 photo editing experience.
DISCOUNT
The Drone Photography Masterclass – Video Course
Nigel Danson & Jeroen Van Nieuwenhove‘s complete drone photography video masterclass will explore everything you need to know to start creating the best aerial photographs using any type of drone in 50+ detailed videos. Whether you are a complete beginner or an advanced drone pilot, this video course contains a vast amount of information to level up your drone photography skills.
What Drone Photography Masterclass Participants Said…
Learn Drone Photography With My E-Book
Want to learn how to get the best results with your newly purchased drone? I wrote the most comprehensive guide available on drone photography which teaches you a technique to get the DSLR-like results out of even the cheapest drones.
In 125 detailed pages I explore everything you need to know to start creating the best photographs using any type of drone. Whether you are a complete beginner or an advanced drone pilot, this e-book contains a vast amount of information to level up your drone photography skills.
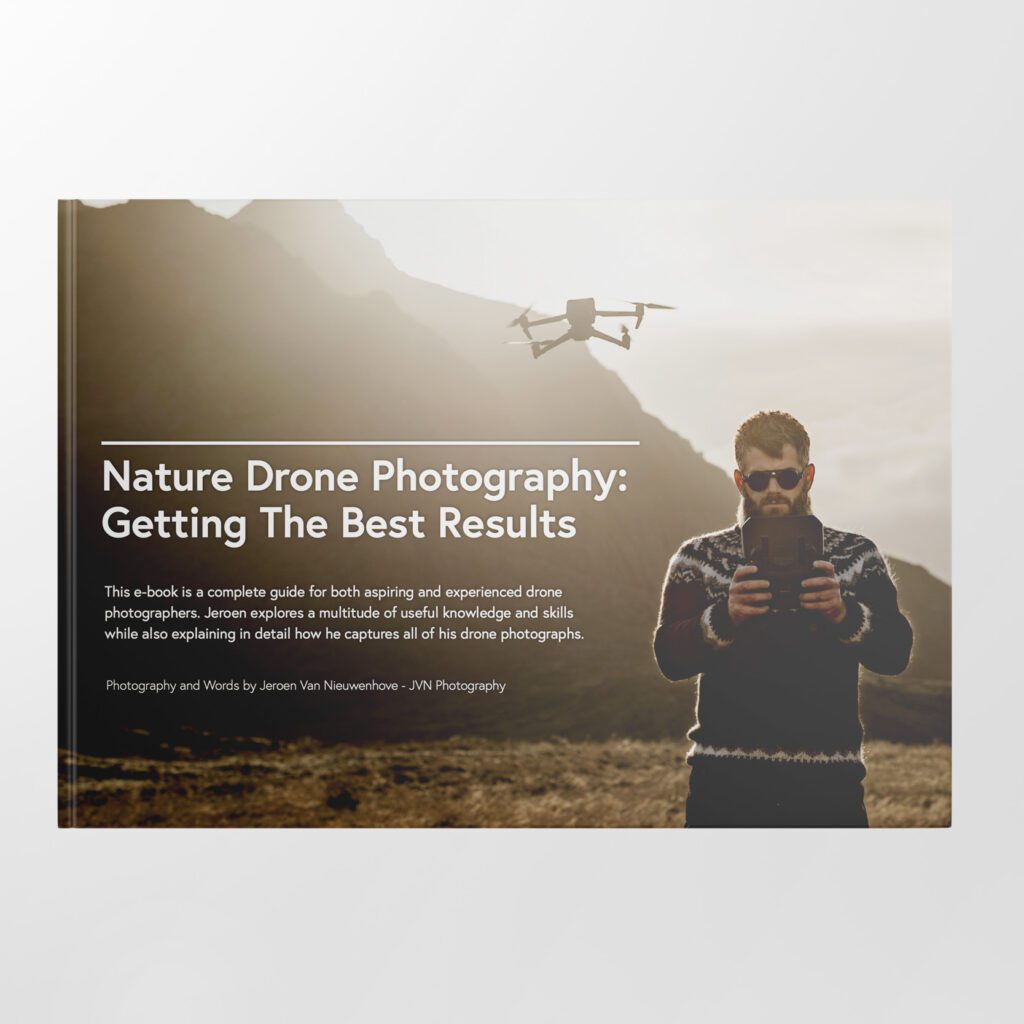
What to Expect?
- A 125-page educational PDF about nature drone photography with very detailed explanations
- Which drone to get for photography and why
- Important settings and configuration options
- A list of useful skills & tips
- A list of useful accessories and what not to buy at all
- How to research locations for drone photography
- How to compose with a drone and insight into Jeroen’s thought process with plenty of examples
- Thoughtfully planning ahead for your drone shoot
- The how and why of creating bracketed images
- The how and why of shooting HDR panoramas
- What challenges you might face and how to deal with them
- Common mistakes & how to deal with them
- How to stitch your panoramas together
Use EBOOK20 to get 20% off your Nature Drone Photography (E-Book) purchase!


Discover Jeroen’s Photo Workshops in Iceland, Greenland & Beyond
Ready to take your photography to the next level? Join me, Jeroen Van Nieuwenhove, on unforgettable photo workshops in Iceland, Greenland, Antarctica and other exciting destinations. Whether your passion is wildlife photography, bird photography, landscape adventures, or mastering drone photography, each workshop is designed to give you hands-on guidance in some of the world’s most spectacular locations.
From puffins in the midnight sun to Arctic foxes in the wild, from glaciers and volcanoes to dramatic coastlines seen by drone – these journeys are more than workshops; they’re once-in-a-lifetime experiences. Group sizes are kept small, ensuring personal mentoring and plenty of shooting opportunities.
Looking for something specific? Check out Jeroen’s…
- Wildlife & Bird Photography Workshops (Puffins, Arctic Foxes)
- Drone Photography Workshops
- Photo Workshops in Iceland
- Photo Workshops in Greenland
- Photo Workshops in Antarctica
Spots are limited – secure your place today!
Are You Looking For A Specific Photo Workshop?
All Upcoming Photography Workshops With Jeroen
Explore all upcoming photography workshops with Jeroen and take your skills to the next level in some of the world’s most extraordinary locations. From the volcanic landscapes of Iceland to the ice-filled fjords of Greenland and the wildlife-rich polar regions such as Antarctica, each workshop is designed to help you grow creatively while experiencing unforgettable moments in the field. Browse all upcoming departures below and find your next adventure!

OPEN FOR BOOKINGS

OPEN FOR BOOKINGS

OPEN FOR BOOKINGS
WAITLIST

WAITLIST
WAITLIST

WAITLIST

WAITLIST
WAITLIST
WAITLIST
WAITLIST
What Previous Photo Workshop Participants Said…
Choosing the right photography workshop is about more than just visiting iconic locations. It’s about experience, safety, timing, and personal guidance. Below you’ll find honest reviews from photographers who have joined me on landscape, wildlife & drone photo workshops in Iceland, Greenland and other locations. These testimonials reflect real experiences in small groups, hands-on instruction in challenging conditions, and the level of care Jeroen aims to bring to every workshop.
These reviews are verifiable on Jeroen’s public Google Business profile.


")


")


Support Jeroen’s Work
As an independent photographer, Jeroen partially relies on your support to keep producing worthwhile content such as blogs, photographs, books and much more. If you want to support his work, it is possible to do so by buying his e-books & books or prints.
You can also sign up to the newsletter to stay up to date on new blog posts, projects, workshops and other interesting information.
Thank you for considering!