I have to admit that I am quite the organisation nerd. I love keeping my photography gear neatly organised and I constantly try to think of better ways to do that. Until recently, I kept my drone, the remote, batteries and all the other accessories stored inside my photography bag. Because I frequently only fly my drone, or don’t need it at all (such as on the puffin photo workshop), I began thinking of new ways to organise my drone photography gear. After seeing a colleague use a dedicated drone case, which could be put inside his photography backpack, it got me thinking. Could this be a more convenient approach which fits better with my workflow?
I have been using the f-stop drone case (large) for the last 5 months and definitely put it through its paces this summer in all kinds of weather and situations. Interested to know how I am using it and how it holds up? Let’s find out!
Full disclosure: While I am an f-stop ambassador, this article is not sponsored in any way. I am an ambassador because I strongly believe their products to be the best for my style of outdoor photography. The drone cases shown in this article were purchased by me and no one asked me to review them. However, when you make a purchase using the link in this article, I may earn a small commission. All opinions in this article are my own. If you (dis)agree, I invite you to open a discussion in the comment section.
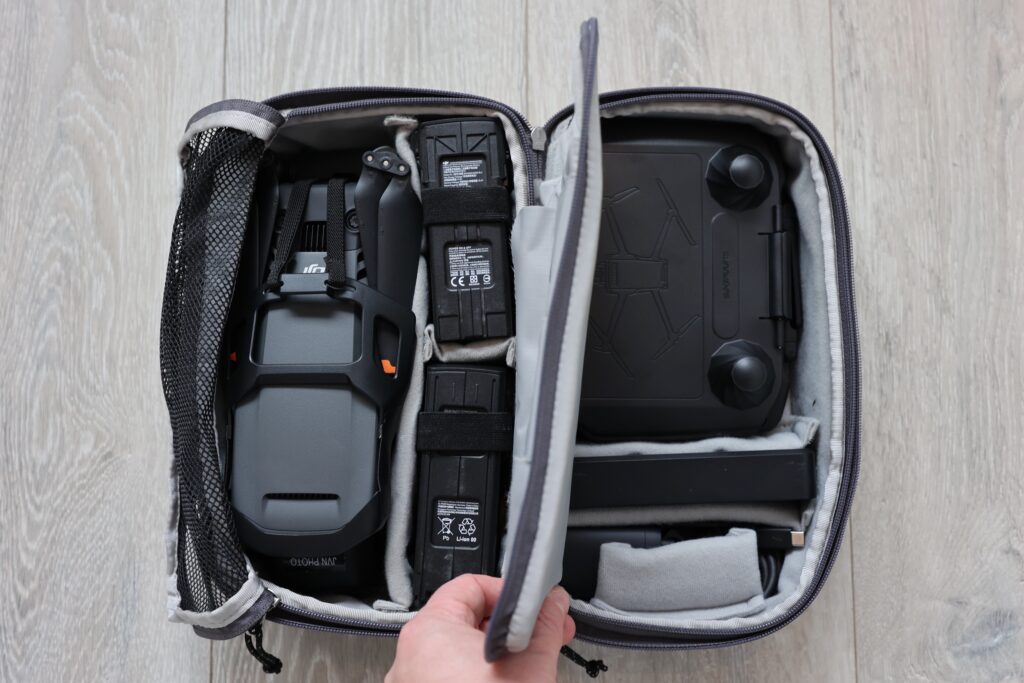
When using a drone case you can fit all of your drone related gear inside one neatly organised container. That means you utilise the limited space in your bag to the fullest.
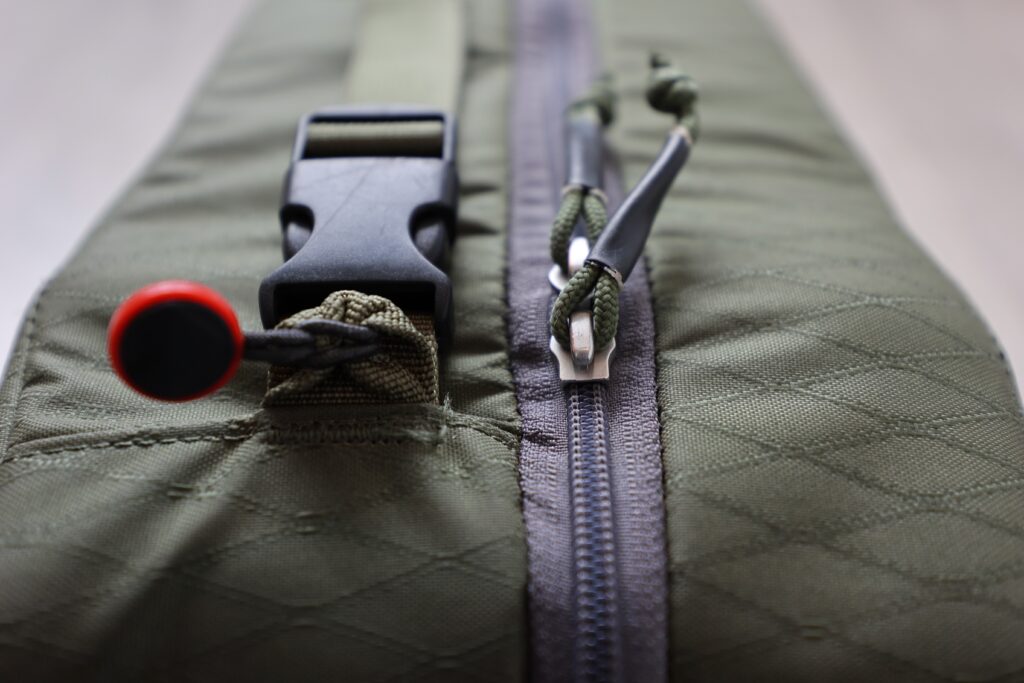
This drone case is made of the highly durable DuraDiamond fabric which is weather resistant and keeps your gear safe. The zippers are high quality and the carrying handle is very convenient. I attached two Peak Design anchors so I can hang a compatible strap on it when using it standalone.
Why You Need a Dedicated Drone Case
While most drones come with a case, at least if you purchase a FlyMore combo version, they are not the most convenient in use – especially if you’re a photographer. Most photographers already own photo backpacks and have no use for another dedicated drone bag or backpack (as you get with the Mavic 3 models).
While you could argue it’s possible to put your drone inside the internal camera unit of your existing photo backpack (as I was doing for the longest time), it’s also not the most convenient. If you purchase a dedicated drone case, which fits conveniently inside your photo backpack, you can conveniently leave your drone gear behind when you don’t need it. The opposite is also true, you can leave your photo backpack behind if all you are going to do is fly your drone. You can of course also leave your drone gear behind by taking it out of your internal camera unit. However that will likely mean all of your other gear will move around inside the internal camera unit.
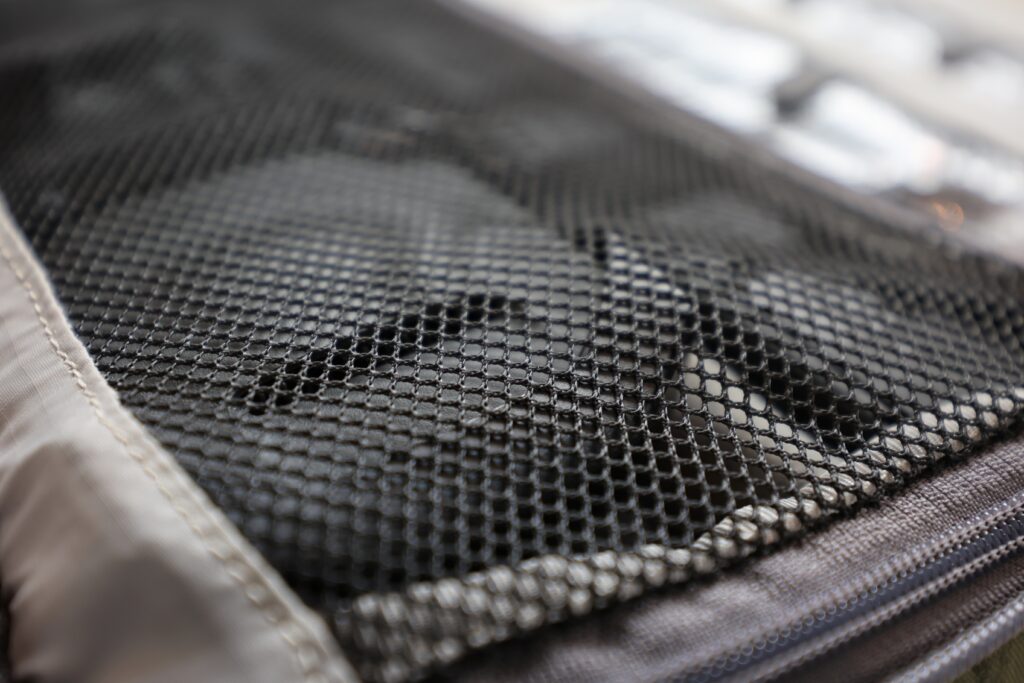
One side of the drone case has a mesh cover, which closes with a zipper. This allows for some margins on bigger drones such as the DJI Mavic 3.
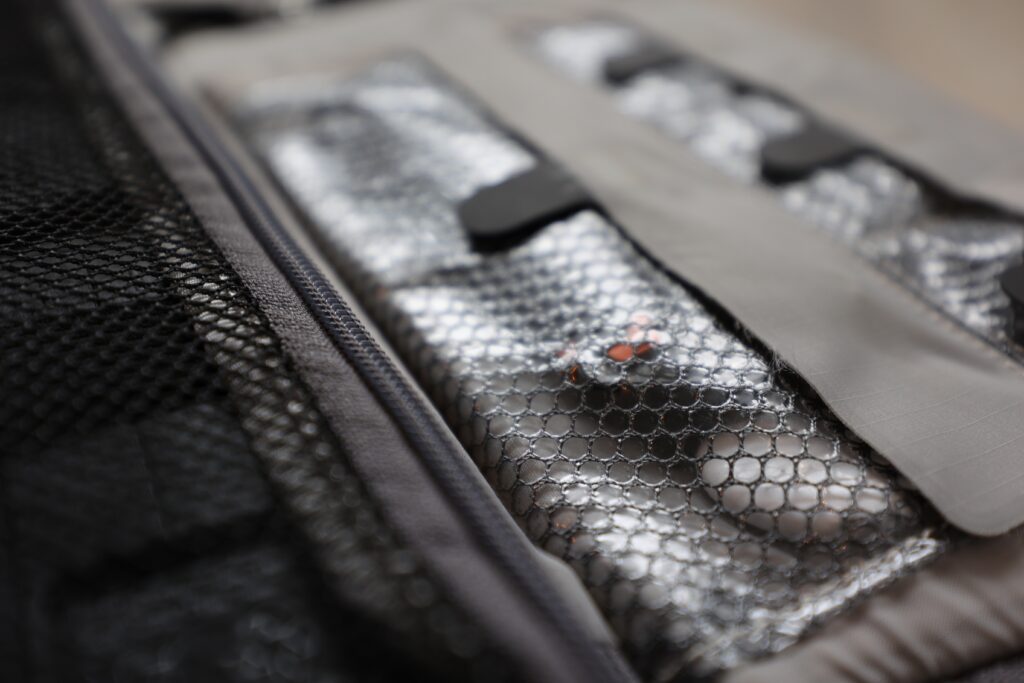
The other side of the drone case has a set of pouches, made from premium materials, which close with magnets. I use these to keep my spare propellers, memory cards and even an AirTag.
What I Like About the f-stop Drone Case
There is a lot to love about the f-stop drone case. The large version, which I am using, is sized 28cm (length) x 15cm (with) x 15.5cm (height), which means it has plenty of volume to fit more than just your drone. The build quality feels great. The outside is made from the f-stop DuraDiamond fabric which means the drone case is weather resistant, while the inside feels soft and sufficiently padded to keep your gear safe. I have used both the drone case and my f-stop Ajna photo backpack through heavy rain and did not experience any issues. The stitching is great, as well as the zippers. Even with tension on the zippers (when I stuffed more than I should have inside the case) held up exceptionally well.
The design of the drone case is compact, yet spacious. The drone case zips open entirely which means you can easily access both sides of the case. Because of this design you might not be able to immediately get to your drone gear inside your photo backpack, but it allows you to carry more within the same volume. It fits A LOT of things, which you will read about further on in this article. It fits all of my gear with ease and with this setup I am able to fit an extra battery and the DJI RC Pro, which didn’t fit when it was stuffed inside my internal camera unit.
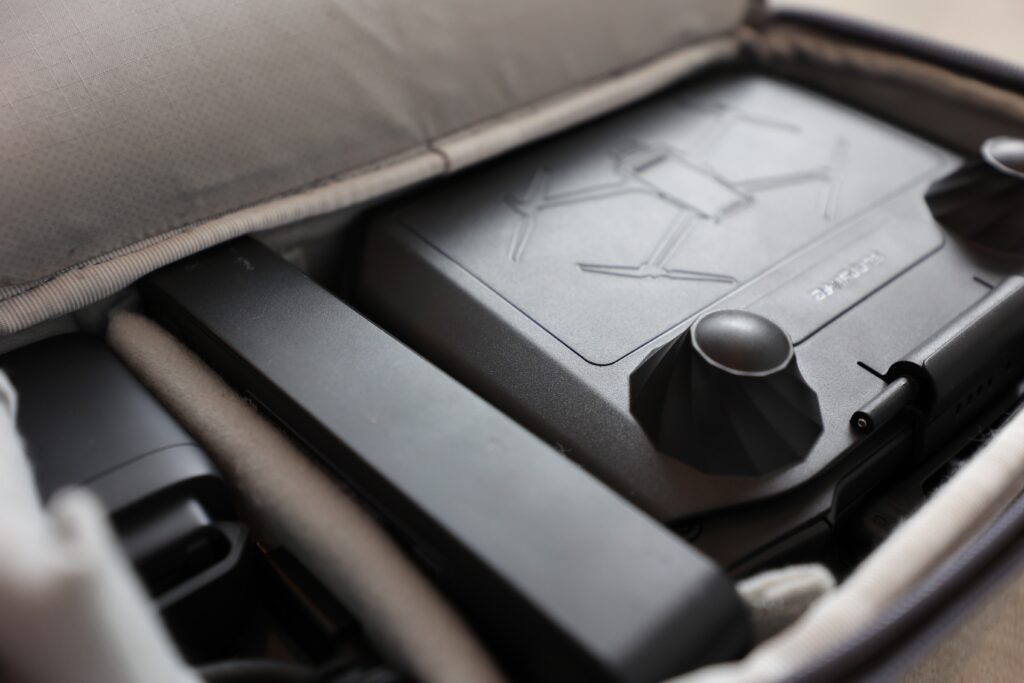
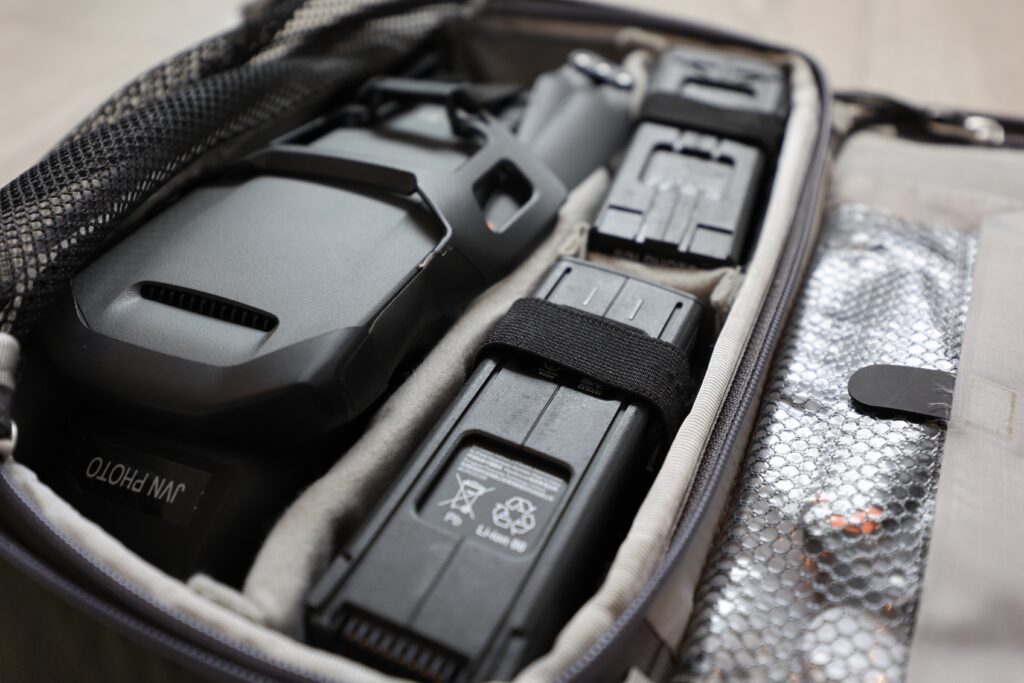
Organising it is very easy and effective. Both sides have a zipped cover, one being a mesh and the other a cover with several pockets and storage possibilities. This means that when you open the drone case nothing will fall out. The pockets have magnetic covers which allows you to easily access what’s inside while not having to worry about things falling out. In both halves of the drone case you will find velcro dividers which you can adjust to fit your specific drone model.
I have already touched upon this but one of the things I like most is the fact I can easily leave it behind when needed, or carry only the drone case. There are always scenarios where I won’t use my drone, for example when I am going to photograph birds such as on the puffin workshop I host. I also sometimes want to take just my drone, for example when we go hiking in certain parts of the highlands that show better from an aerial perspective I will only bring my drone. The drone case fits easily into my photo backpack, as will be the case with pretty much every f-stop backpack depending on how large your internal camera unit is.
A final benefit, which I can’t stress enough, is that it can be treated as a personal item on a plane. I have been in one situation where the airport staff made me weigh my carry-on backpack, which can be very stressful when you carry a lot of gear. With this f-stop drone case, it’s super easy to take it out and treat it as a handbag, or personal item.
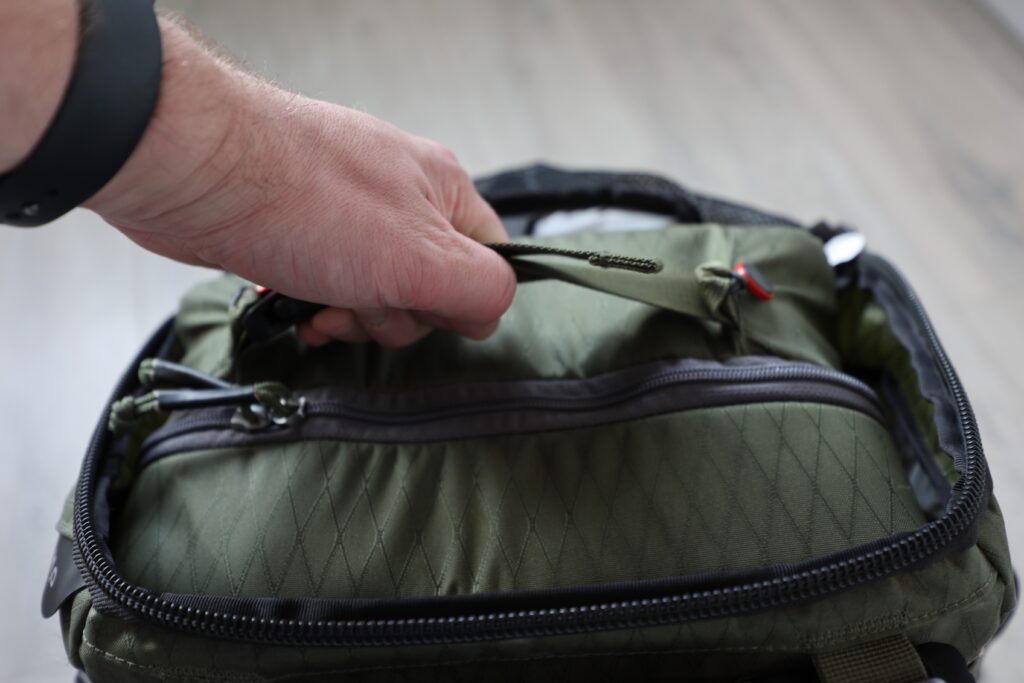
The f-stop drone case has a handle and fits conveniently above the camera unit inside other photo backpacks. In this photo you can see the drone case fitted inside the f-stop Ajna DuraDiamond, which is the photo backpack I use.

The design of the f-stop drone case is well thought out and it fits my drone gear like a glove. I’ve used it so far with DJI Mavic 3 Classic, DJI Mavic 3 Pro and DJI Air 3 without issues.
How I Organise My Drone Photography Gear Inside the f-stop Drone Case
Before I can delve into how I have set my f-stop drone case up, I want to share what drone photography gear I use today so you can truly understand how much this fits.
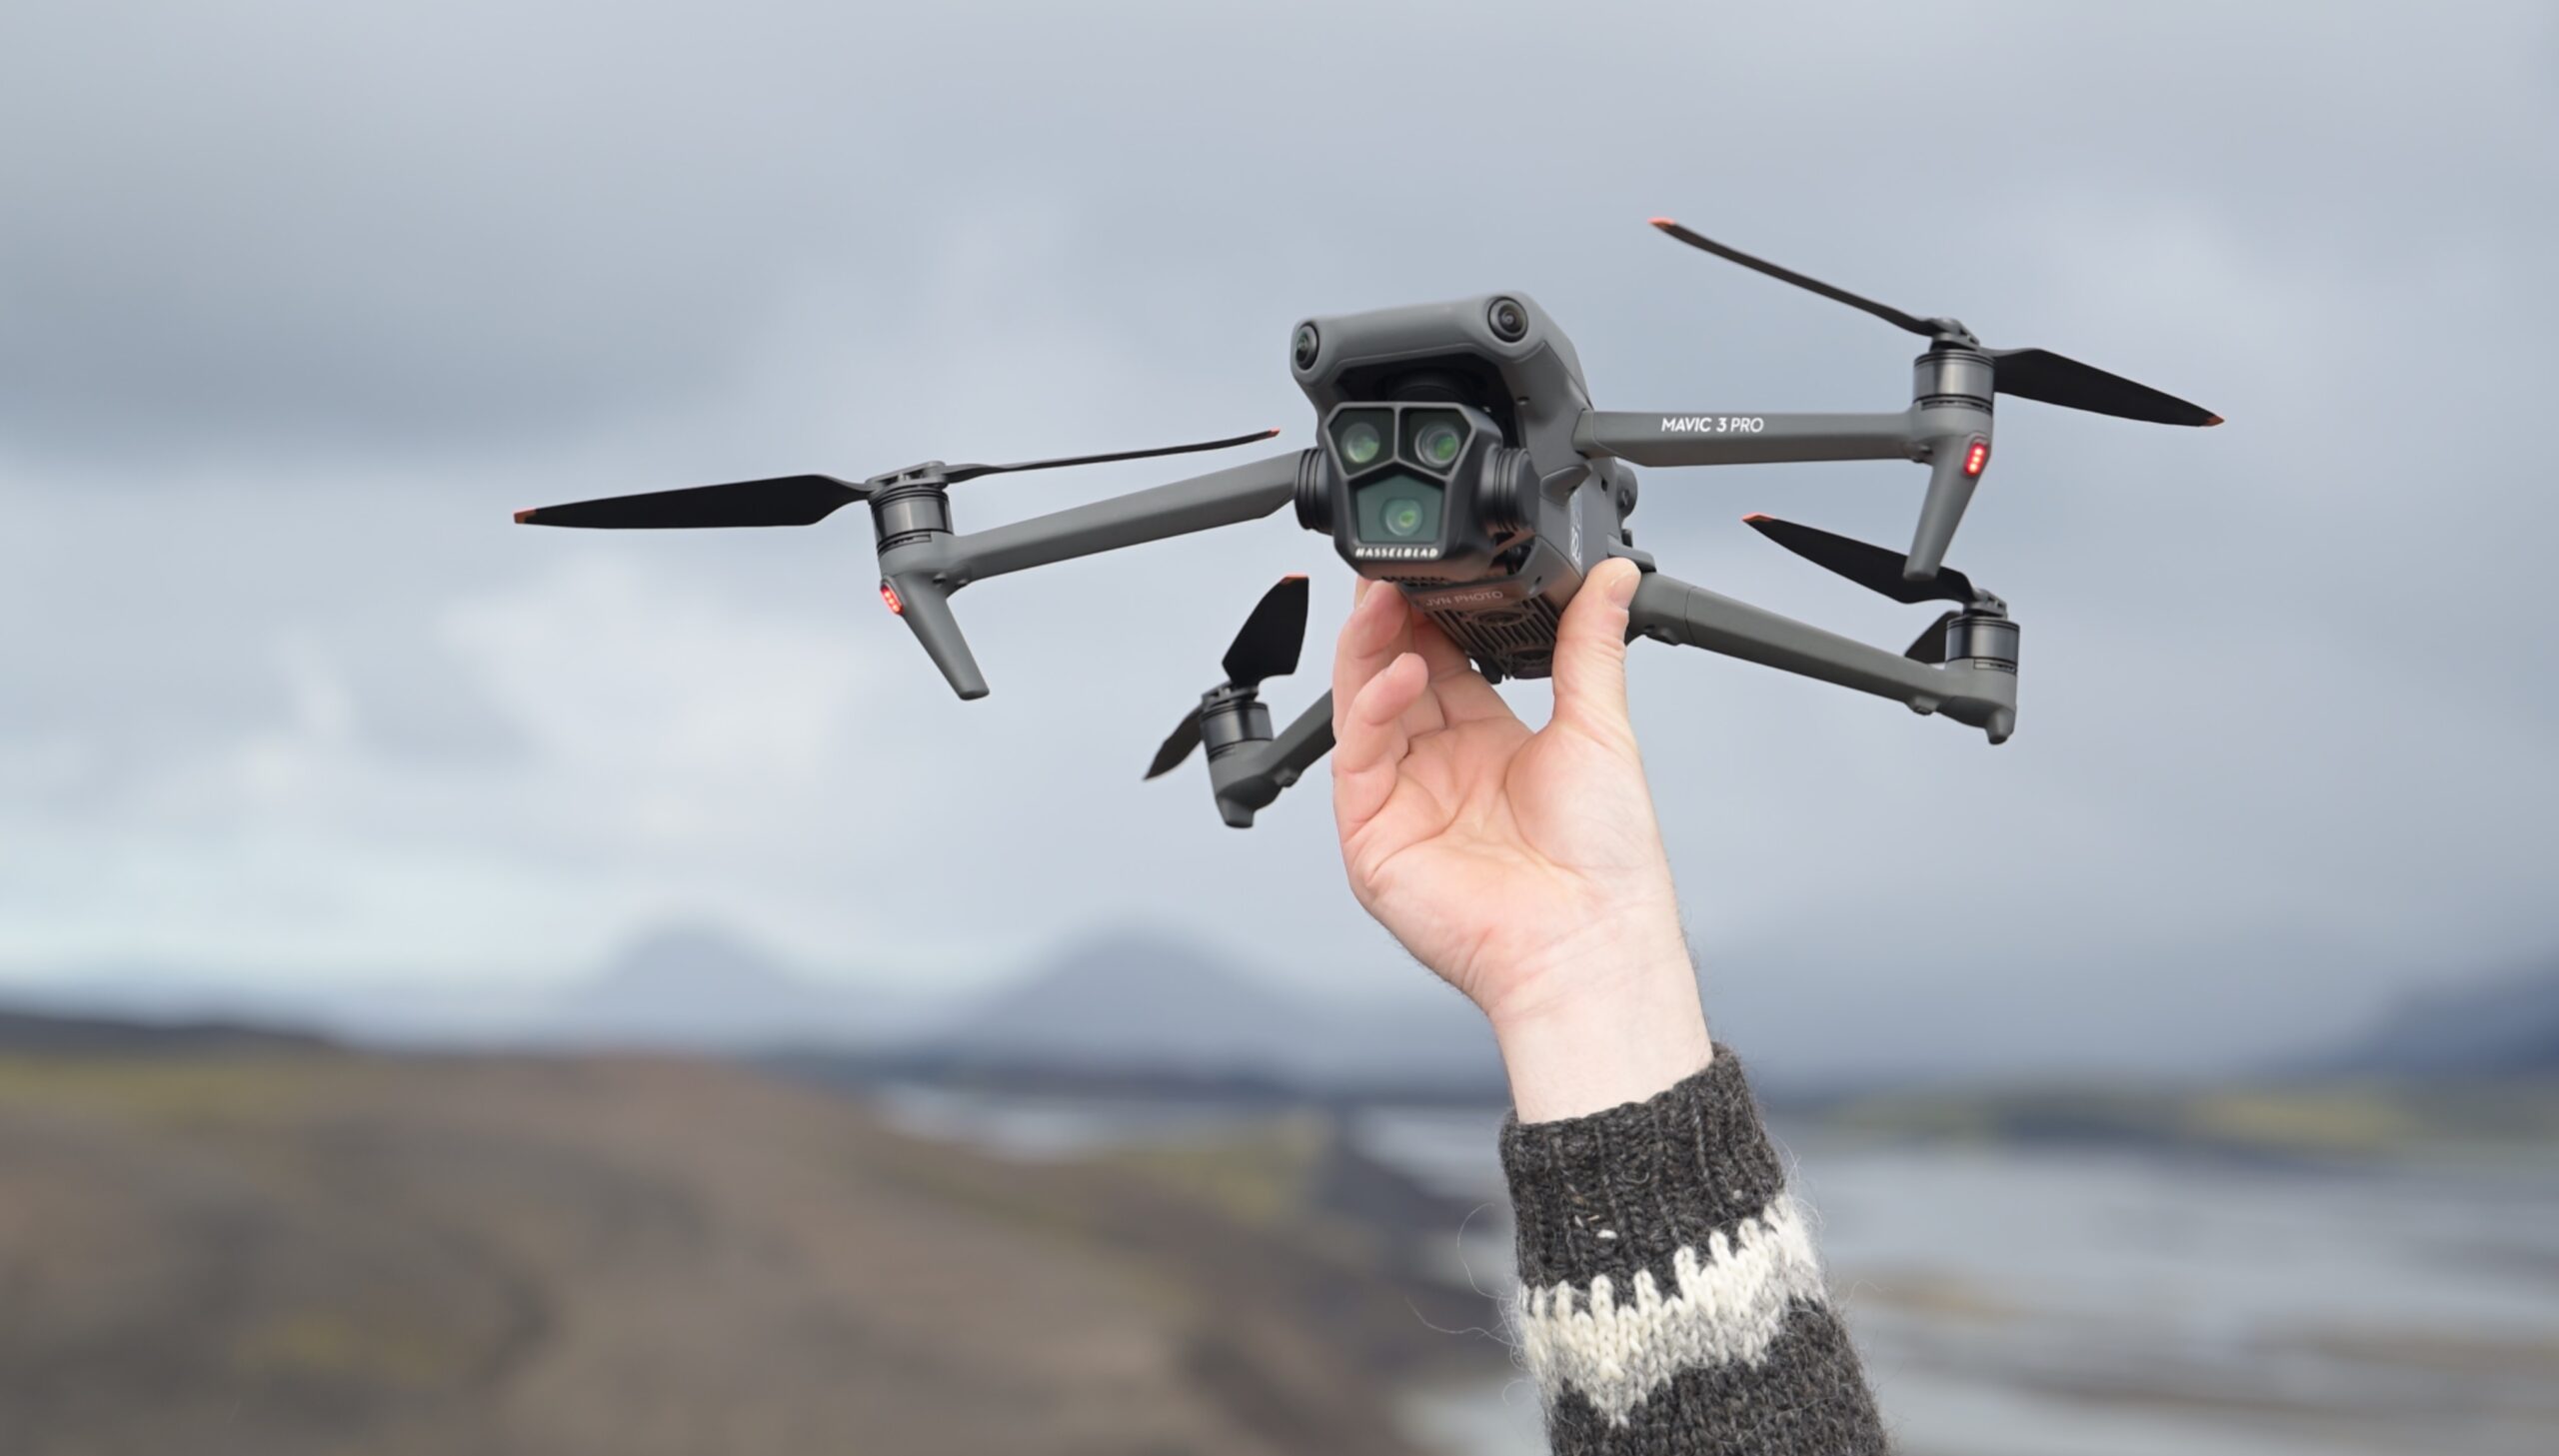
I use the DJI Mavic 3 Pro in combination with the DJI RC Pro remote controller. Inside of the drone case, I have 5 batteries (one inside the drone), the remote controller, a 100 watt Anker charging brick, two USB-C cables, the Mavic 3 Pro 100 watt charging dock, propellers, memory cards, control sticks and an Apple AirTag.
I recommend having separate AirTags for your drone case, photo backpack and even internal camera unit when you often split up your gear.
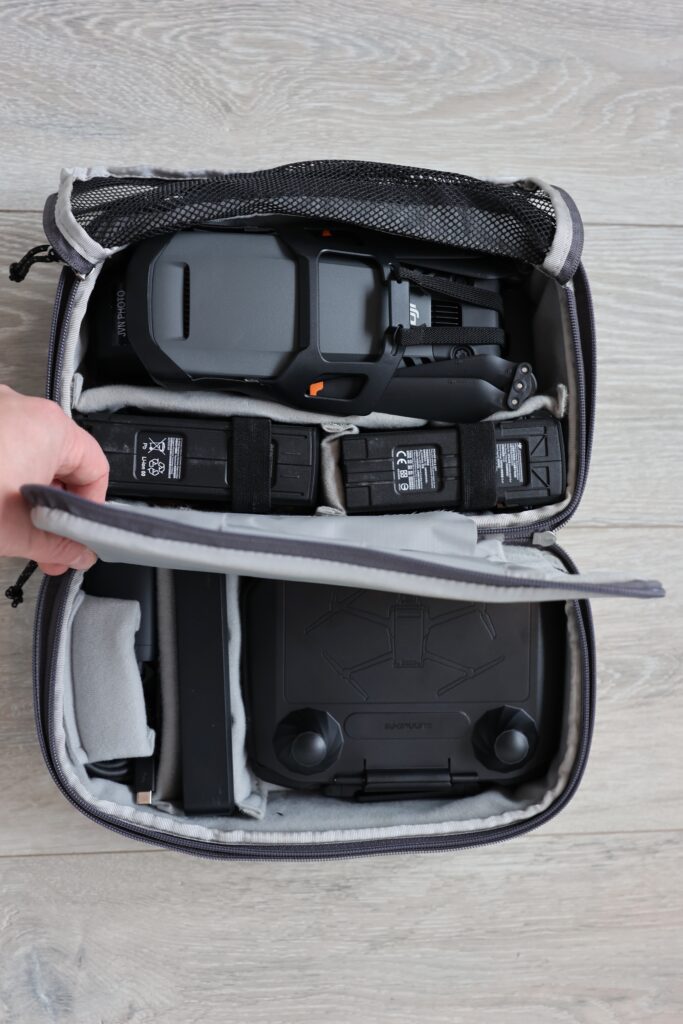
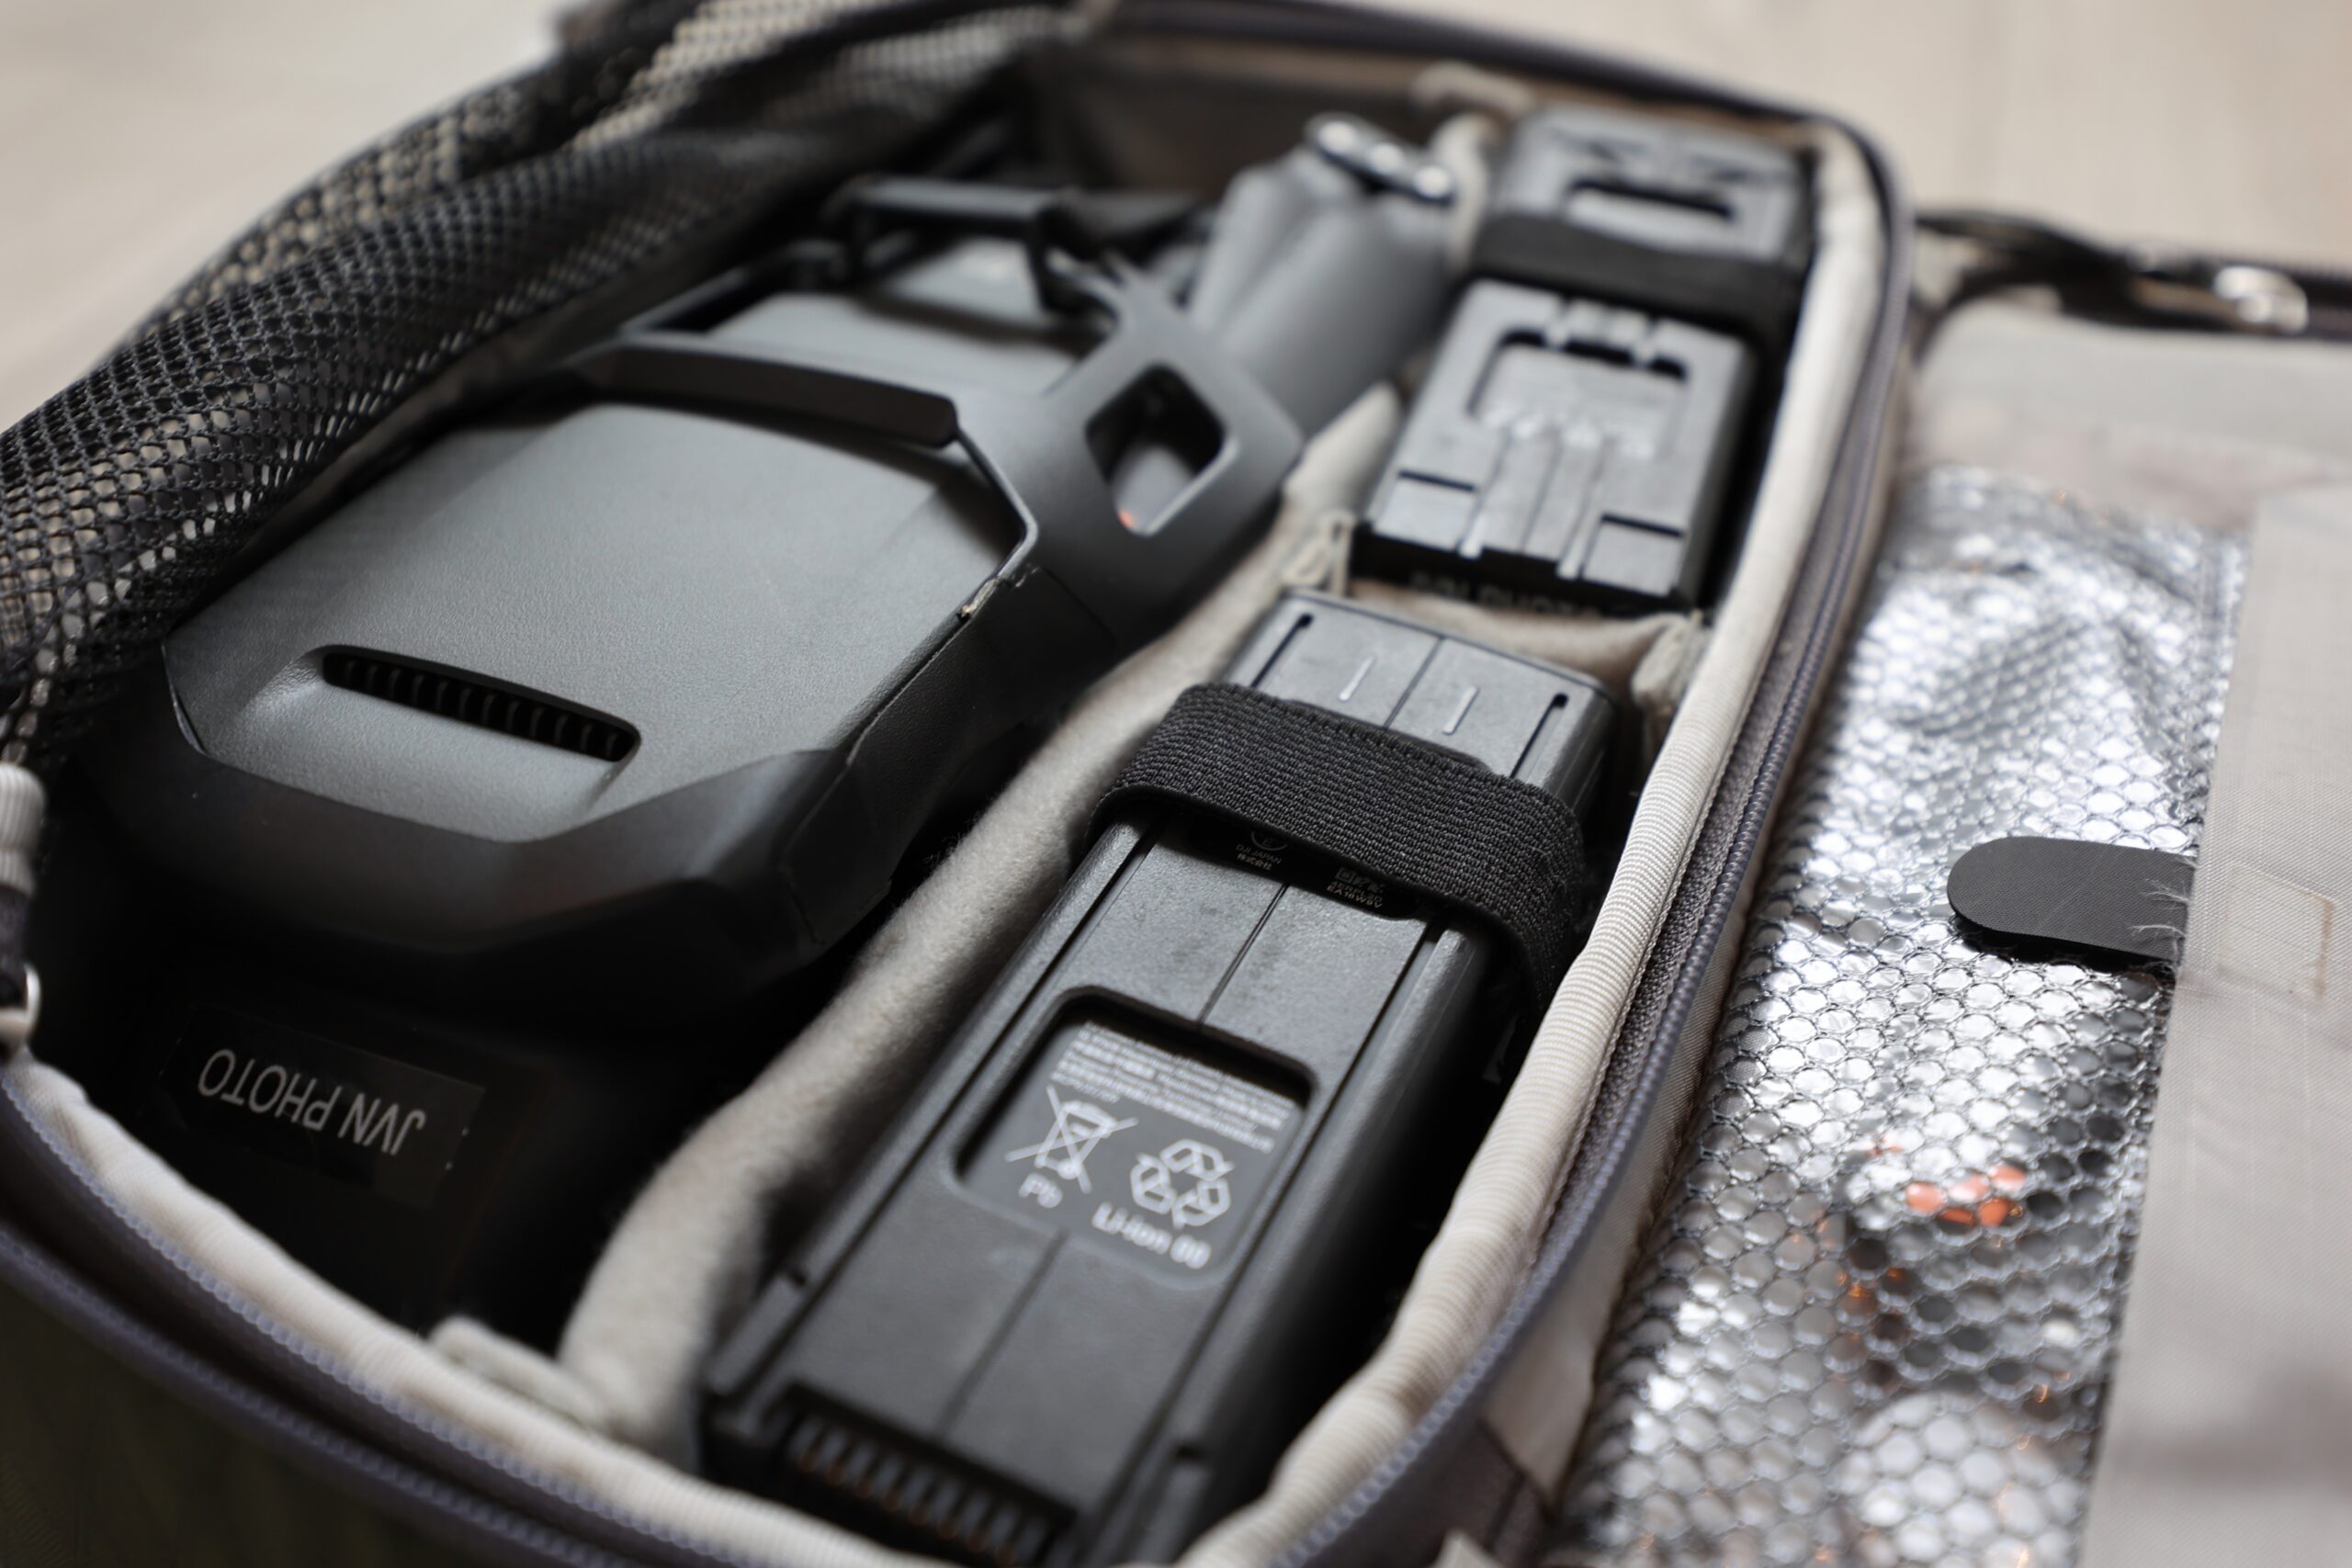
On the side with the mesh cover, I keep my drone, which has a battery inside of it, together with 4 spare batteries. I’ve labeled each battery with a number so I can more easily rotate between batteries so they degrade evenly. I placed the velcro divider between the drone and the batteries, while also splitting up the batteries. All of this fits very comfortably. Thanks to the mesh, the Mavic 3 Pro can stick out of the divider a little bit as it is taller at the front than at the back.
On the other side, I keep everything else. The DJI RC Pro remote controller sits there, together with the charging dock, two USB-C cables and the Anker 100W power adapter. In the sleeve, with the various pockets, I keep the spare propellers, memory cards, spare control sticks, a strobe light and an AirTag.
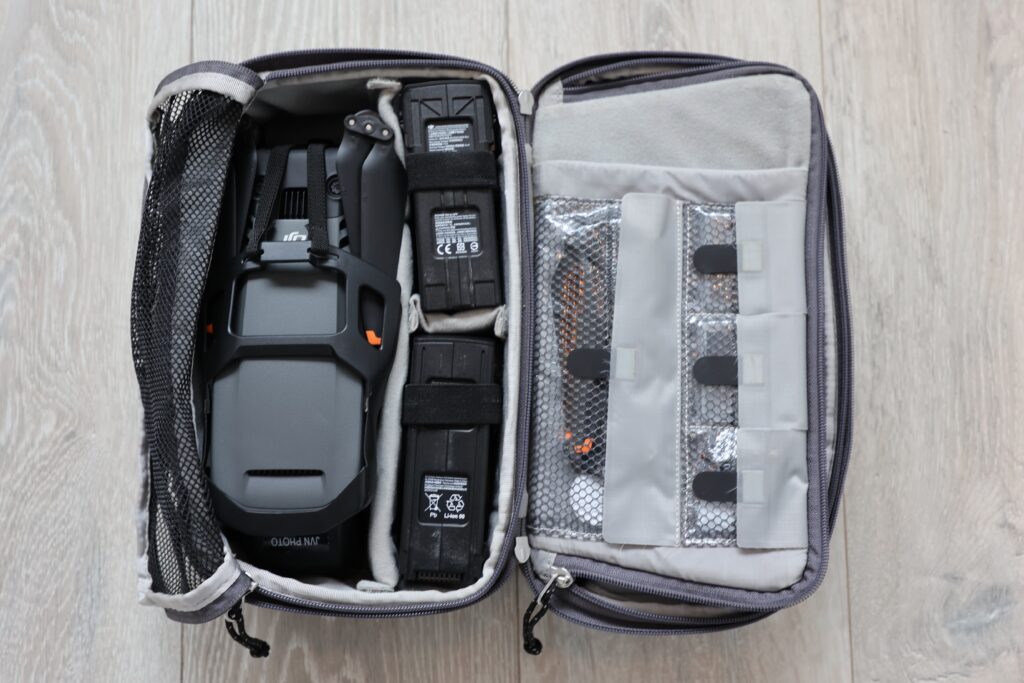
The side with the mesh divider fits the DJI Mavic 3 Pro very nicely together with room for an additional 4 batteries which stack on top of each other.
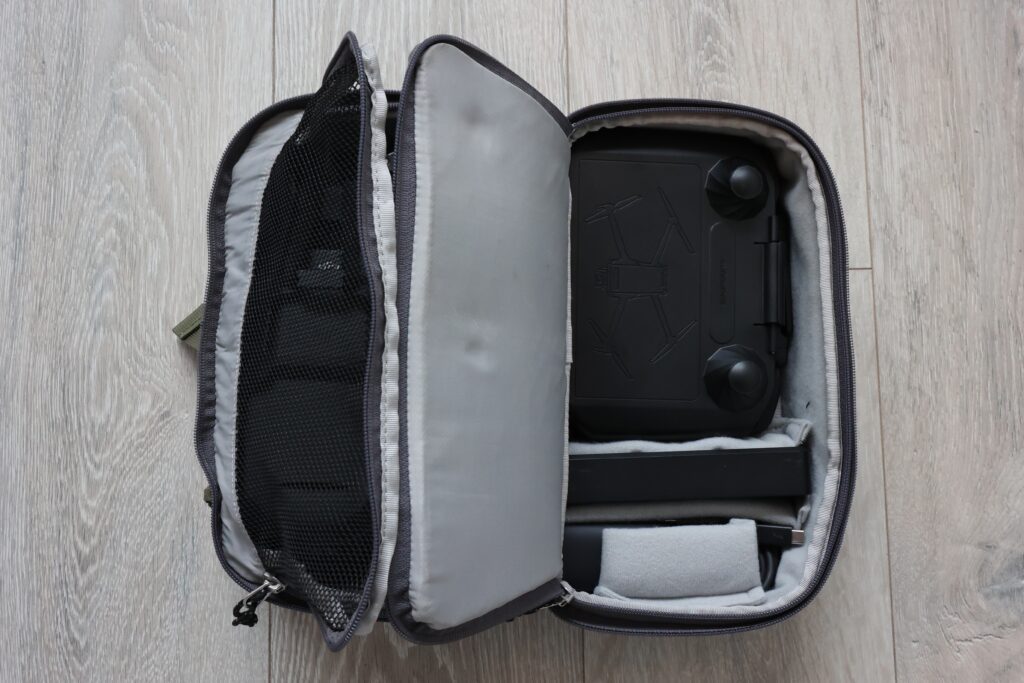
Because the whole case is made of a soft material, it allows for extra flexibility. The sticks of the remote controller are sitting in the half of the case that contains the drone. When the case is closed, you don’t notice any of it.
During my usage of this drone case, I switched my setup slightly. I began using it with a DJI Mavic 3 Classic and the DJI RC. Both both very comfortable in this drone as well, as you can see from the images below. Because the DJI RC is slightly smaller than the DJI RC Pro, you have some extra room in the controller compartment.
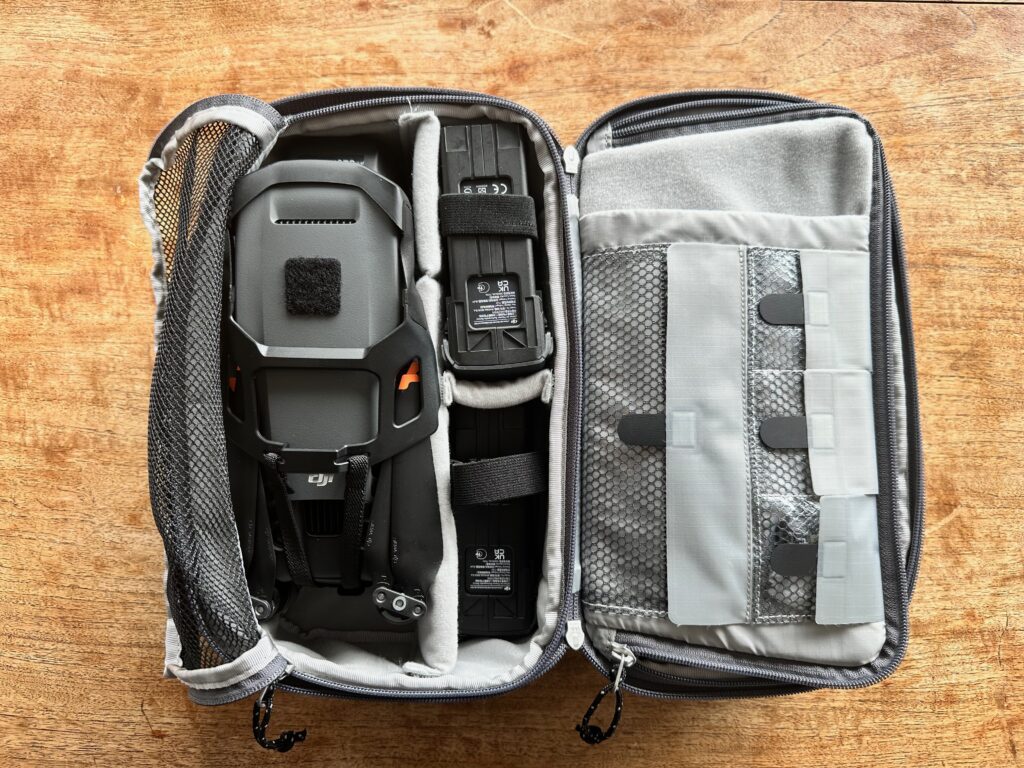
This was my first setup in the large f-stop drone case with my DJI Mavic 3 Classic and DJI RC remote controller. I used one side for the batteries and drone, while the other fitted all the other accessories and the remote.
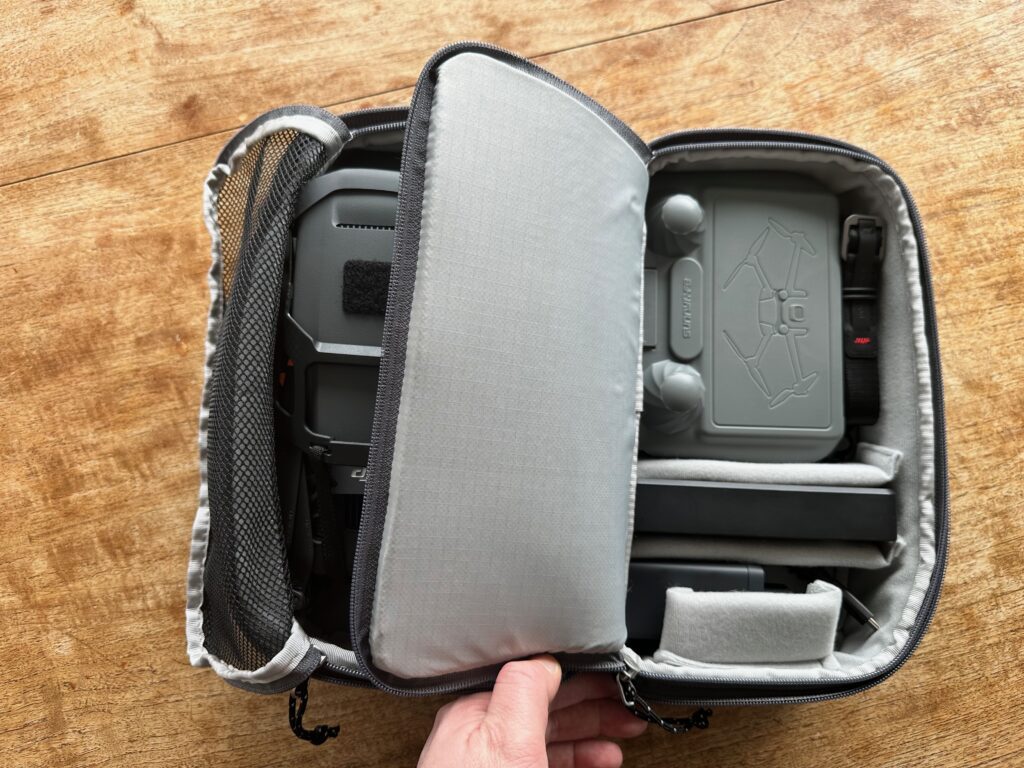
The f-stop drone case is made perfectly for this setup while also keeping all your gear nice and protected.
Conclusion
Having this drone case in my photography gear setup has made my life more convenient. I can more easily leave my drone (or take only my drone), while also carrying more gear with me. The case is very durable and hasn’t shown any out of the ordinary wear during the lengthy time I have used it. I have used it in horrible dusty environments, rain showers and I was even sandblasted at one point in a remote desert in Iceland. The materials hold up extremely well. I am very happy with it and I can only recommend it if you are considering adding a case such as this one to your setup.
If you are curious about other configurations for this f-stop drone case, I recommend having a look at the review section on f-stop’s website. Many users have posted images of their configurations there which can be helpful to you in figuring out the best possible setup.
If you are interested in the photography gear I use, please have a look at my Gear page.
Buy the f-stop Drone Case (Large) for DJI Air 3, DJI Mavic 3 series or similarly sized drones: https://geni.us/jvn-largedronecase
Buy the f-stop Drone Case (Small) for DJI Mini 2/3/4 series or similarly sized drones: https://geni.us/jvn-smalldronecase
DISCOUNT
The Drone Photography Masterclass
Nigel Danson & Jeroen Van Nieuwenhove‘s complete drone masterclass will explore everything you need to know to start creating the best aerial photographs using any type of drone in 50+ detailed videos. Whether you are a complete beginner or an advanced drone pilot, this video course contains a vast amount of information to level up your drone photography skills.
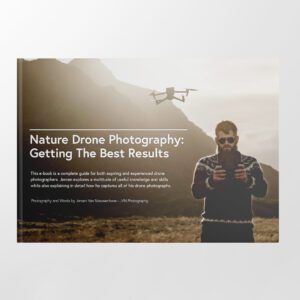
Learn Drone Photography With My E-Book
Want to learn how to get the best results with your newly purchased drone? I wrote the most comprehensive guide available on drone photography which teaches you a technique to get the DSLR-like results out of even the cheapest drones.
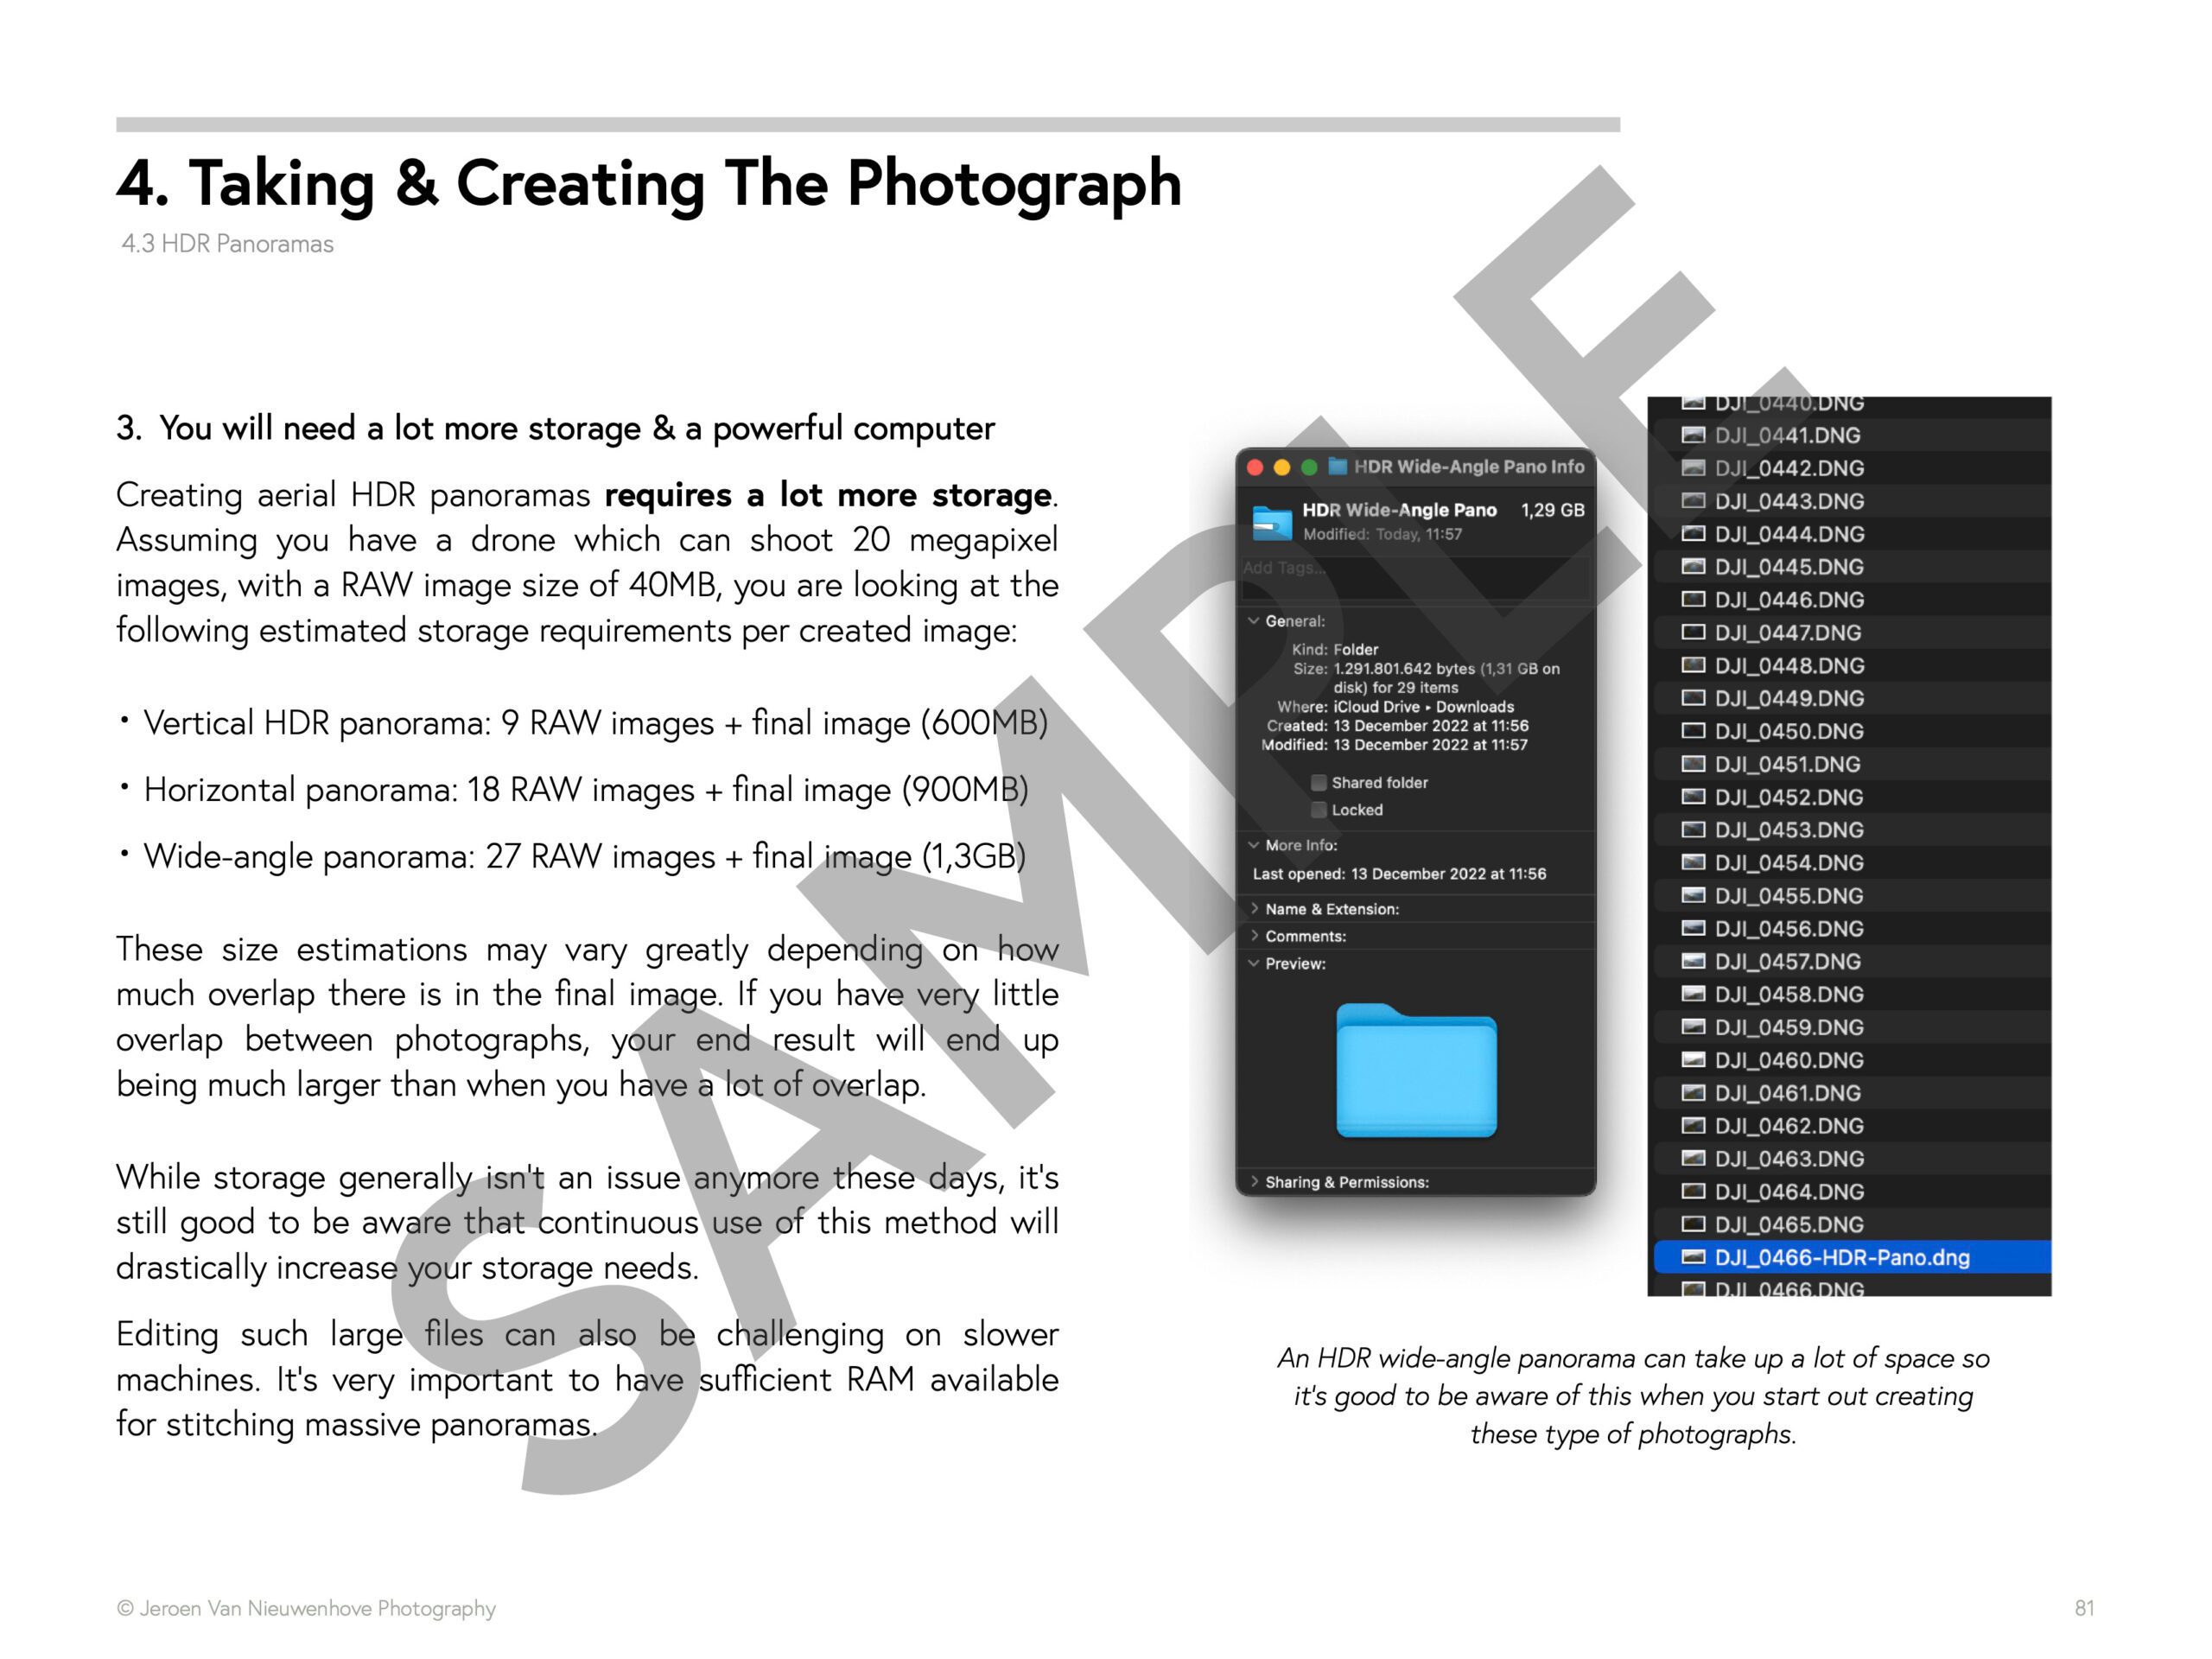
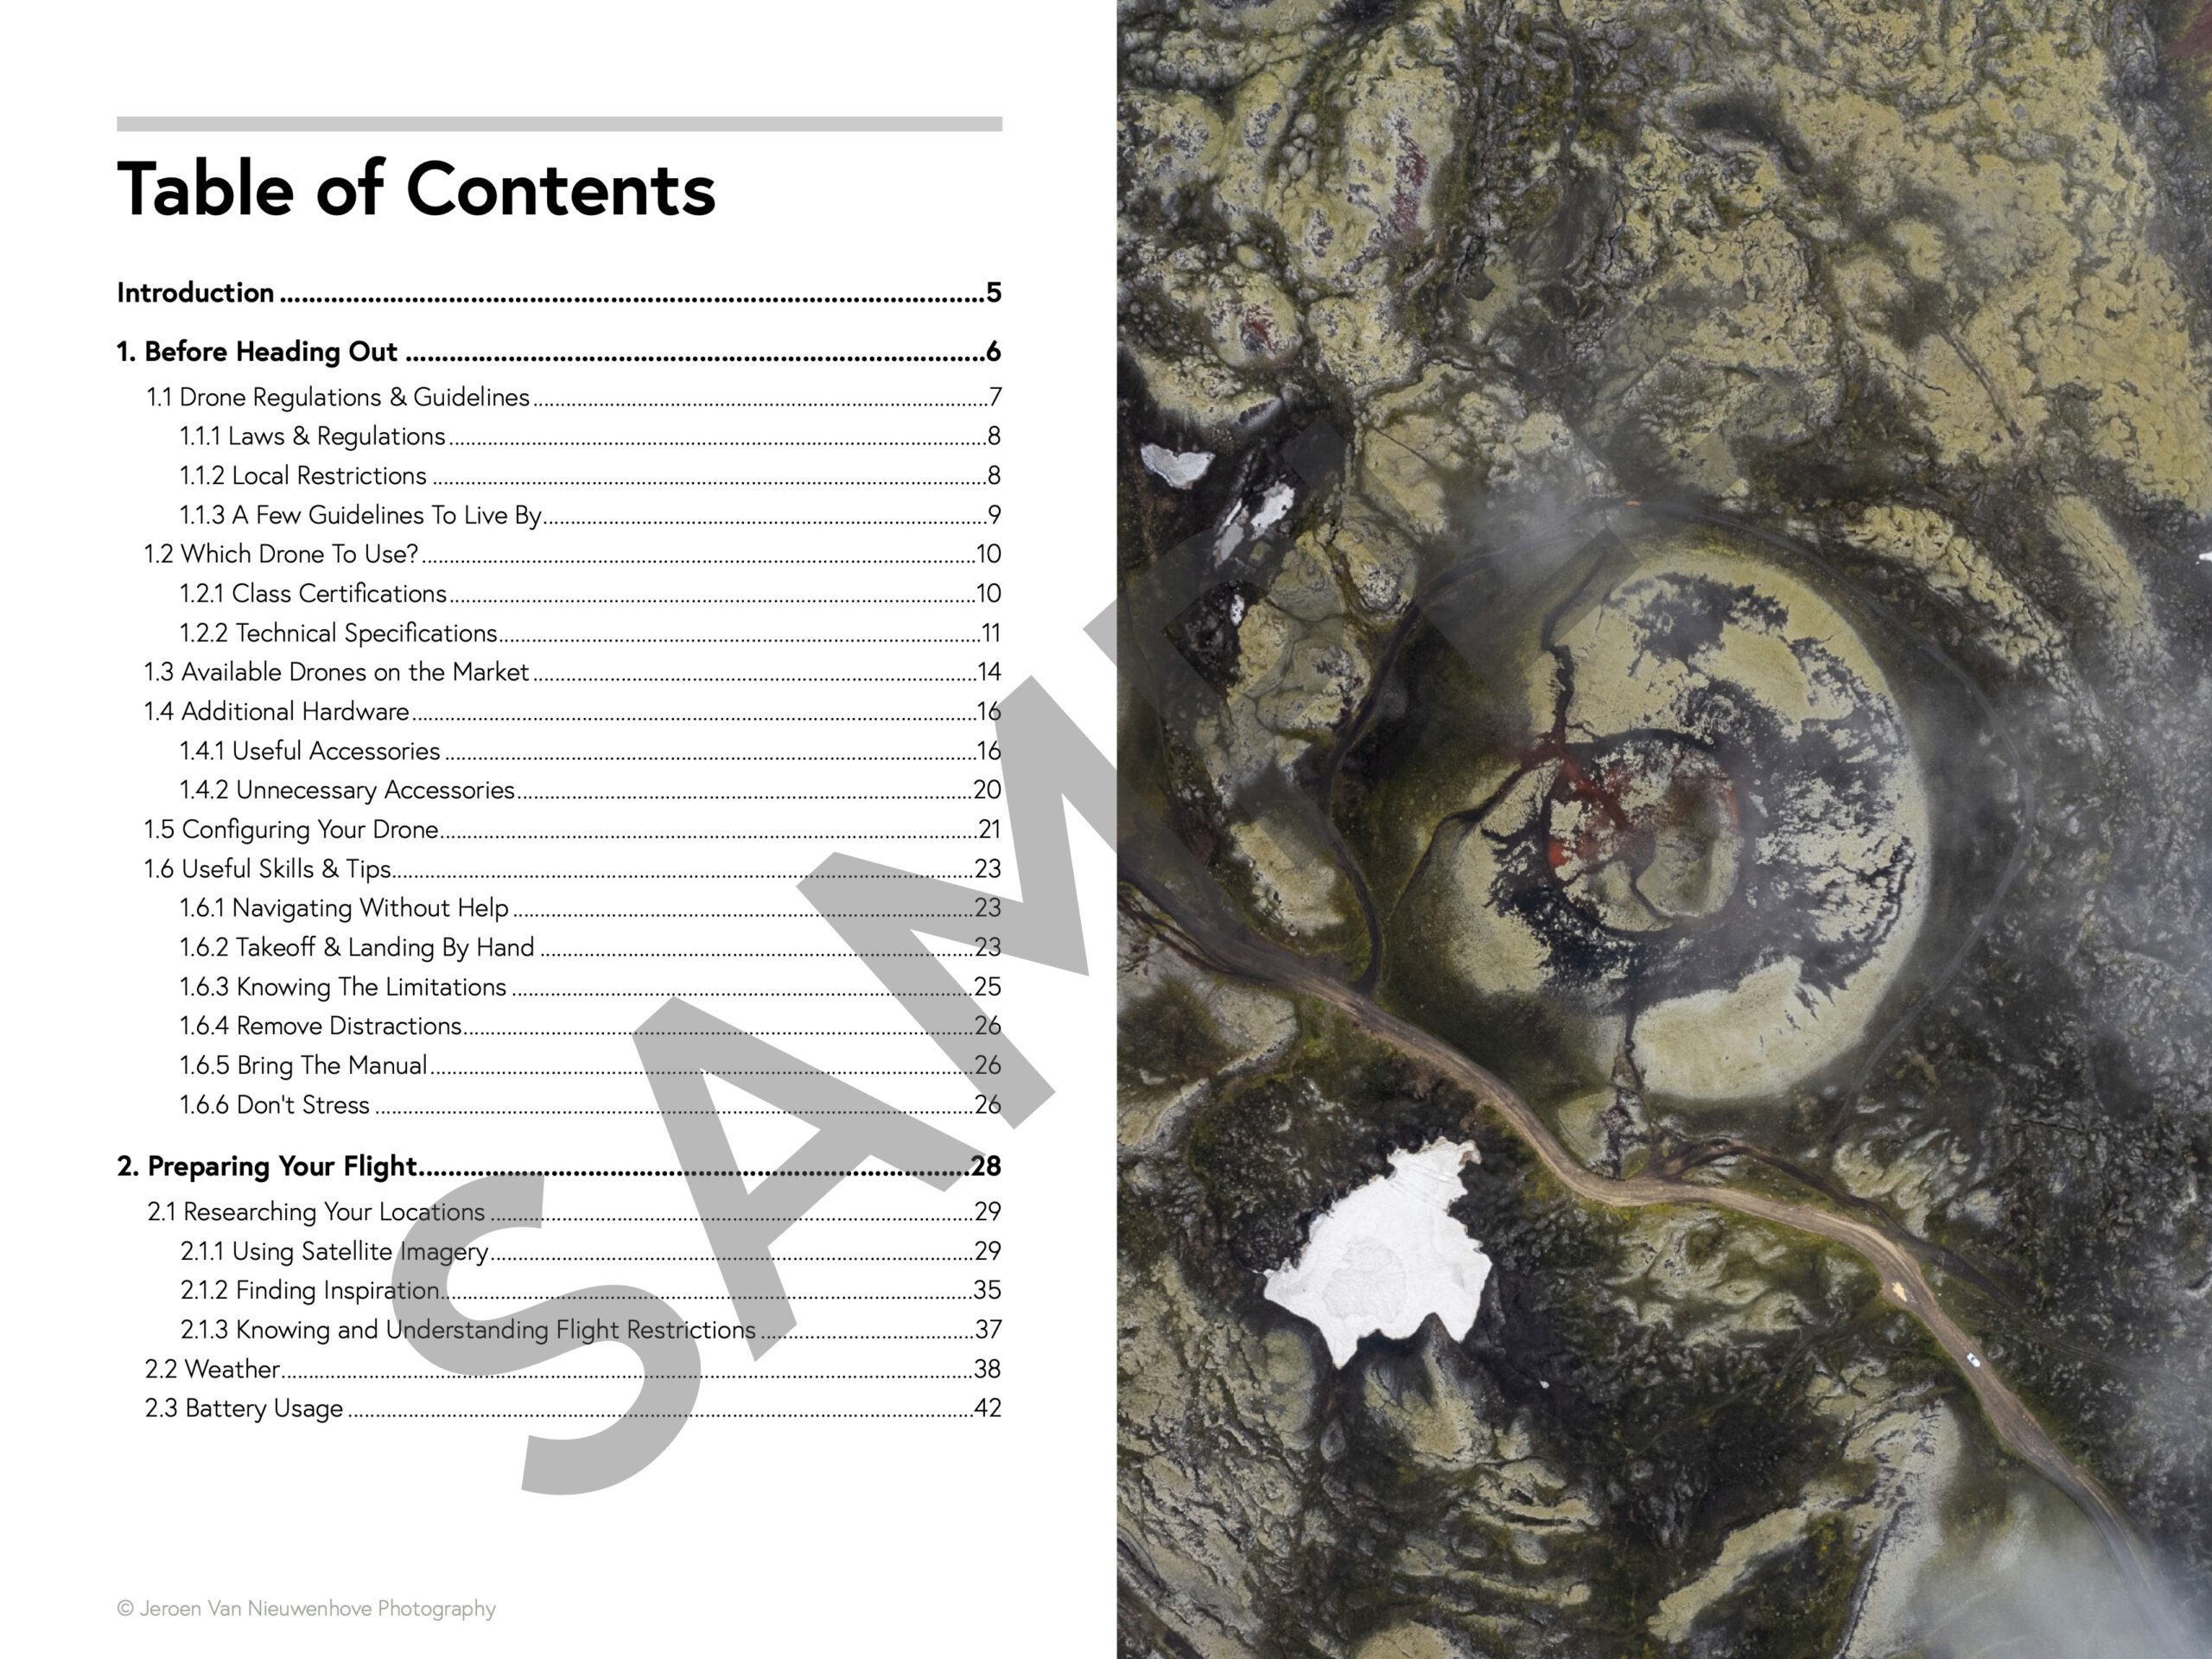
In 125 detailed pages I explore everything you need to know to start creating the best photographs using any type of drone. Whether you are a complete beginner or an advanced drone pilot, this e-book contains a vast amount of information to level up your drone photography skills.
What to Expect?
- A 125-page educational PDF about nature drone photography with very detailed explanations
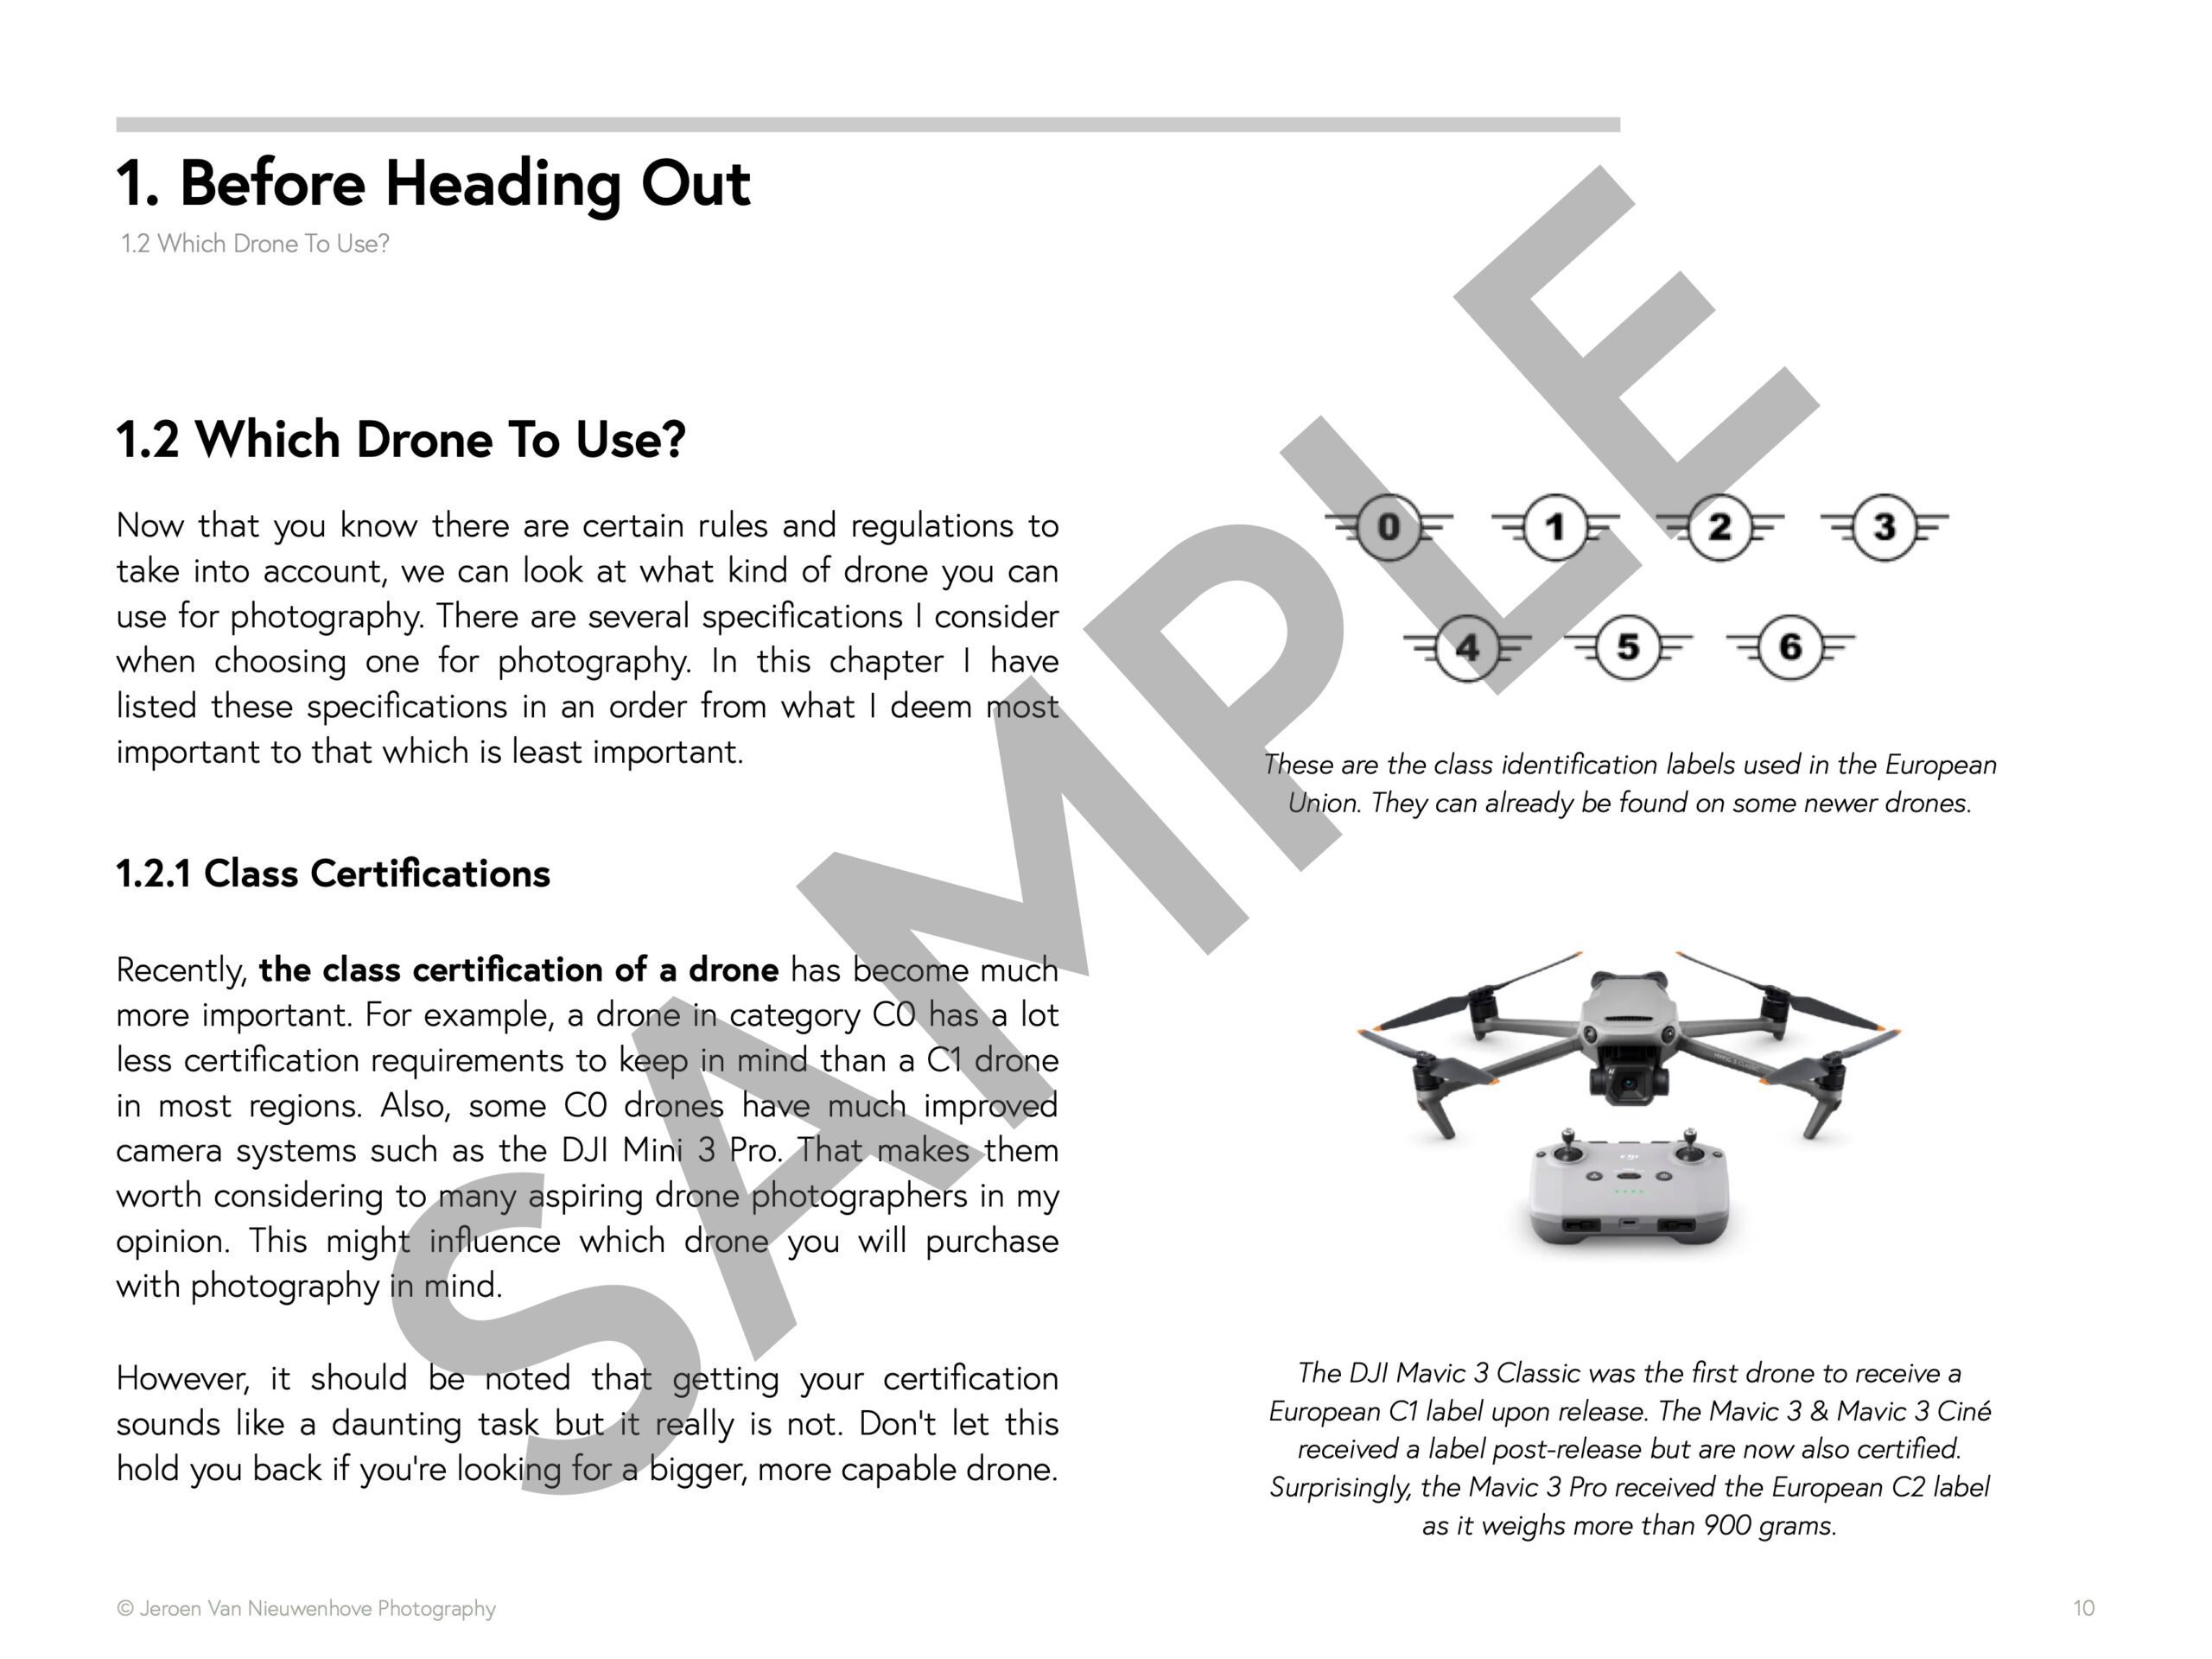
- Which drone to get for photography and why
- Important settings and configuration options
- A list of useful skills & tips
- A list of useful accessories and what not to buy at all
- How to research locations for drone photography
- How to compose with a drone and insight into Jeroen’s thought process with plenty of examples
- Thoughtfully planning ahead for your drone shoot
- The how and why of creating bracketed images
- The how and why of shooting HDR panoramas
- What challenges you might face and how to deal with them
- Common mistakes & how to deal with them
- How to stitch your panoramas together
Use EBOOK20 to get 20% off your Nature Drone Photography (E-Book) purchase!
Support Jeroen’s Work
As an independent photographer, Jeroen partially relies on your support to keep producing worthwhile content such as blogs, photographs, books and much more. If you want to support his work, it is possible to do so by buying his e-books & books or prints.
You can also sign up to the newsletter to stay up to date on new blog posts, projects, workshops and other interesting information.
Thank you for considering!






Just a heads-up that even though this is a great case, I ended up returning it because it does not fit the DJI Air 3 with the Fly More combo — the 3-battery charger, the RC2 controller and the drone itself are too large to fit all at the same time.
Hi Nuno, nice to hear from you! You are correct, the battery dock for the Air 3 is too large to fit together with the rest of the items inside this case. When I used my Air 3, I kept the battery dock separately as it fitted everything else nicely. I have to say, this battery dock for the Air 3 is enormous and I’m puzzled why they went down that route, considering the Mavic 3 has such a small dock.