Figuring out which drone to purchase for photography can already be a challenge (by the way: check out my drone buyer’s guide) but that’s just the beginning of the journey. There are so many accessories you can purchase, which all promise to make your drone photography life easier. But do they really? In this blog article, I share which drone accessories I find extremely useful (and worth your money) and which I don’t.
Disclaimer: Some of the links in this article are affiliate links. When you make a purchase using such links, I may earn a small commission.
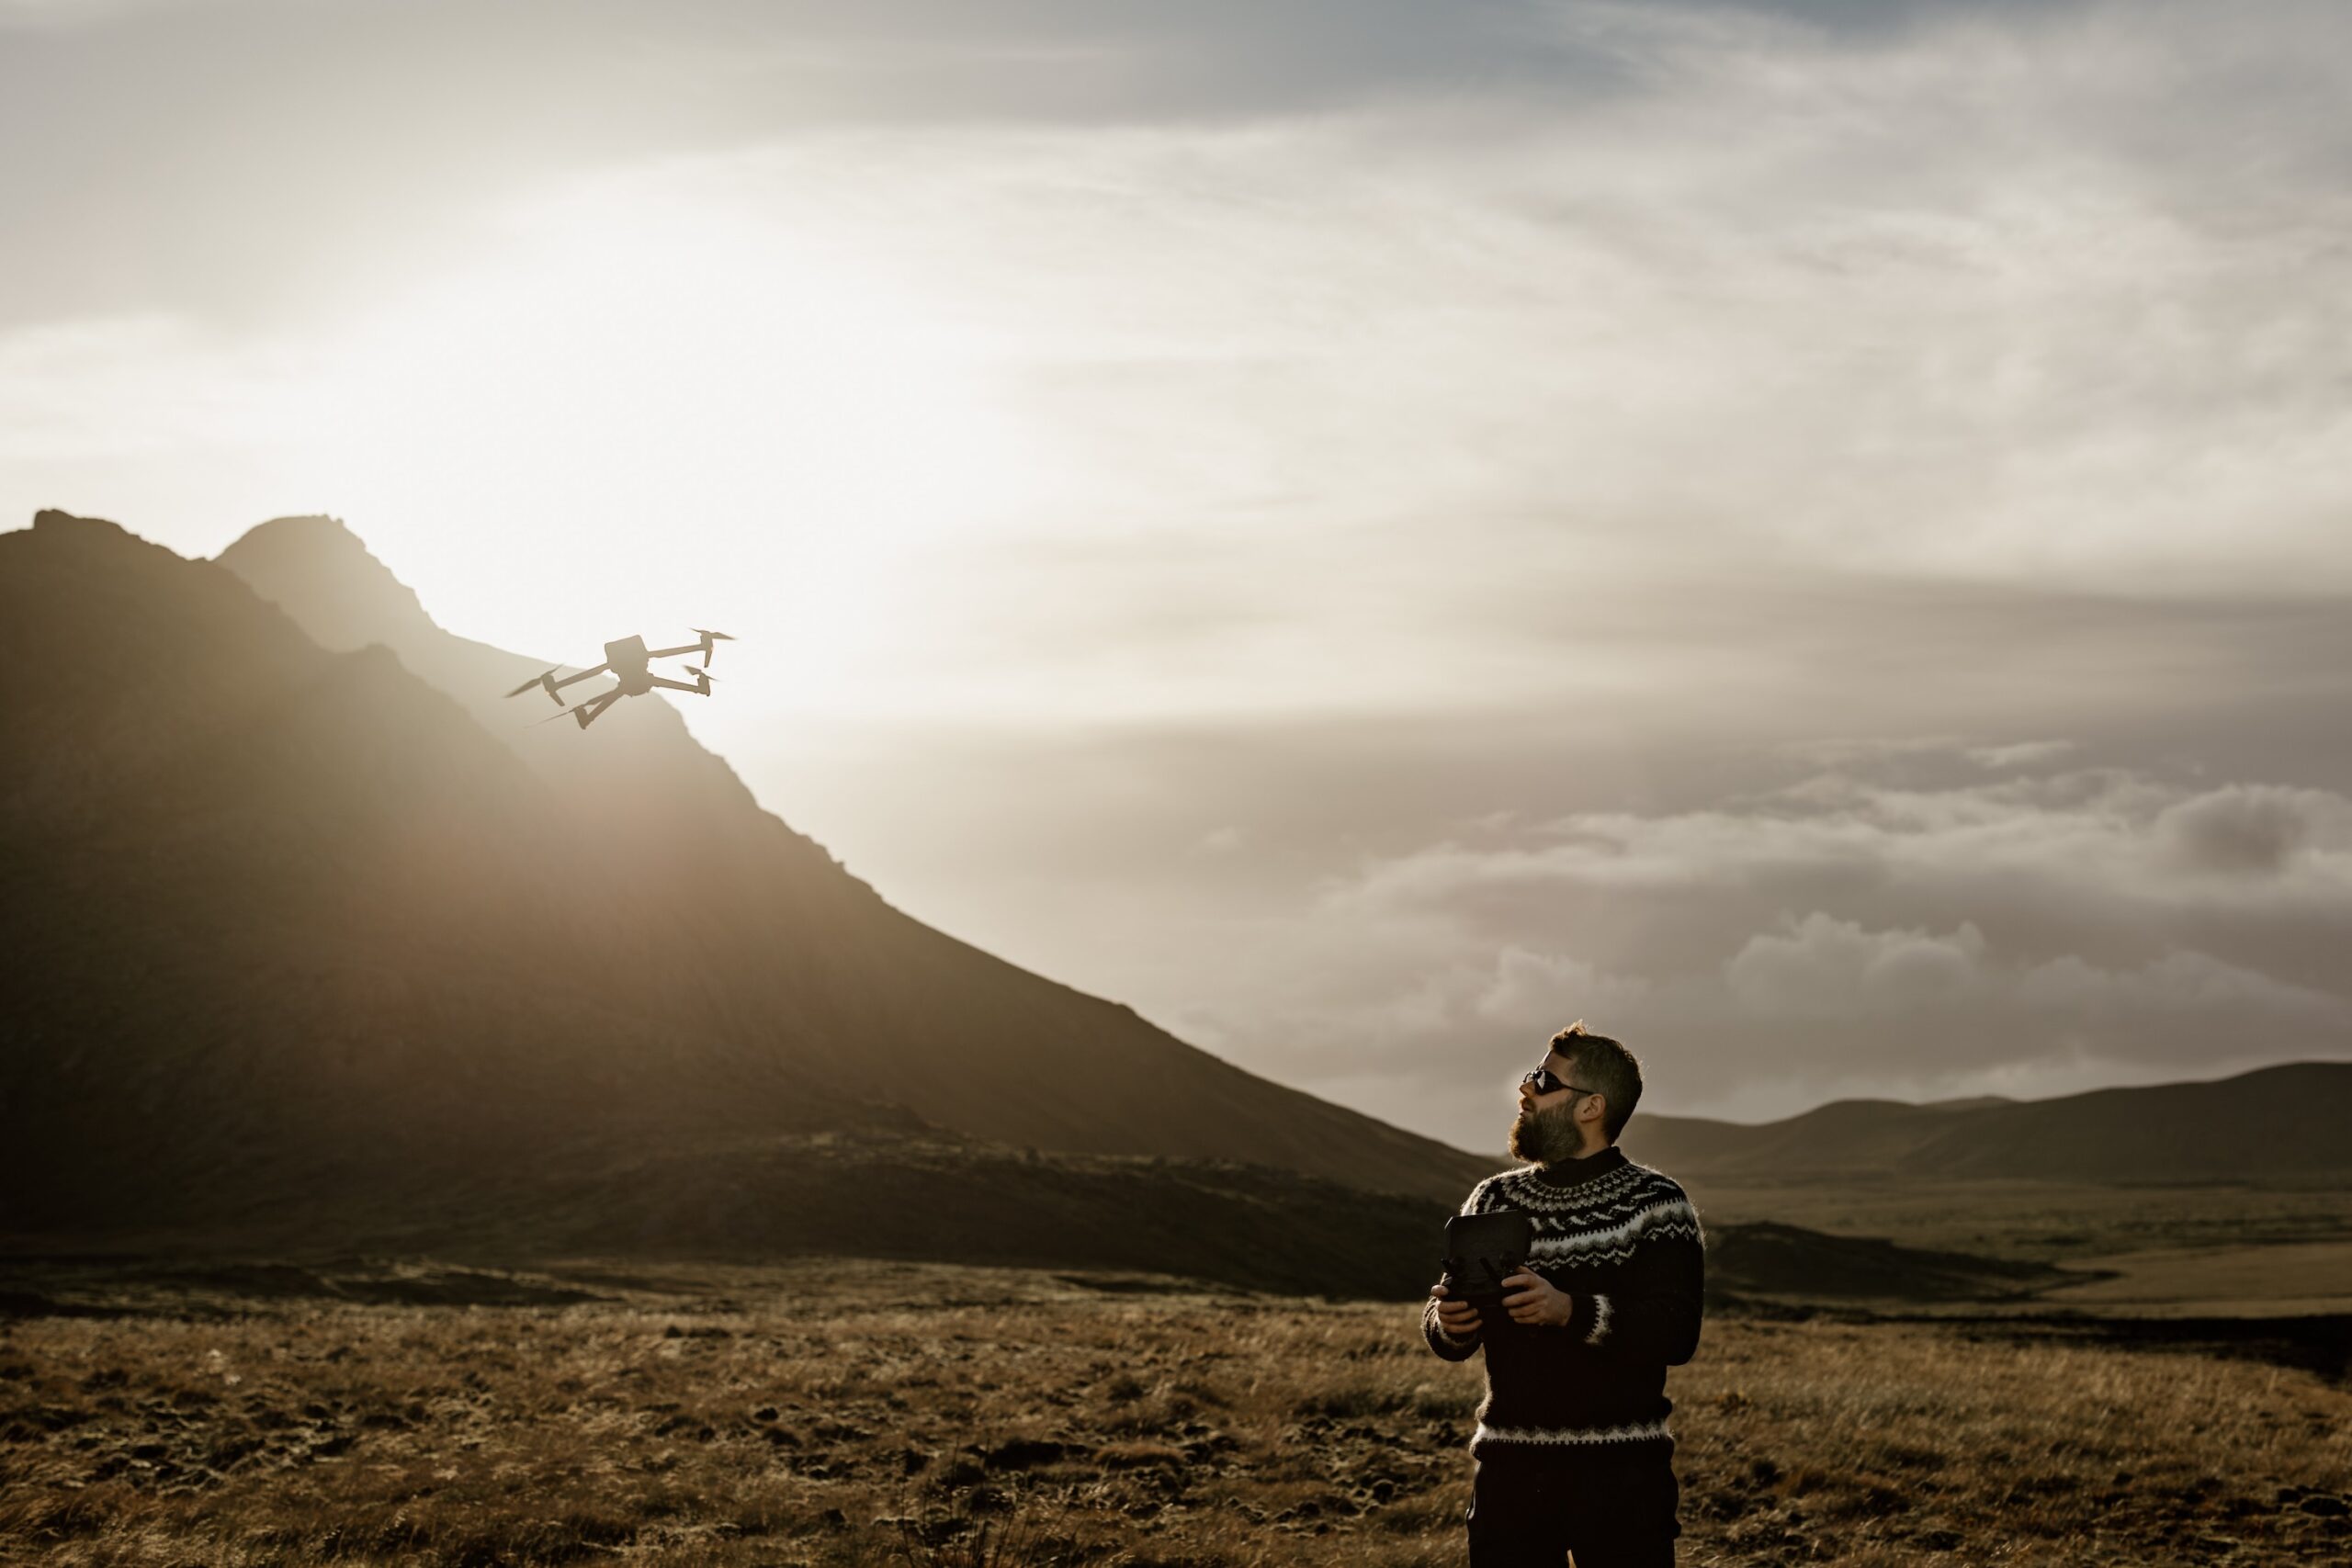
Special thanks to Shari Asselberghs for the cover image of this blog.
Useful Drone Accessories
There are many useful accessories and I won’t delve into all of them. However, there are a few items that stand out to me which can really simplify and improve your workflow.
High-Speed (microSD) Memory Cards
The number one item(s) to get are sufficiently fast memory cards. Most drones use microSD cards for storage. It’s important to always use the fastest memory cards your drone supports, even when you don’t record high resolution video. Also, make sure to purchase cards that can contain a lot of data. When you for example take bracketed shots or large panoramas, you want as little downtime as possible between shots while also having enough memory to store all of the photographs.
Here are a few high speed microSD cards I use myself and would recommend:
- Sandisk memory cards (https://geni.us/jvn-sandiskmicrosd)
- Lexar memory cards (https://geni.us/jvn-lexarmicrosd)
Additionally, you will want to purchase multiple memory cards. I find it good practice to label the cards with a number and swap out the cards between flights. When doing so, it won’t be a total disaster in case you lose your drone during a flight. If you never swap out cards between flights, you will also lose all photographs taken up to that point.
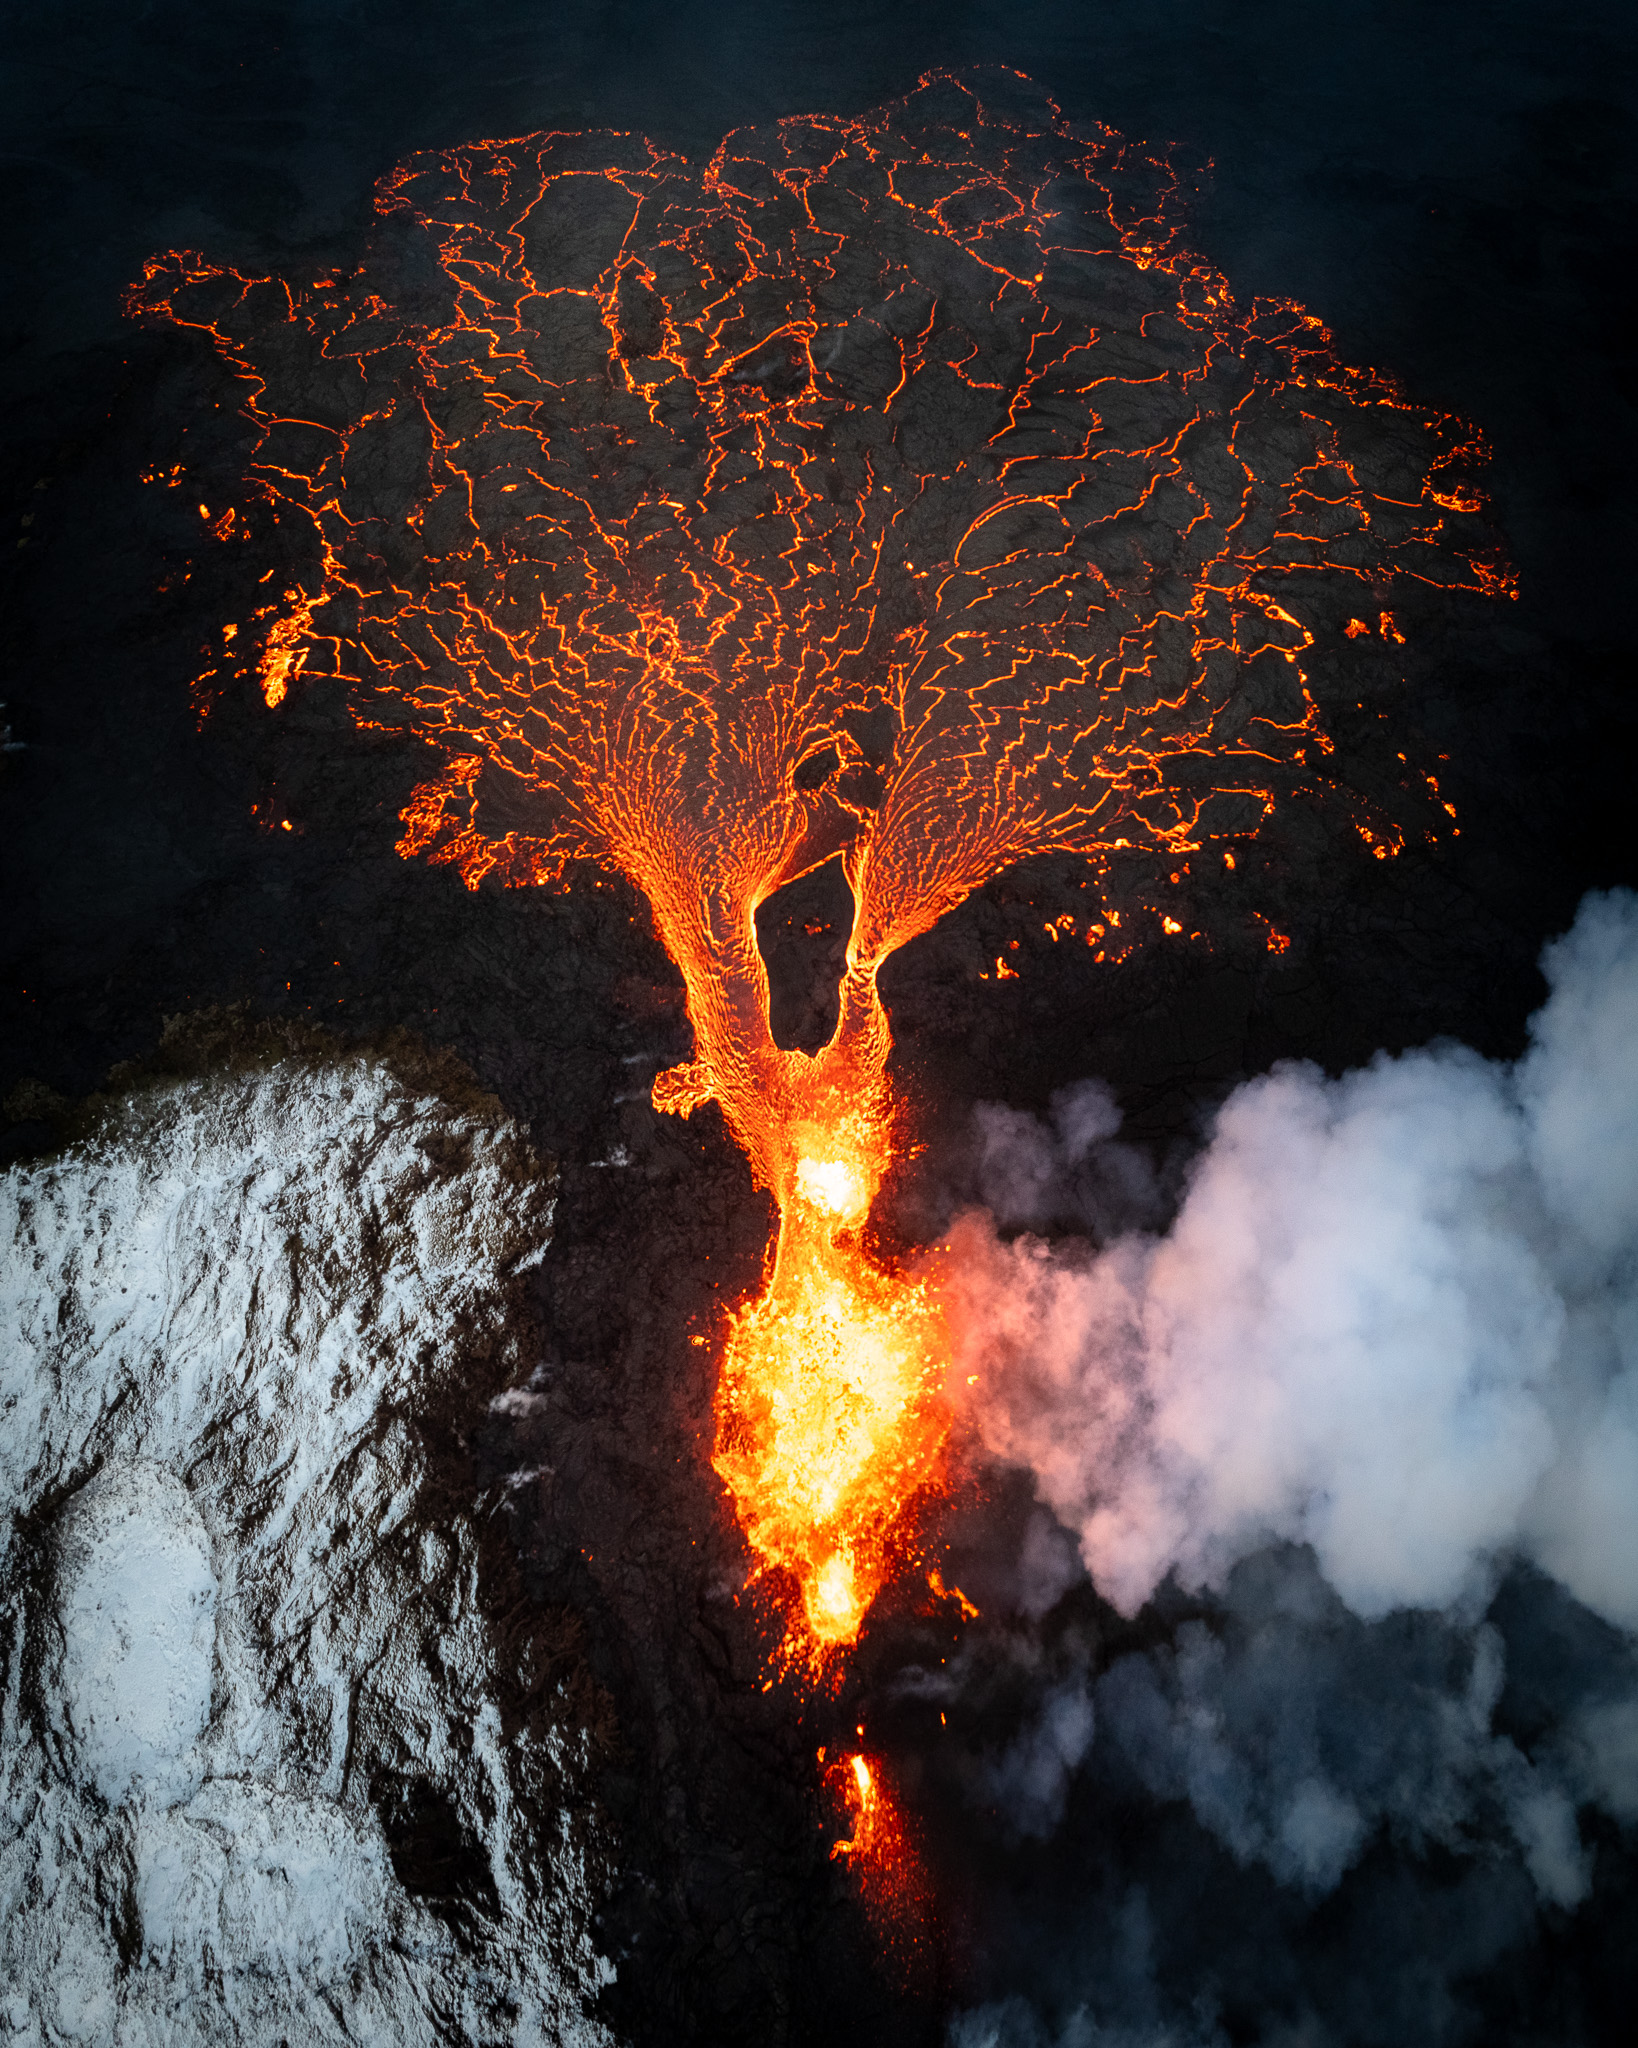
When you are creating high resolution bracketed multi-shot drone panoramas, you want as little downtime as you can get. This is especially true when photographing moving subjects such as water and even lava.
A Dedicated Drone Remote Controller
While you can get by using the basic remote in combination with your smartphone, connecting the phone each time you wish to fly can be a hassle. Therefore, most drone pilots purchase a dedicated remote controller.
Additionally, most dedicated controllers don’t suffer from the overheating protections of a smartphone. When using your smartphone on the highest brightness level, which is common when outdoors, it will automatically darken itself when the phone gets too hot. Finally, you might be using your phone for other things throughout the day which means you need to keep an extra eye on your phone’s battery.
There are currently two standalone DJI controllers on the market. The price difference between them is great while the difference in functionality is not. Although some of the extra features may be worth the money to you. I detailed the differences between both remotes in a separate blog post.
Currently, these are the only dedicated DJI controllers which are sold separately:
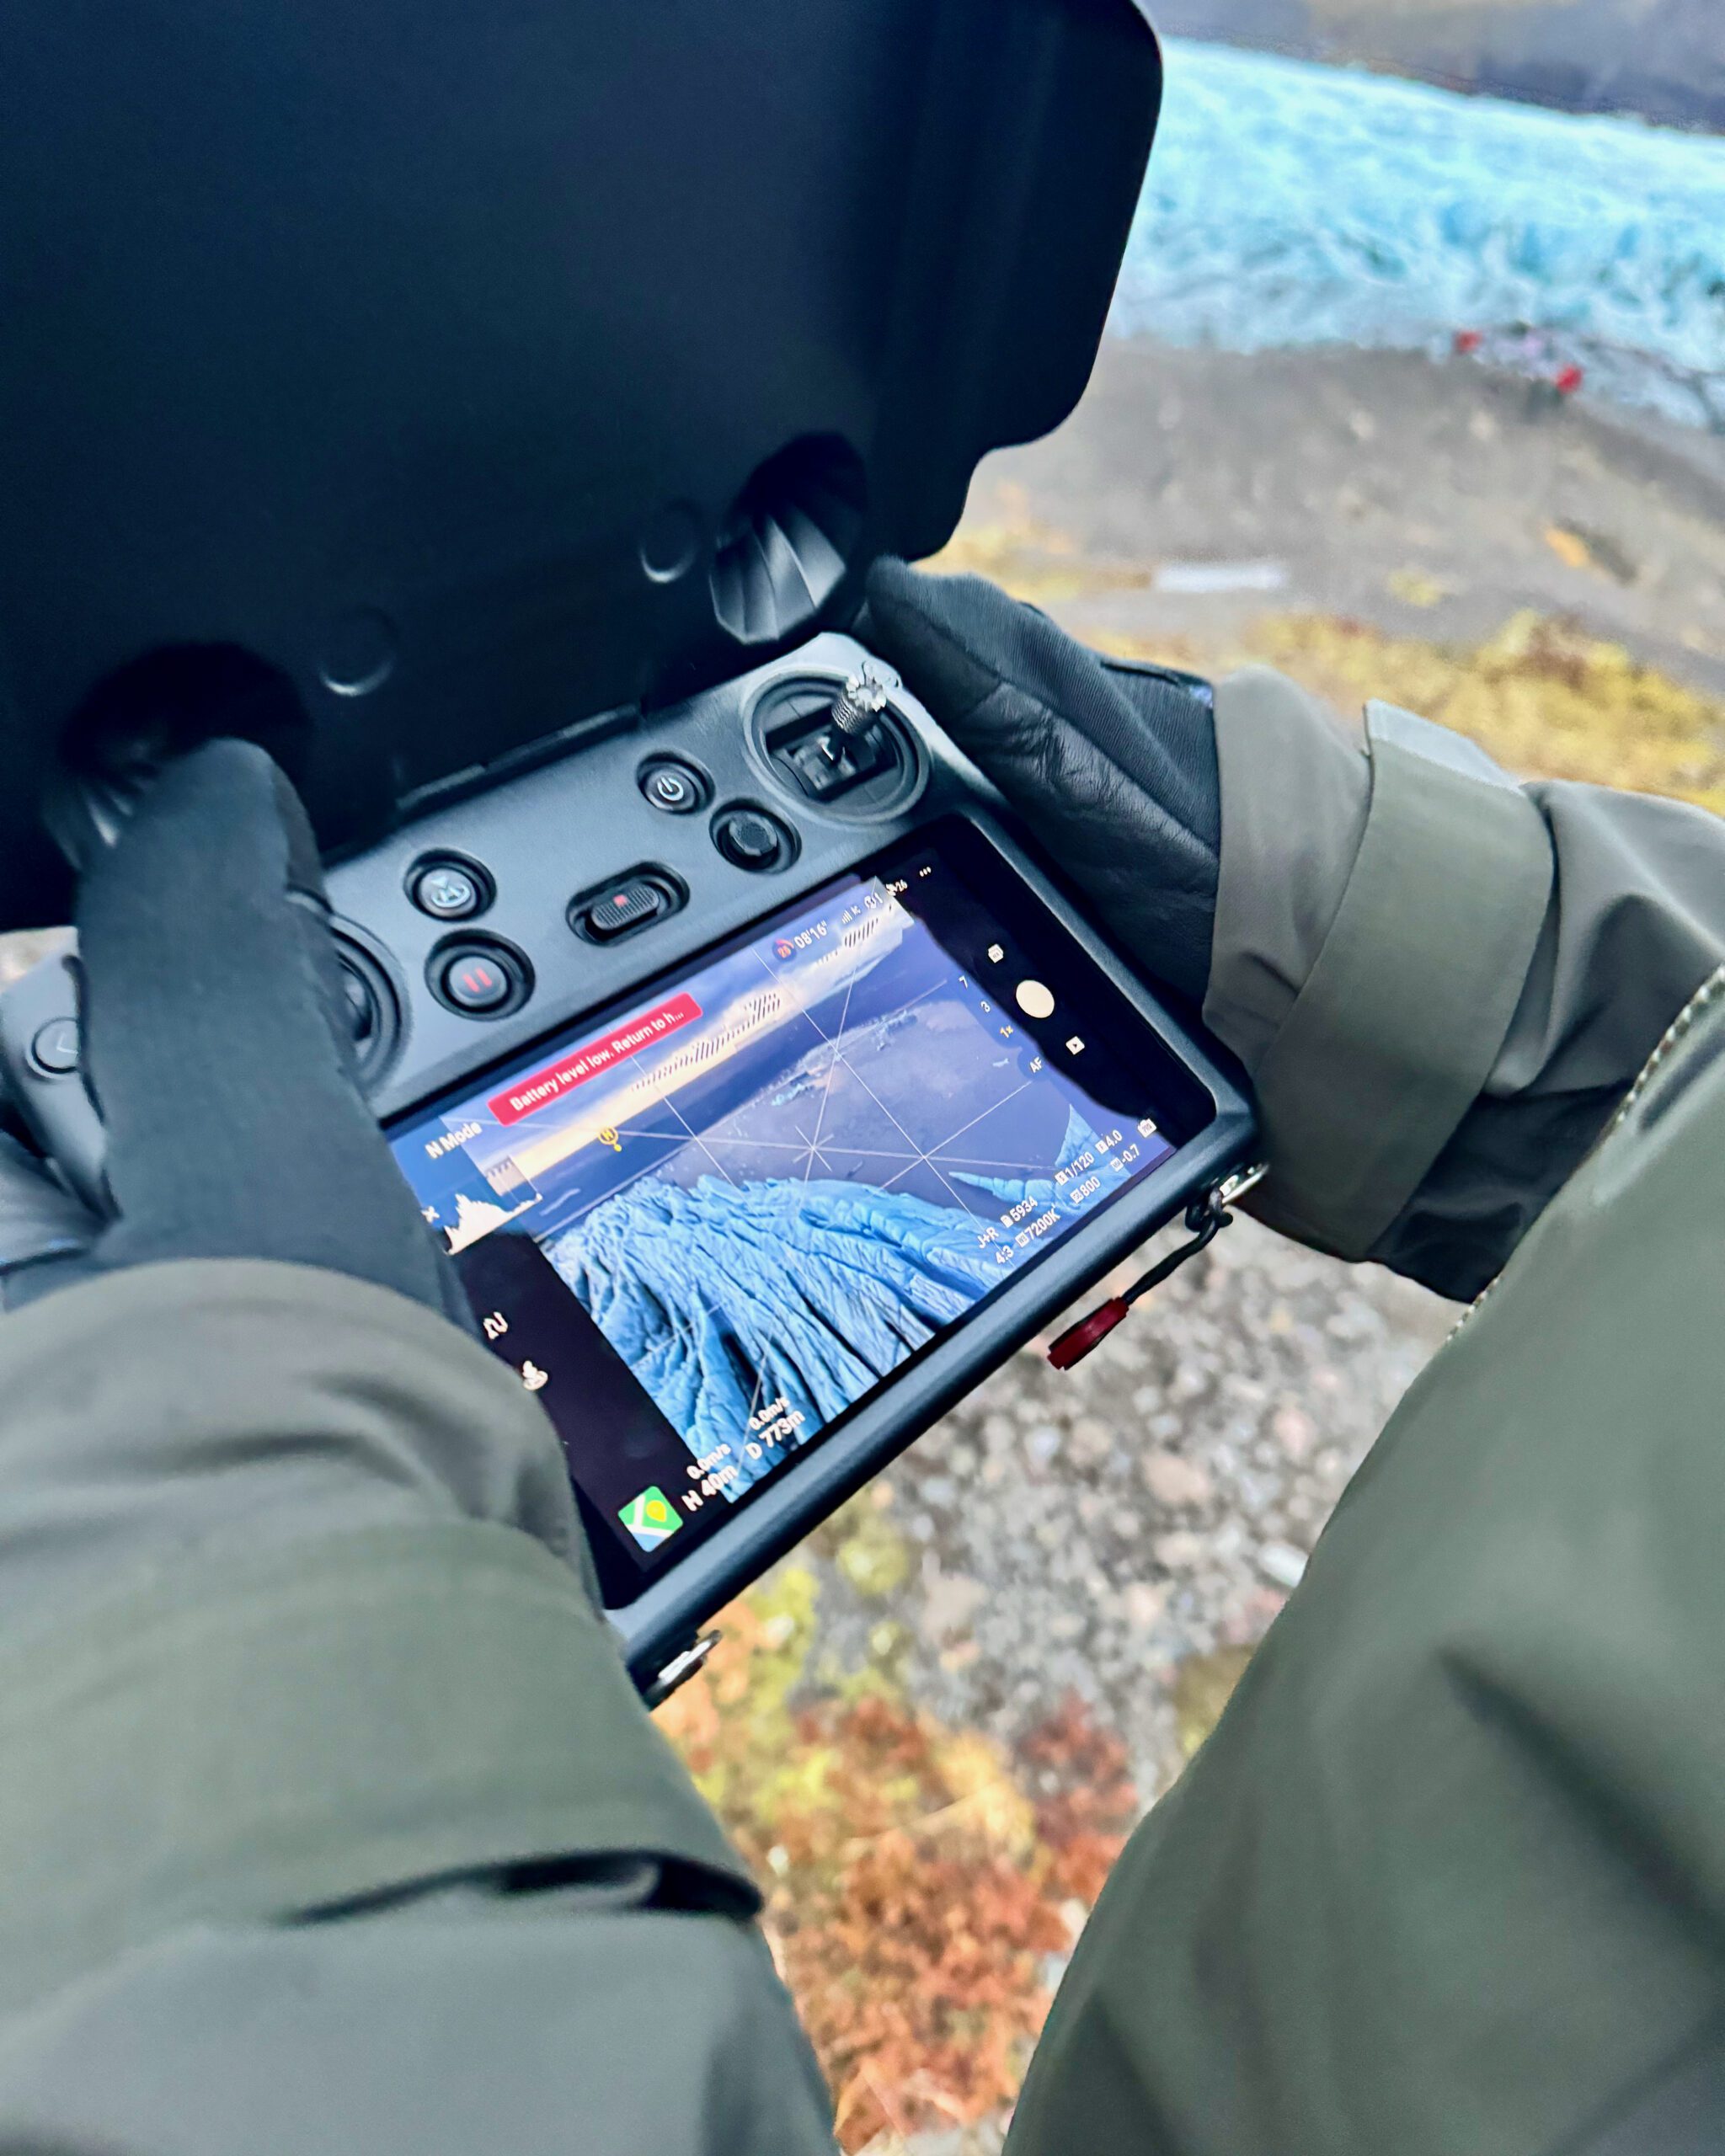
Dedicated remote controllers are a joy to use. You arrive on-site, switch them on, and begin flying. There’s no need to worry about keeping a phone charged and struggling with screen brightness.
Sun Shield For Your Remote Controller
A useful addition to any remote controller is a sun shield which also acts as a protection cover too. This is especially useful when you fly in bright sunlight (we don’t get many of those in Iceland) as it will help to reduce glare & poor visibility. Additionally, it allows you to store the controller without having to take the sticks off.
Here are some of the available sun shields for all DJI standalone remote controllers which I recommend:
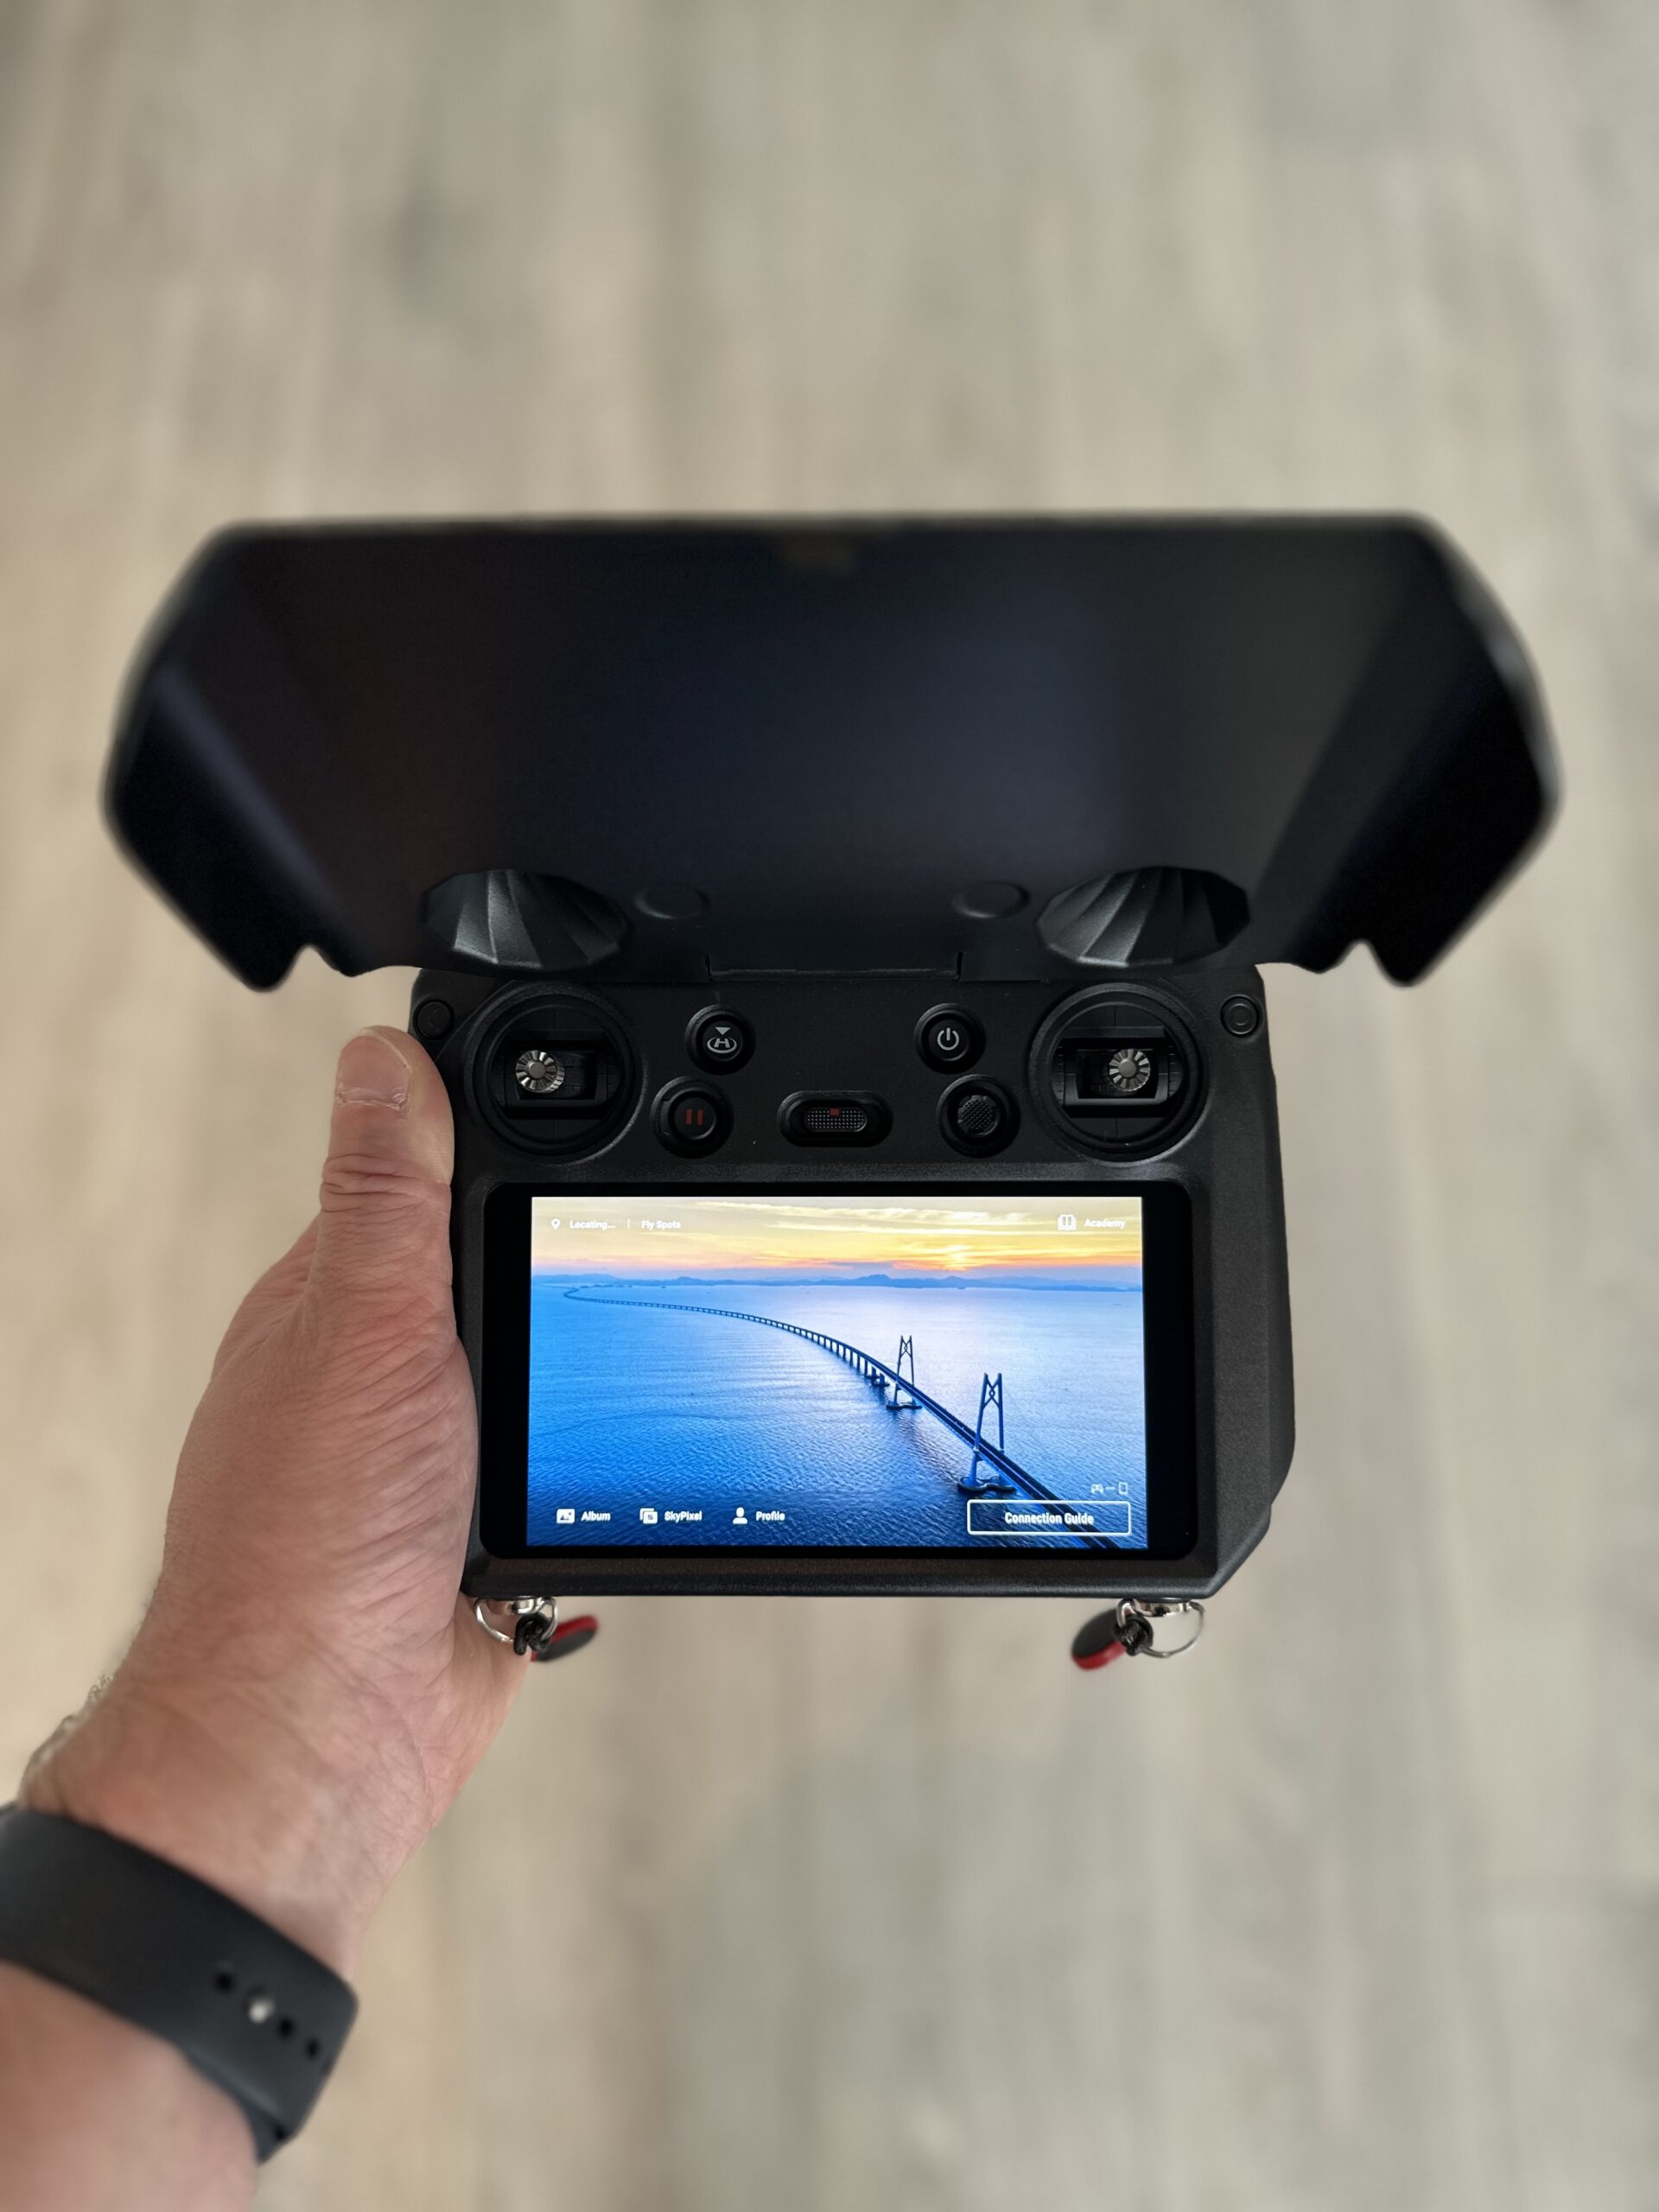
As you can see in this photo, I use a sun shield which also acts as a cover for your remote. It’s very compact and folds down neatly over the remote.
Car & Mobile Chargers Or Power Banks
If you are on the road, you may consider purchasing a car charger or compatible power bank for your batteries so can easily recharge them.
While most drones have shifted to using USB-C for charging, older drones might still need a proprietary car charger. I find the charging method important as it dictates how much additional stuff you need to take in your bag. USB-C charged items all use the same charging port, which means you can get by with only one charger. When choosing a USB-C charger, it’s vital you get a charger that supports a minimum output of 65w using Power Delivery (PD) and has sufficient capacity to recharge at least two or more drone batteries.
Here are a few car chargers & USB-C power banks which I use to keep my drone charged:
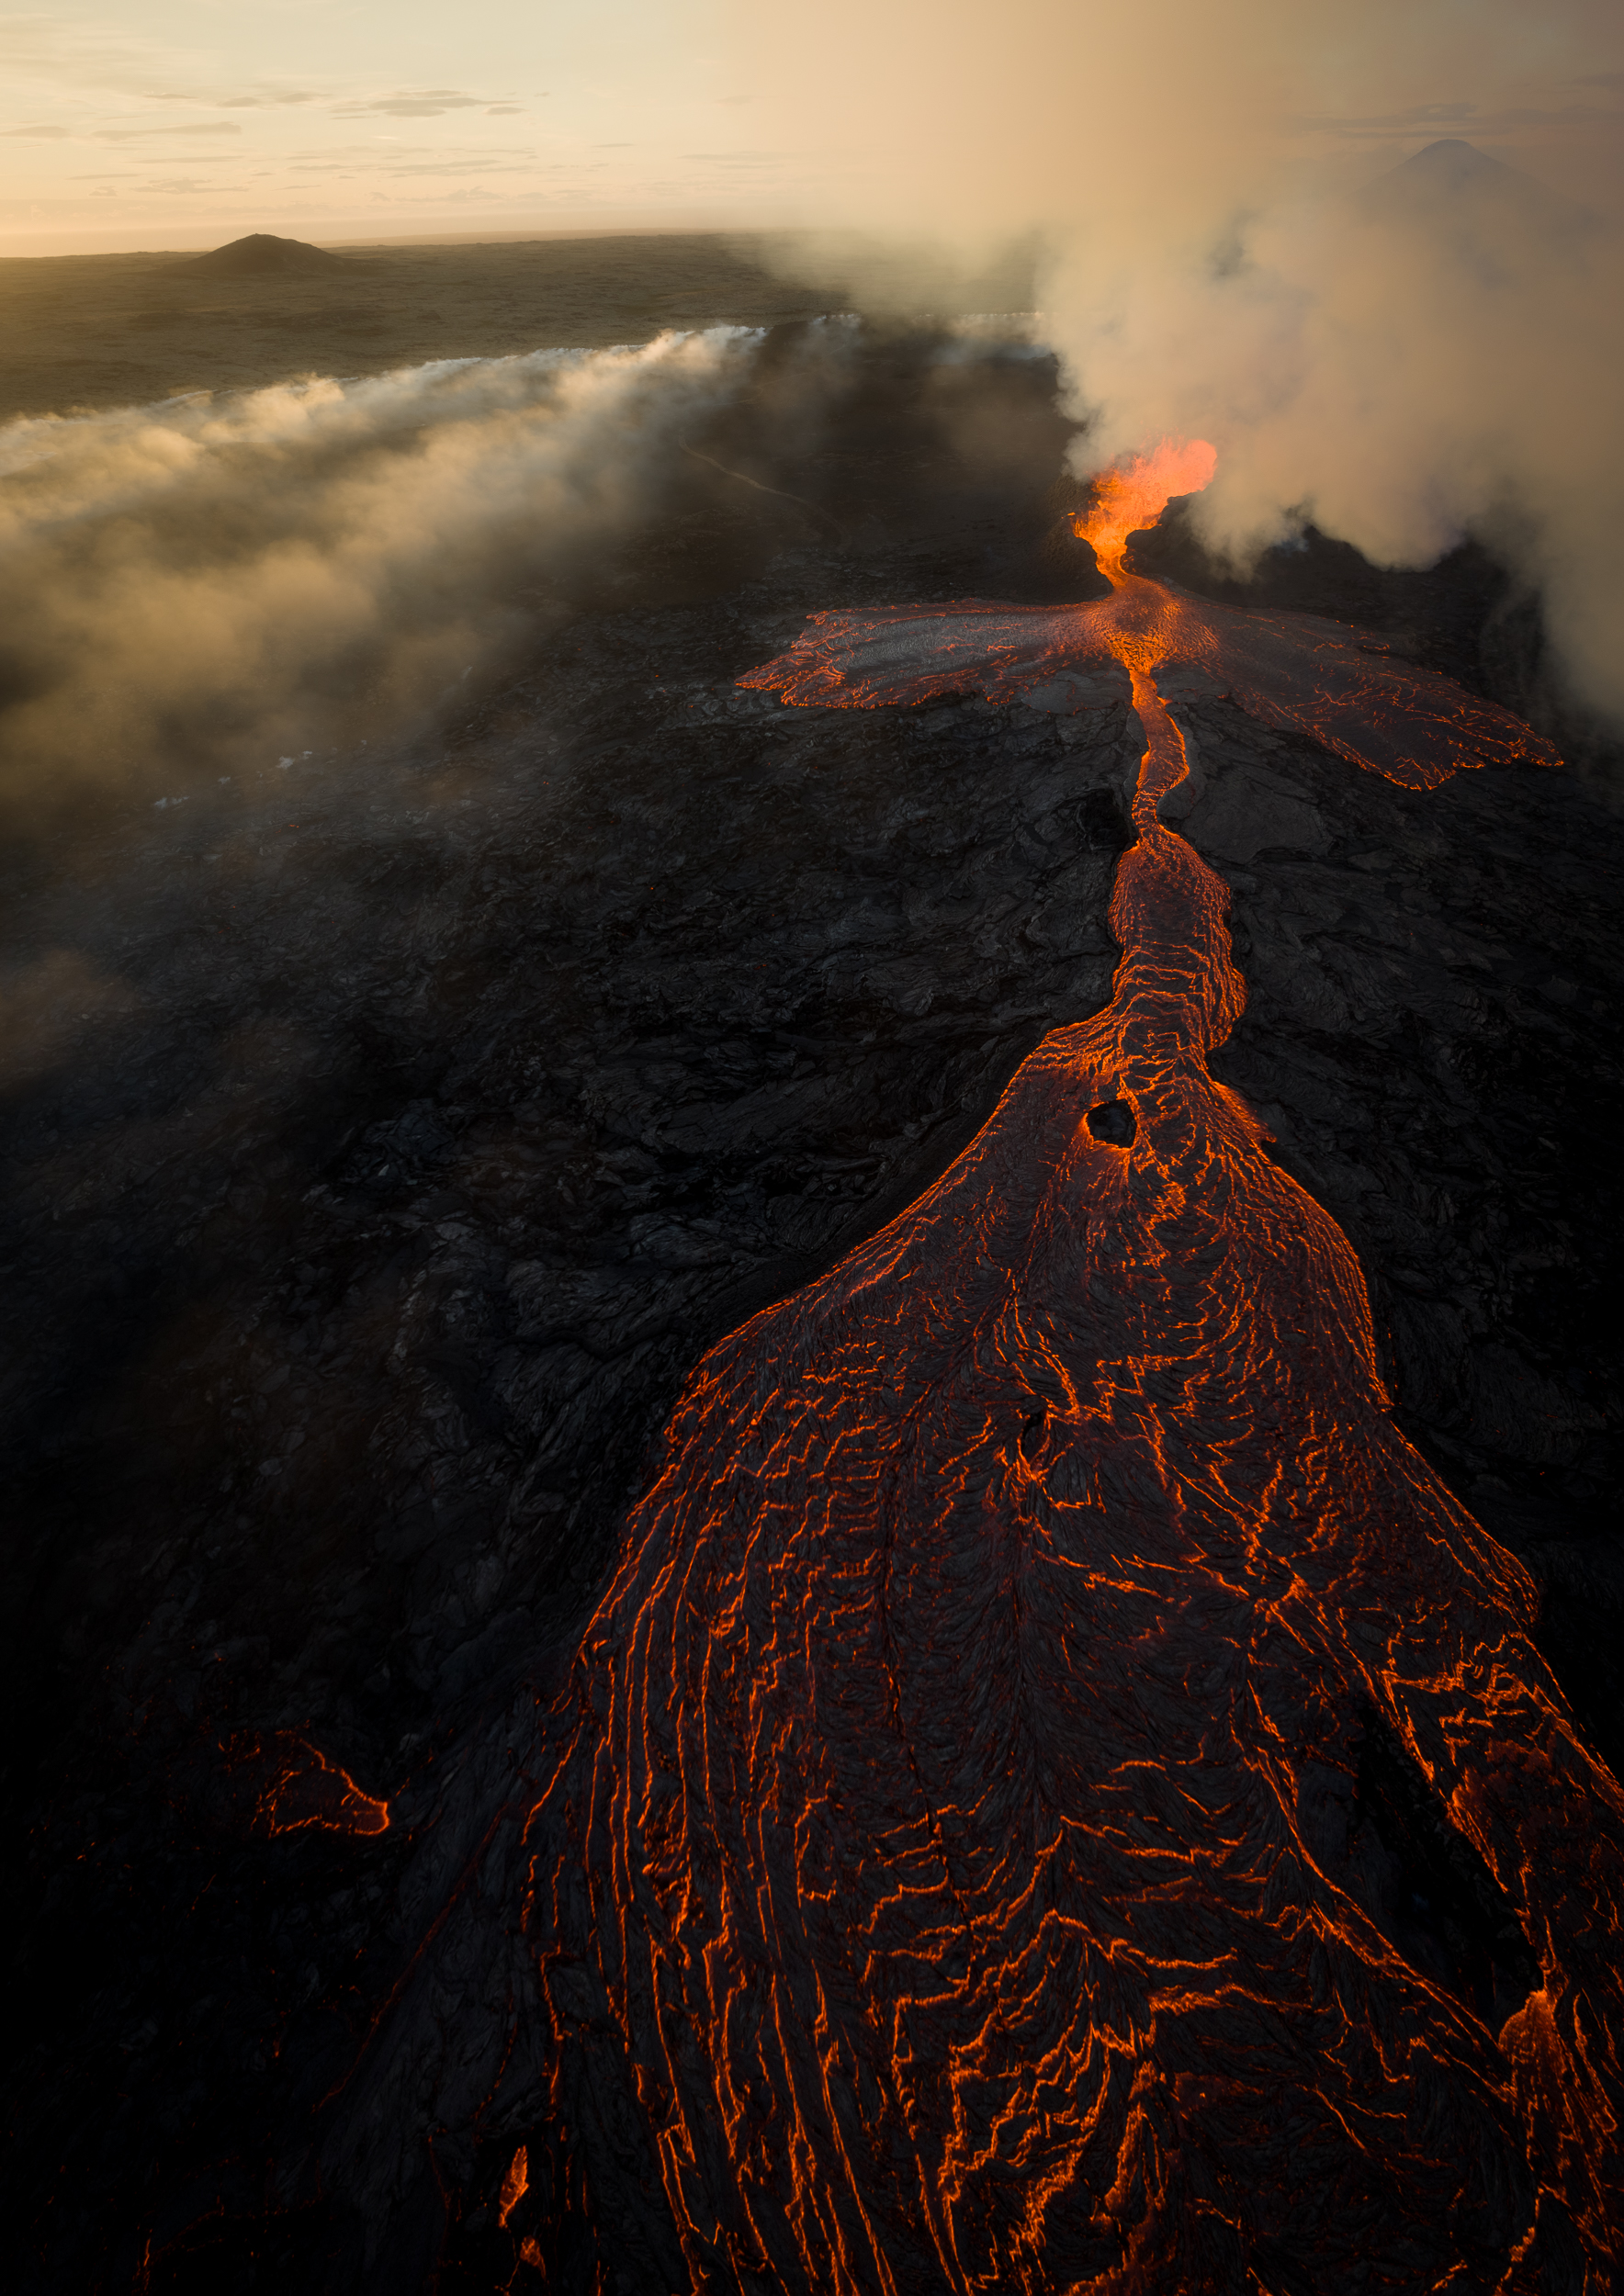
Having a compatible power bank on me during the eruptions meant that, even after flying 5 drone batteries, I could keep flying and take shots like this one.
Spare Drone Batteries
You might also want to invest in some extra batteries. The more batteries you take with you, the longer you will be able to fly without needing to find a place to recharge them.
Spare batteries:
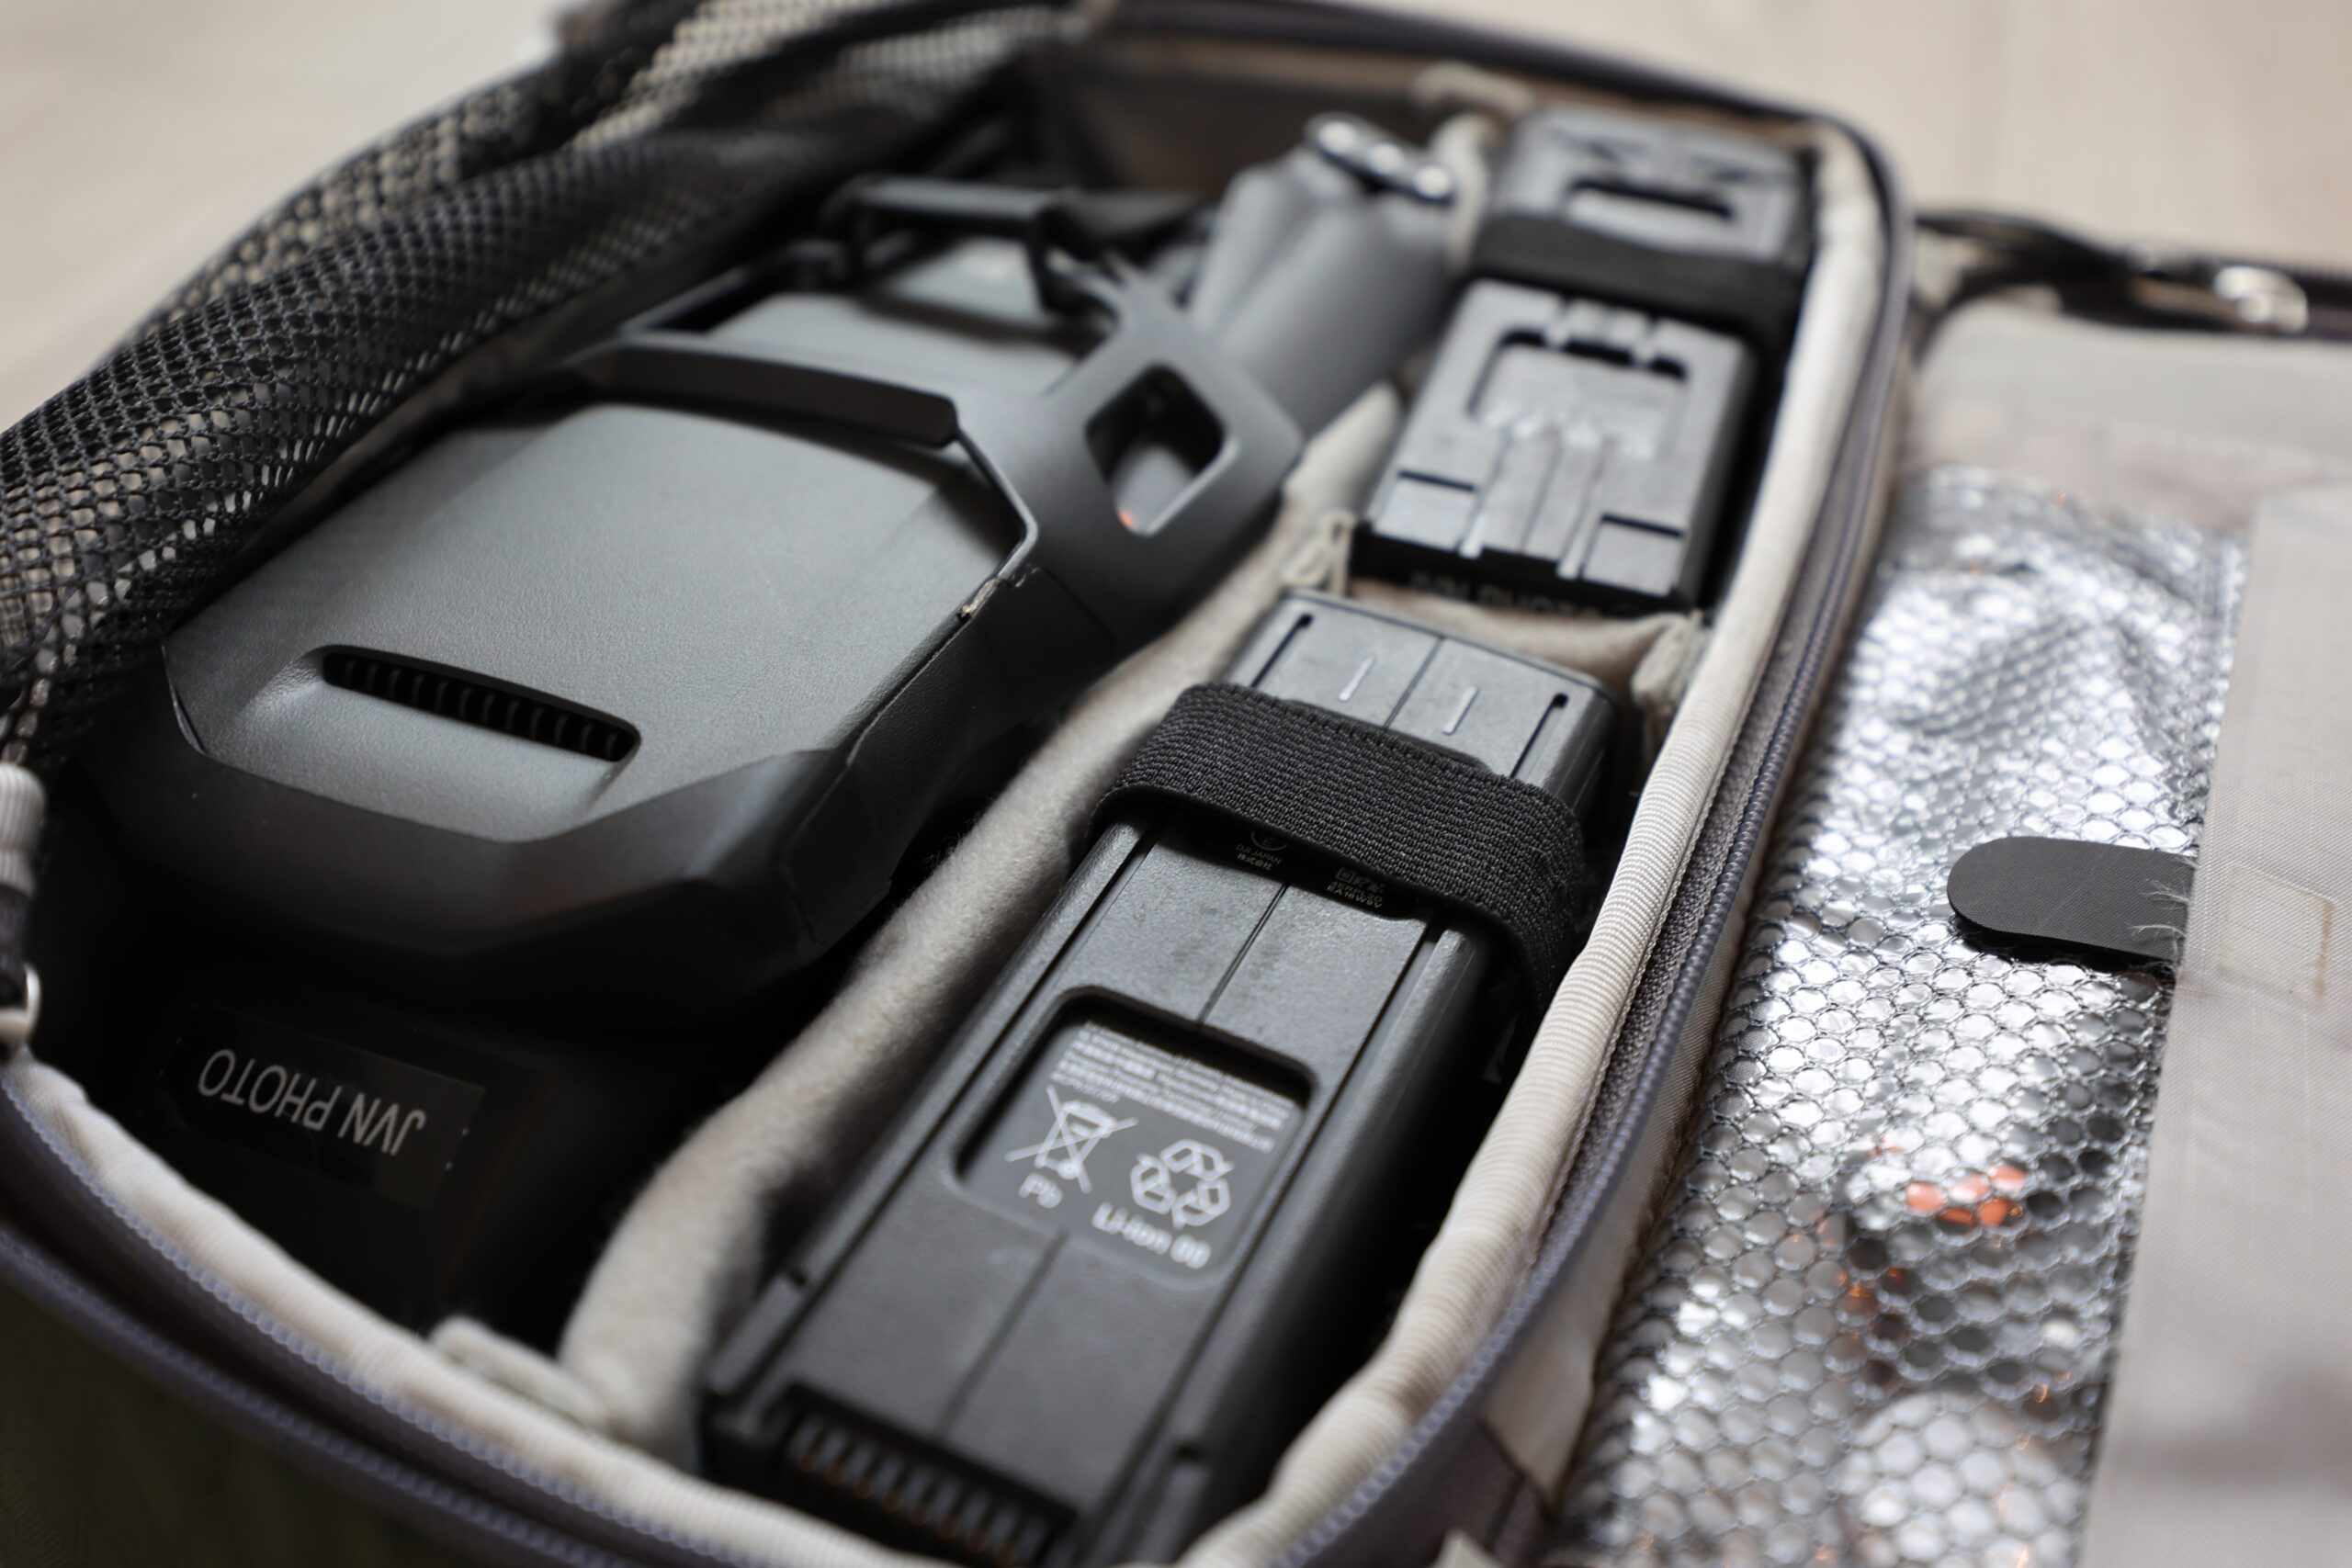
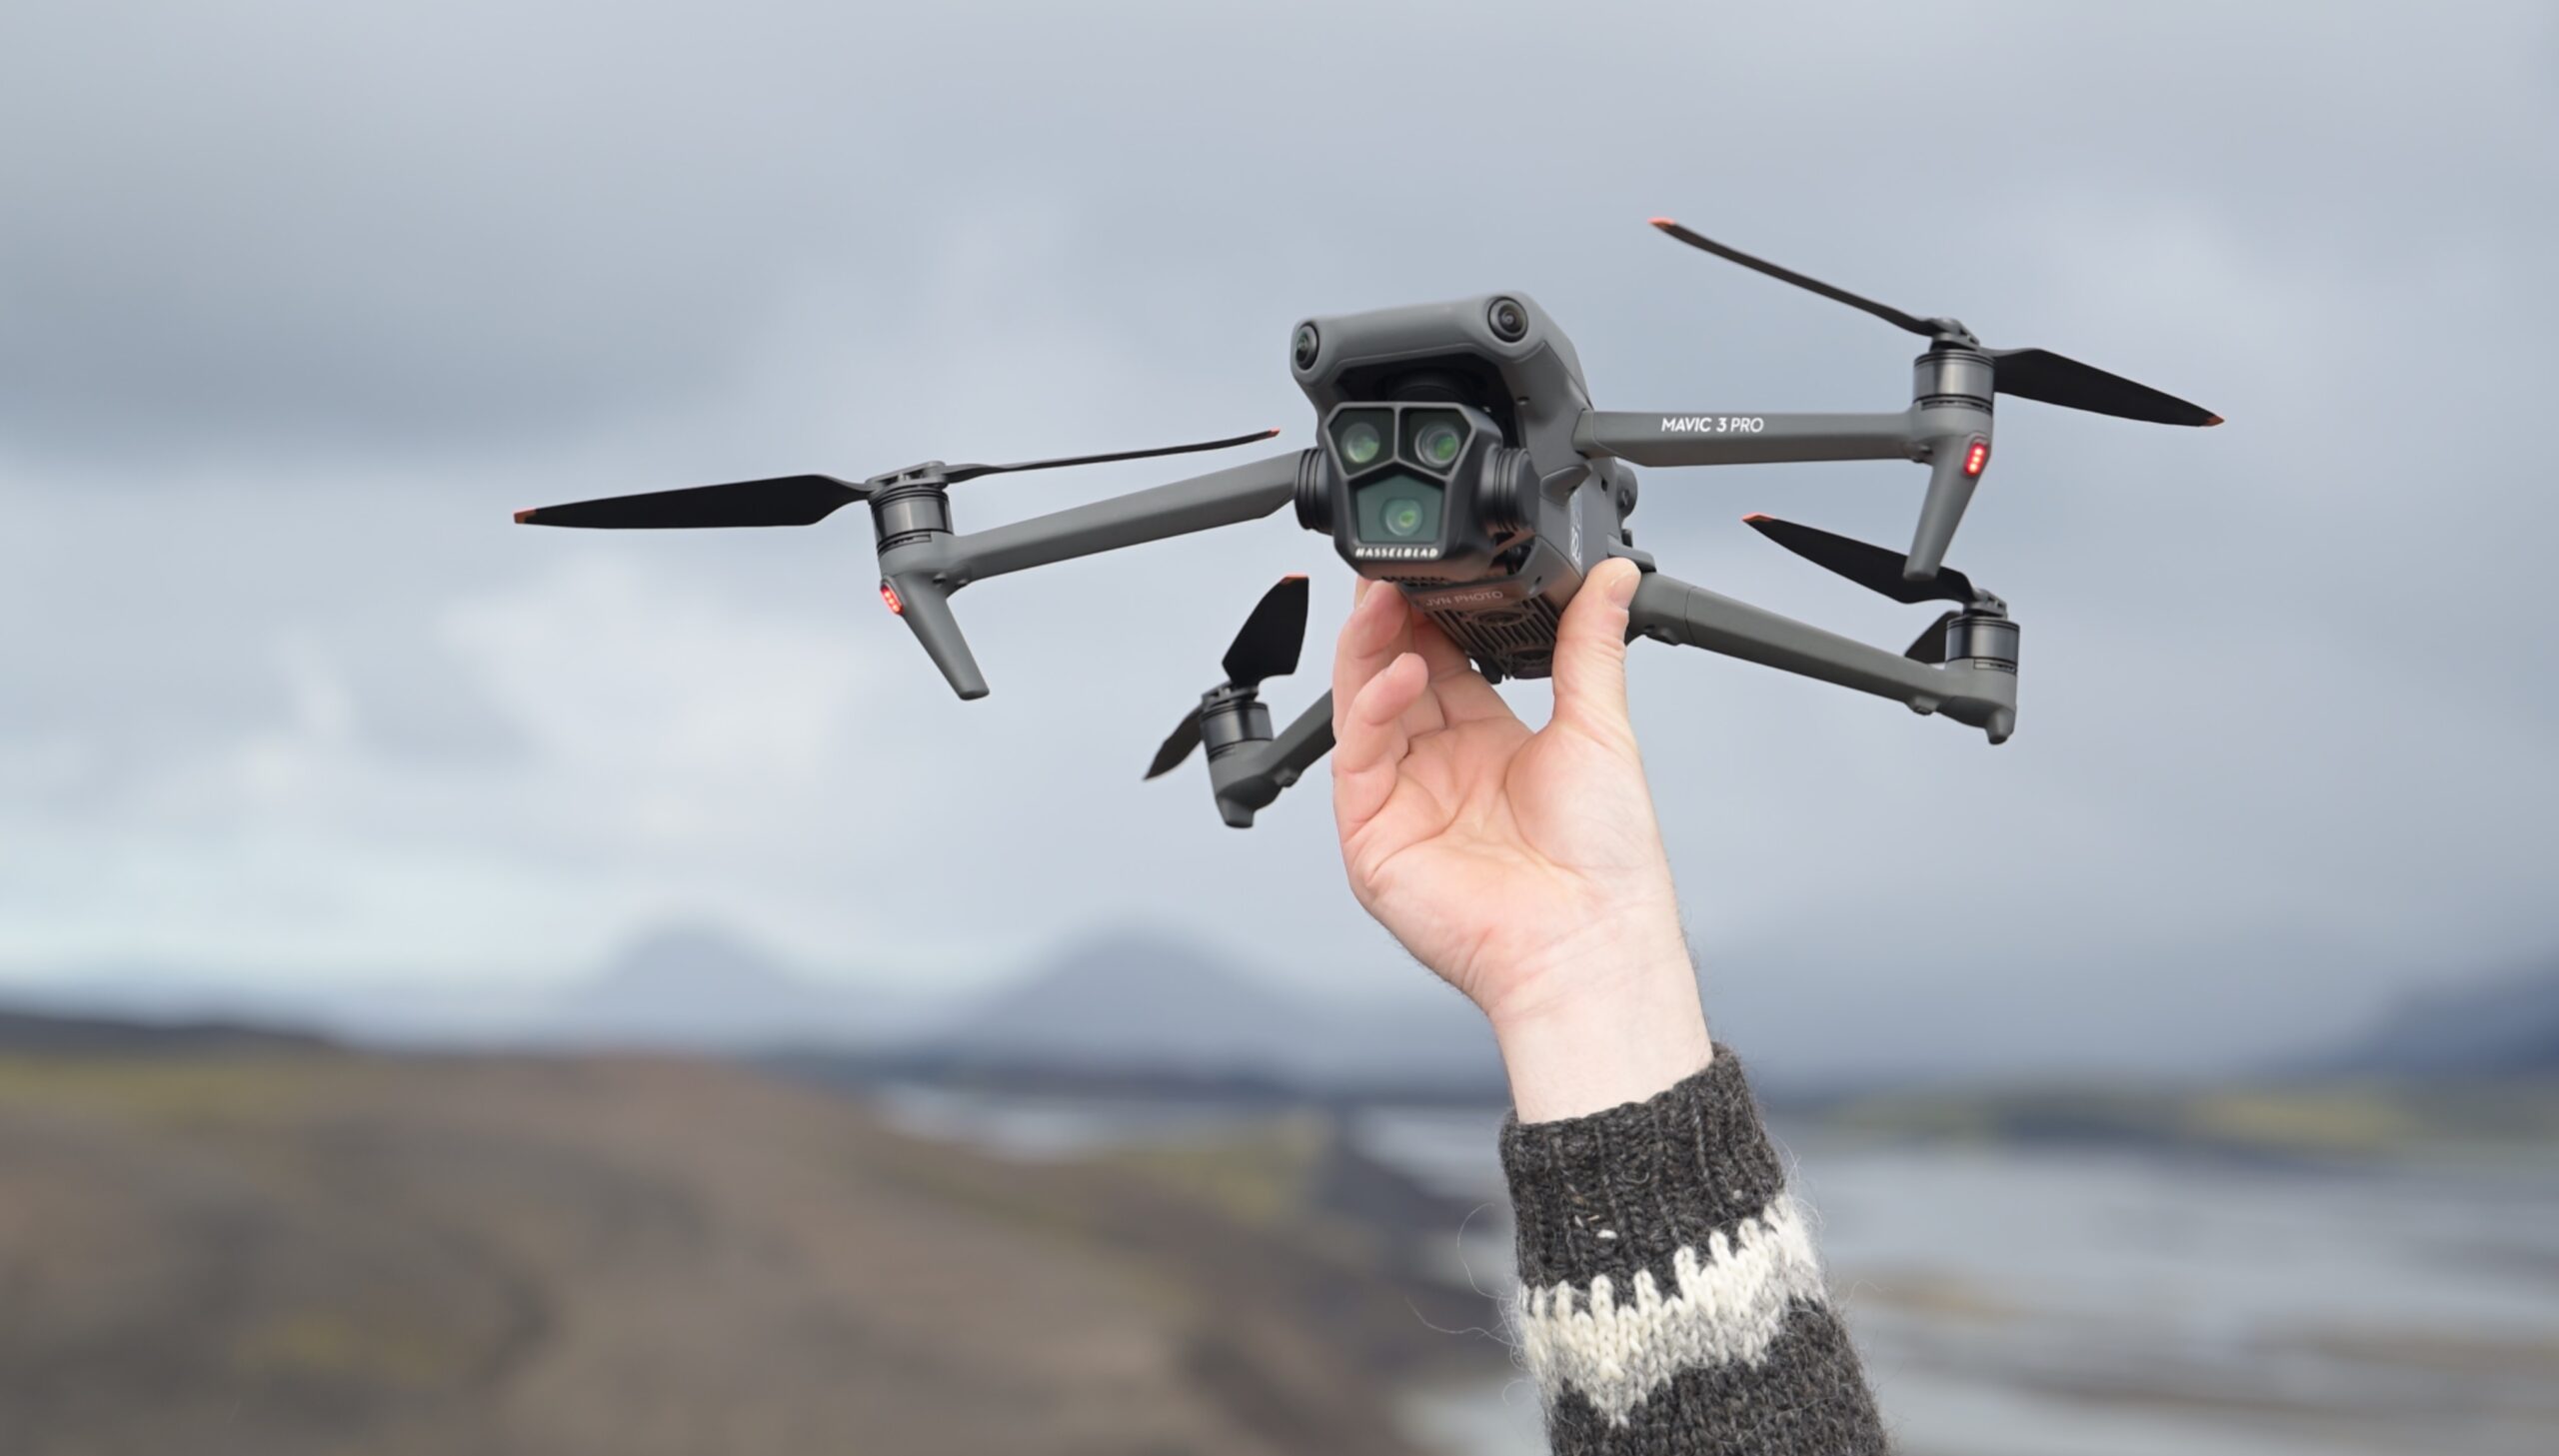
If you use something like this f-stop drone case, you can easily take up to 5 drone batteries with you if you use the DJI Air 3 or even the larger DJI Mavic 3 Pro.
Spare Propellers & Other Spare Items
Another must-have in your photography backpack are spare propellers. As you may have found out, the propellers on your drone are very fragile and can easily can get damaged when you hit something during take off and landing for example. Therefore it’s a good idea to keep spare propellers in your bag.
Spare propellers:
- DJI Mini 2 & Mini 2 SE (https://geni.us/jvn-djiminiprops)
- DJI Mini 3/4 & Mini 3/4 Pro (https://geni.us/jvn-djimini3props)
- DJI Air 2s (https://geni.us/jvn-djiair2sprops)
- DJI Air 3 (https://geni.us/jvn-djiair3props)
- DJI Mavic 3 Classic & Pro (https://geni.us/jvn-djimavic3props)
This goes for every detachable or replaceable item on your drone such as, for example, remote controller sticks. Having such small spare items on you at all times can be a lifesaver.
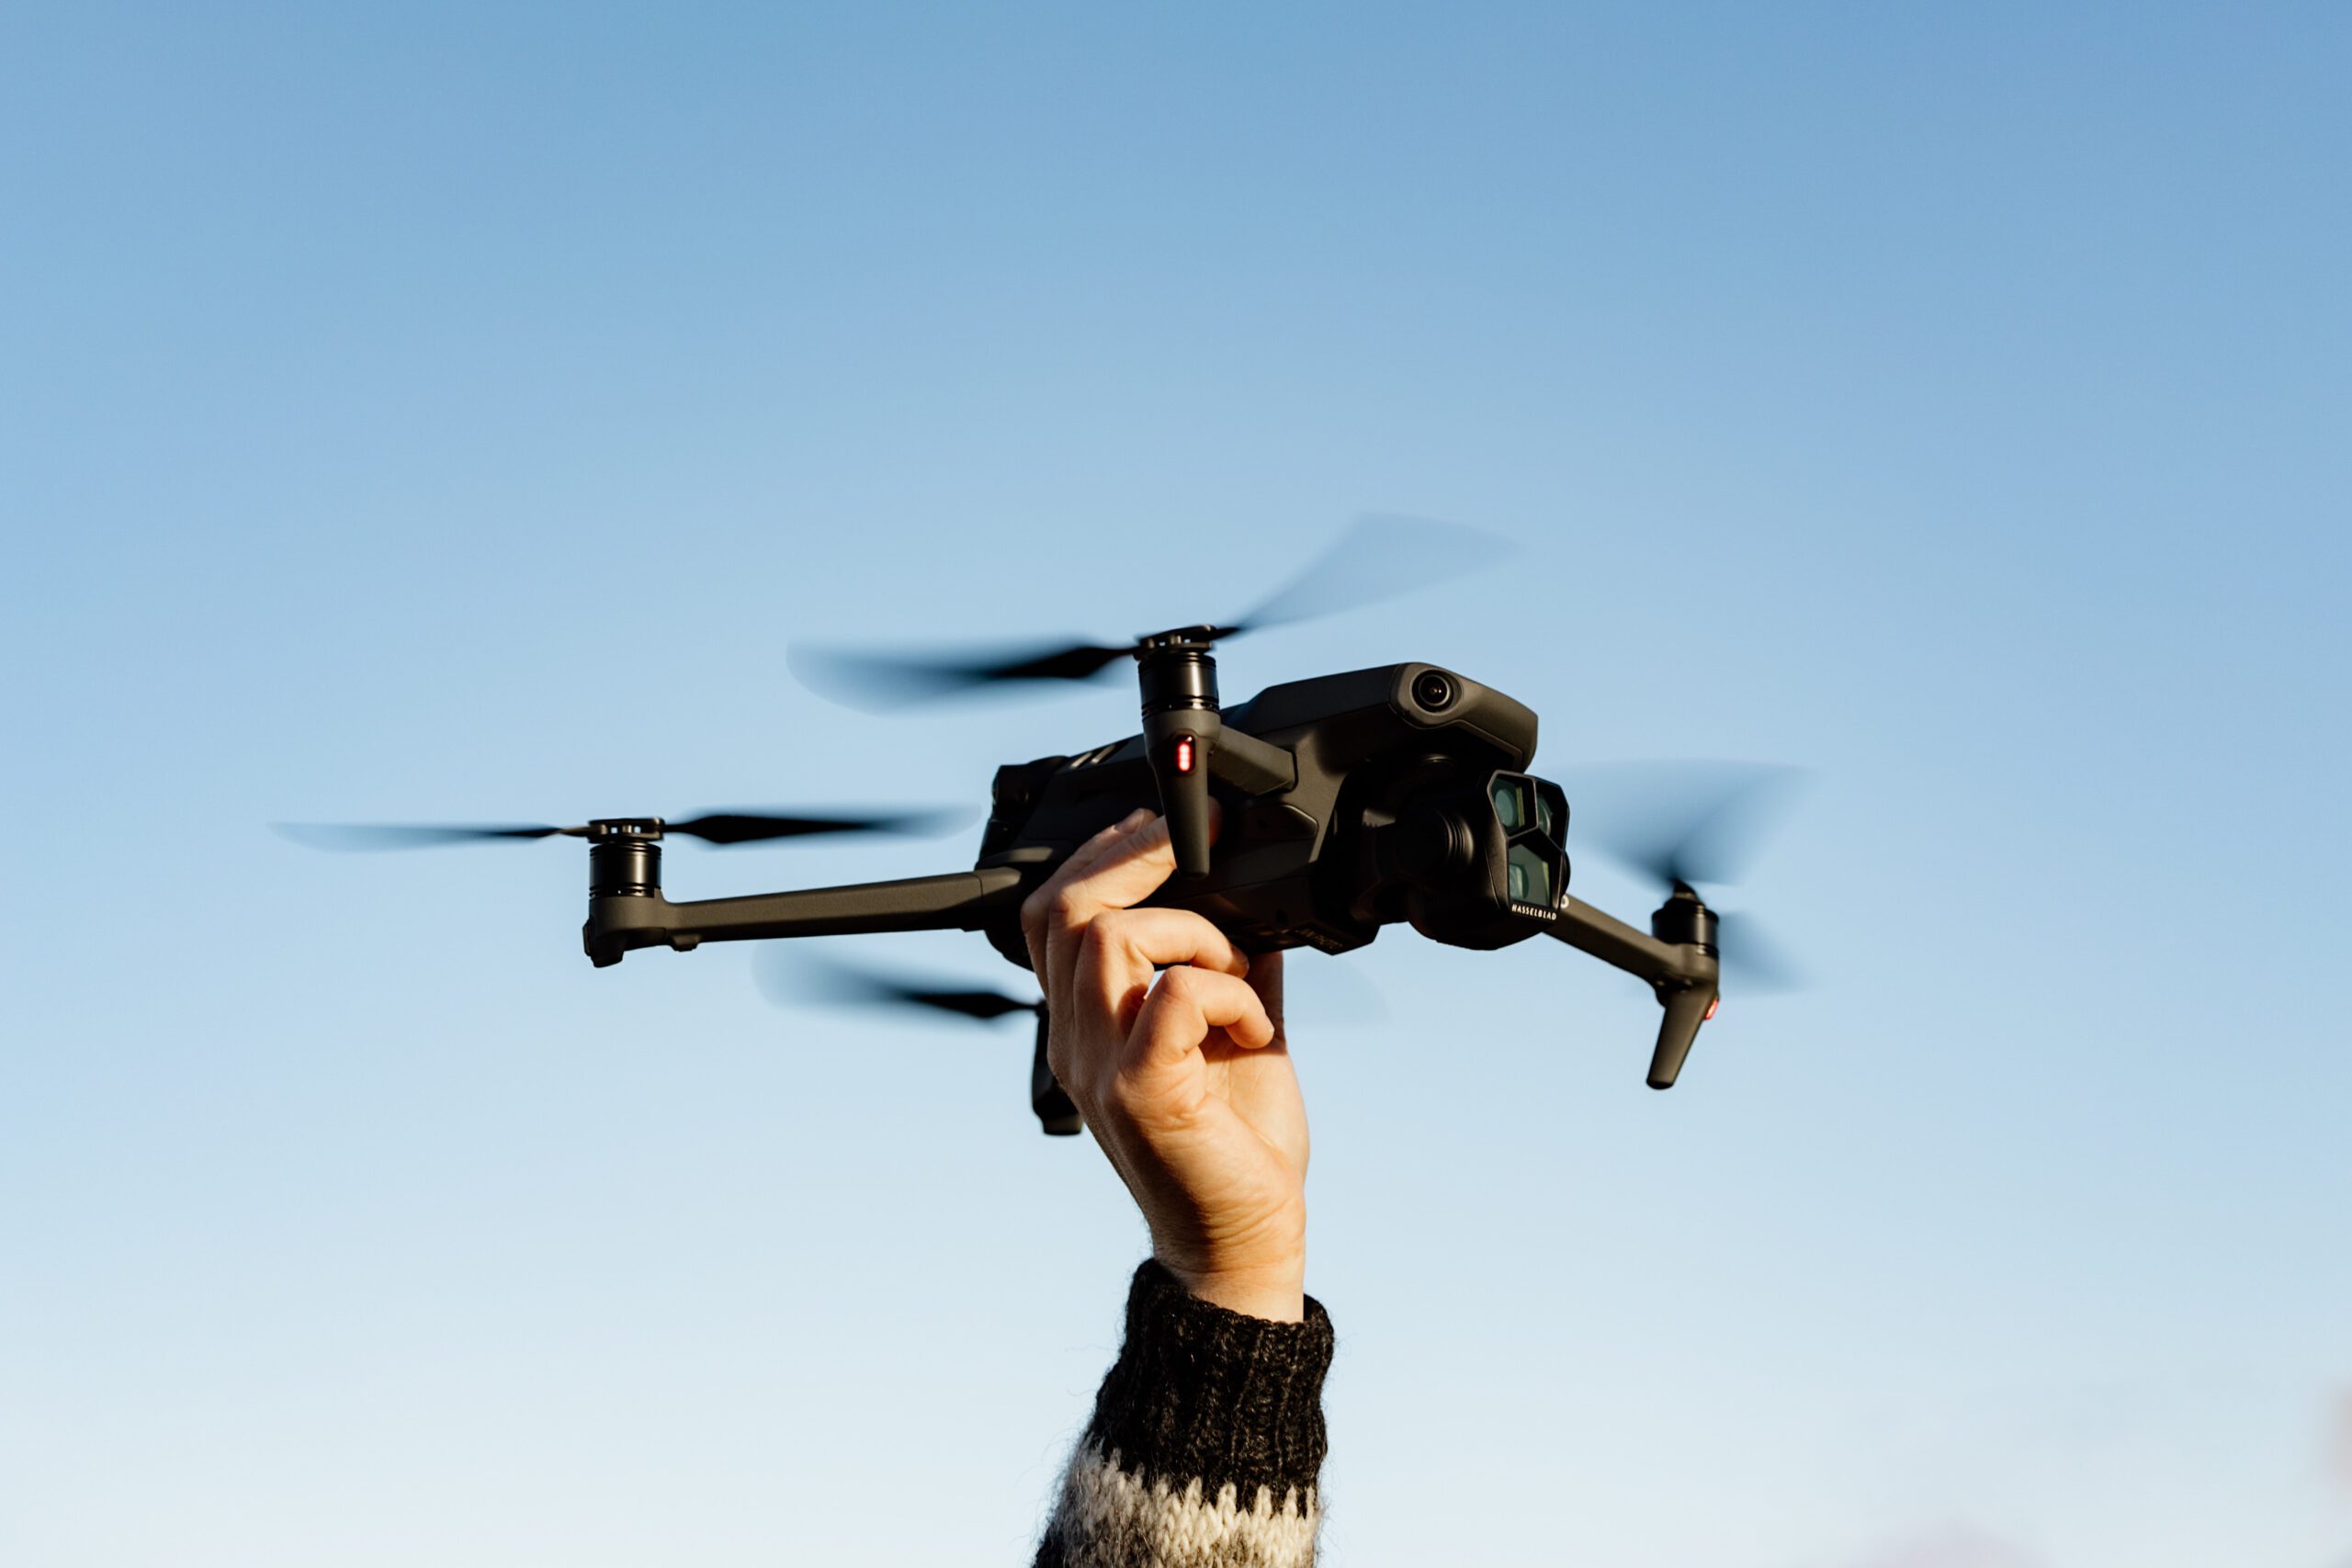
Being able to have spare propellers out in the field is a lifesaver. I generally carry extra also for my photo workshop participants as it happens pretty much very workshop someone breaks them on a rock while landing, for example.
Optimised Drone Carrying Case
Finally, it can be useful to purchase an optimised case for your drone. While most drones come with a carrying case, they are not very useful. They tend to be bags which are to be utilised on their own. Most people already own a bag, so it makes more sense to purchase a case that fits easily inside that bag, while also optimally using the space.
Here are a few drone carrying cases I highly recommend and use myself:
- Small drone carrying case (https://geni.us/jvn-smalldronecase)
- Large drone carrying case (https://geni.us/jvn-largedronecase)
If you want to read in more detail about these cases, you can do so in a dedicated review I wrote about them.
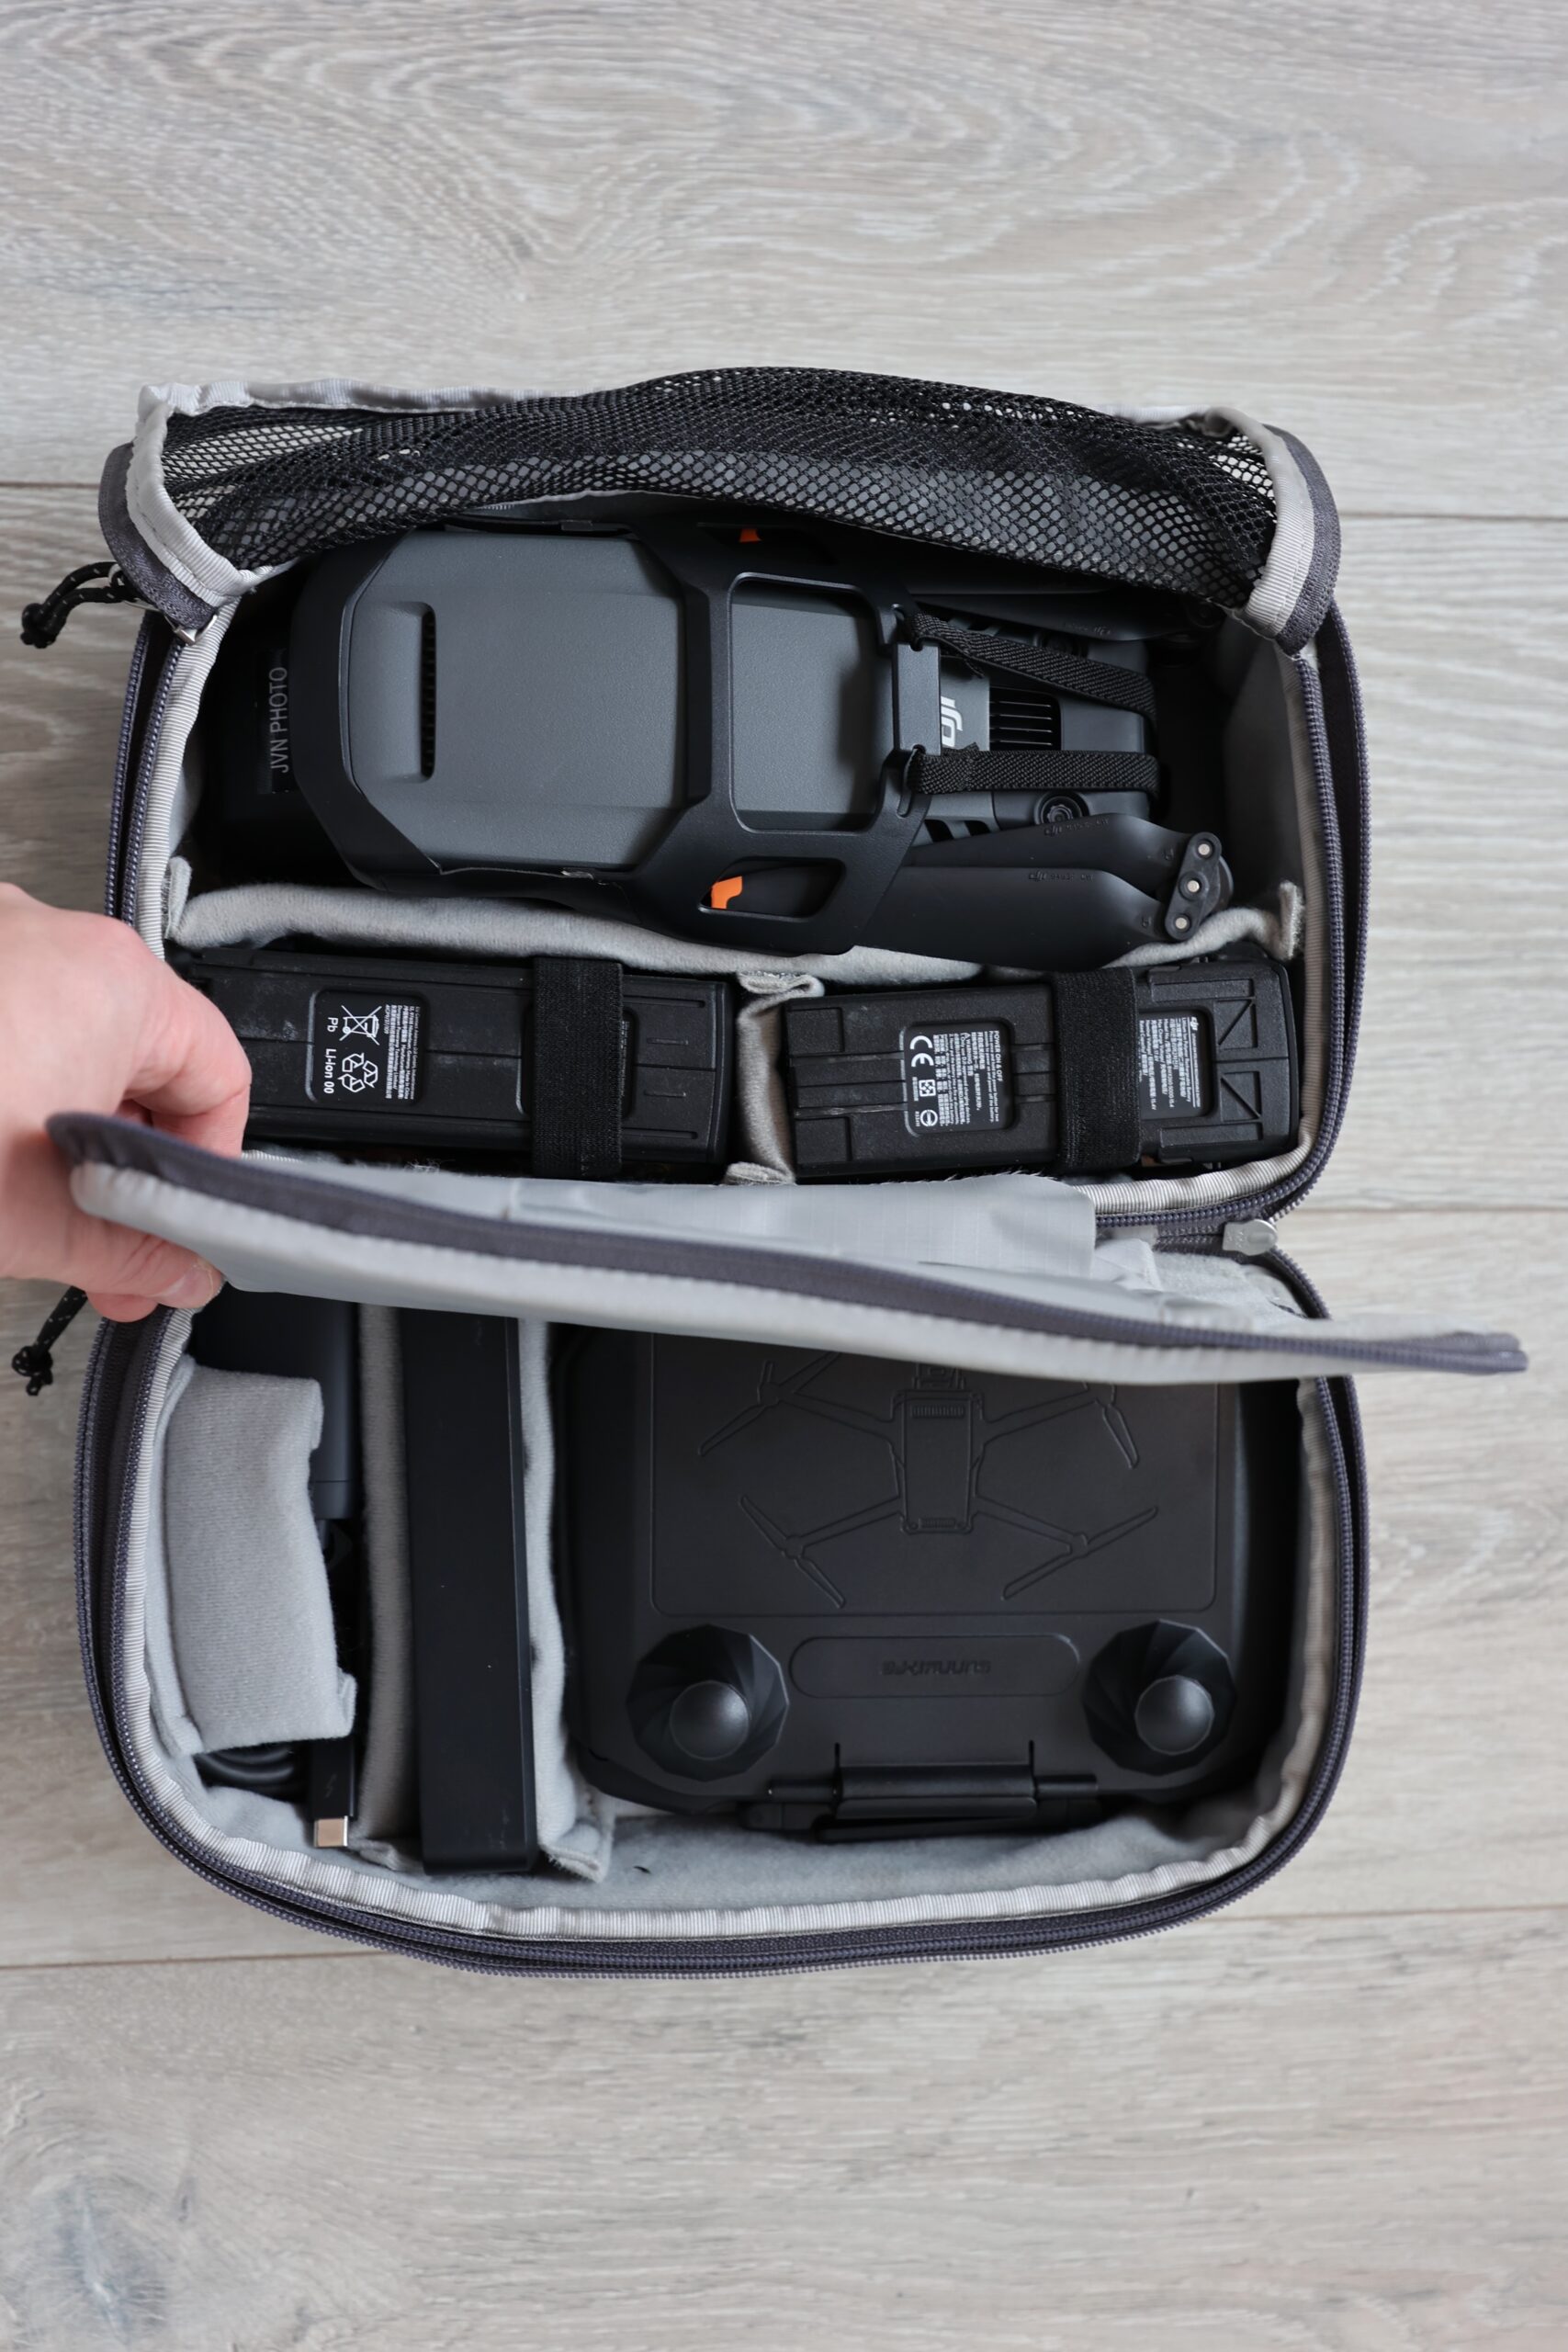
This drone case fits absolutely everything I need while I am out and about with my drone. It even has comfortable room to store the battery charging dock, a charger and USB-C cables on top of the drone, batteries and its remote.
Unnecessary Drone Accessories
I also want to point out some accessories I see a lot out in the field, which I don’t feel are worth your money. Take this with a
grain of salt, as you might find these handy nonetheless.
Landing Pads
First of all, avoid using landing pads. While the idea behind a landing pad is good (prevents dust, gives you a clear surface to land on, …), in most cases they will just cause you frustration. They can be challenging to put up in windy conditions and take up space in your bag as they generally come with pegs. In some cases, it can also be difficult to securely fasten it to the ground.
A much more valuable skill to teach yourself is how to take off and land your drone from your hand. Learning this means you don’t need to use a landing pad (and pegs) at all. Additionally, it will also be much quicker to take off & land.
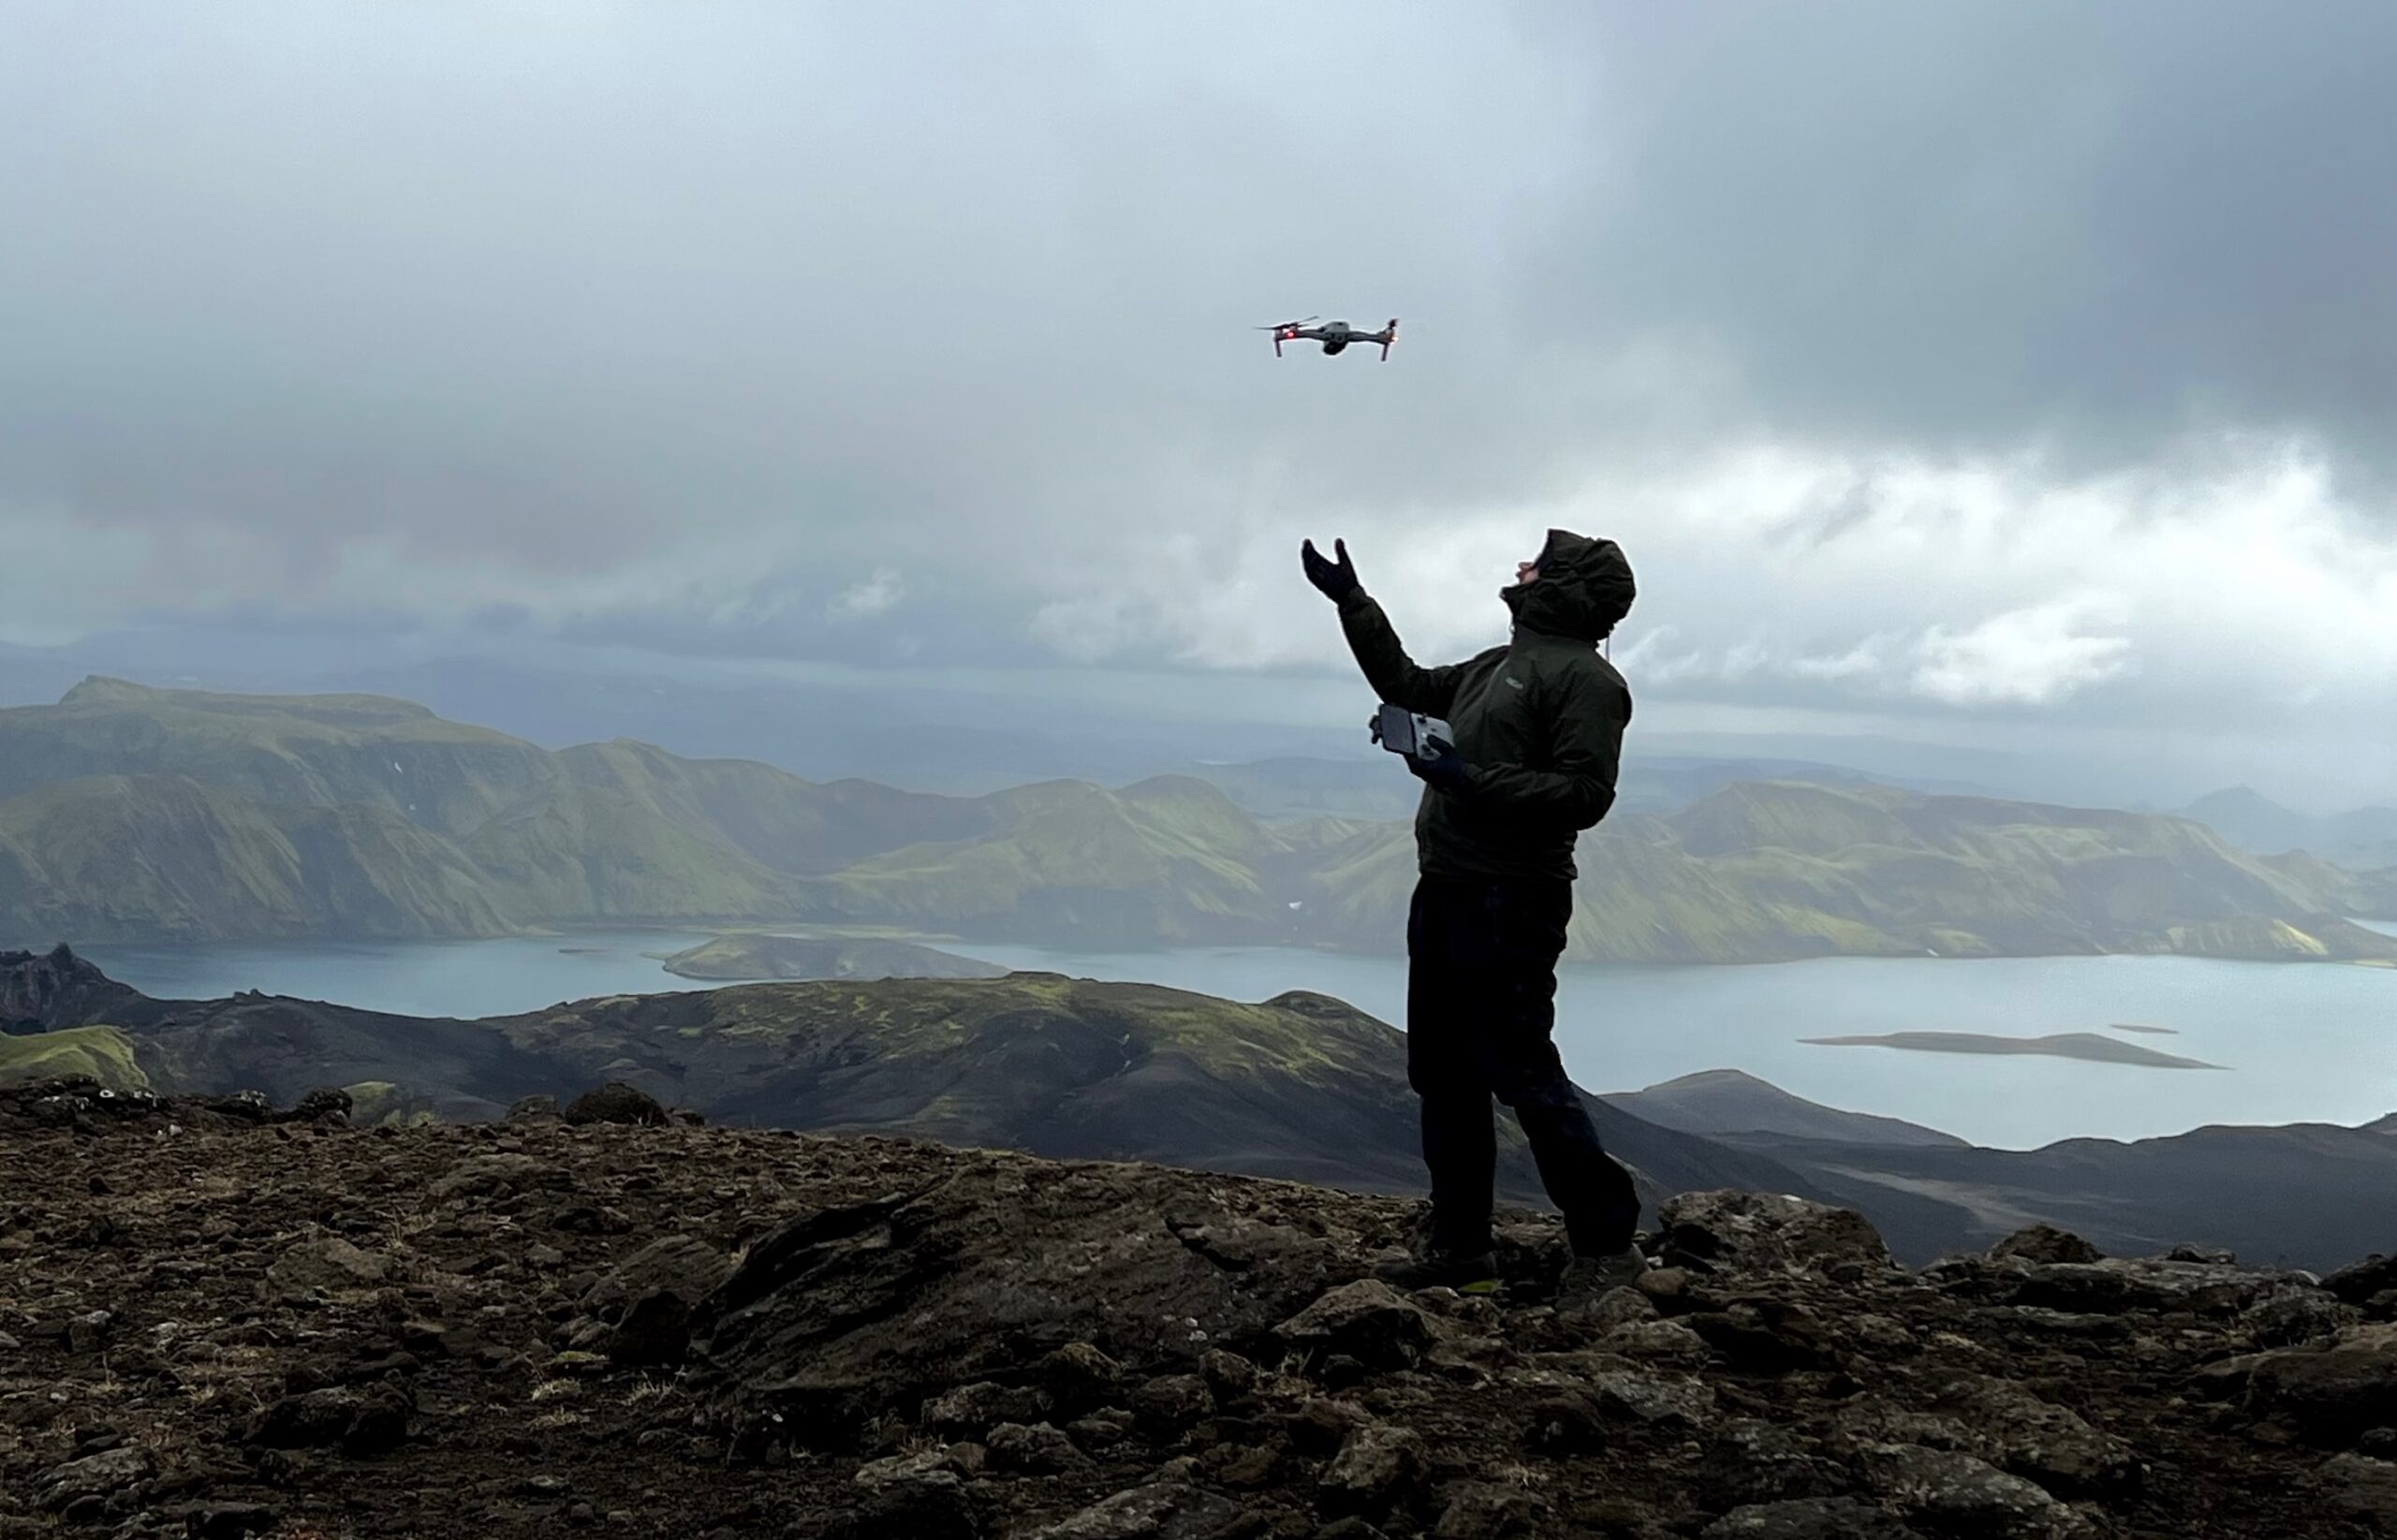
Being able to take off and land using your hands means that you can fly from anywhere. This also means you don’t need landing pads and other convoluted equipment.
Circular Polarising Filters
Secondly, you will find that there are many varieties of filters on the market. While some filters such as neutral density (ND) filters certainly have their place (eg. videography or long exposures), there are also filters which you don’t really need. The circular polariser is one of them. A polariser is designed to prevent light entering the camera from any wave angle. This can be helpful in some cases if you want to remove glare & reflections, increase contrast & saturation or diminish haze.
However, because you have to adjust the filter to a specific angle depending on your perspective, it’s challenging to use on a drone. The other issue is that, if you want to use this filter, you are likely going to have to fly back to your home point to keep adjusting the angle of the filter. It’s also important to note that circular polarisers can also cause uneven light on wider lenses which could potentially mess up your photographs, panorama or video. Therefore I would not recommend getting a circular polariser unless you have a specific use case that requires it.
That said, I really wish DJI would add a built-in ND filter to their drones. It would make a lot of sense to have such functionality on a camera you can’t easily detach filters from.
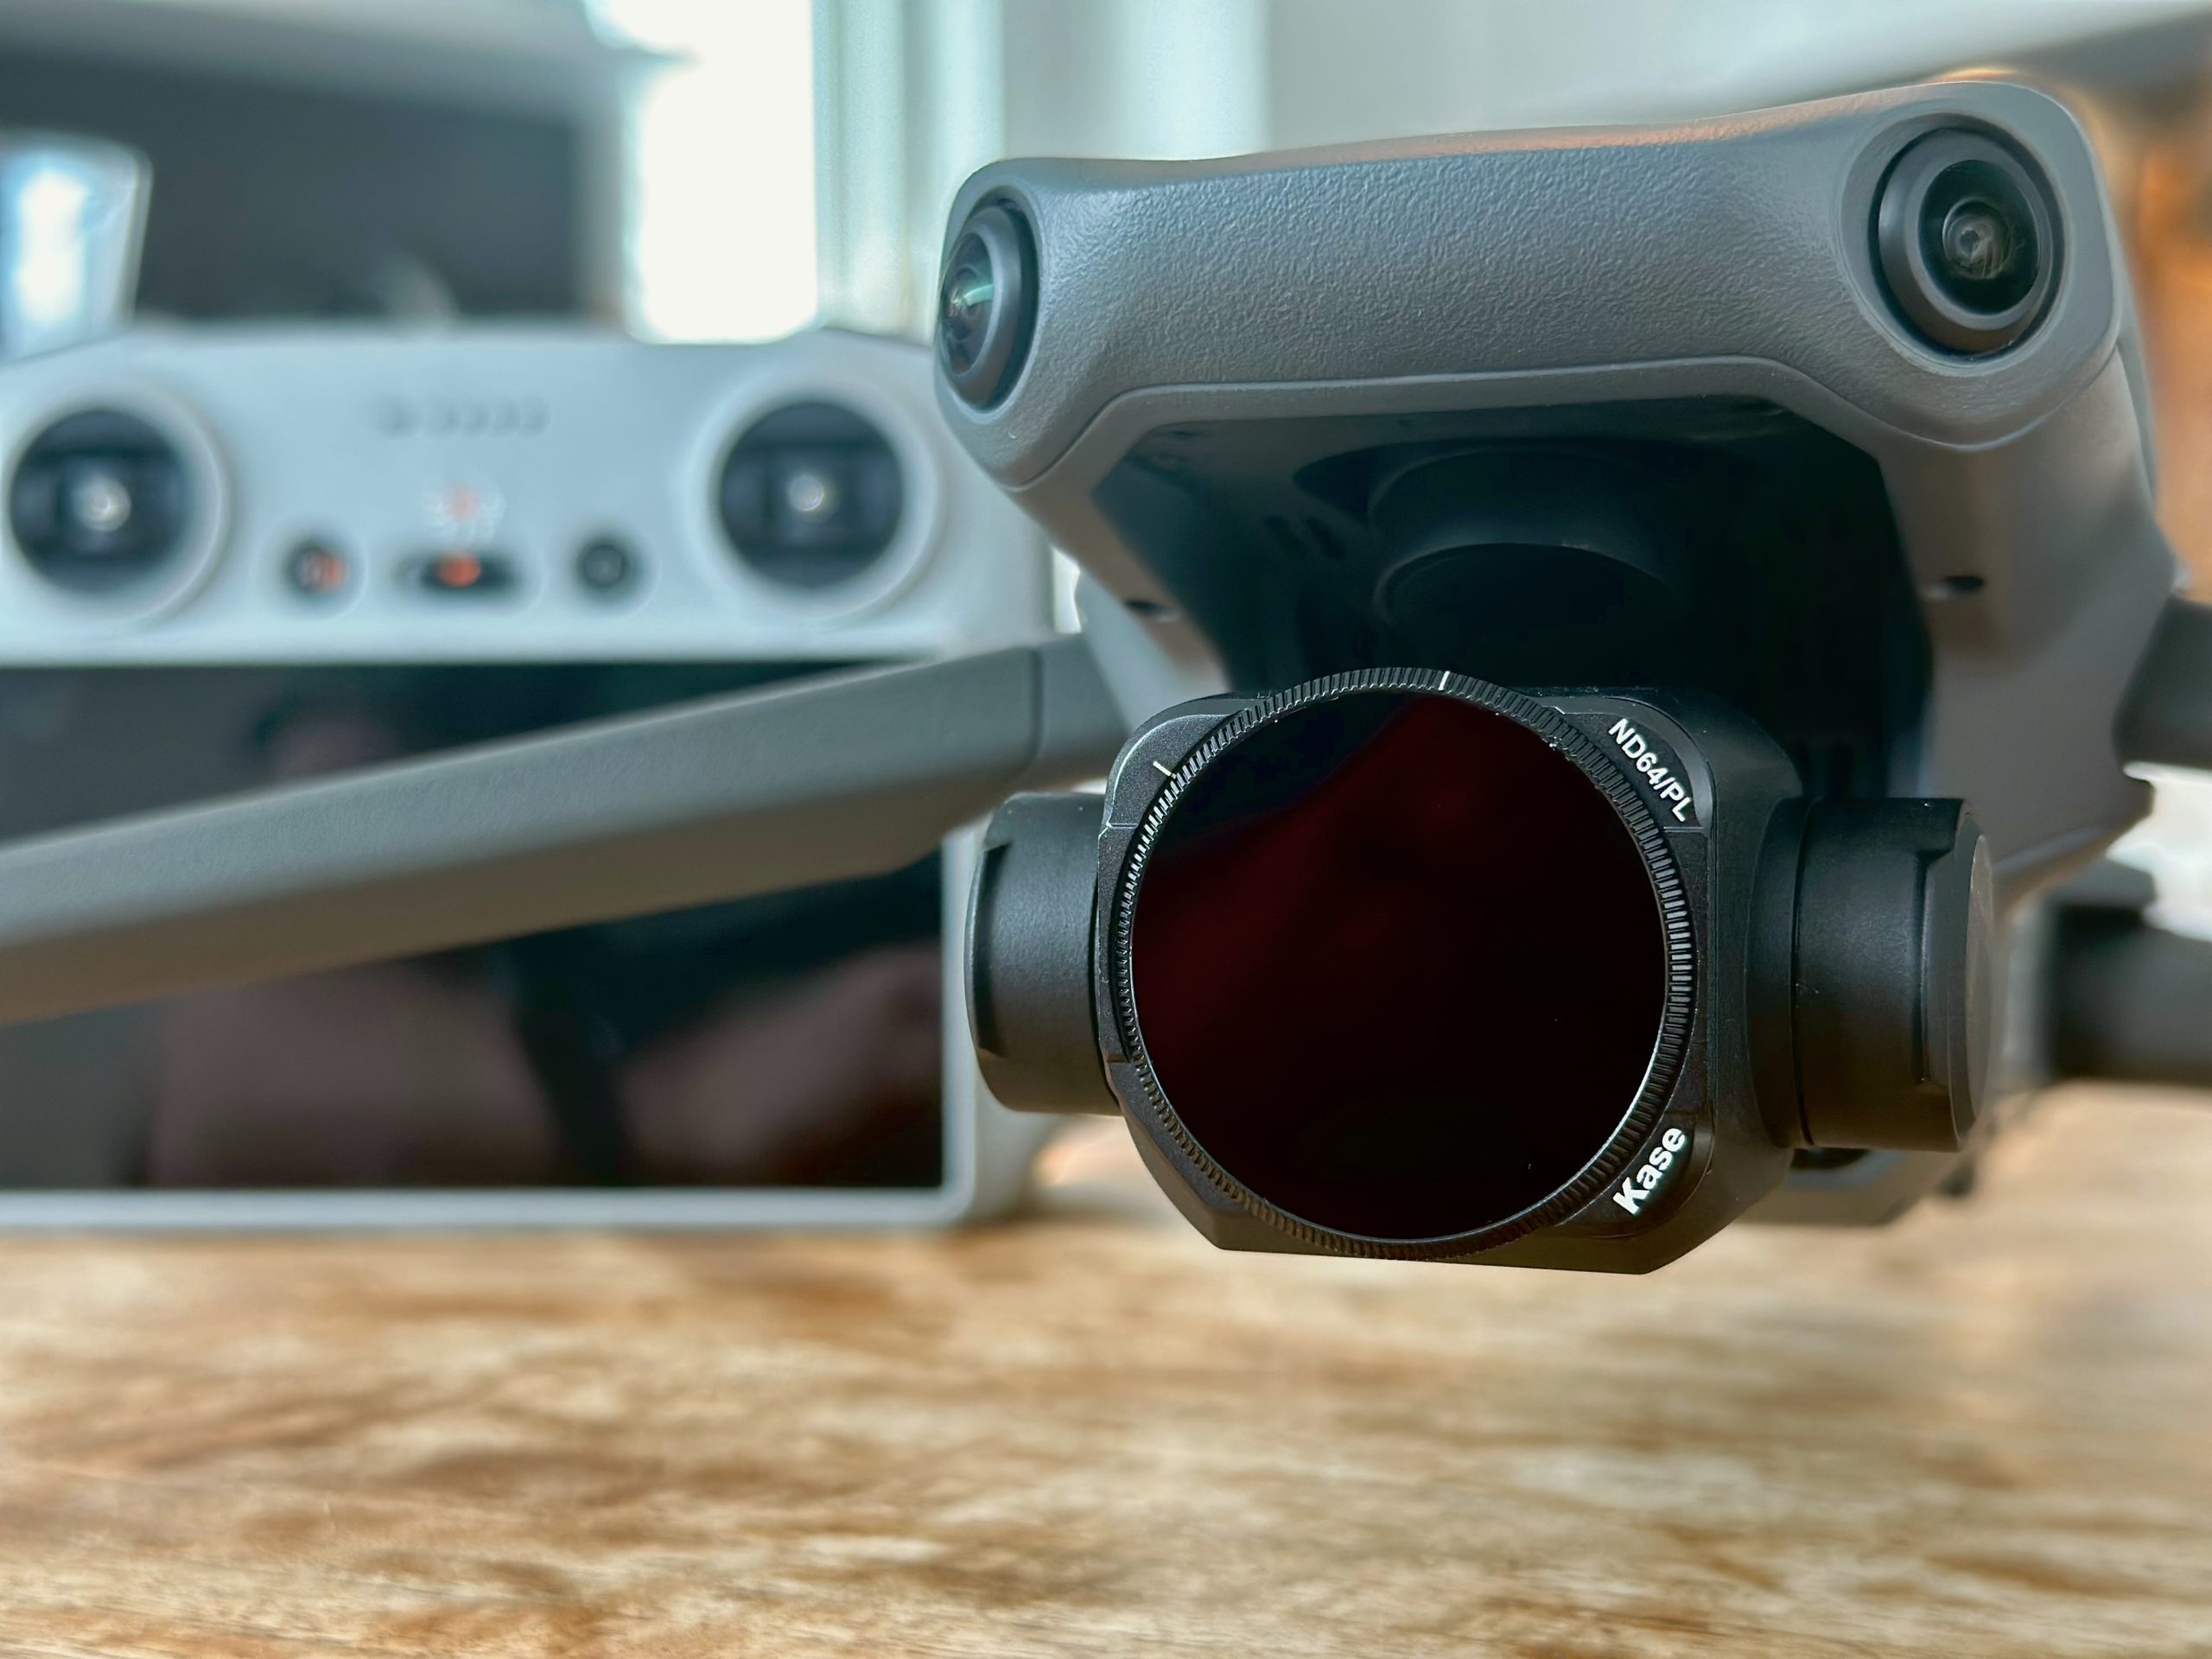
Circular polarisers are tremendously difficult to use and can cause more issues and frustrations than they do good.
JUST RELEASED!
The Drone Photography Masterclass
Nigel Danson & Jeroen Van Nieuwenhove‘s complete drone masterclass will explore everything you need to know to start creating the best aerial photographs using any type of drone in 50+ detailed videos. Whether you are a complete beginner or an advanced drone pilot, this video course contains a vast amount of information to level up your drone photography skills.
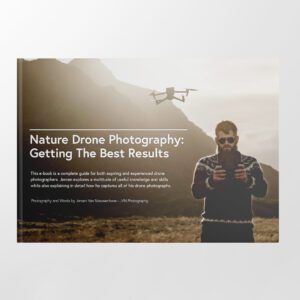
Learn Drone Photography With My E-Book
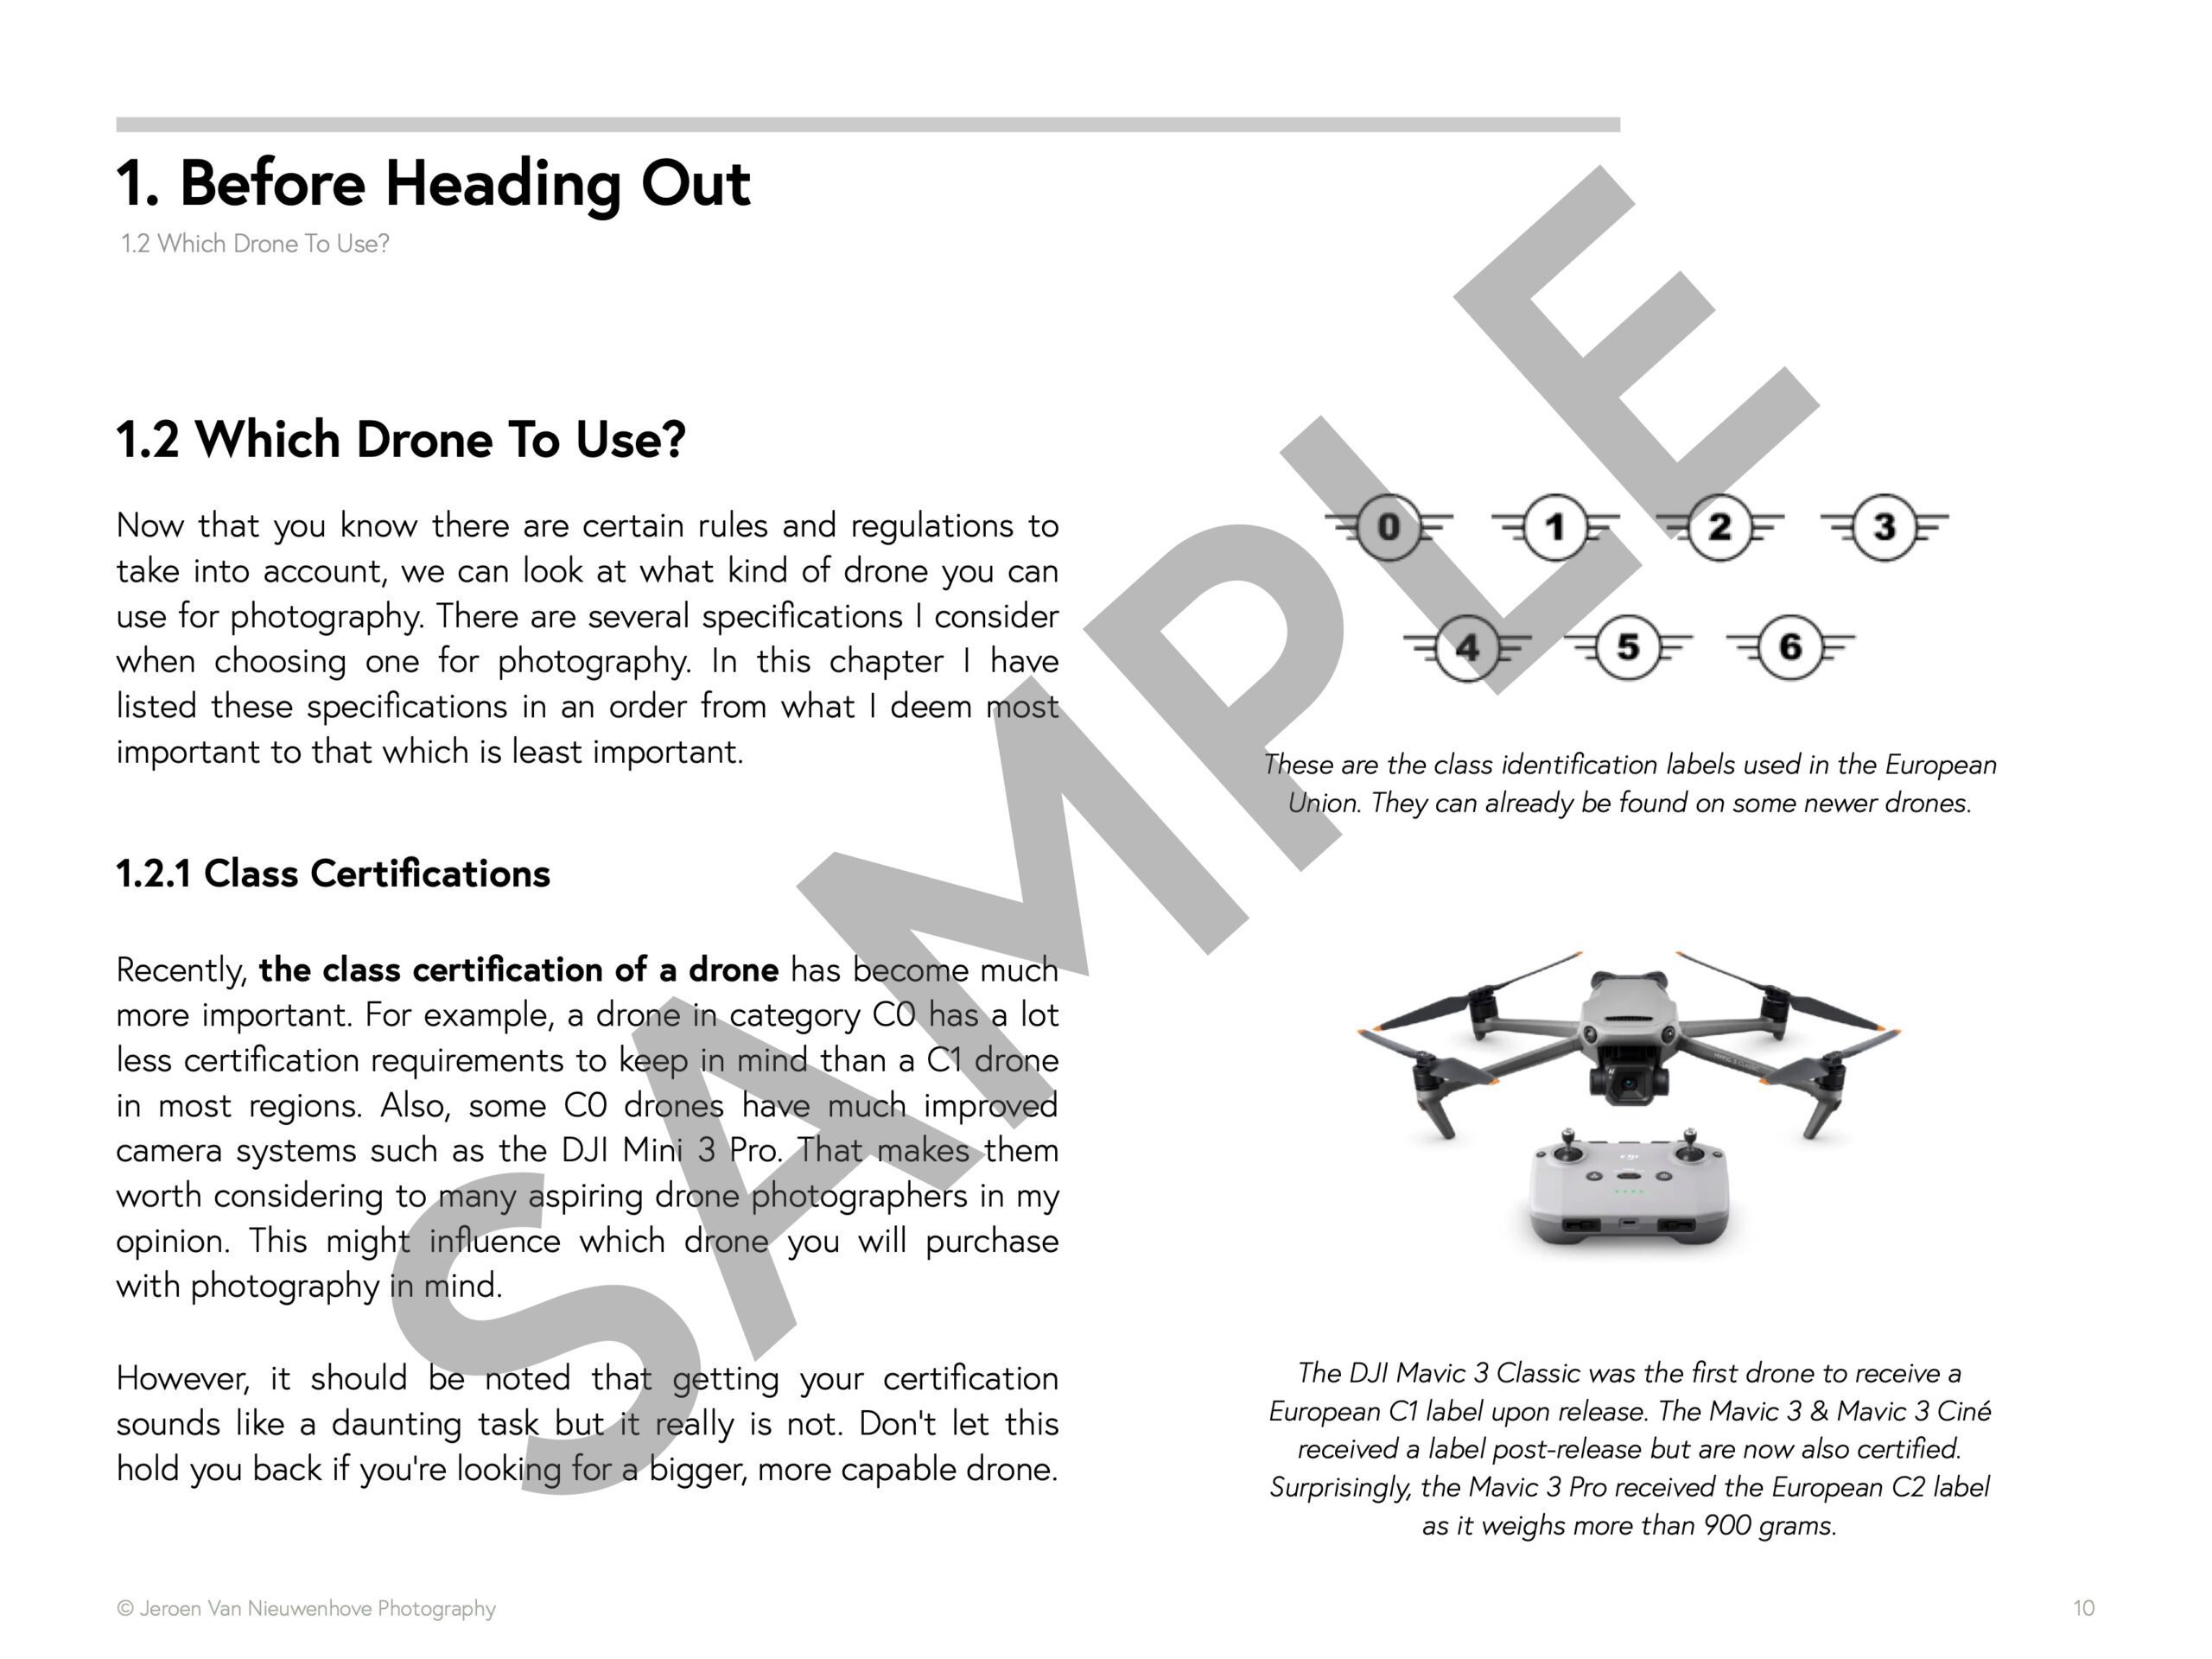
Want to learn how to get the best results with your newly purchased drone? I wrote the most comprehensive guide available on drone photography which teaches you a technique to get the DSLR-like results out of even the cheapest drones.
In 125 detailed pages I explore everything you need to know to start creating the best photographs using any type of drone. Whether you are a complete beginner or an advanced drone pilot, this e-book contains a vast amount of information to level up your drone photography skills.
What to Expect?
- A 125-page educational PDF about nature drone photography with very detailed explanations
- Which drone to get for photography and why
- Important settings and configuration options
- A list of useful skills & tips
- A list of useful accessories and what not to buy at all
- How to research locations for drone photography
- How to compose with a drone and insight into Jeroen’s thought process with plenty of examples
- Thoughtfully planning ahead for your drone shoot
- The how and why of creating bracketed images
- The how and why of shooting HDR panoramas
- What challenges you might face and how to deal with them
- Common mistakes & how to deal with them
- How to stitch your panoramas together
Use EBOOK20 to get 20% off your Nature Drone Photography (E-Book) purchase!
Support Jeroen’s Work
As an independent photographer, Jeroen partially relies on your support to keep producing worthwhile content such as blogs, photographs, books and much more. If you want to support his work, it is possible to do so by buying his e-books & books, prints or calendars.
You can also sign up to the newsletter to stay up to date on new blog posts, projects, workshops and other interesting information.
Thank you for considering!

