Travelling to Iceland and Greenland, and the Arctic in general, requires a bit more thought into what clothing and photography gear you should bring. That’s why it’s understandable that one of the most asked questions I receive when participants prepare for a photo workshop is what they should pack for the trip. Not only in regards to the photography equipment they will be using but also what outdoor apparel they need to resist the elements. While every participant gets a detailed information document beforehand, I thought it would be interesting for those who have not yet joined a photo workshop to delve into a bit more detail with this blog.
Disclaimer: This article is not sponsored in any way. However, when you make a purchase using the links in this article, I may earn a small commission.
Staying Warm & Dry On A Photo Workshop With The Right Combination Of Outdoor Gear
Let’s begin with the perhaps least obvious for most people: outdoor clothing. When packing for countries such as Iceland & Greenland, you need to be clever about how you dress while also not overpacking. I highly recommend dressing in layers so you can easily adjust to rapidly changing conditions, which especially Iceland is known for. Adaptability in the field and being smart about how you build up layers, will make your outdoor photography experience much more enjoyable.
In short, these are the most important things to know:
- Don’t overpack by bringing too much stuff you won’t wear or use!
- Bring functional clothing and think about the fabric it’s made of.
- Always dress in layers when going outdoors!
- Make sure you have the ability to dress completely wind- and rainproof.
These are the most important pointers to me but let’s dive into a bit more detail to help you understand the ‘why’ behind them too.
It’s really important to make sure you are dressed sufficiently in a smart way. Using a layering system, you can undress and dress up whenever it gets too warm or too cold. Maintaining a stable temperature when outdoors will allow you to control sweating and maintain body heat.
Dressing In Layers Is Vital
Your best bet in staying comfortably warm and dry is by dressing in layers. Ideally, you want to use a 3-layer system which contains a base, mid and outer layer.
- The base layer has to be effective at retaining heat when you sweat as that may cool you down. This can be achieved with, for example, a merino wool under-layer.
- The mid layer has to help you retain body heat. This can be achieved with, for example, a fleece or woollen sweater, or a down jacket. Depending on the outdoor temperatures, you can add more than one of these.
- The final, outer layer is intended to keep you protected from rain and wind. This can be with, for example, a shell jacket.
If you dress with this in mind, you should always be able to keep yourself warm while also retaining the ability to dress down when needed. If your body is keeping itself warm, for example when you’re hiking, you may want to layer down. As opposed to when you’re standing still for an extended period of time to, for example, take photographs, you may want to layer up again.
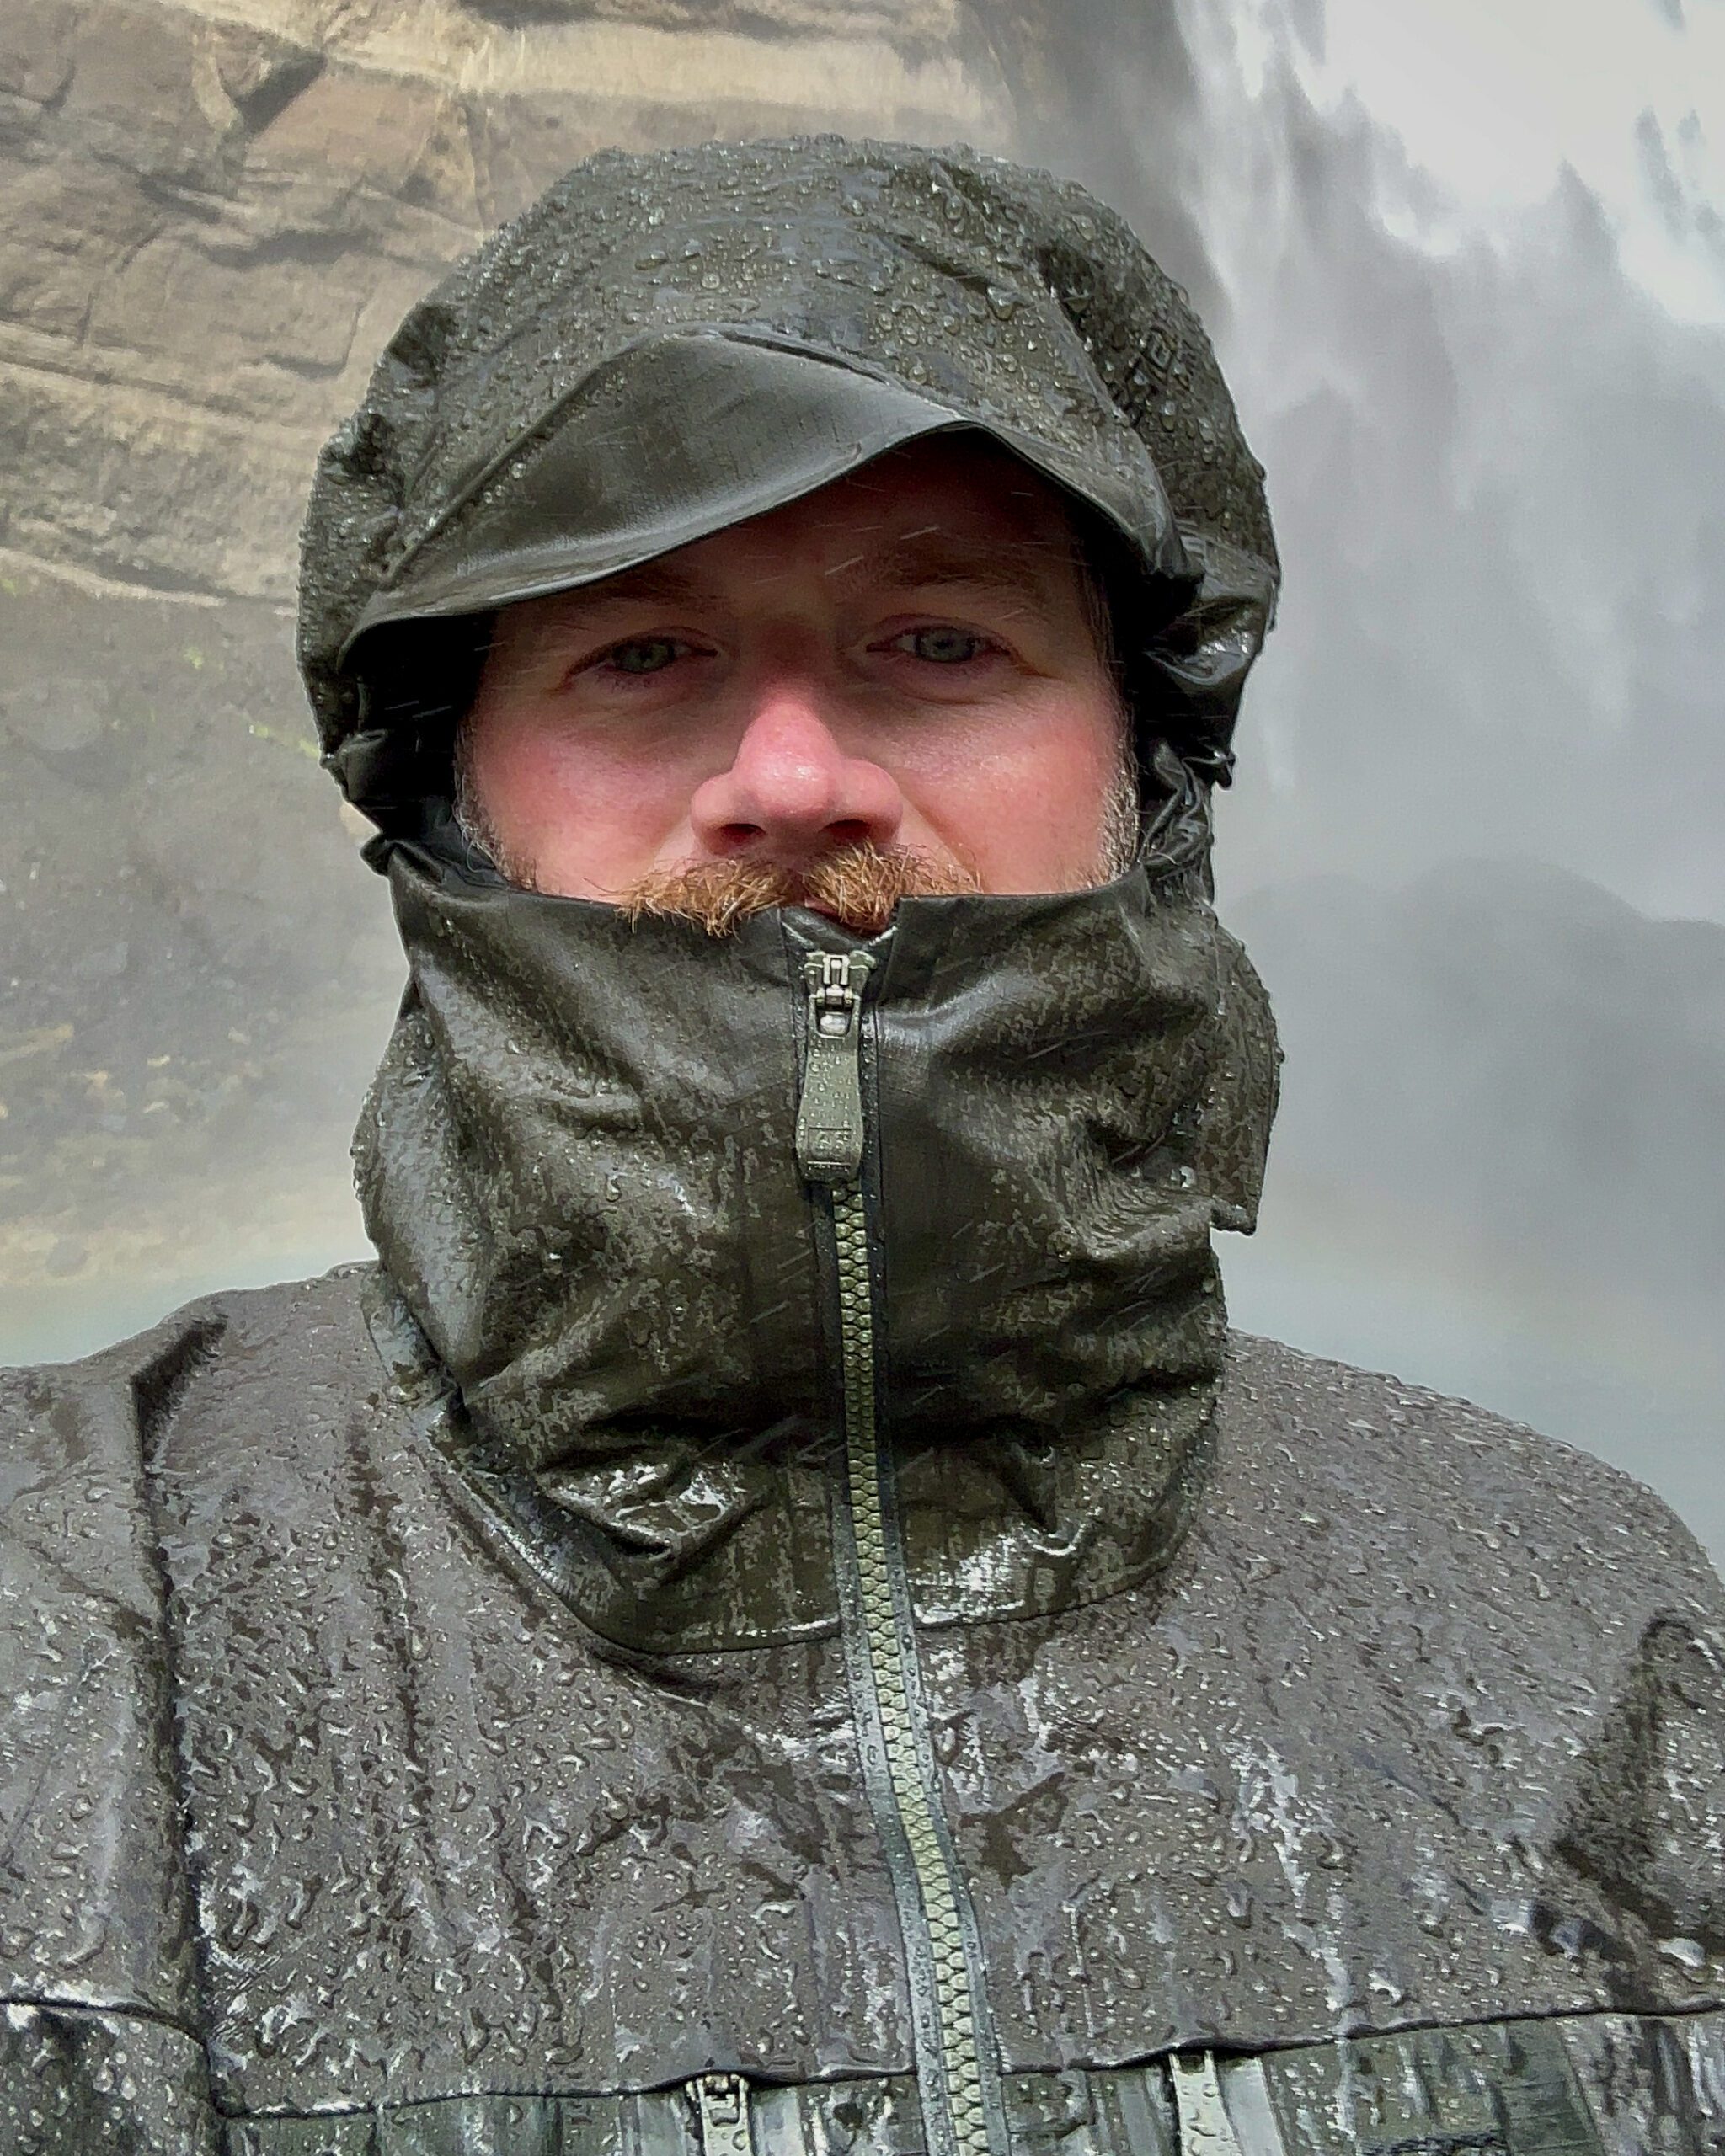
Investing in a really good shell jacket that has exceptional waterproofing is not money wasted. Whether you get caught in a downpour, or stand underneath a waterfall, keeping yourself warm and dry is really important.
A Complete Packing List Suitable For Most Photo Workshops & Tours
Below is a detailed list of clothing you can bring on most photo workshops & tours. To reiterate, every single one of my photo workshops comes with a detailed information document which includes a specific gear list for that photo workshop. The amount of items you should bring also depends on the duration of each photo workshop.
- 3-4 merino woollen (long-sleeved) undershirts (as a base layer)
- A merino woollen mid-layer (a top or light fleece that can be worn over the base layer)
- A down/insulated jacket with a hood (for warmth above the base and mid layer)
- A water- & windproof shell jacket (should fit worn over the down jacket)
- Hiking trousers (wind/water resistant, and lined if possible)
- Waterproof pants
- 1-2x merino woollen leggings (for warmth below the hiking trousers)
- Waterproof hiking boots (make sure they are sufficiently waterproofed, worn in and comfortable)
- Optional insulated rubber boots (this can be useful on photo workshops where we may stand in cold water)
- Lightweight comfortable trousers/joggers (to wear in the accommodation)
- A t-shirt to sleep in
- Lightweight trainers or slippers (to wear in the accommodation)
- Sufficient amount of good warm woollen socks
- Underwear (like base layers, we recommend merino wool)
- A woollen hat to keep your head warm
- A neck gaiter/buff to keep your neck warm
- Winter or summer gloves (I recommend using The Heat Company’s photography gloves which I reviewed)
- Crampons (in winter)
- Sunglasses
The Most Important Aspect: Photography Gear
Arguably the most important question participants have before departing on a photo workshop is what photography gear to bring.
While the required photography gear can be specific to each photo workshop (for example: on a bird photography photo workshop you won’t need a drone), the overall list of things to bring stays very similar. It’s also important that you don’t overburden yourself by bringing too much gear. This could for example be the case when you bring a variety of lenses that have overlapping focal lengths, or when you are considering bringing two versions of the same lens with varying apertures (one F/4 and the other F/2.8).
If you’re looking into minimising your photography gear, make sure to have a look at another blog I wrote with a few tips on how exactly to achieve that.
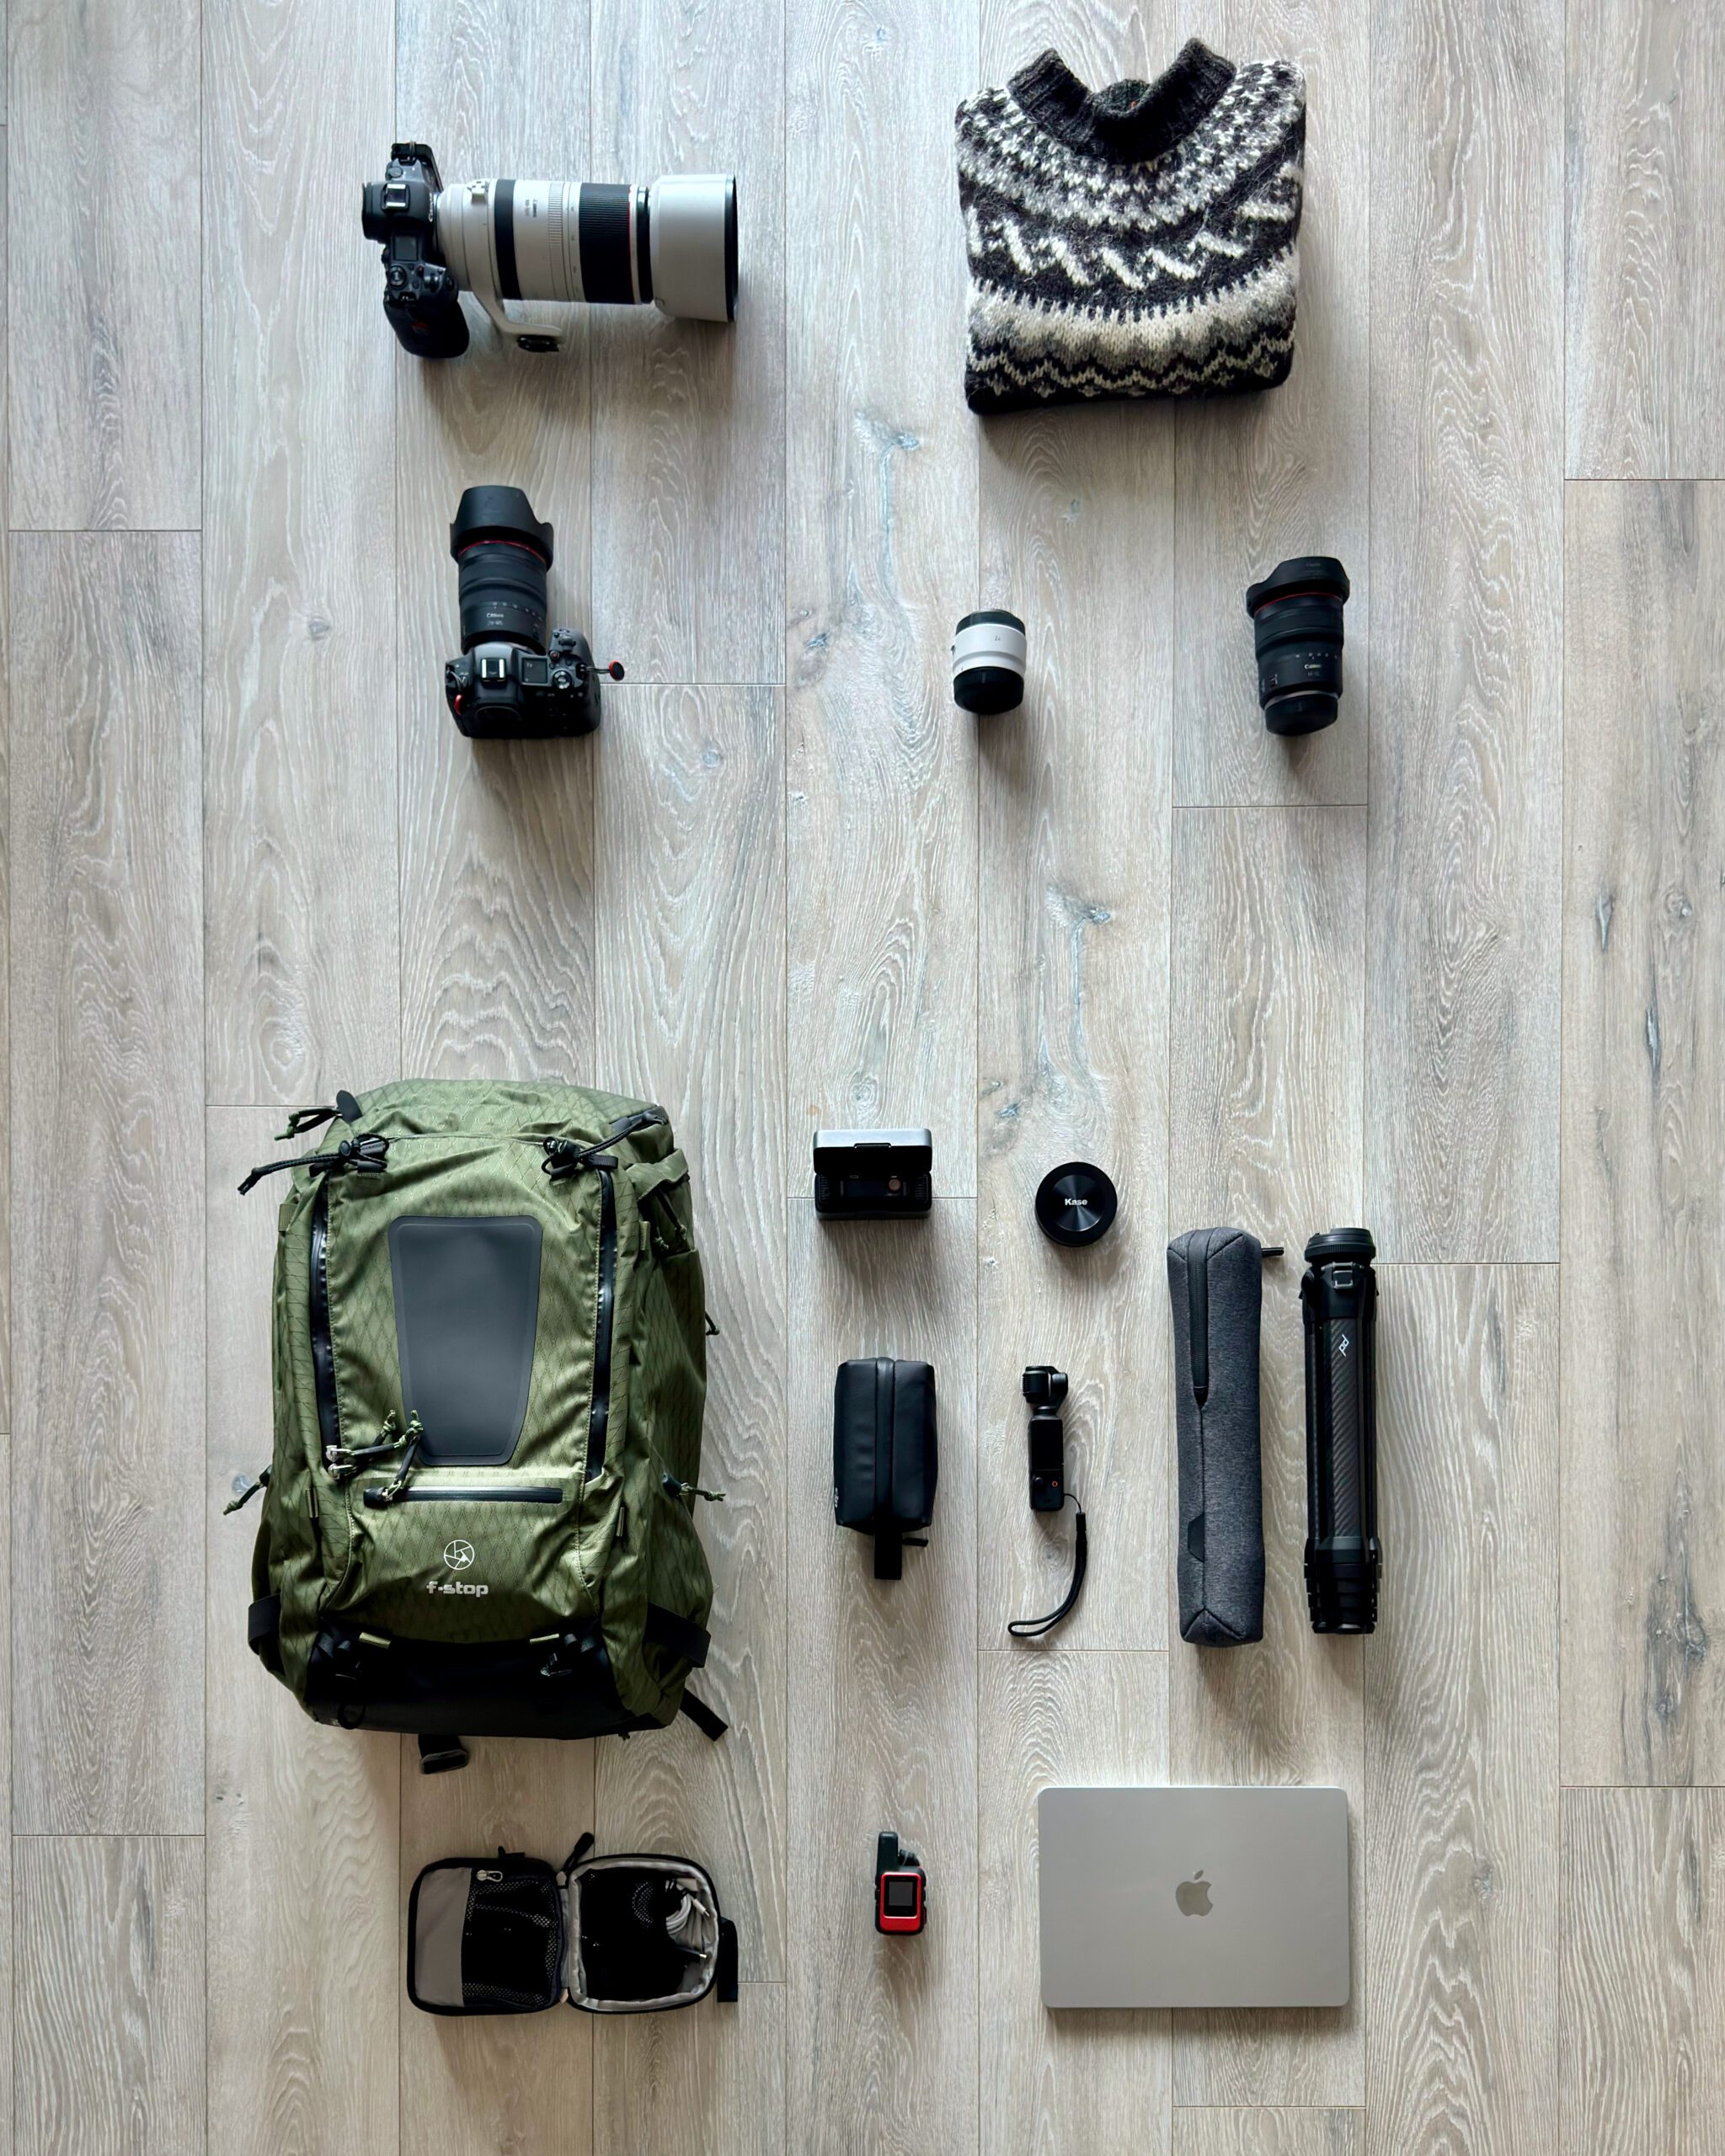
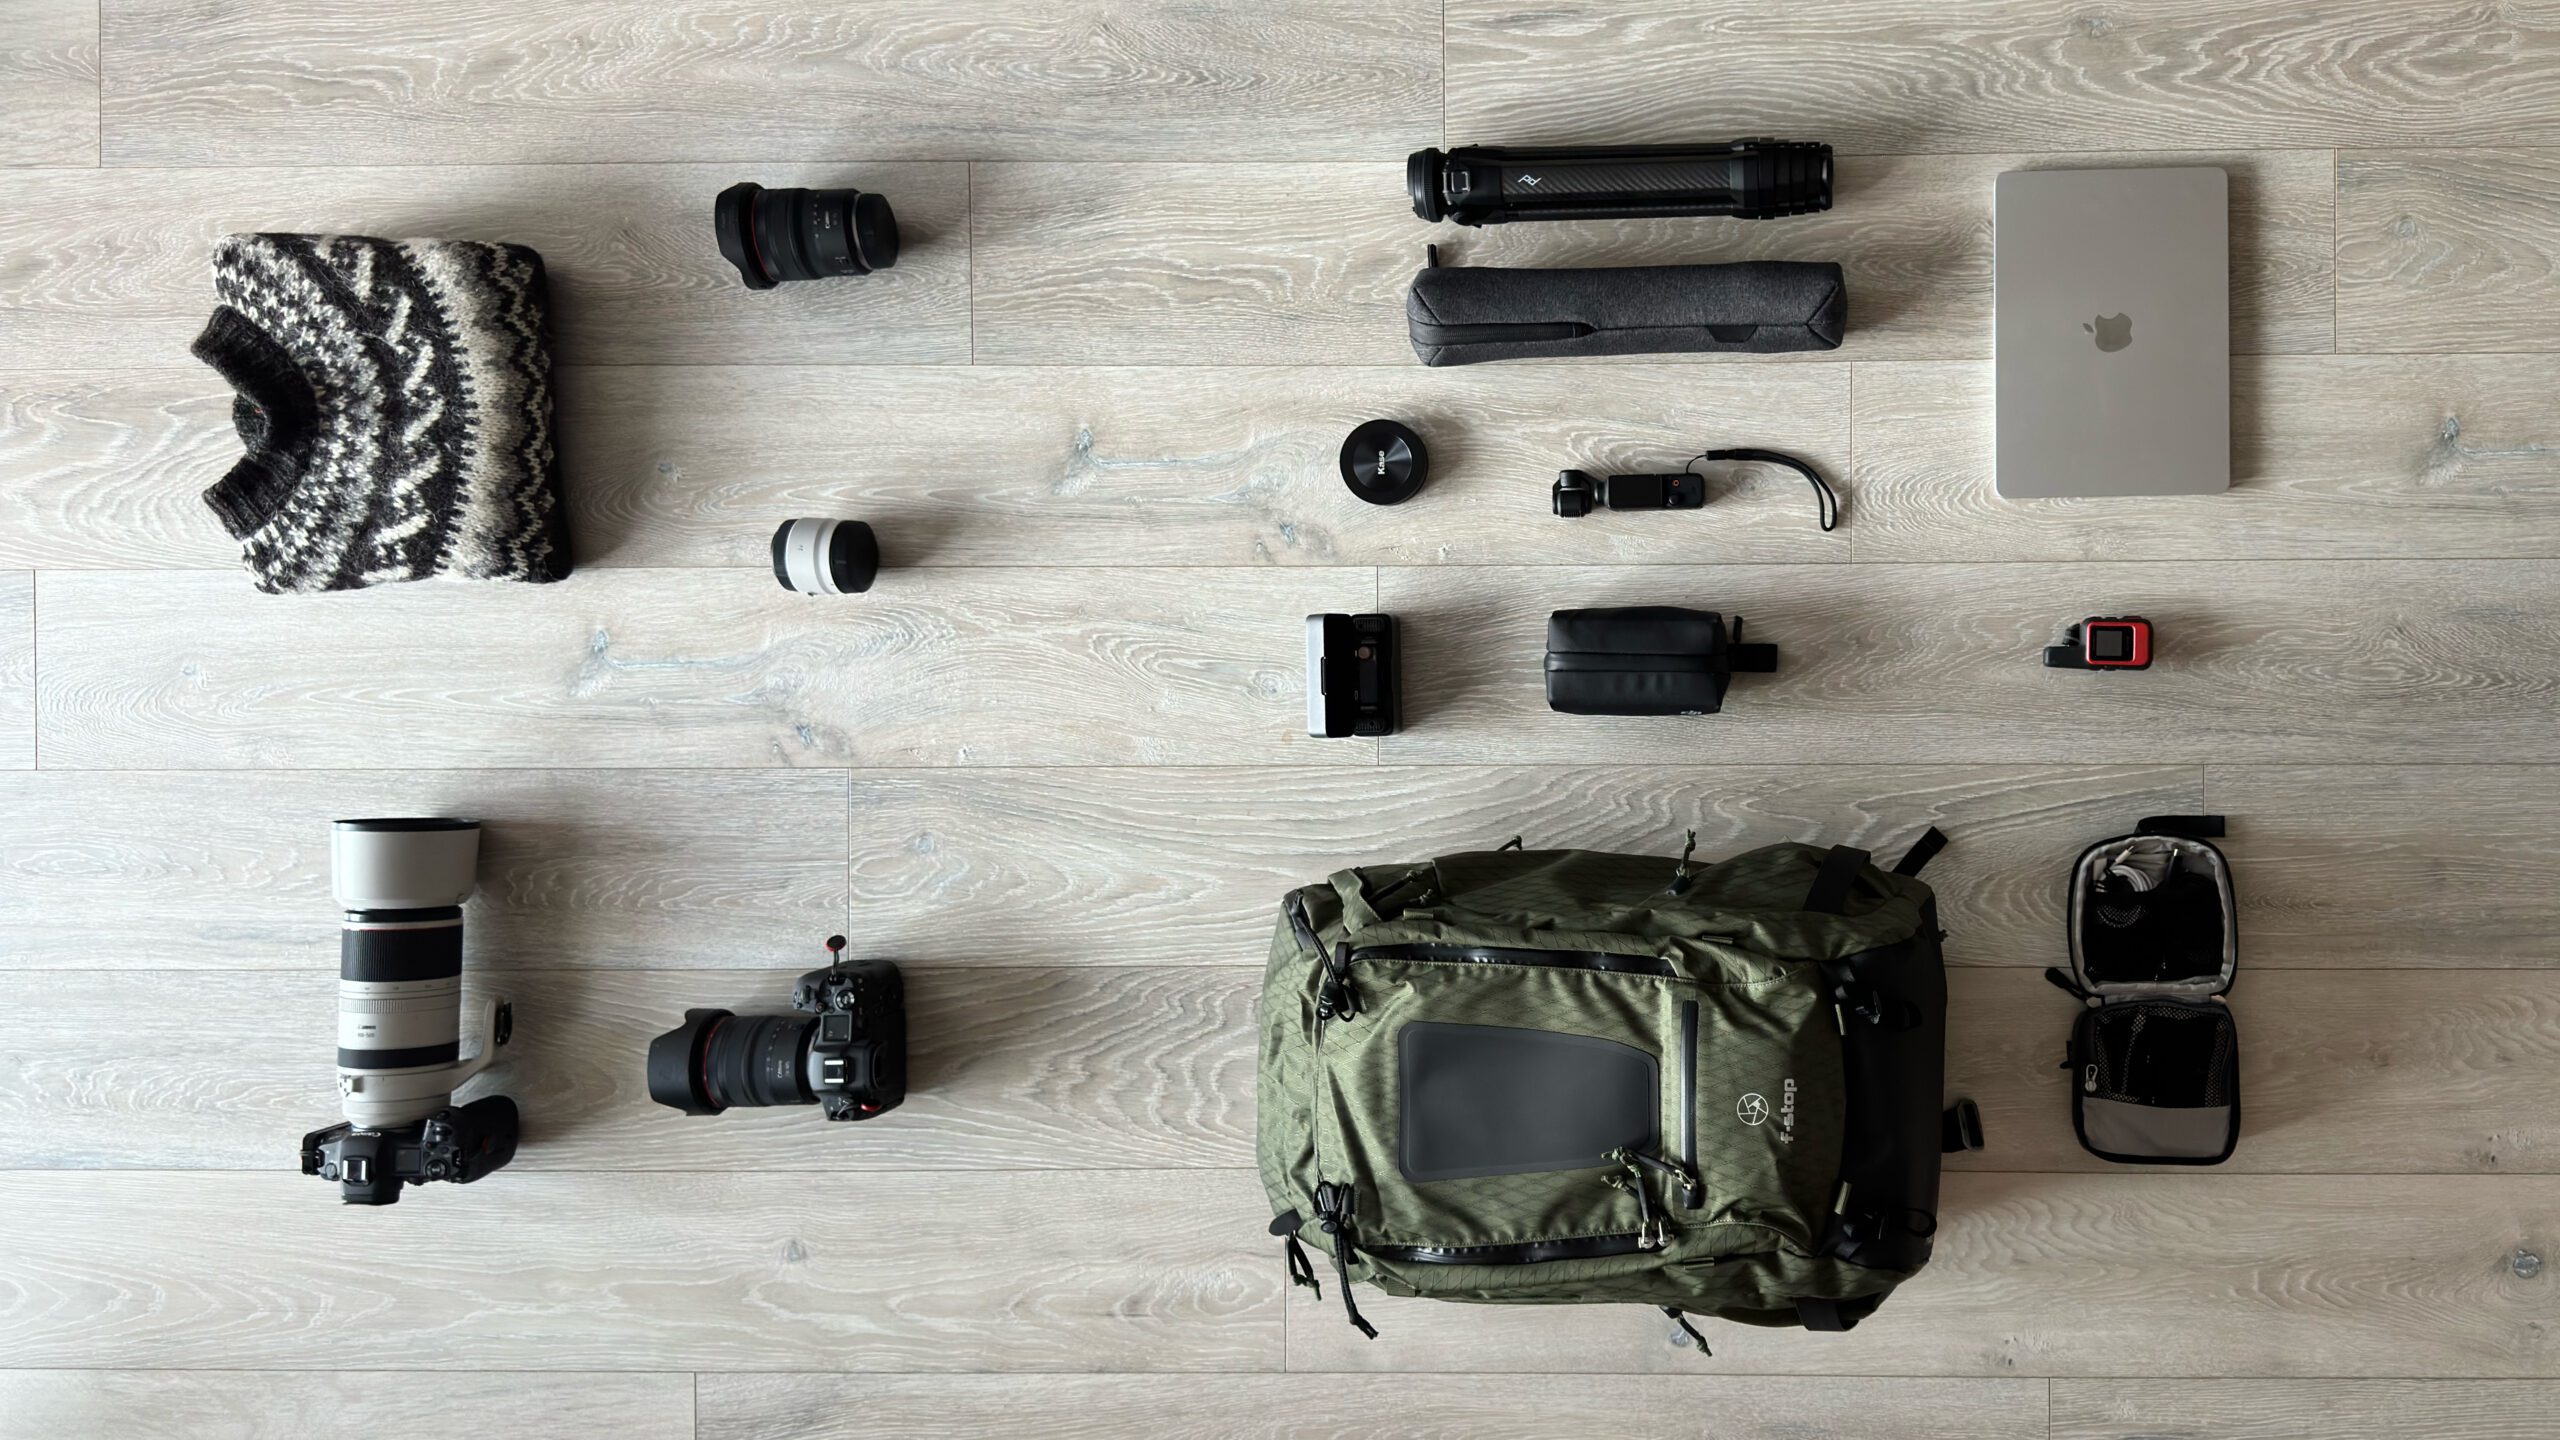
While it’s certainly tempting to bring every little bit of gear you own, it may be wiser to keep your ‘gear footprint’ as small as possible. This is the gear I am taking on a trip to Antarctica & Patagonia.
Which Photography Gear Do You Need To Bring On Your Next Photo Workshop or Tour?
Below is a list of what we recommend you take on this photography workshop.
If you are interested in what photography gear I use, make sure to check out my dedicated Gear-page, which I keep updated whenever my setup changes.
Photography Backpack
I recommend carrying your photography gear in a sturdy & comfortable camera bag that is well adjusted to your body. On some photo workshops, we go hiking to get to the best locations so it’s important to have a good camera bag that doesn’t hold you back.
If you are still looking for a good camera bag to hold all your equipment, I highly recommend having a look at the various bags sold by f-Stop. All photo workshop participants get a discount code for f-stop products in their information document when they sign up.
Camera Bodies
I highly recommend bringing a spare camera body, which can be used in case your main camera body gets damaged in some way. Additionally, during some photo workshops, such as in Greenland, it can greatly benefit you to have two camera bodies fitted with their own lens (for example: if you want to switch between a wide-angle and a telephoto lens). This will greatly speed up your workflow and will allow you to fully focus on shooting.
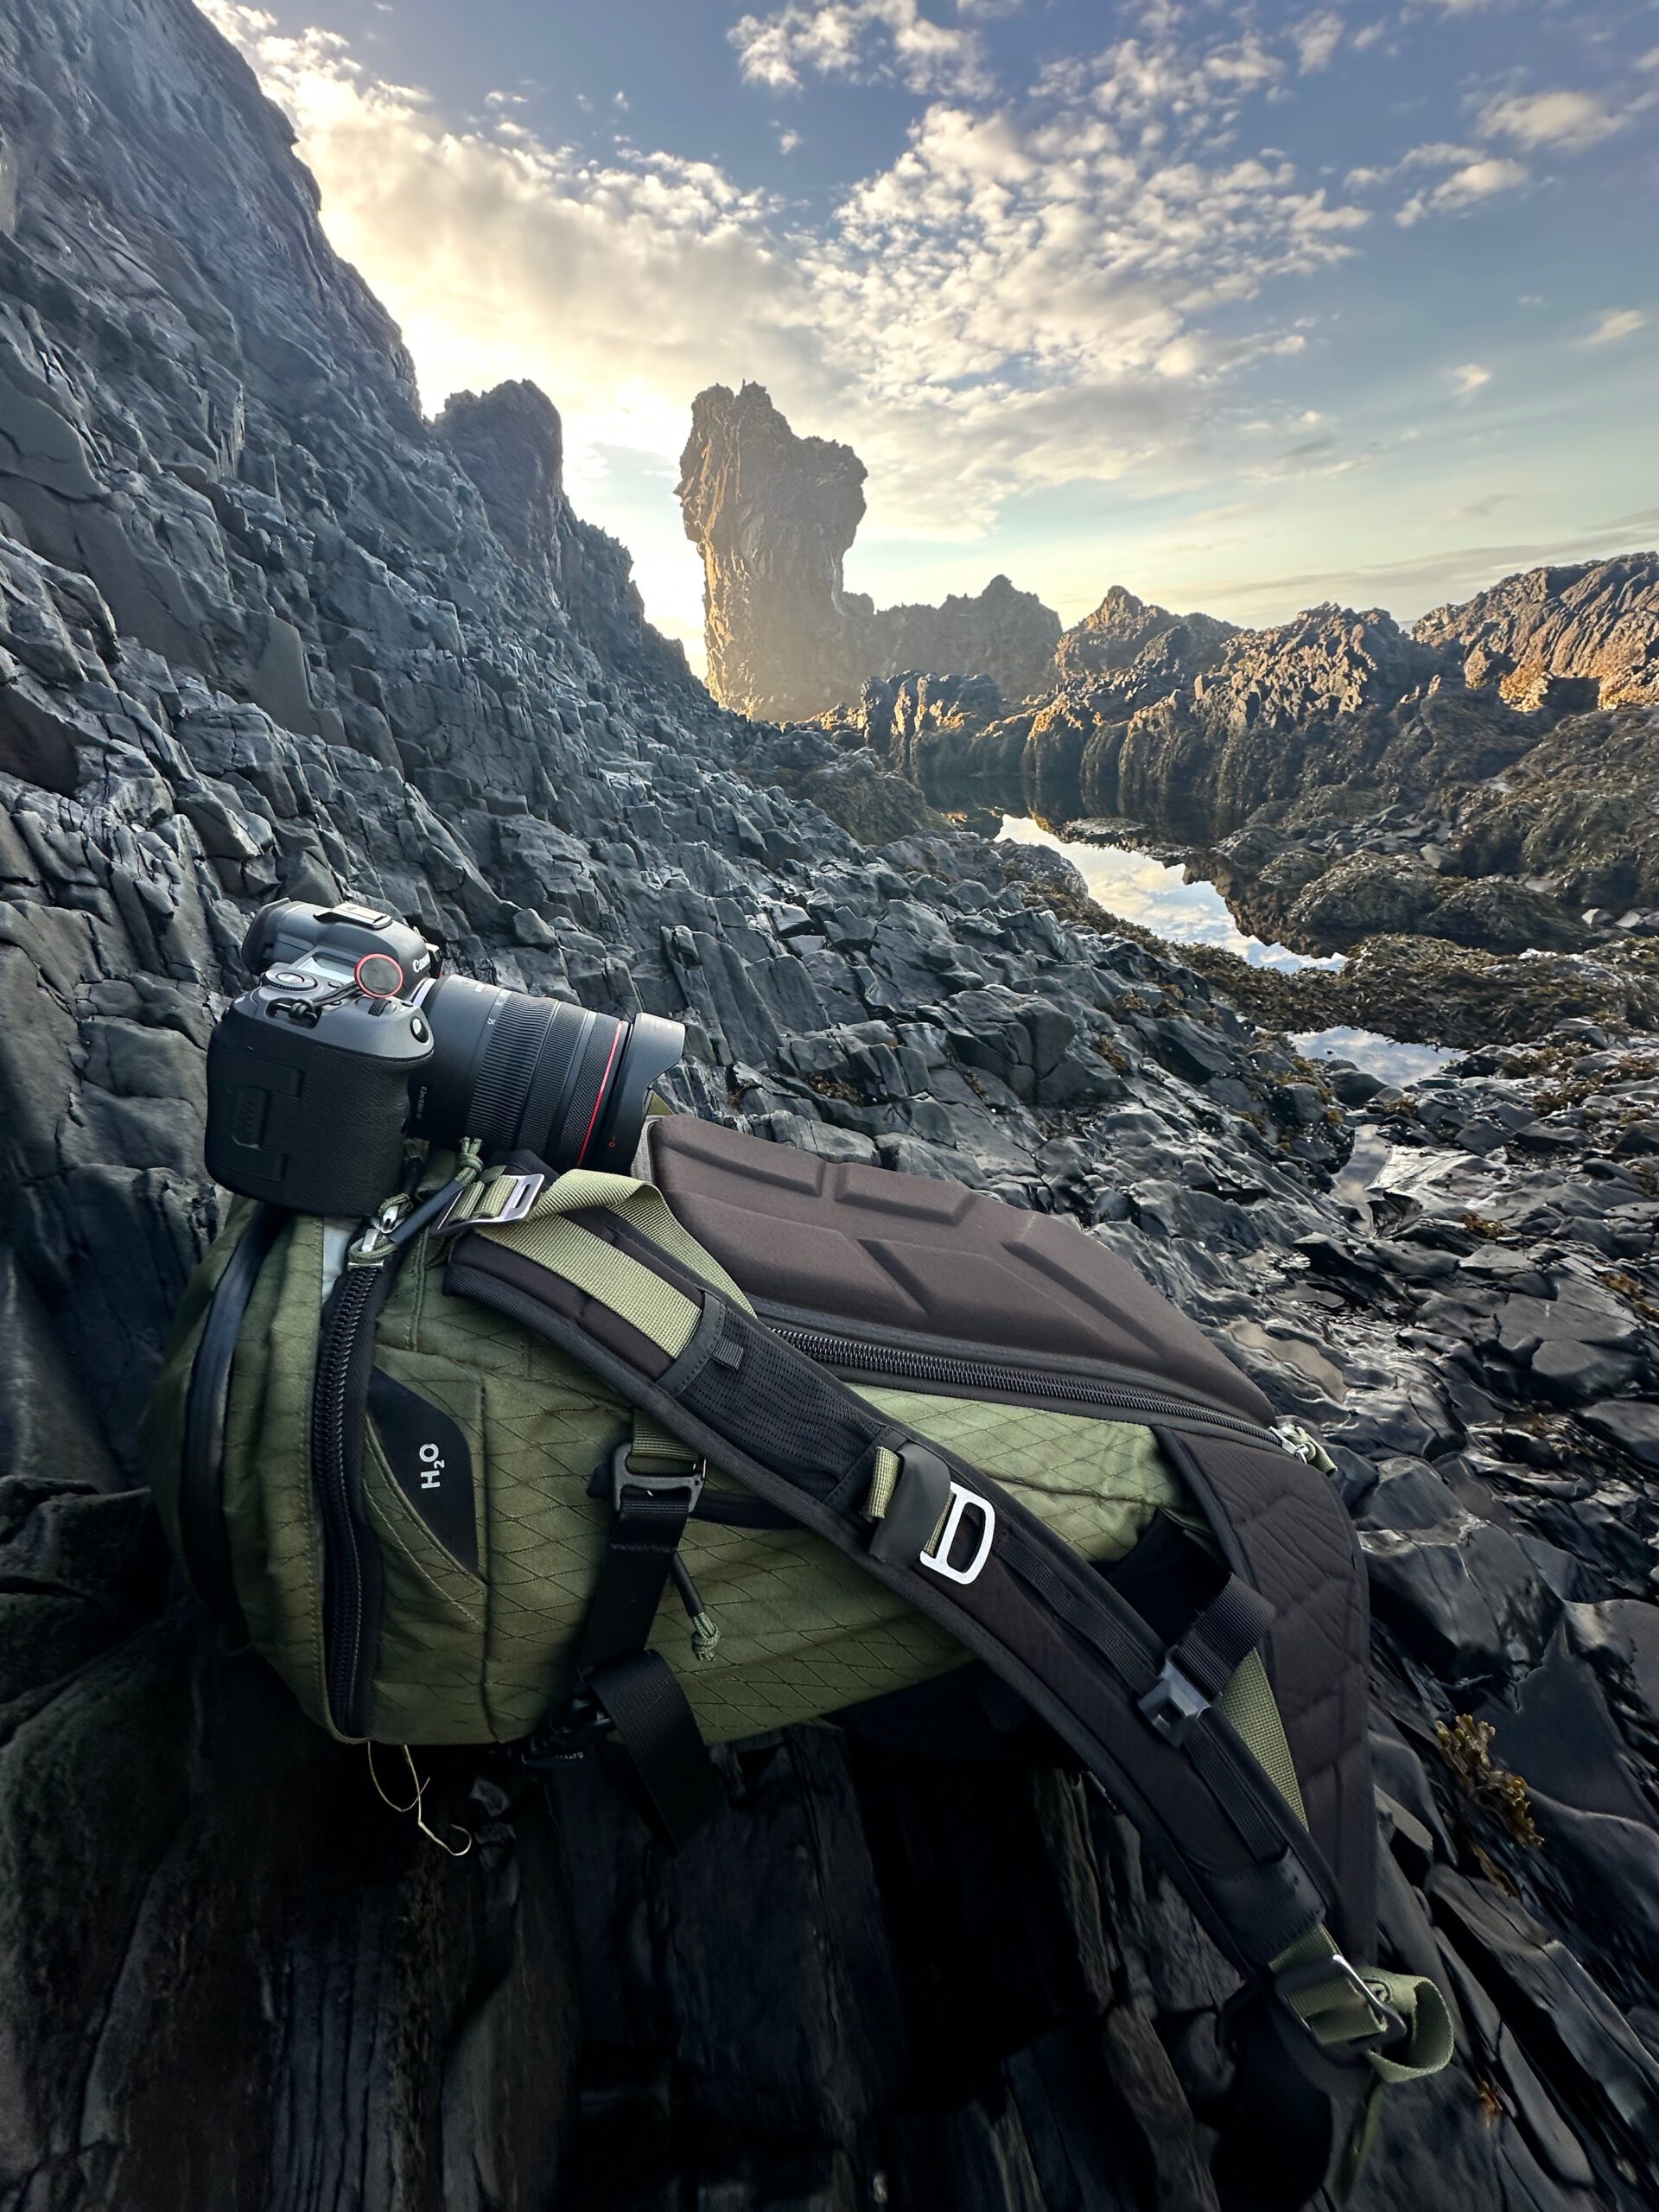
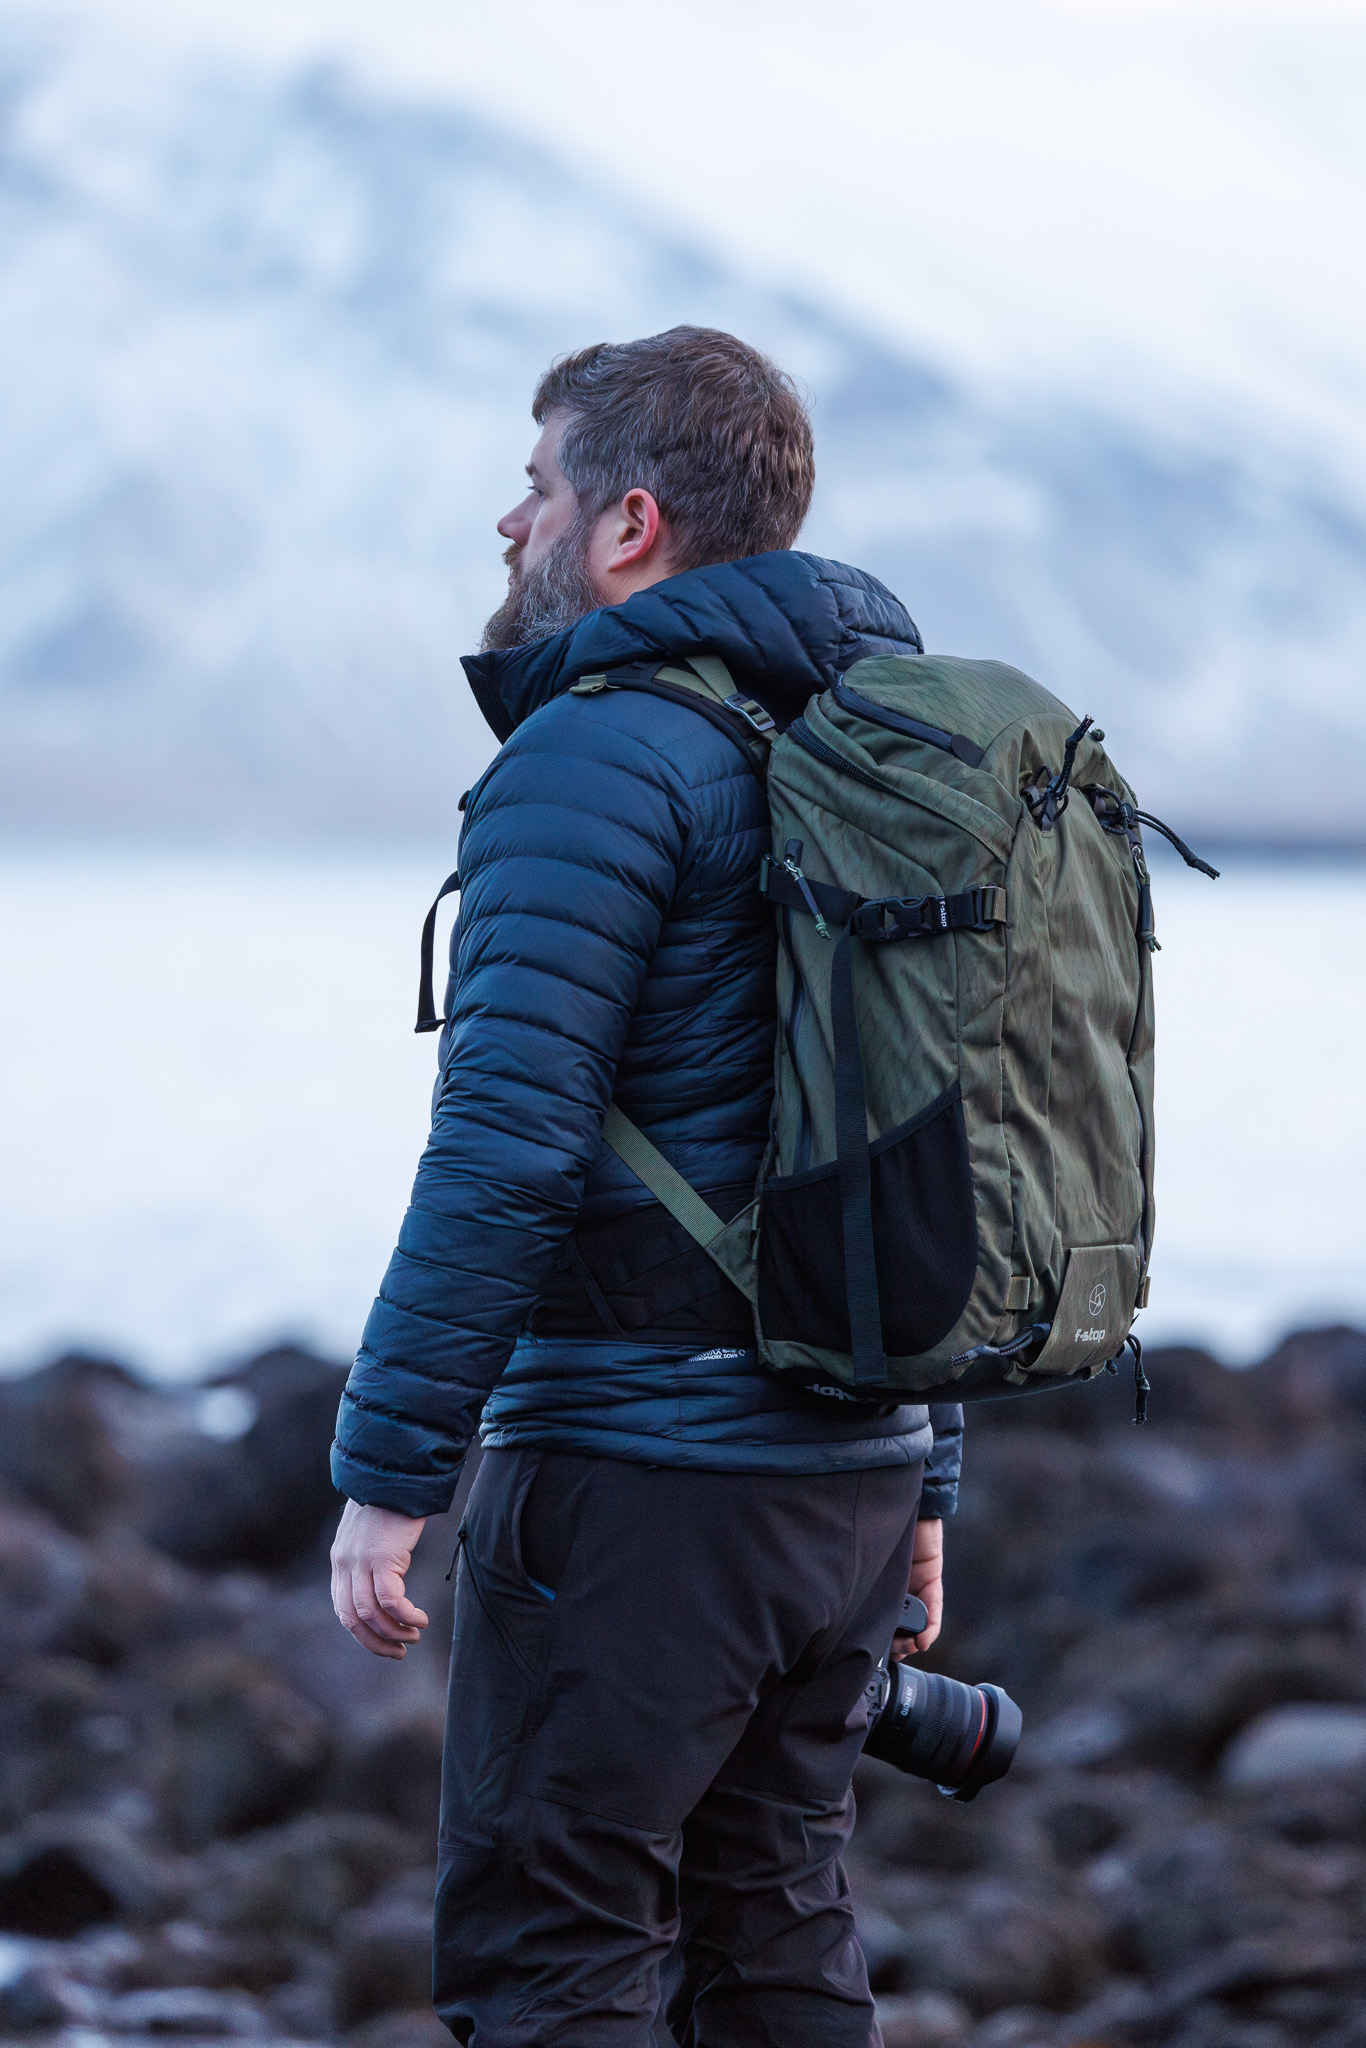
Having a comfortable photography backpack is vital on a photo workshop, especially during hikes. The backpack in this photograph is the f-stop Ajna DuraDiamond, which I recently reviewed.
Lenses
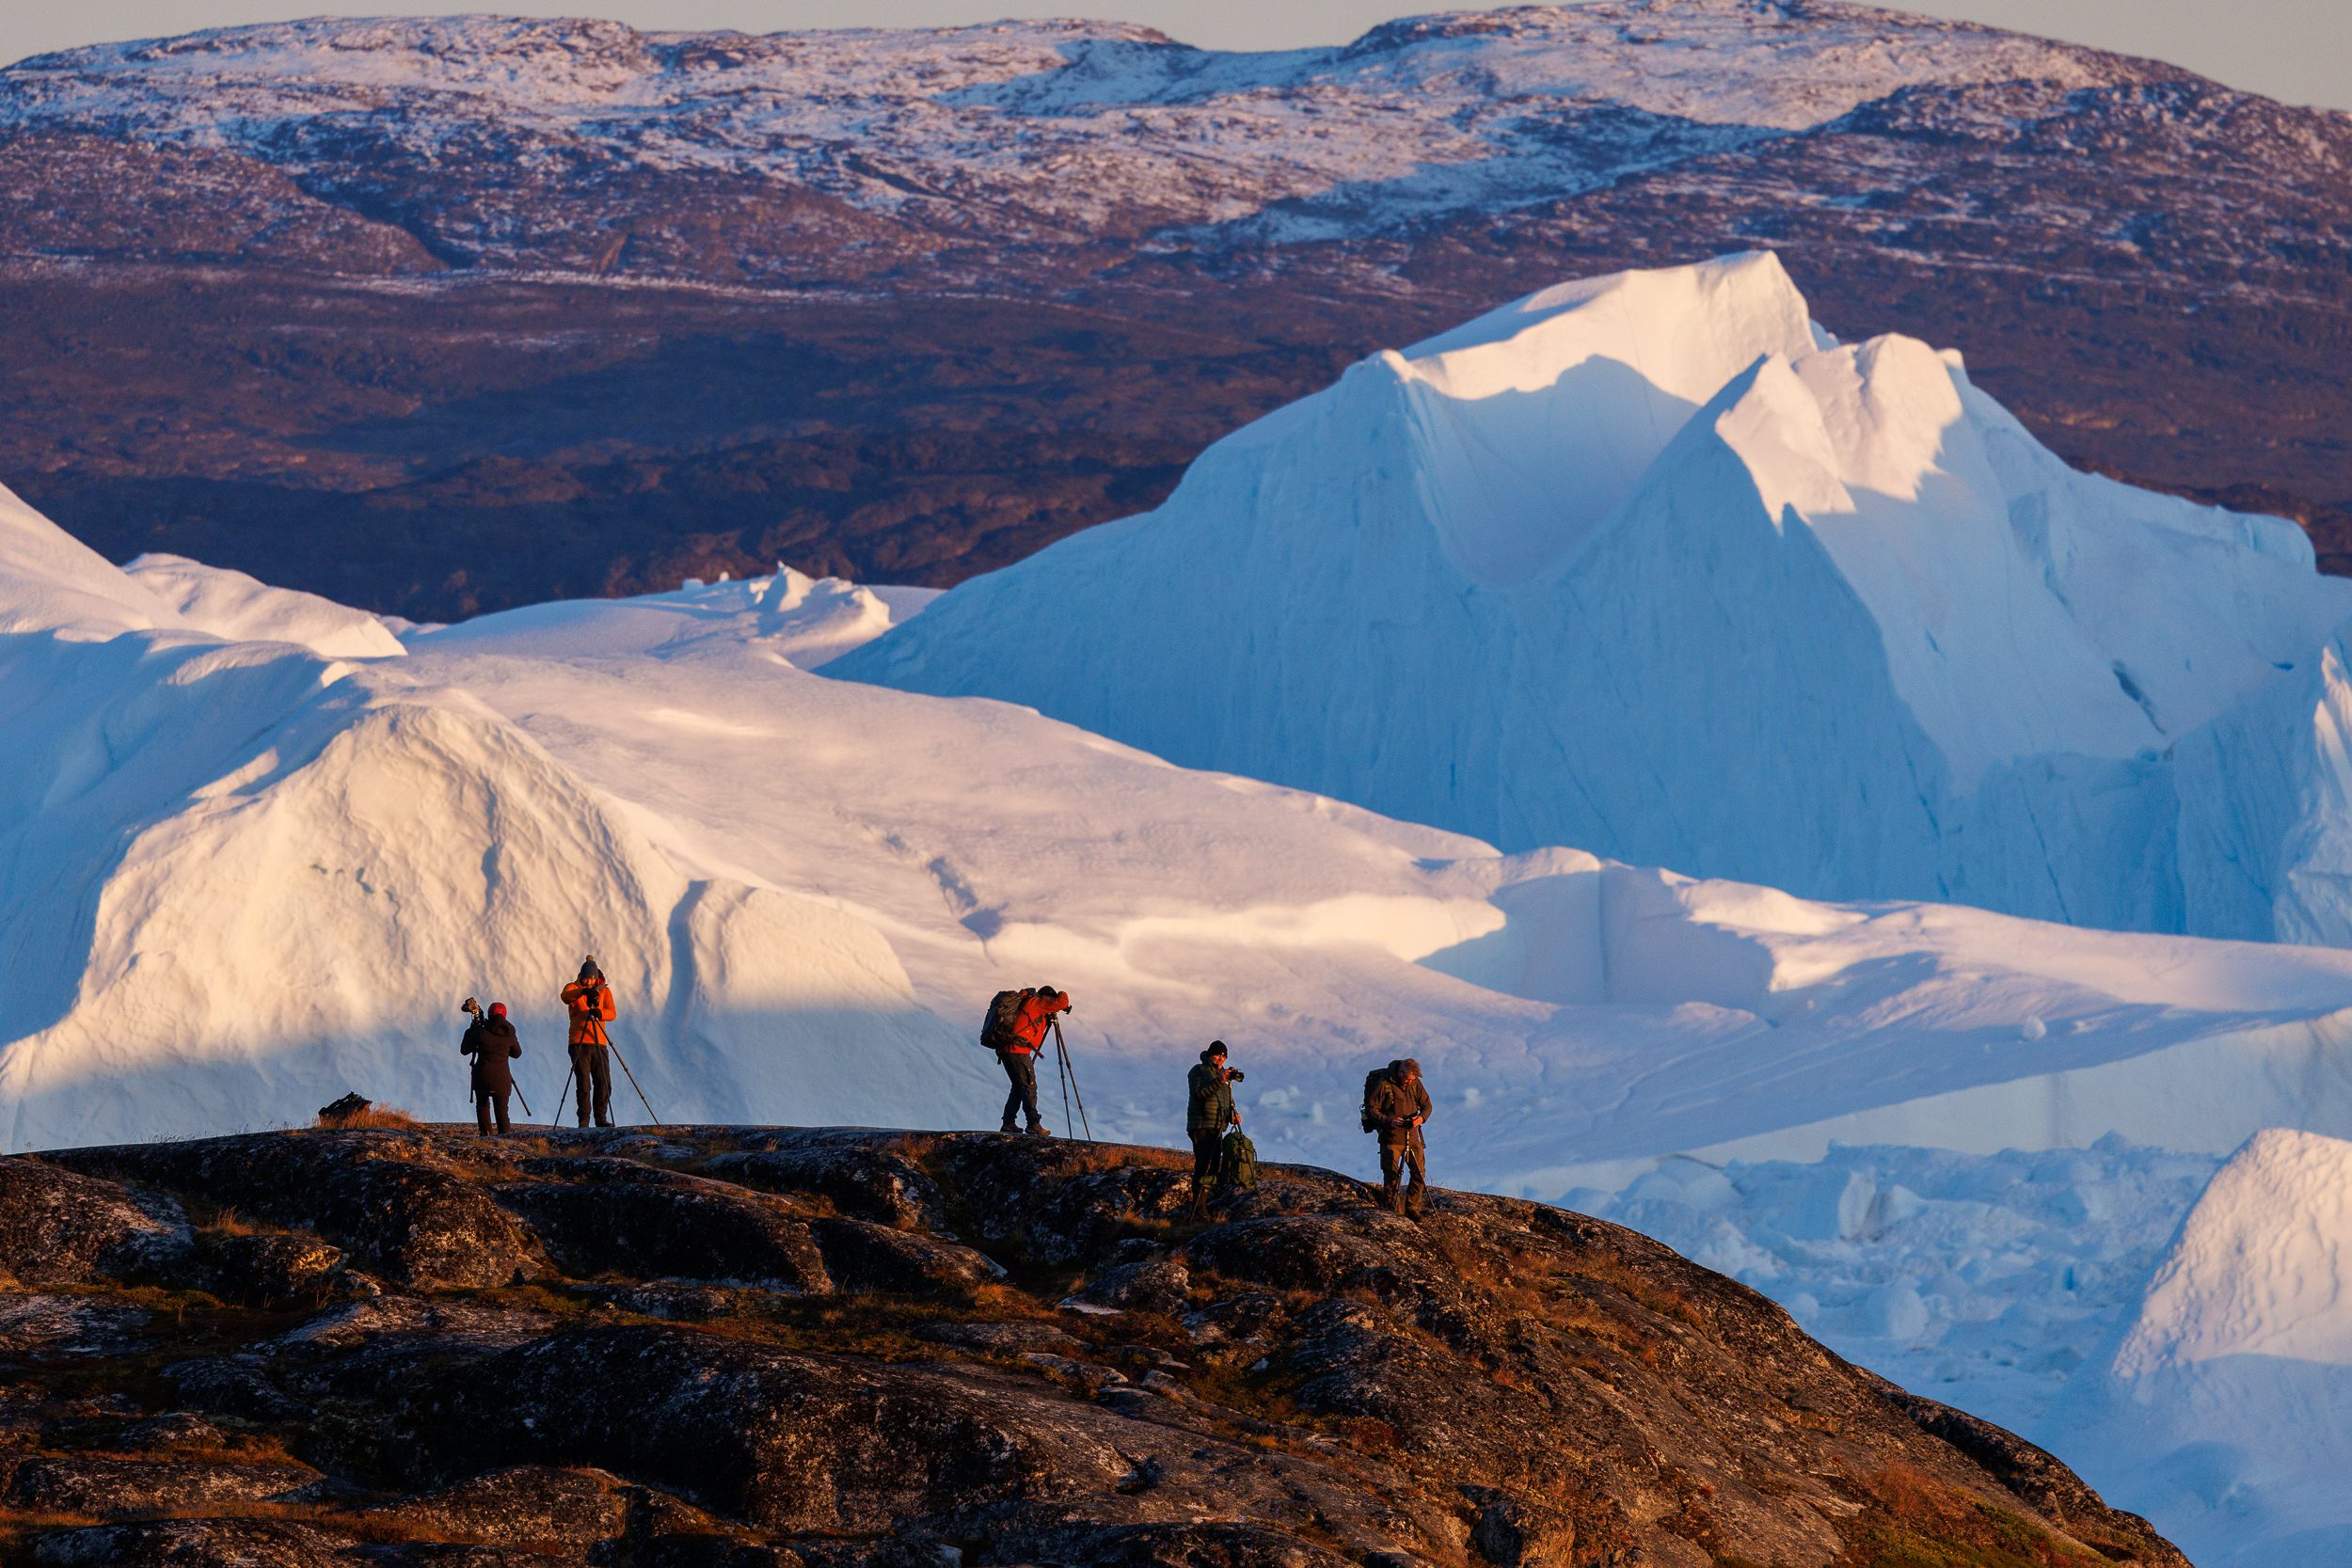
It is recommended that you try to cover at the very least the 16mm – 200mm range (full frame) with your lenses. In some cases, it’s even best to bring up to, or beyond, 400mm to get the best results. This is for example the case on a bird photography workshop or locations with a lot of open landscapes such as you can find in Iceland or Greenland.
Below are a few recommendations for the focal ranges you can cover:
- 16-35mm (full frame) / 10-24mm (crop sensor)
- 24-70mm (full frame) / 18-55mm (crop sensor) or 24-105mm (full frame) / 18-70mm (crop sensor)
- 70-200mm (full frame) / 50-140mm (crop sensor)
- 100-400mm (full frame) / 70-300mm (crop sensor)
If you have a 100-400mm (crop sensor equivalent of 70-300mm), you will want to take that one instead of a 70-200mm to give you extra flexibility.
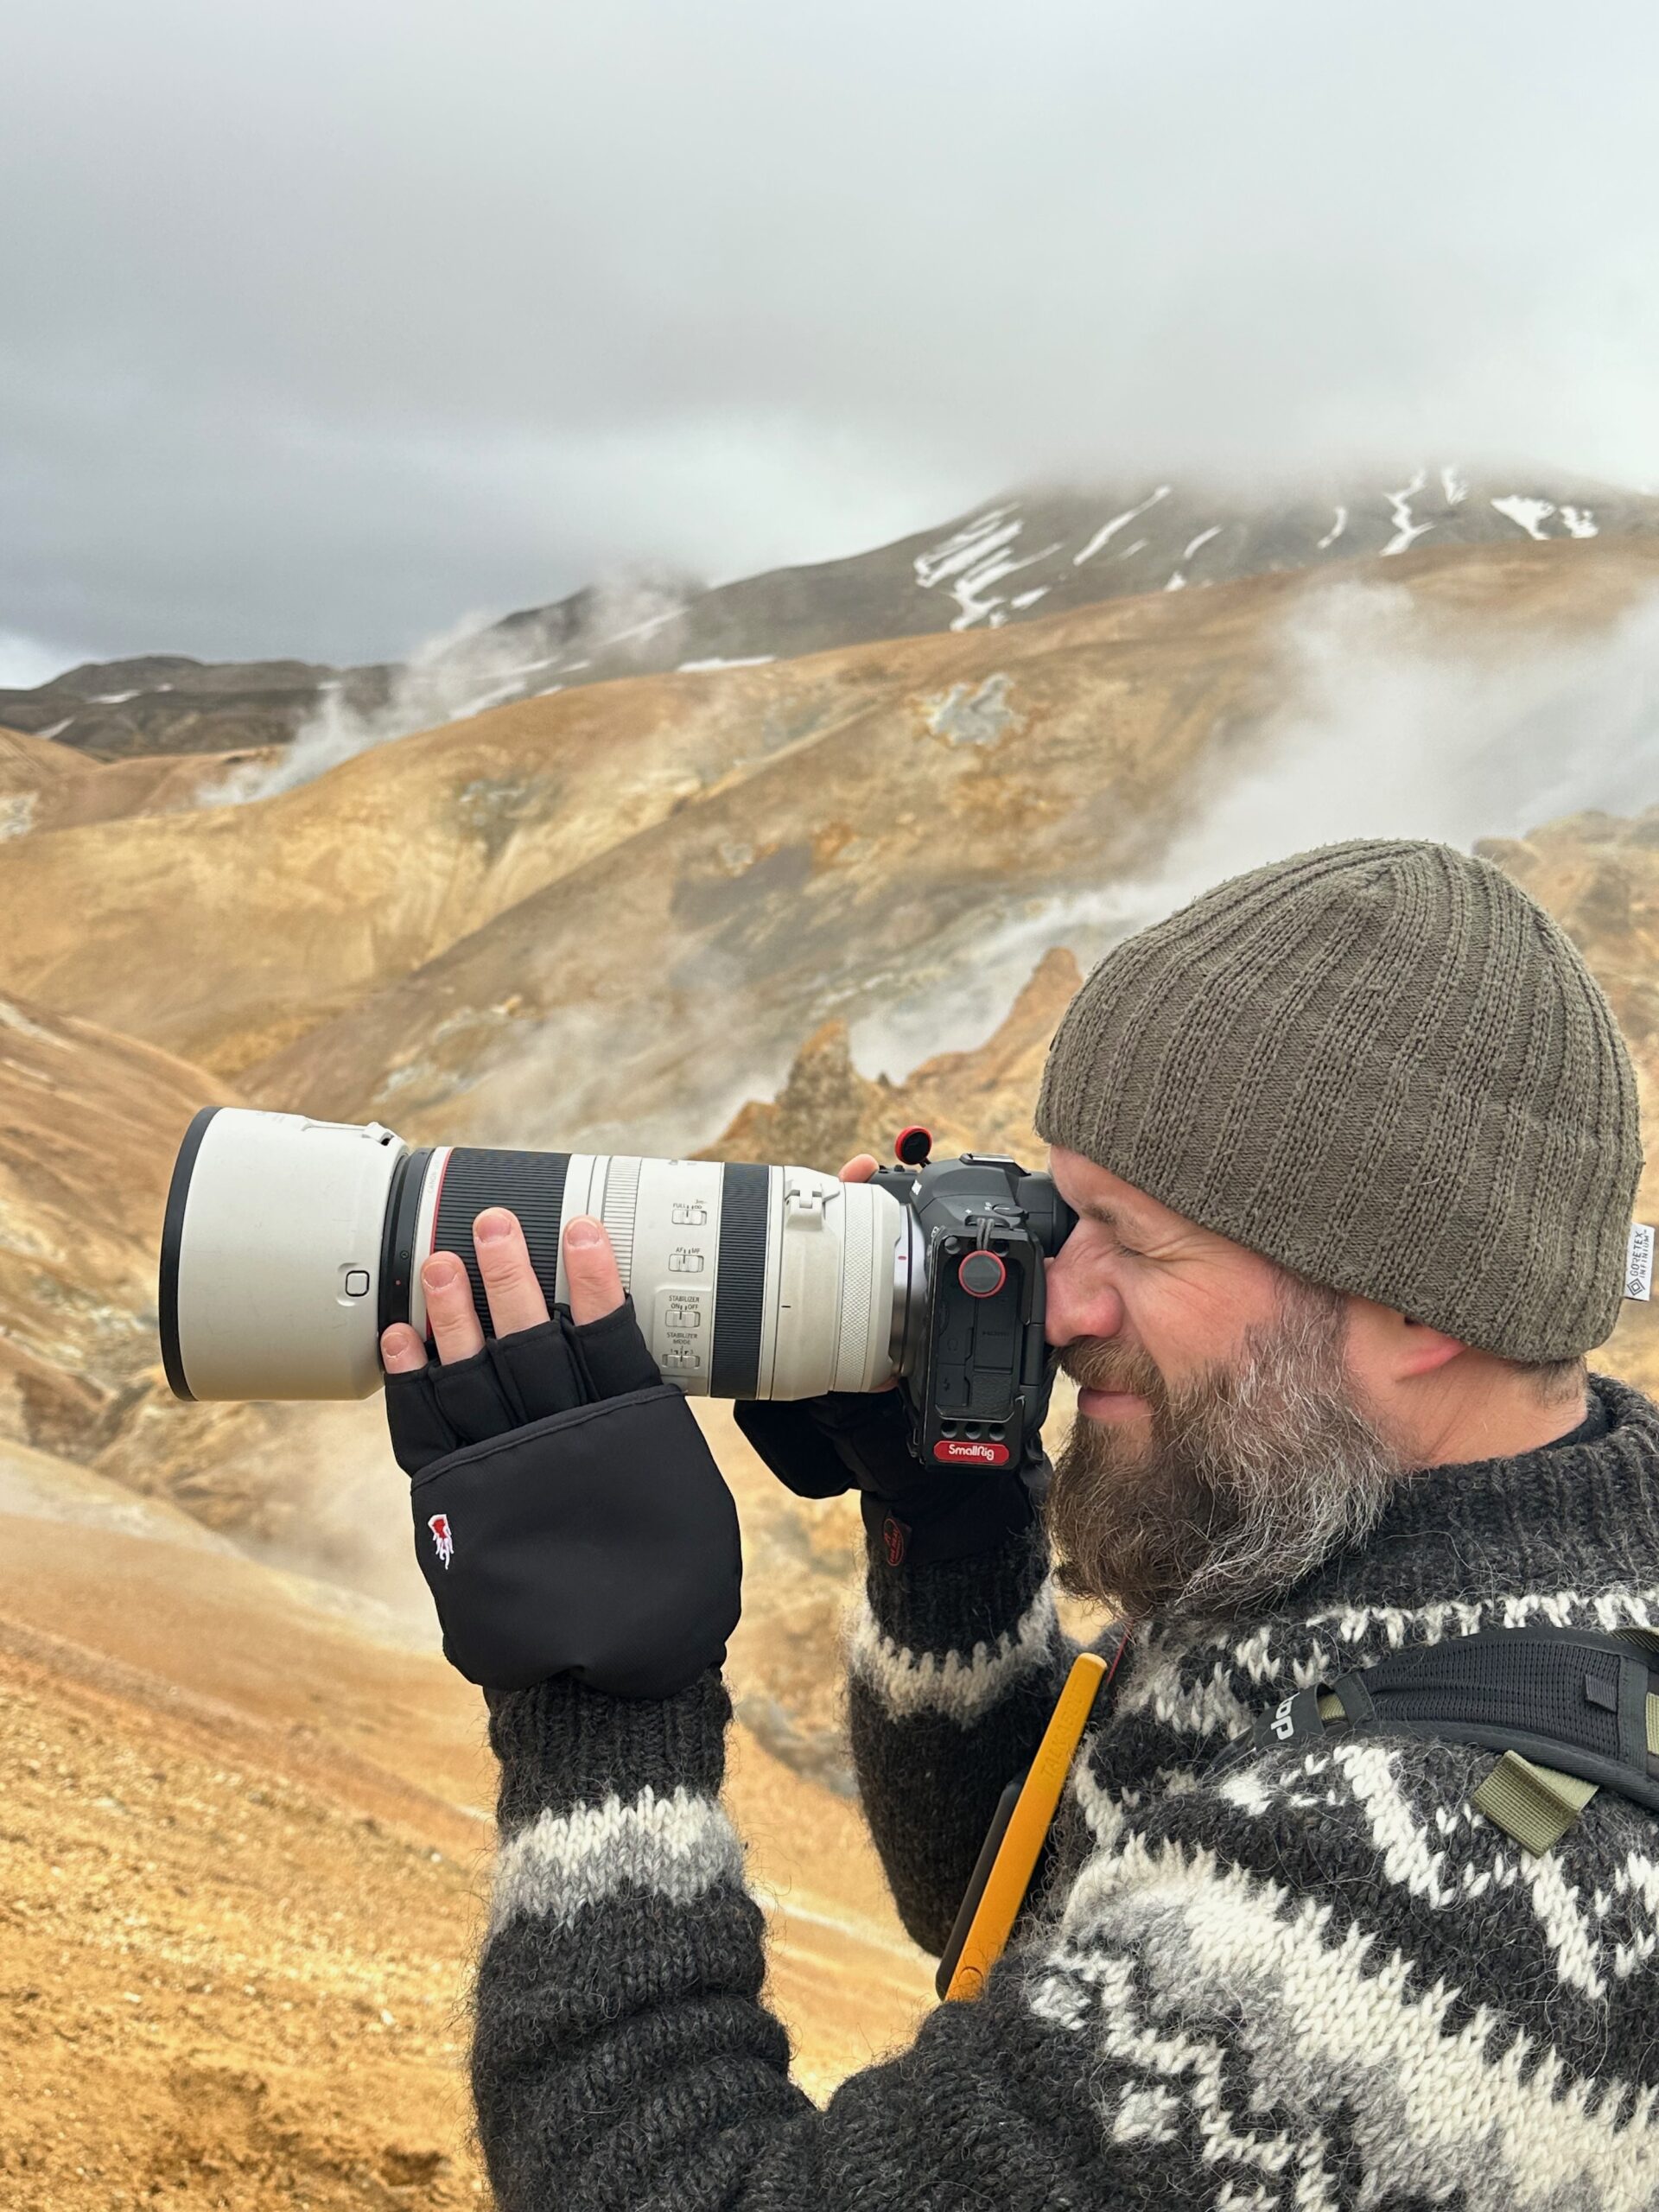
Considering what lenses to bring on a trip is really important. I love shooting with my telephoto lens and it will always be prioritised over any other lens if I run into issue with the maximum allowed weight.
Filters
You don’t have to use filters to get great photos but I recommend bringing at least 3 key filters on a photo workshop: a polariser and two neutral density (ND) filters (6 and 10 stop). These will enable you to do things that aren’t possible with Adobe Lightroom such as creating long exposures or polarising the light to remove reflections. It’s also possible to get graduated filters if you want but these days you can also achieve the same result (and better) with post processing in Adobe Lightroom.
If you are looking for a new filter set, I can highly recommend the Kase Filters Revolution. They are not only easy to use but nice and compact. You can learn more about them in my dedicated review.
Tripod
It’s vital to bring a sturdy tripod on a photo workshop. A flimsy, cheaply made tripod won’t suffice & might even put your photography gear in danger of being damaged. We also recommend using an L-bracket so you can easily switch between horizontal and vertical orientation without diminishing the stability of your camera gear on the tripod.
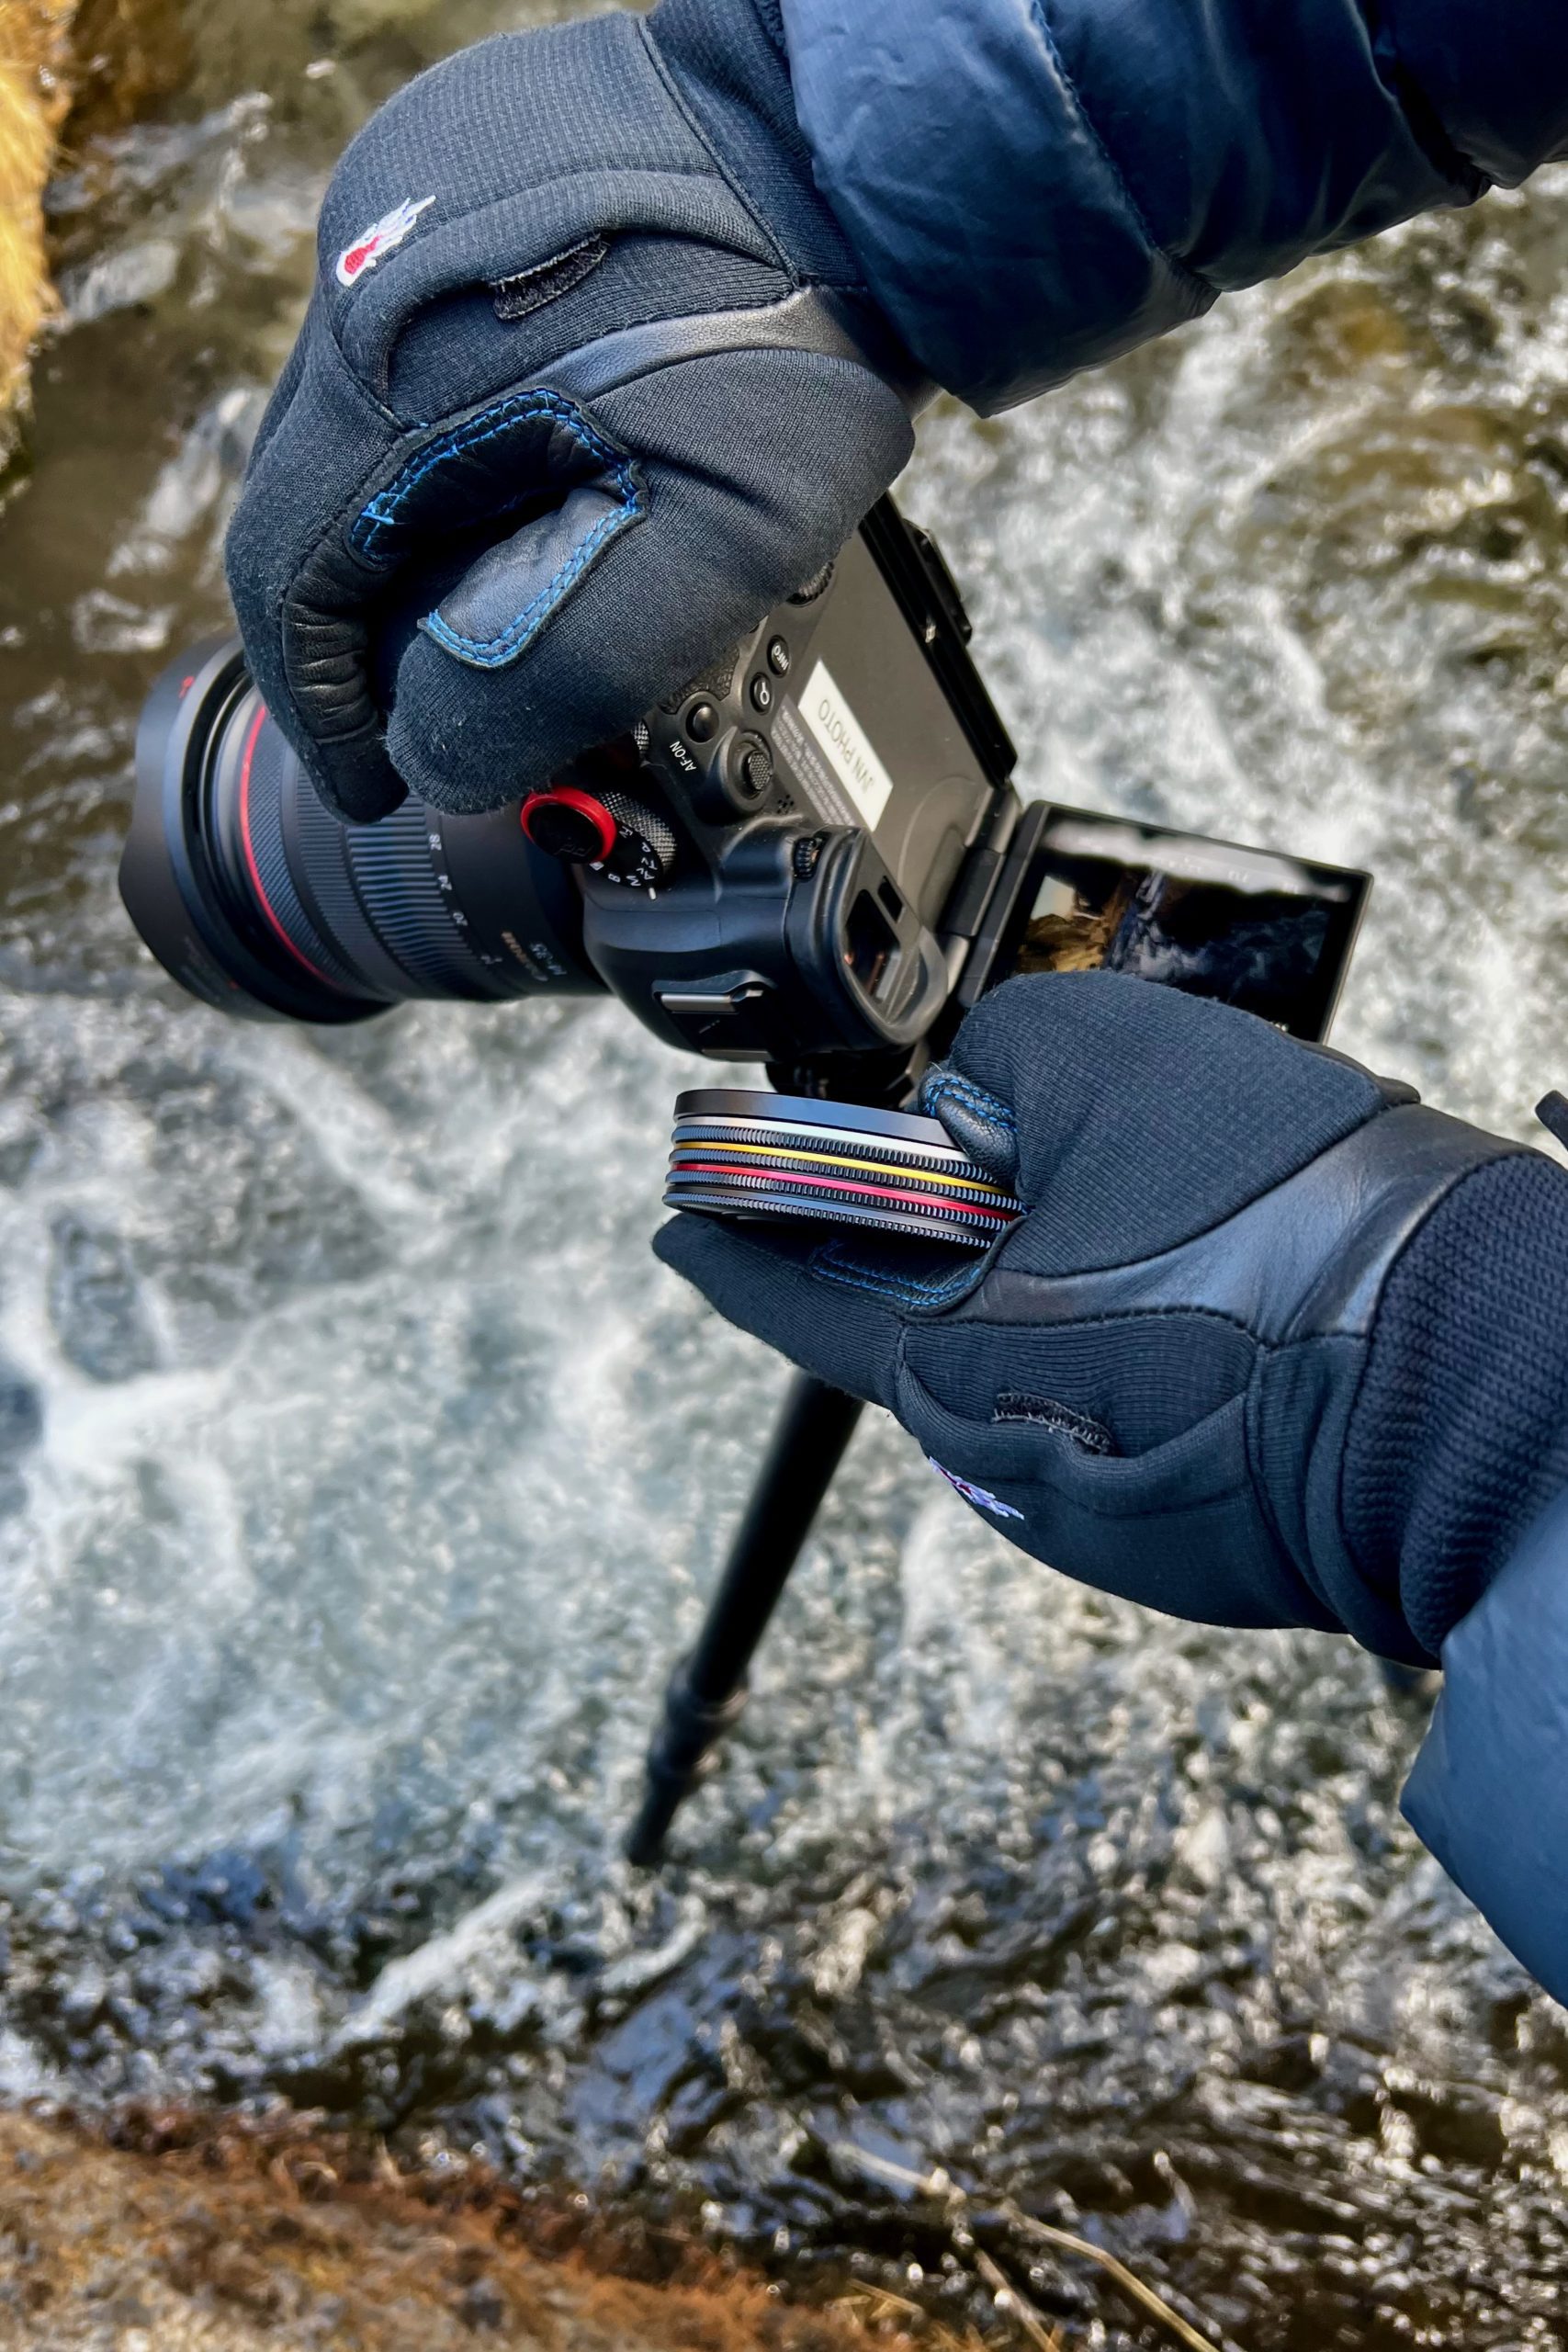
When purchasing a tripod, it’s important you don’t cheapen out and buy something that is sturdy enough to carry your expensive gear. In this photograph, I am also holding the Kase Filters Revolution set.
Drone
Iceland & Greenland offer some of the most stunning landscapes which are even more impressive when you can photograph them from the air. On those photo workshops that are not focused on bird photography, we highly recommend bringing a drone and preferably one which has great wind resistance. Additional drone batteries are a must as the charging capabilities during the day may be limited.
If you are still looking into what drone to purchase, I have a photography-focused drone buyer’s guide available on my blog.
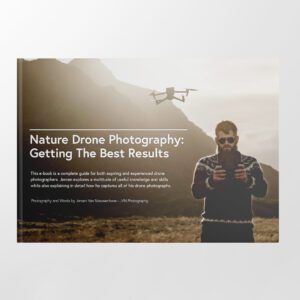
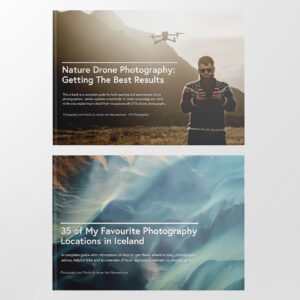
Want to get a head start on how to get the best drone photographs? Make sure to check out my drone photography e-book. It’s the most comprehensive guide on drone photography and how to get the best results out of even the smallest drones on the market.
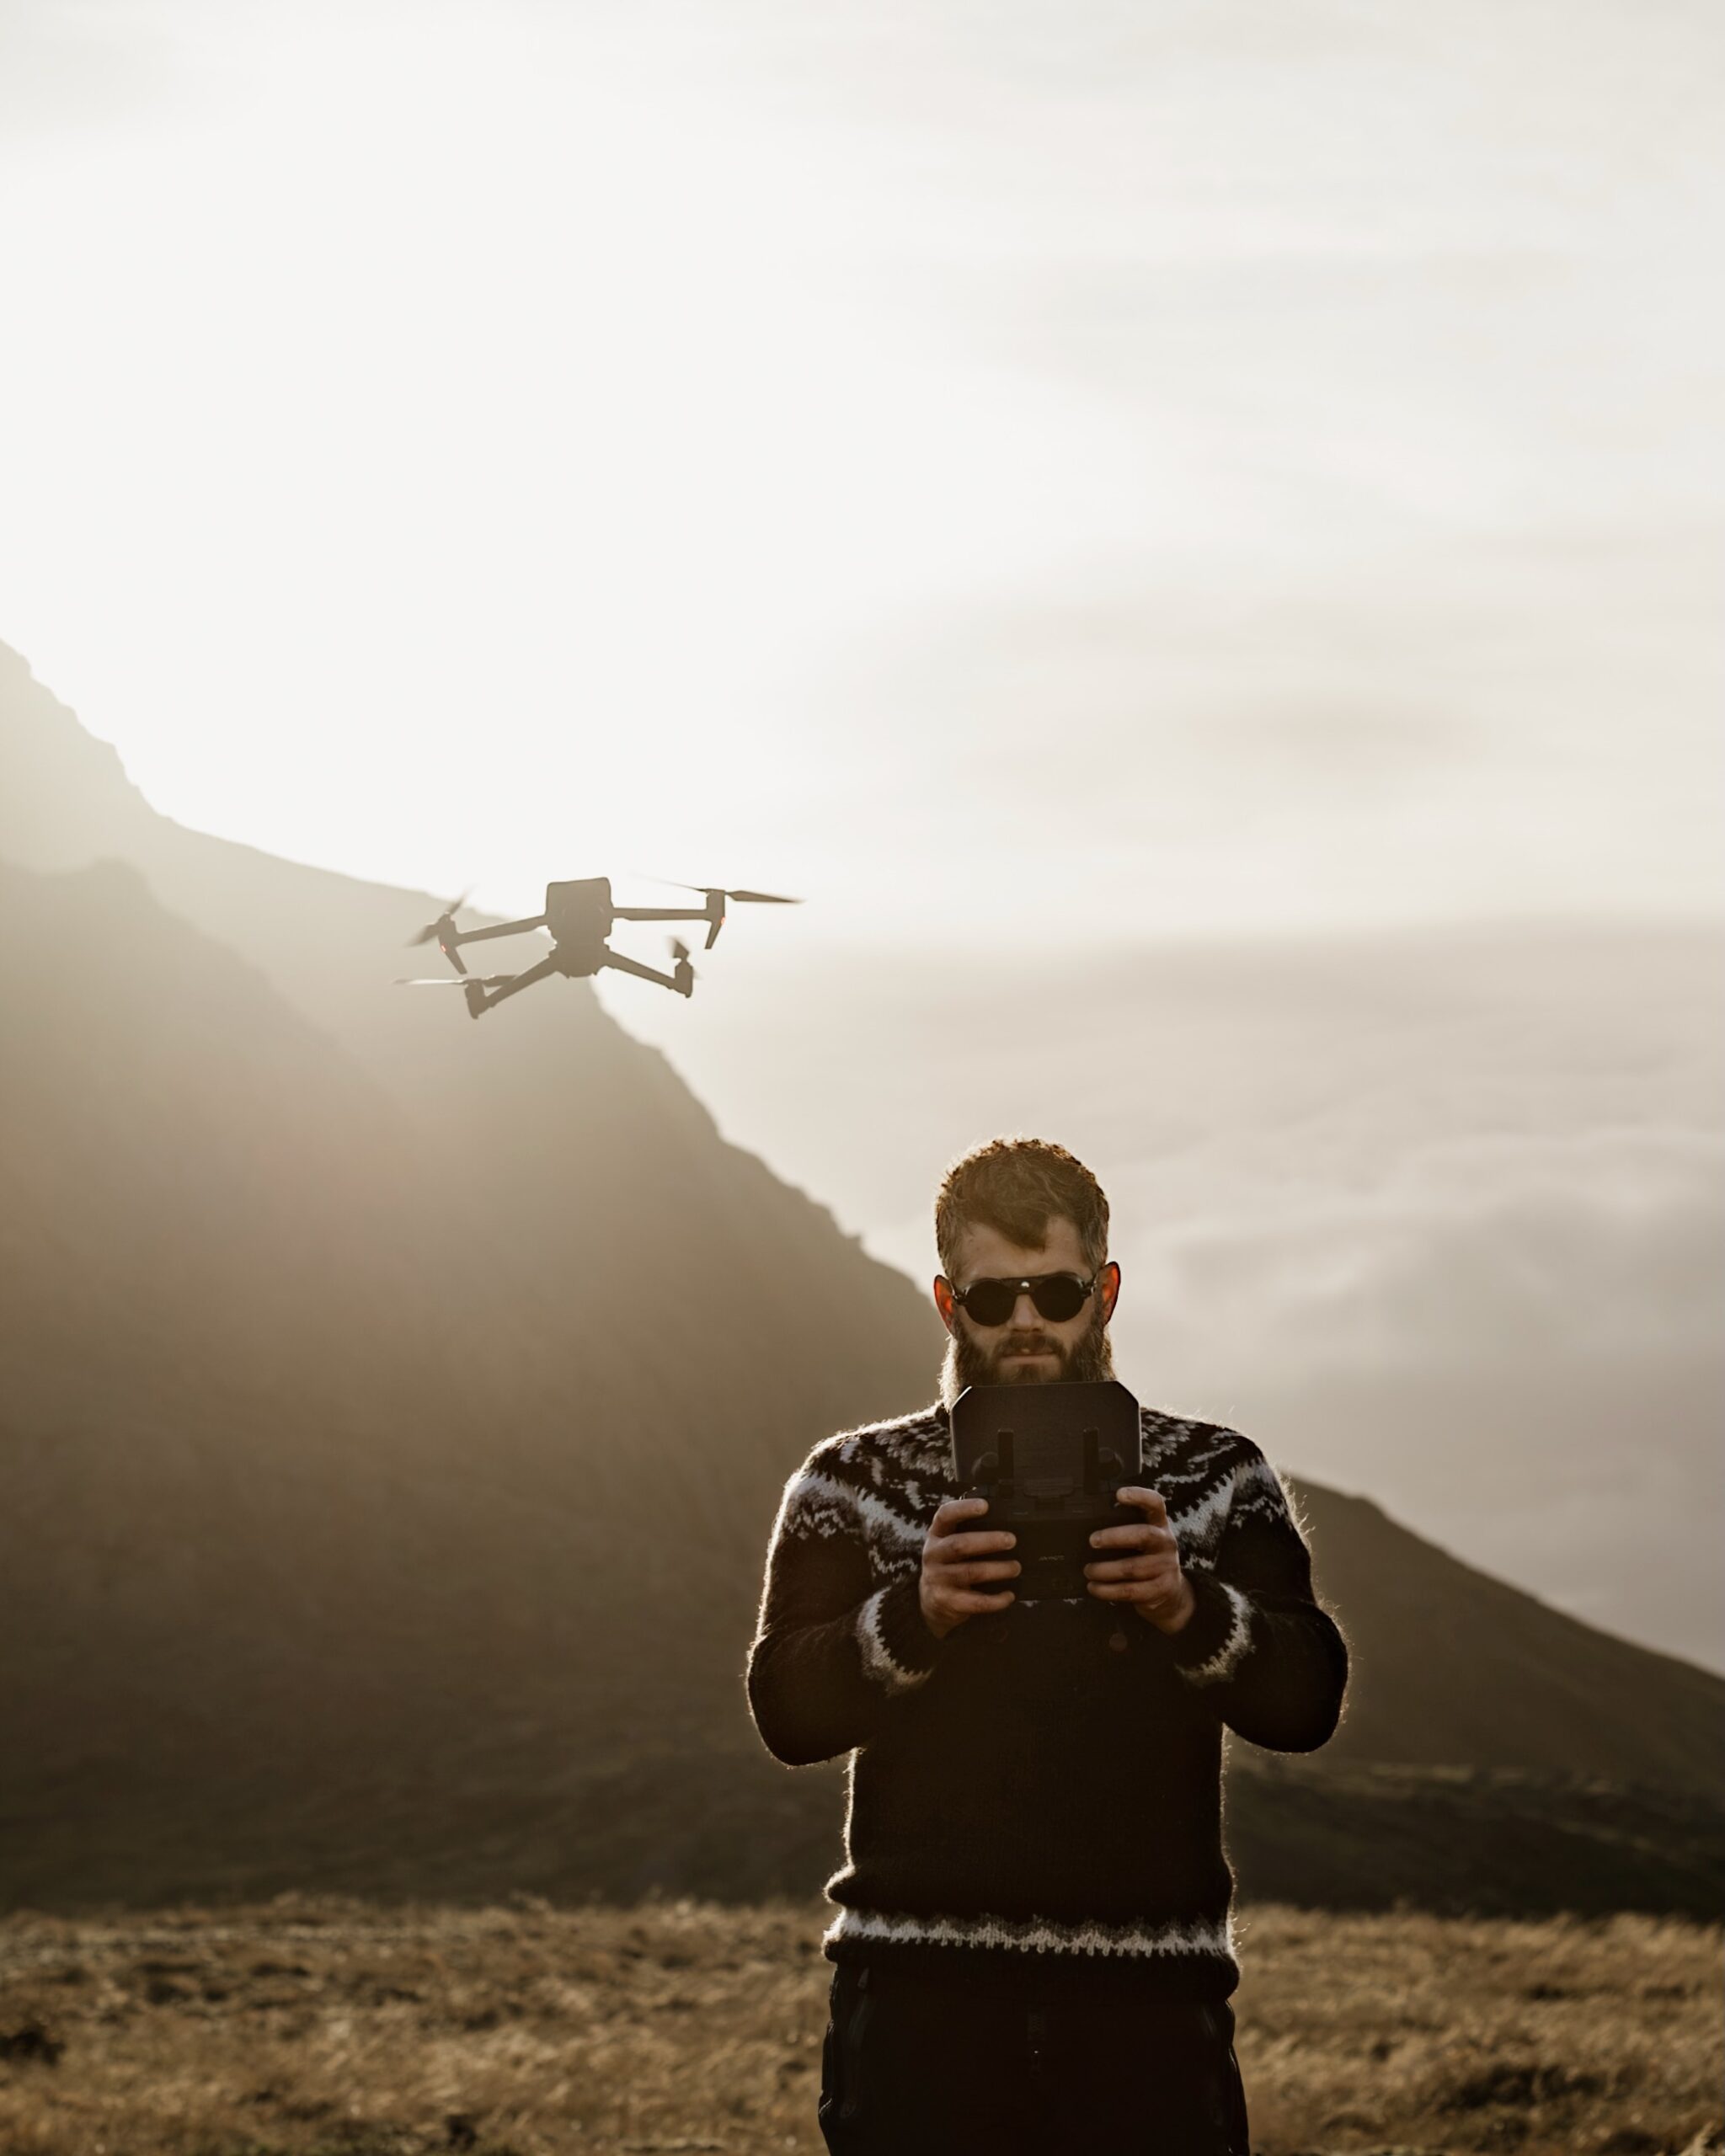
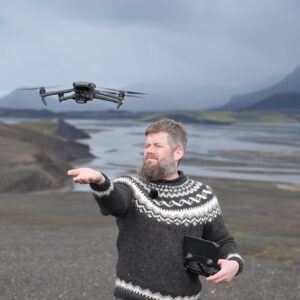
Drone photography can give you a unique perspective on classic locations. Especially my photo workshops in the Icelandic Highlands are heavily drone focused.
Other Photography Accessories That Are Useful
There are also a number of smaller, useful items you can bring. Below I have listed a few of the handiest ones.
- A sturdy case for your (micro)SD, CFExpress or other memory cards
- Microporous towels for drying your lens and camera
- A blower to clean your lens
- Cable release (you can also use a timed shutter release)
- Spikes for your tripod
- Spare batteries (especially for your drone) and portable chargers
- Mini toolset/hex keys that fit your tripod/gear
- A camera rain cover
- A power strip to charge all your equipment in the accommodation
- A laptop or tablet so you can do a post-processing session in case of unexpected downtime during the workshop
If you want to find in more detail what kind of photography items I find useful, make sure to check out my list of 5 useful items under 100USD.
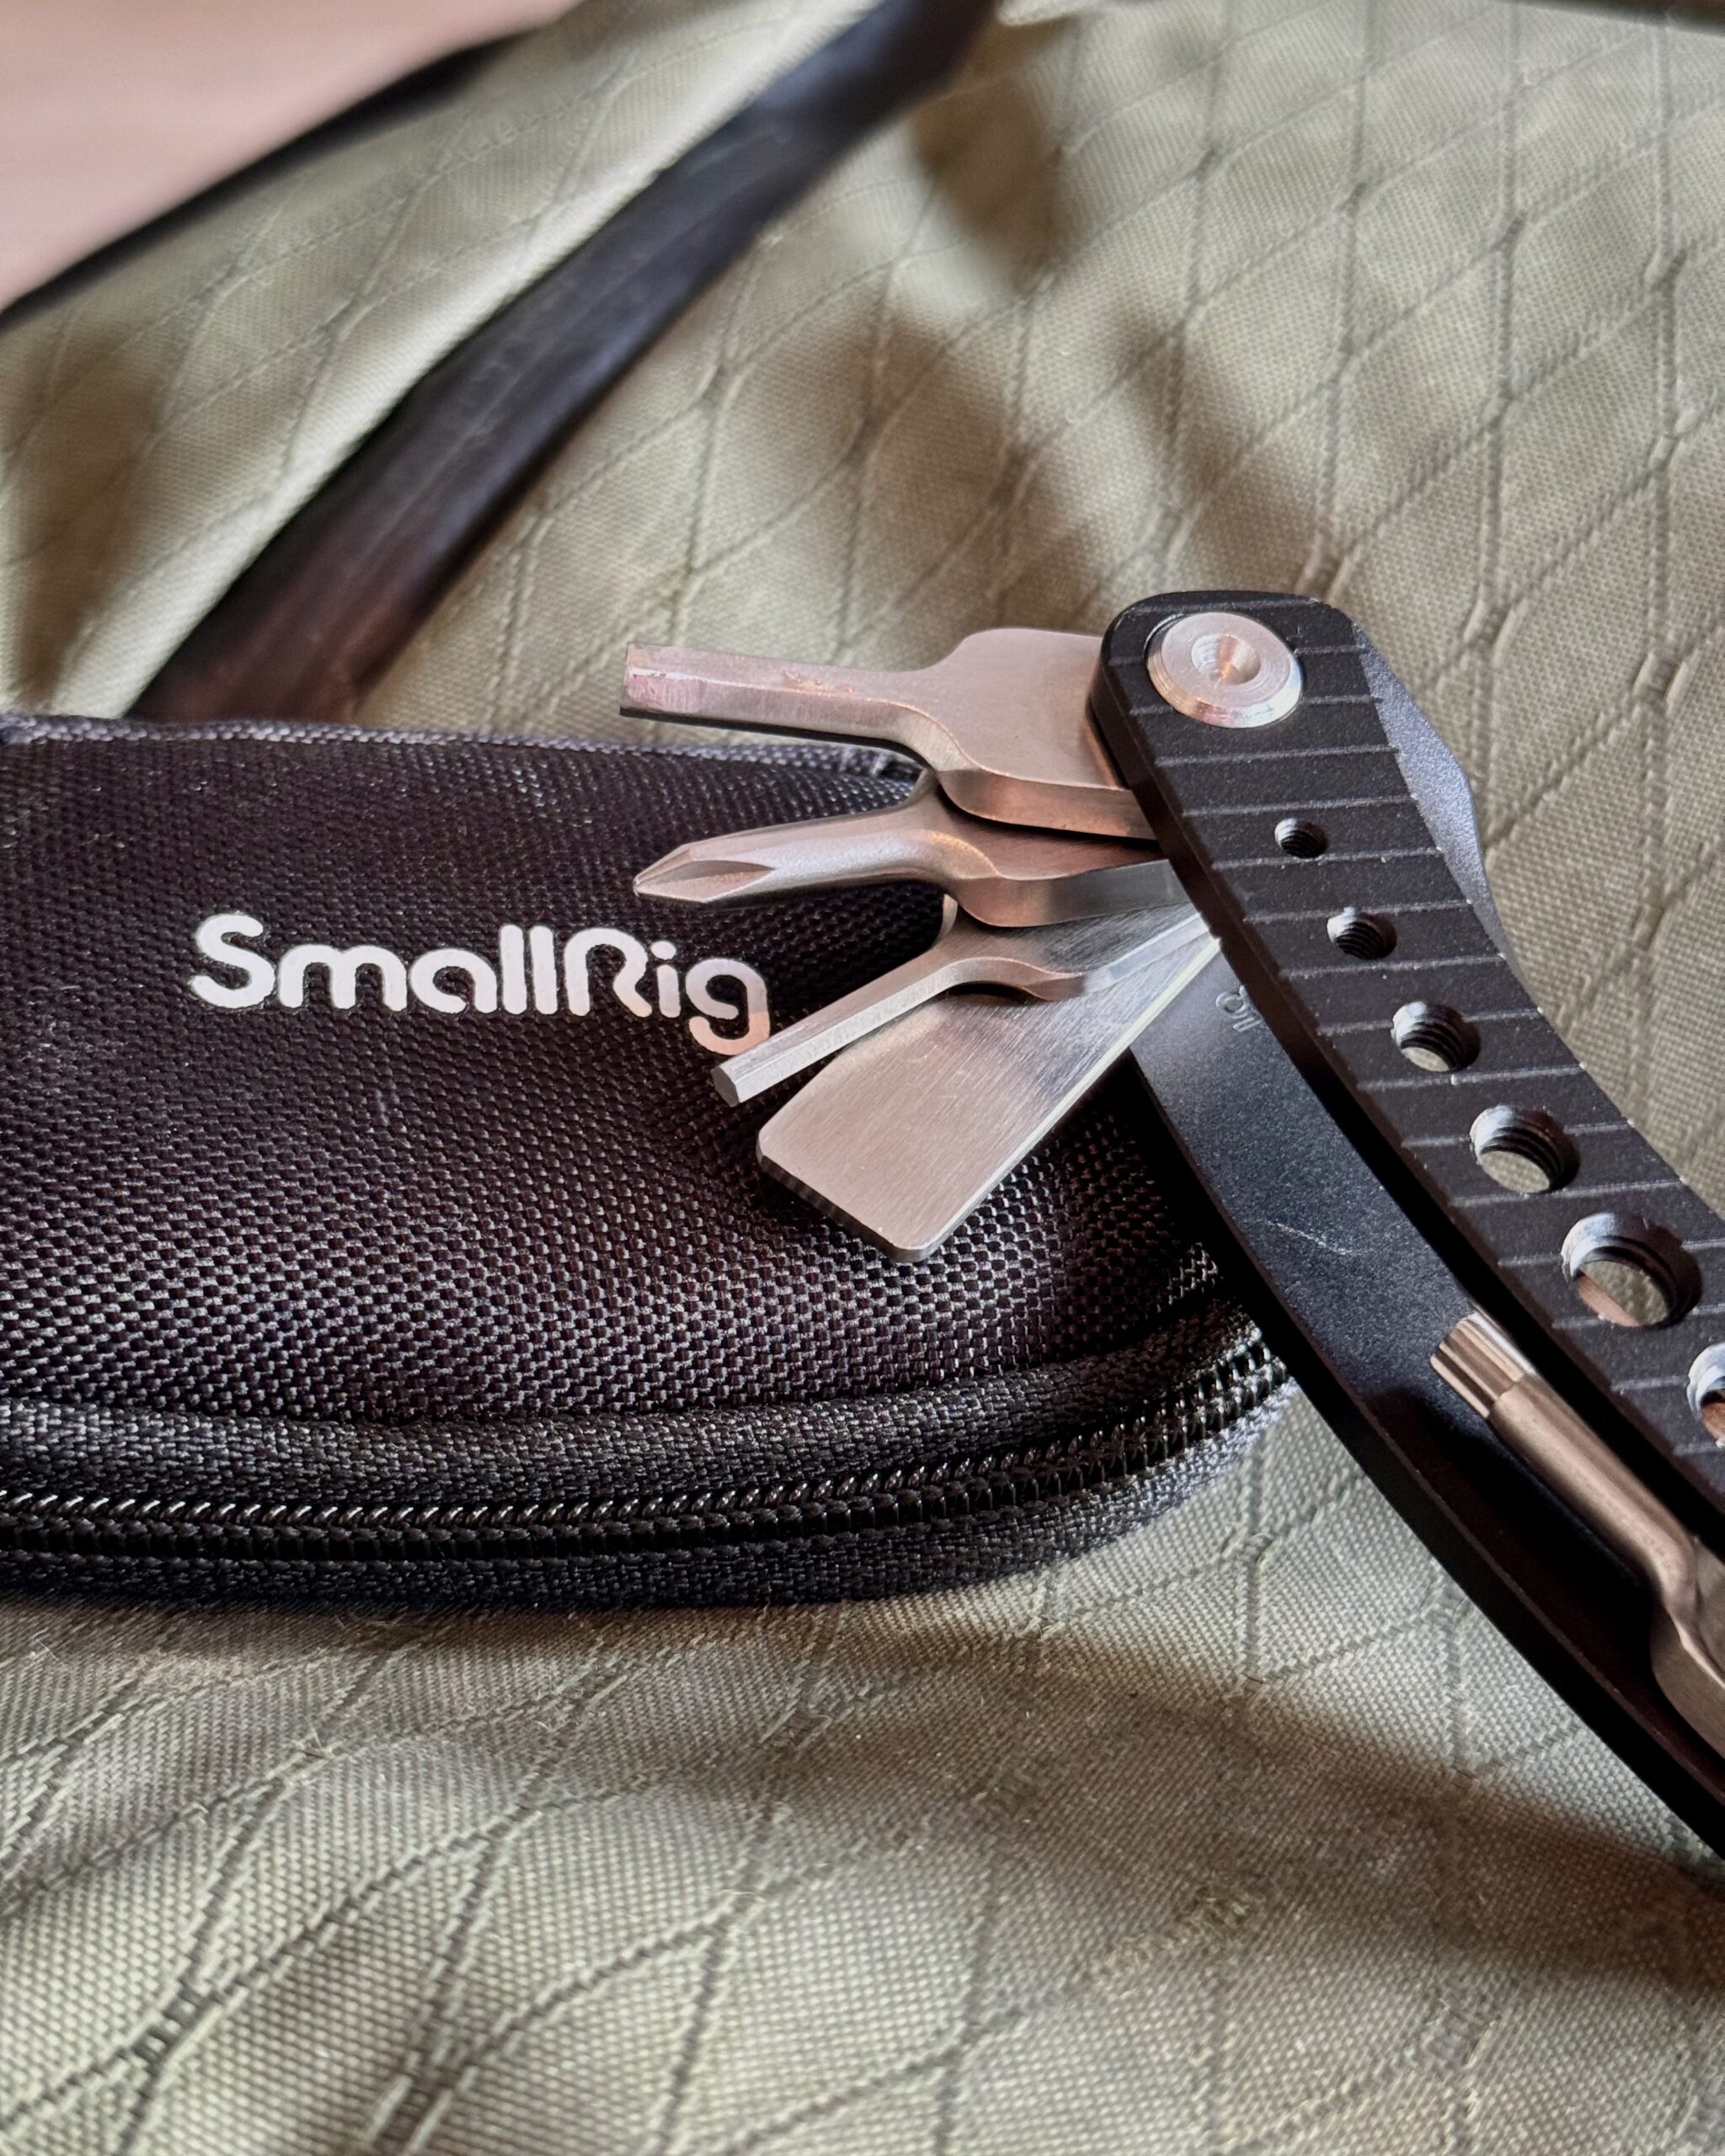
Having a multitool on hand can be incredibly handy in the field when you need to tighten your tripod plates.
Discover Jeroen’s Photo Workshops in Iceland, Greenland & Beyond
Ready to take your photography to the next level? Join me, Jeroen Van Nieuwenhove, on unforgettable photo workshops in Iceland, Greenland, Antarctica and other exciting destinations. Whether your passion is wildlife photography, bird photography, landscape adventures, or mastering drone photography, each workshop is designed to give you hands-on guidance in some of the world’s most spectacular locations.
From puffins in the midnight sun to Arctic foxes in the wild, from glaciers and volcanoes to dramatic coastlines seen by drone – these journeys are more than workshops; they’re once-in-a-lifetime experiences. Group sizes are kept small, ensuring personal mentoring and plenty of shooting opportunities.
Looking for something specific? Check out Jeroen’s…
- Wildlife & Bird Photography Workshops (Puffins, Arctic Foxes)
- Drone Photography Workshops
- Photo Workshops in Iceland
- Photo Workshops in Greenland
Spots are limited – secure your place today!
What Previous Participants Shared About Their Experience
These reviews are verifiable on Jeroen’s public Google Business profile.
Support Jeroen’s Work
As an independent photographer, Jeroen partially relies on your support to keep producing worthwhile content such as blogs, photographs, books and much more. If you want to support his work, it is possible to do so by buying his e-books & books or prints.
You can also sign up to the newsletter to stay up to date on new blog posts, projects, workshops and other interesting information.
Thank you for considering!

