It has been a while since I last shared how I organise and pack the tech in my photography bag, and that matters more than ever when you travel for remote photo workshops as often as I do. While packing for an upcoming Antarctica photo workshop, I realised just how much my setup has changed since 2024. My goal has always stayed the same: keep my photography tech bag compact and lightweight, while still being efficient in the field. That means minimising the footprint in my luggage without compromising on what really matters, which is reliable charging, power management, and organisation for cameras, drones, and other essential gear I travel with.
Before we go any further, one important clarification: this article is only about my photography tech bag, not my cameras or lenses. If you are looking for a full breakdown of the photography gear I currently use, you can find that on my dedicated gear page, which I keep regularly updated. In this article, I will focus purely on how I organise, pack, and charge my tech when travelling to some of the most remote places on Earth.
Disclaimer: This article is not sponsored in any way. All of the items mentioned in this article were purchased & used by me. No one asked me to mention specific products. However, when you make a purchase using links in this article, I may earn a small commission.

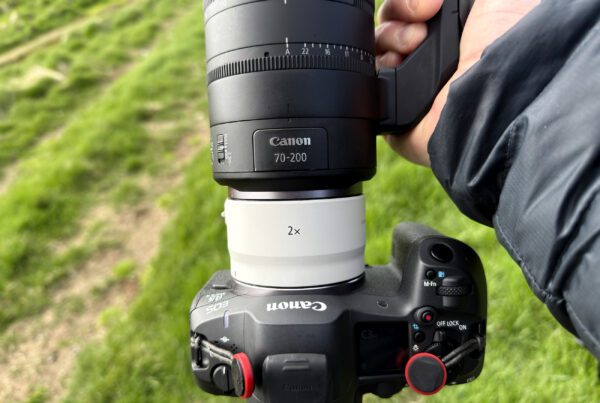
Traveling as light as I can, is a goal I constantly strive for. But it’s also one that becomes harder and harder as power requirements get larger. What better moment to demonstrate what I travel with whilst traveling. In this case, I was in between flights in the hotel lobby at Santiago airport, on my way to Antarctica.
A New Tech Organiser: The Aer Pro Kit
In the past, I used a small f-stop Welded Accessory Pouch to contain all of my charging equipment & more. I still love that little pouch but my requirements have changed, which meant I needed something that has a little bit more room. Therefore I am now using an Aer Pro Kit, which is a super light & compact tech organiser. It fits exactly everything I need, stores it in an organised way and it doesn’t take up more room than the items it holds. While I also still have a medium f-stop Welded Accessory Pouch, that pouch was too large for the items I carry but if you are in need of something larger, I would have a look at that.
Purchase Aer Pro Kit: https://geni.us/jvn-aerpro
Purchase f-stop Welded Accessory Pouch (Small): https://geni.us/jvn-fstopaccsmall
Purchase f-stop Welded Accessory Pouch (Medium): https://geni.us/jvn-fstopaccmedium

Whilst being a bit larger than the small f-stop Accessory Pouch, this pouch fits all of my tech.

On one side I keep the various cables, while my chargers and hard drives are sitting on the other side.
How I Keep All My (Photography) Gear Charged
Inside of my Aer Pro Kit I still keep 3 USB-C charging bricks but they have been upgraded: two Anker Prime 160W chargers and one Anker Nano 45W charging brick.
Believe it or not but those two Anker Prime 160W chargers have a smaller footprint than the two 100W chargers I had before. They also have foldable European pins, which you usually don’t get on chargers such as these (unless you are using US or UK plugs). Not only do these two charging bricks take up less space in my tech kit, they are also able to charge more gear simultaneously. The Anker Nano 45W charging brick is tiny and it’s purpose is purely to connect to a Belkin UltraCharge 3-in-1, which can fast-charge all my iPhone, Apple Watch and AirPods Pro via one USB-C cable. This three charging bricks are sufficient to charge all of my camera equipment and peripherals simultaneously. It also means I can leave the bulkier chargers, such as the one for my Canon EOS R5 Mark II/R6 Mark III batteries, at home as I can charge all my gear directly using USB-C.
In my tech pouch I also keep a set of short & long, Cable Matters Thunderbolt 5 cables and a very short USB-C to micro USB cable (for my head torch). The reason I have Thunderbolt 5 cables is that they are rated up to 240W of charging while also being capable of doing fast data transfers between my camera gear, laptop and backup drives. This means I don’t have to have different types of USB-C cables for different devices, which keeps things simple. While a Thunderbolt 4 cable would also do the trick, I wanted to future-proof my setup and the price difference was not that significant.
For my Mavic 4 Pro, I keep a separate Anker Prime 160W chargers & two Thunderbolt 5 cables inside the drone pouch I use. The reason I keep that in there is to keep everything drone-related together in case I decide to only carry my drone pouch or leave that behind on trips where I don’t need my drone at all.
Purchase Anker Prime 160W charger: https://geni.us/jvn-anker160w
Purchase Anker Nano 45W charger: https://geni.us/jvn-nano45w
Purchase Belkin UltraCharge 3-in1: https://geni.us/jvn-belkinultracharge
Purchase Cable Matters Thunderbolt 5 cable: https://geni.us/jvn-cablematterstb5

I keep my charging equipment purposely very small while not compromising on charging capabilities.

The Anker 160W charger is surprisingly small, especially when you see the incredibly small 45W charger next to it.
Getting Serious Work Done On My Apple MacBook Pro
Since last time, I also changed what computer I am carrying. Because of the larger RAW files and overall more demanding setup I now have compared to two years ago, I couldn’t travel with a MacBook Air any longer. I therefore upgrade to a MacBook Pro M4 Max, with sufficient RAM, which allows me to do everything I need to do while being on-the-go. To keep things simple, I also no longer have a desktop Mac at home and consolidated everything in this single MacBook Pro. When traveling, I also still carry an iPad for media consumption.
So why am I still not going really lightweight by bringing only my iPad? While I have used an iPad Pro for many years, I got frustrated with its limitations and lack of full desktop applications. Despite the big strides Apple has made in development of iPadOS, my biggest annoyance has not been addressed. The iPadOS version of Adobe Lightroom still lacks support for stitching panoramas & merging HDR images, which I need to be able to do as a drone photographer. If Apple would allow macOS applications to run on iPadOS, or Adobe finally fully develops Lightroom on iPad, it could be a game changer for me. That said, if your goal is to do light editing and make backups, an iPad could be a great travel device.
Purchase Apple MacBook Pro M4 Max: https://geni.us/jvn-macbookprom4max

I really, really wish I could travel with a smaller computer but due to panorama stitching requirements, I am still bound by a larger one.
Keeping My Content Backed Up On-The-Go
Inside my tech pouch, I also keep two Samsung T7 SSD drives & a Samsung T7 Shield SSD drive, which I use as a backup drive while traveling. I connect those to my MacBook Pro with one of the Thunderbolt 5 cables I also use for charging my gear.
My on-the-road backup solution is hasn’t changed and is really straightforward. Every night, I copy all my photos and videos to the Samsung T7 Shield and then to another T7 drive. After backing up to that drive, I copy my photographs into Lightroom (Cloud) and my video files are copied into a dedicated Google Drive folder. Once I connect to my home network, I will move the video files to a shared folder on my NAS, while Lightroom (Cloud) will move local copies of my photographs to my dedicated Lightroom share on my NAS.
Purchase Samsung T7 Shield hard drive: https://geni.us/jvn-samsungt7
Purchase Samsung T7 hard drive: https://geni.us/jvn-samsung-t7

These hard drives are compact and lightweight but have a great storage capacity.
What Else Do I Travel With?
I keep a few other small items in my tech pouch. One is a USB-C SD Card reader, which I could probably do without but it’s so lightweight, it doesn’t really get in the way. I also carry a USB-C to HDMI/USB-A dongle in the odd case I need a USB-A port.
When I travel internationally, I also carry a very small Smallrig LP-E6P USB charger and an Anker Travel Adapter. The Smallrig charger is incredible, given that it is barely larger than two Canon LP-E6P batteries. The Anker Travel Adapter has a very similar footprint. Both fit nicely into my tech pouch.
One item that goes with me on every international trip, is an Anker Prime Power Bank (26250mAh). I really enjoy this power bank because it’s well-built, has the largest allowed capacity for air travel and can charge devices simultaneously up to 300W, which is more than I could ever need. This power bank is also slightly smaller than the larger model I had before, which is always welcome while traveling.
Finally, I also keep a plastic card in my tech pouch for hotels where the lights only work when you put a card into one of those card slots.
Purchase Apple USB-C SD Card Reader: https://geni.us/jvn-applesdreader
Purchase Apple HDMI/USB-A dongle: https://geni.us/jvn-applemultiport
Purchase Smallrig LP-E6NP Charger: https://geni.us/jvn-smallrig-lpe6p
Purchase Anker Travel Adapter: https://geni.us/jvn-ankertraveladapter
Purchase Anker Prime Power Bank (26250mAh): https://geni.us/jvn-ankerprime26k

This power bank is absolutely everything you could possibly need, while also still being within the air travel limitations.
Conclusion
While this is my current setup, it’s constantly evolving and changing to make my life easier. I am always looking at new developments to make my kit as compact and lightweight as possible. If you have any tips or contributions yourself, feel free to leave them in the comment section!
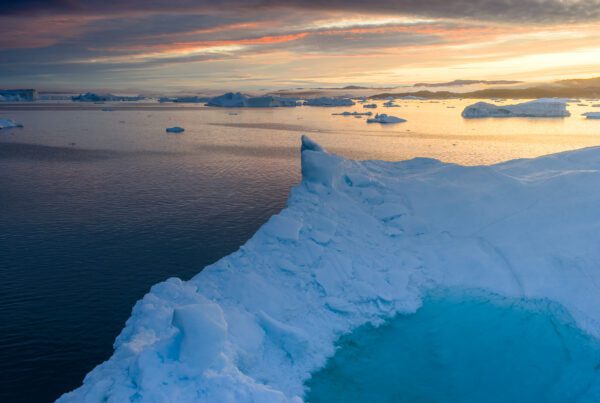
Discover Jeroen’s Photo Workshops in Iceland, Greenland & Beyond
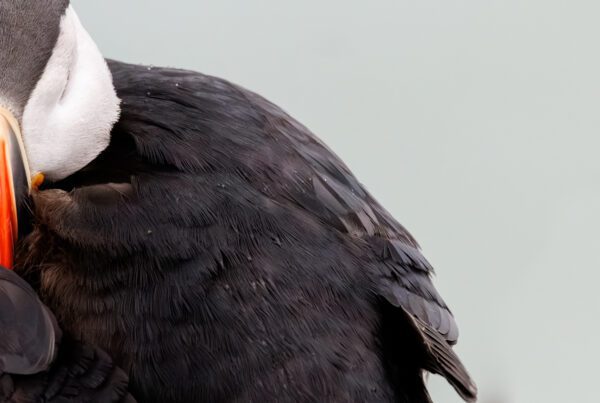
Ready to take your photography to the next level? Join me, Jeroen Van Nieuwenhove, on unforgettable photo workshops in Iceland, Greenland, Antarctica and other exciting destinations. Whether your passion is wildlife photography, bird photography, landscape adventures, or mastering drone photography, each workshop is designed to give you hands-on guidance in some of the world’s most spectacular locations.
From puffins in the midnight sun to Arctic foxes in the wild, from glaciers and volcanoes to dramatic coastlines seen by drone – these journeys are more than workshops; they’re once-in-a-lifetime experiences. Group sizes are kept small, ensuring personal mentoring and plenty of shooting opportunities.
Looking for something specific? Check out Jeroen’s…
- Wildlife & Bird Photography Workshops (Puffins, Arctic Foxes)
- Drone Photography Workshops
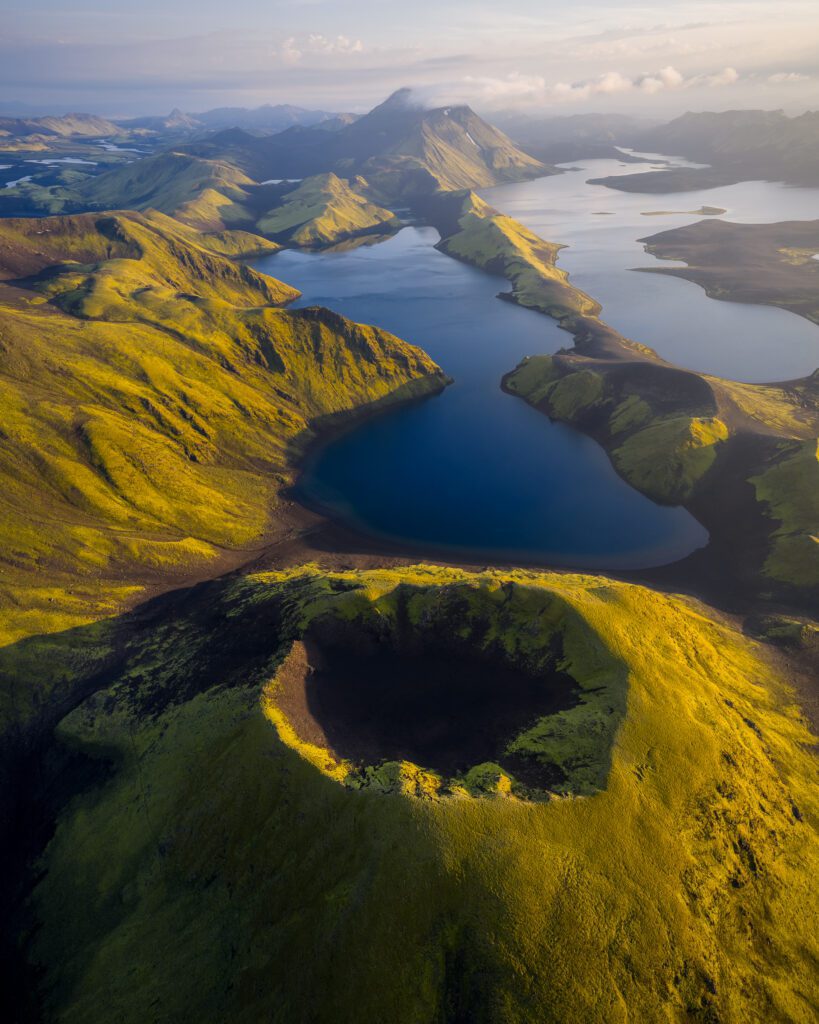
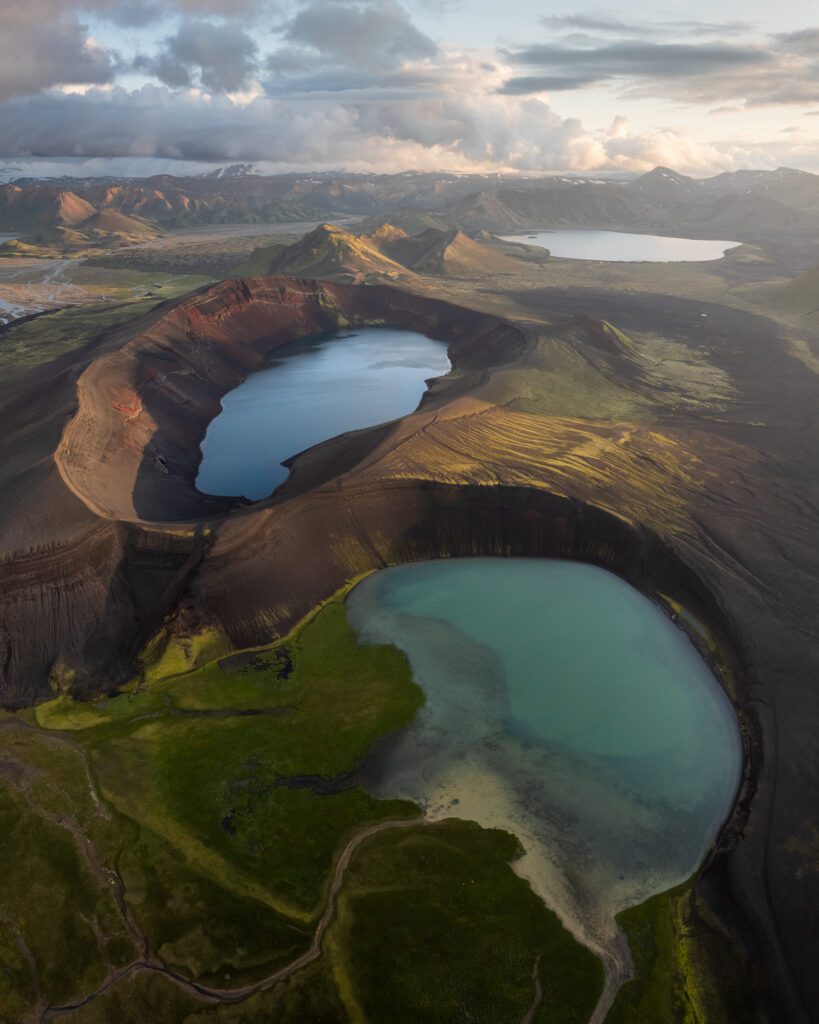
- Photo Workshops in Iceland
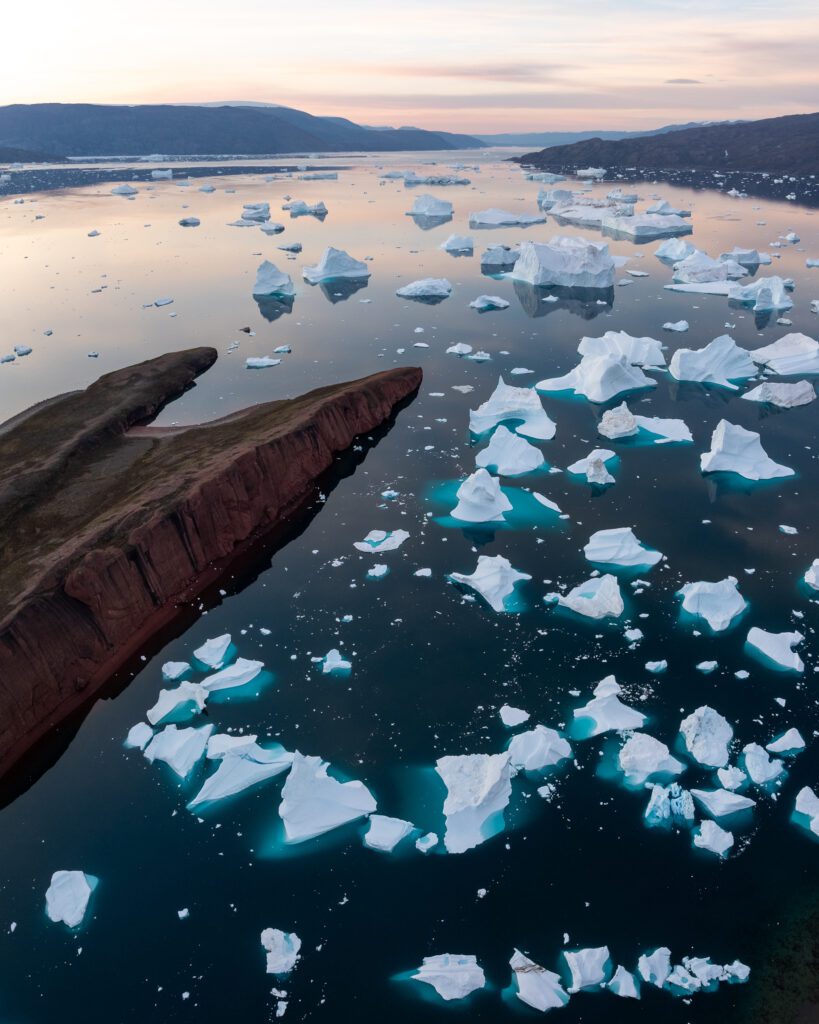
- Photo Workshops in Greenland
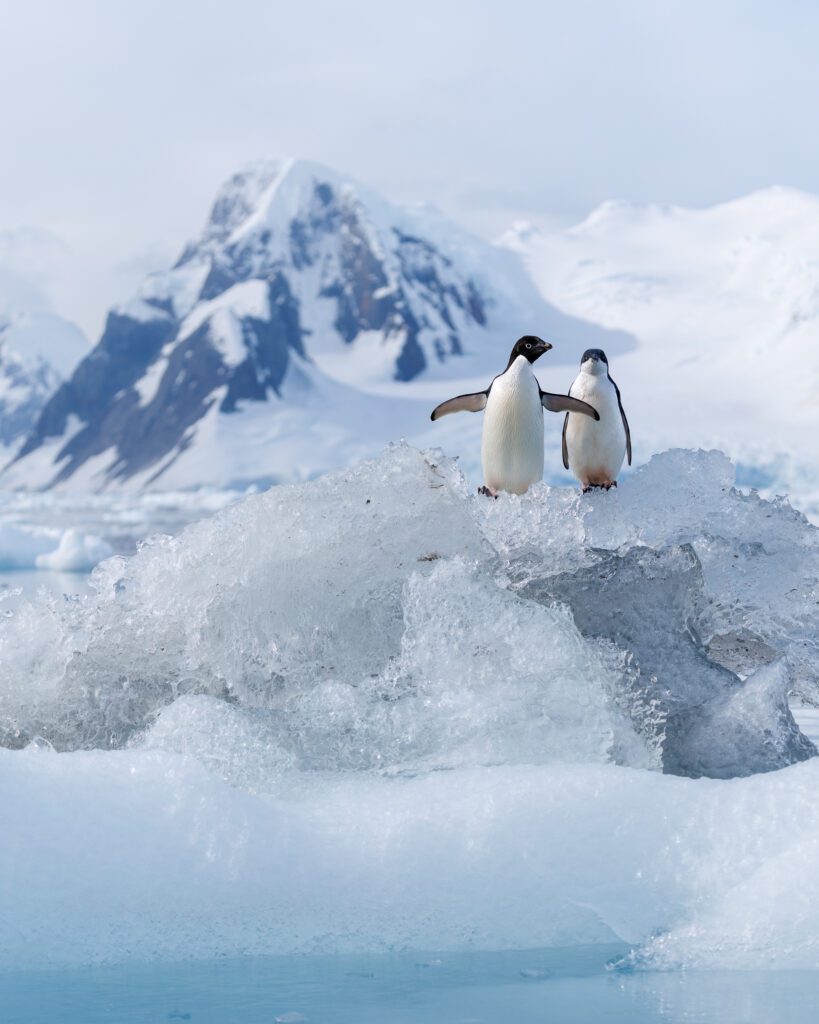
- Photo Workshops in Antarctica
Spots are limited – secure your place today!
Are You Looking For A Specific Photo Workshop?
All Upcoming Photography Workshops With Jeroen
Explore all upcoming photography workshops with Jeroen and take your skills to the next level in some of the world’s most extraordinary locations. From the volcanic landscapes of Iceland to the ice-filled fjords of Greenland and the wildlife-rich polar regions such as Antarctica, each workshop is designed to help you grow creatively while experiencing unforgettable moments in the field. Browse all upcoming departures below and find your next adventure!

OPEN FOR BOOKINGS
OPEN FOR BOOKINGS
WAITLIST

WAITLIST
WAITLIST
WAITLIST

WAITLIST

WAITLIST

WAITLIST
WAITLIST
What Previous Participants Shared About Their Experience
Choosing the right photography workshop is about more than just visiting iconic locations. It’s about experience, safety, timing, and personal guidance. Below you’ll find honest reviews from photographers who have joined me on landscape, wildlife & drone photo workshops in Iceland, Greenland and other locations. These testimonials reflect real experiences in small groups, hands-on instruction in challenging conditions, and the level of care Jeroen aims to bring to every workshop.
These reviews are verifiable on Jeroen’s public Google Business profile.


")


")


Support Jeroen’s Work
As an independent photographer, Jeroen partially relies on your support to keep producing worthwhile content such as blogs, photographs, books and much more. If you want to support his work, it is possible to do so by buying his e-books & books or prints.
You can also sign up to the newsletter to stay up to date on new blog posts, projects, workshops and other interesting information.
Thank you for considering!