Most people trying to photograph the Northern Lights (or Aurora Borealis), and even the Southern Lights (or Aurora Australis), try doing that with the only camera they own: the smartphone in their pockets. In this article, I explain how you can photograph this beautiful natural phenomenon using an iPhone, with the default Camera app, while also giving you a few tips to get the best result. Don’t worry: it’s easy and straightforward!
Note: If you want to photograph the northern lights using a camera, I have a much more detailed blog article explaining that in detail. Or if you want to learn even more about chasing & photographing the northern (or southern) lights, make sure to check out my Ultimate Guide To Chasing & Photographing the Northern (& Southern) Lights.
What Should You Know About Chasing The Northern Lights
Before I can explain how you can photograph the Northern Lights using your iPhone, there are a few important things to know:
- The Northern Lights are only visible when the nights are dark enough.
- If it’s too cloudy, you probably won’t see the aurora as it takes place high above the clouds.
- To get the best results, you need to be away from light pollution.
- Strong moonlight can interfere with the ability to see the Northern Lights. If there’s a full moon, you’ll have a lot more difficulty seeing them compared to when there is no moon.
- Even if the sky is clear, the nights are dark and there is no moonlight, there’s no guarantee that you’ll see them. It’s always possible there’s not enough solar activity going on during that night.
- The Northern Lights are not active all the time, nor is the intensity of the light the same. They usually appear in spikes, increasing & decreasing in intensity.
- There’s no precise time when you will see the Northern Lights.
- The Kp index is a pointless metric for northern lights chasers, which could potentially make you miss a potentially great display of the northern lights.
- Use a good smartphone app which notifies you of when the aurora will be visible or most active.
- The most important one of all: be patient & don’t give up after being outside for a short time!
If you want to learn even more, make sure to check out my Ultimate Guide To Chasing & Photographing the Northern (& Southern) Lights.
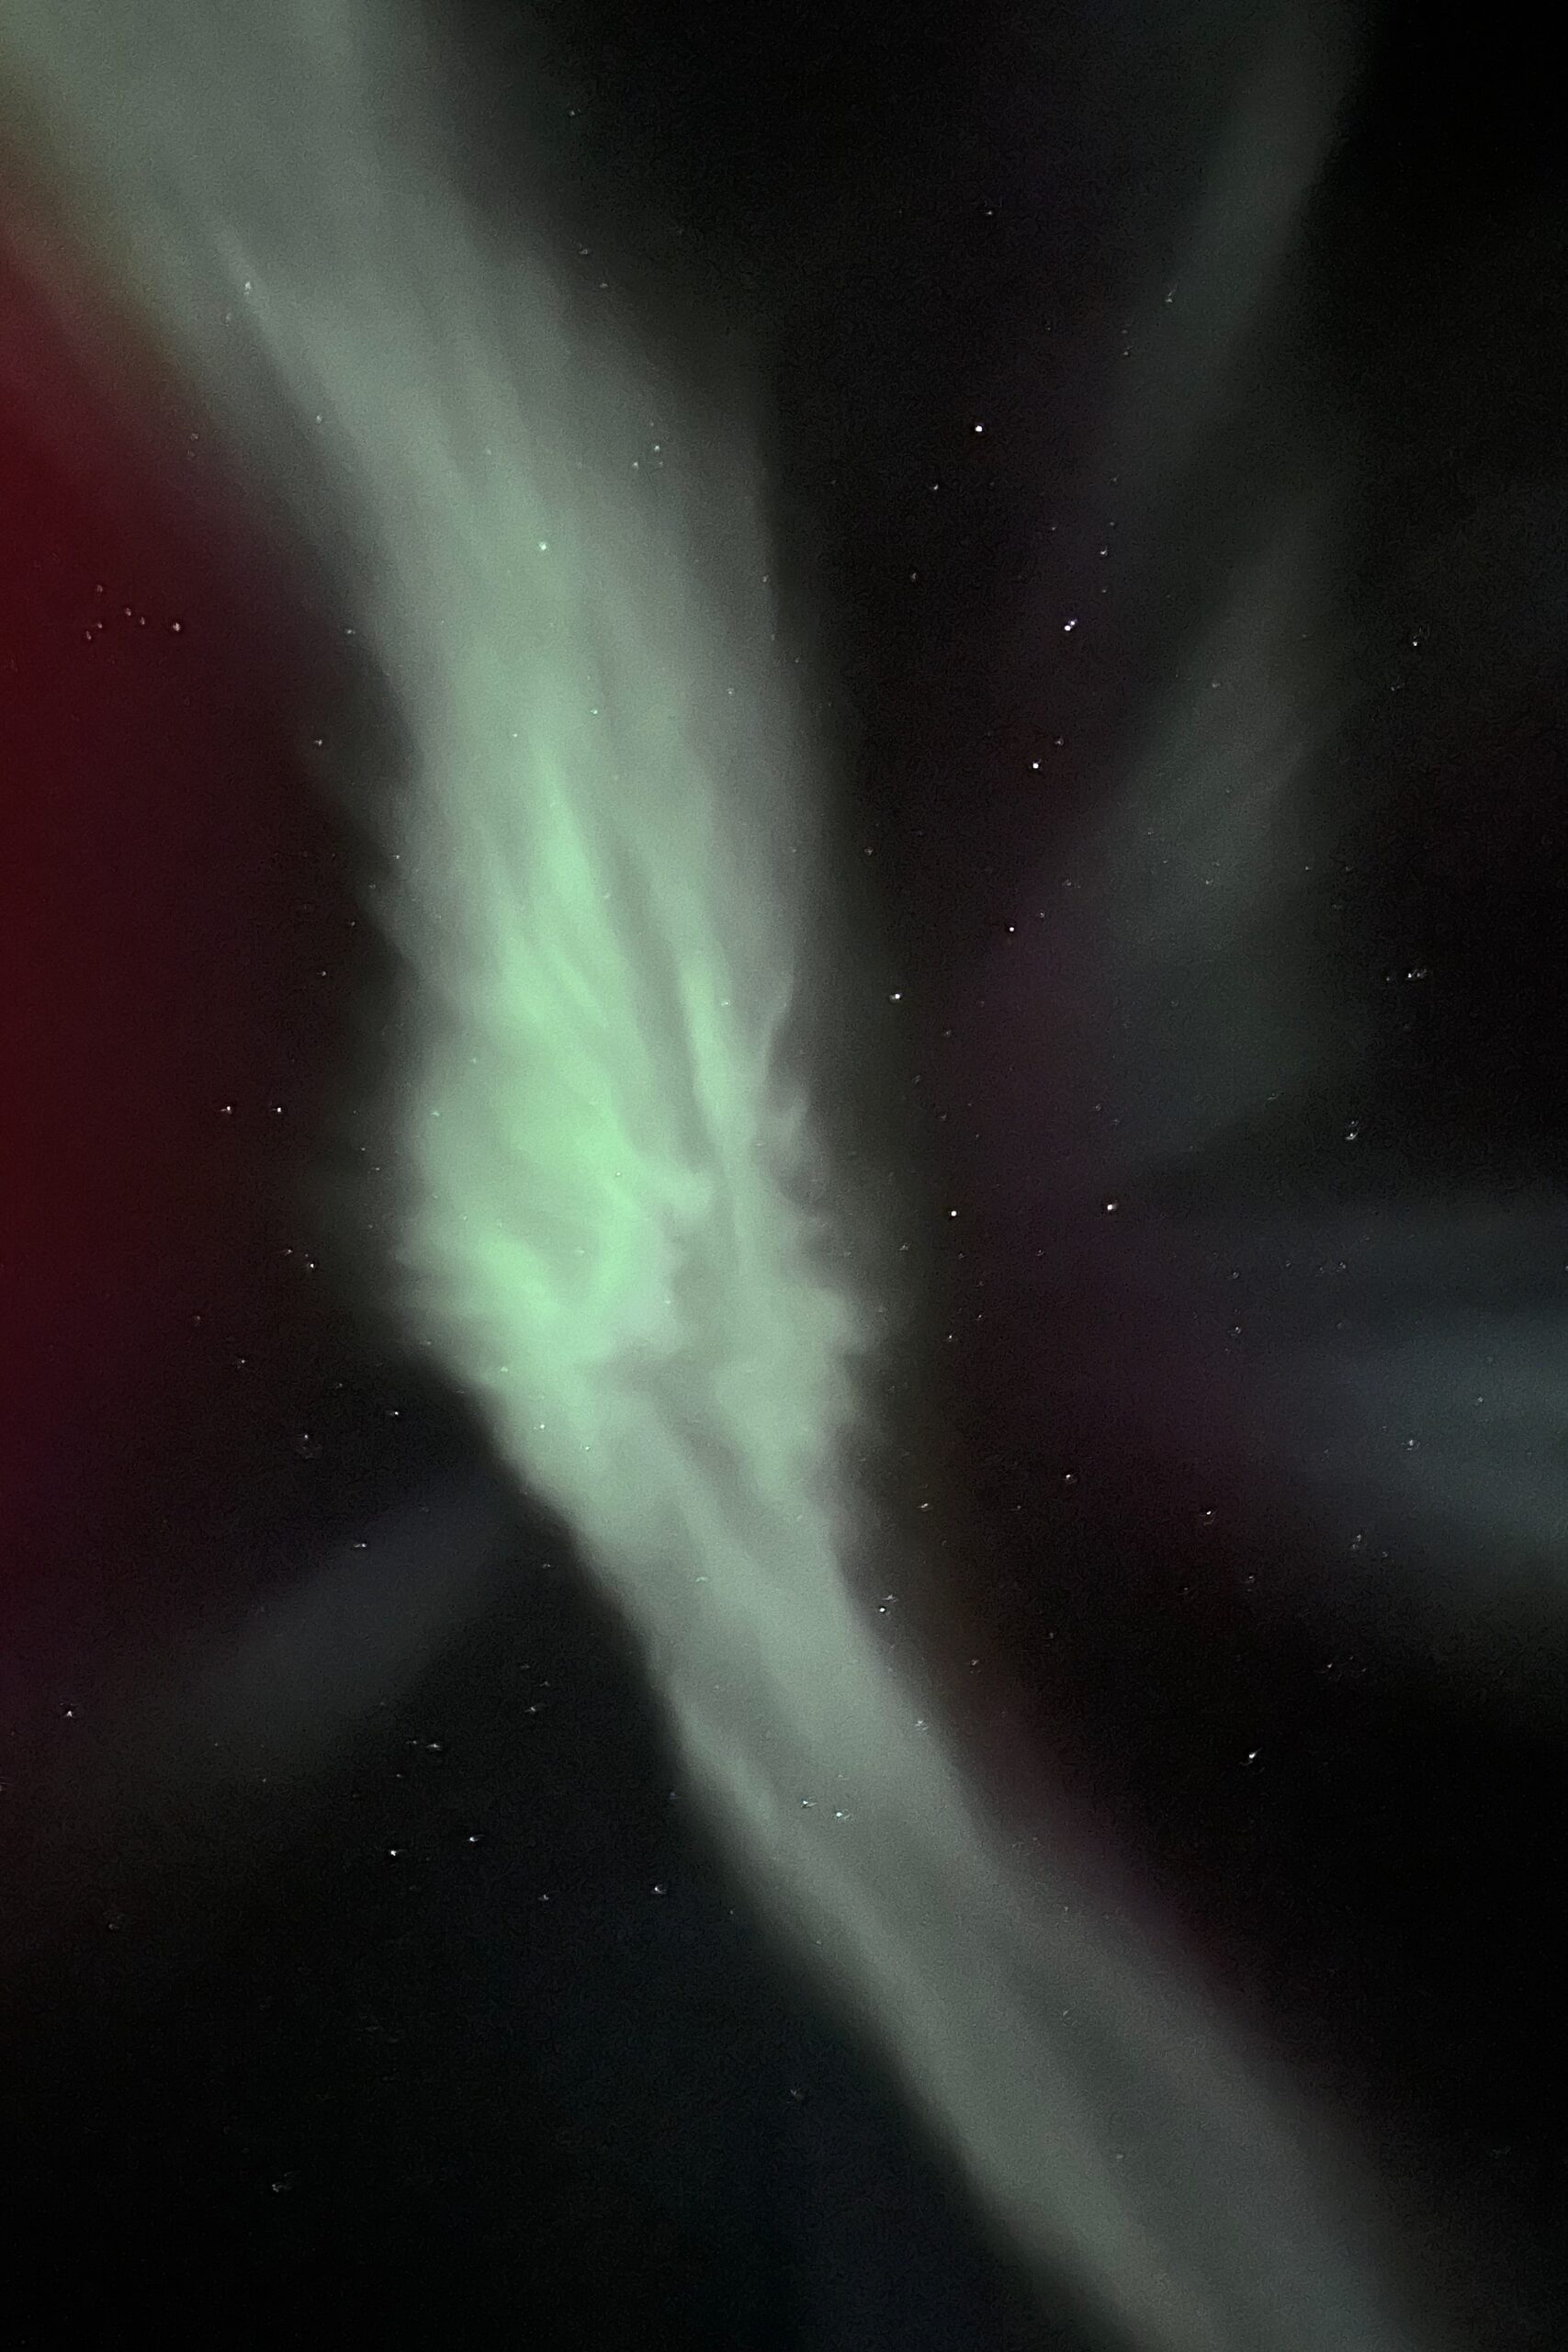
I captured this really active aurora borealis, which was dancing straight above my head, using my iPhone 13 Pro handheld.
Which iPhone App Should I Use For The Northern Lights?
The best available (& free) iPhone app today is Hello Aurora. It’s available for iOS, iPadOS, macOS and Android. Hello Aurora shows actual live measurements and also shows you the activity map as it is displayed on spaceweather.com. You get a lot more information (such as solar wind speeds, solar wind density & IMF strength for example) which helps make a more reliable forecast.
On top of that, it gives you push notifications so you get notified by others who are currently seeing the northern lights! That last feature I have found to be extremely useful if I don’t want to stay outside in the cold. Finally, Hello Aurora has a very clear and comprehensive interface to make you understand what all the numbers and measurements mean. It’s also useful as it combines cloud coverage with the map.
While there are many other apps available, I have found that there is no other app that is as reliable or contains the same level of information.
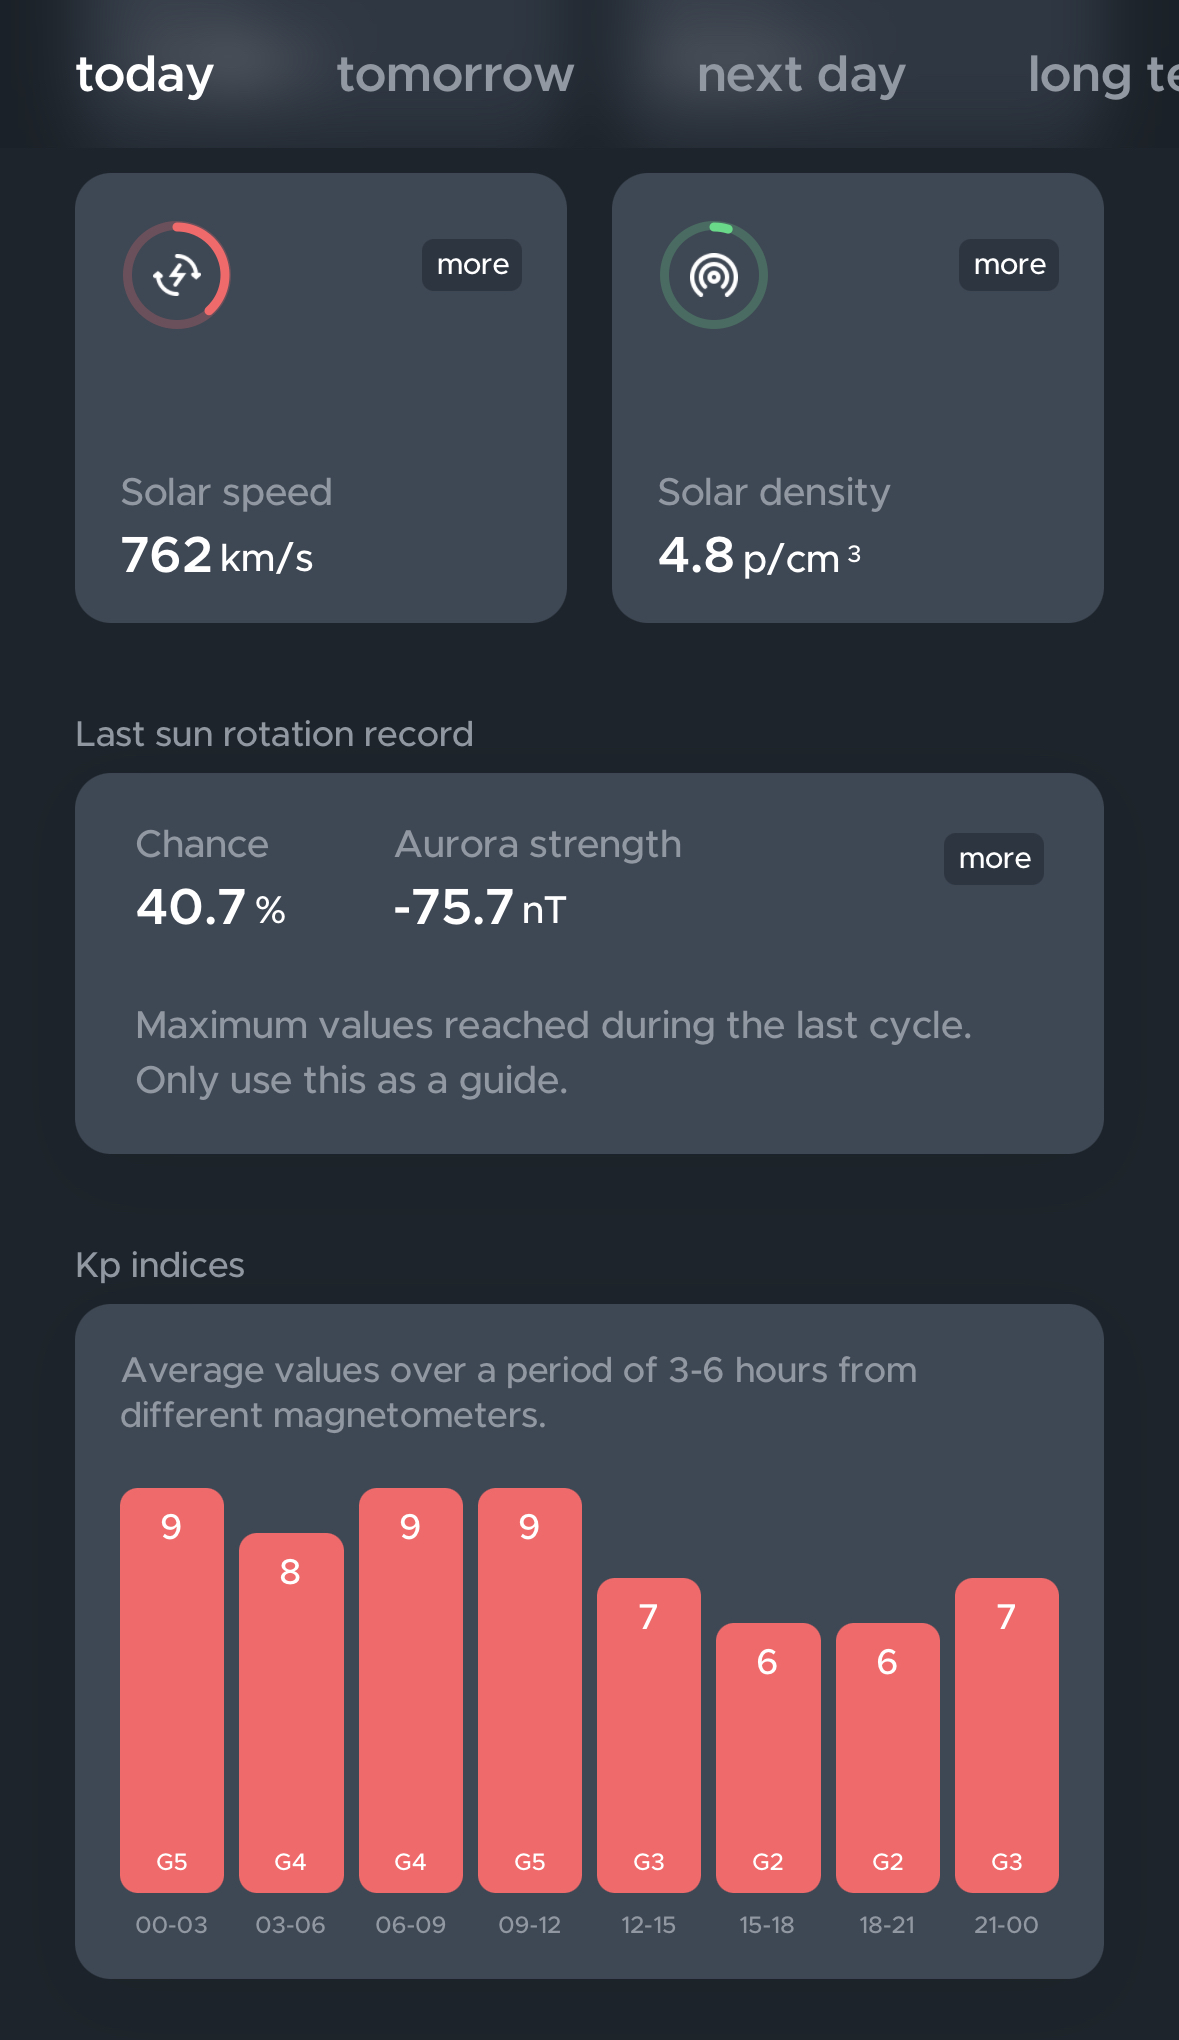
Hello Aurora is, by far, the best smartphone app to use when chasing the northern lights. It contains all relevant and important information while it also has a ‘social media’-like notification feature.
What Do I Need To Photograph The Northern Lights With My iPhone?
Now that you know what to look out for, what do you minimally need to capture the northern lights with your iPhone?
- An iPhone that supports ‘Night Mode’ is highly recommended. This special camera mode is available on every iPhone since iPhone 11.
- The free Hello Aurora application.
While you can do handheld iPhone shots, without any additional equipment, there are a few things that make your life easier:
-
A sturdy tripod is needed to get the best and cleanest results. Alternatively, you can mount your iPhone on a fixed surface.
-
An Apple Watch to remote trigger your iPhone. While this is not absolutely necessary, it prevents accidental shaking and vibrations.
While you can take photographs of the northern lights using your iPhone handheld, stabilising your phone on a tripod will always give you better results.
How Can I Photograph The Northern Lights With My iPhone?
Photographing the northern lights using your iPhone is quite easy. Below I have detailed the approach in a step-by-step manner.
Step 1: Mount Your iPhone On A Tripod (Or A Fixed Surface)
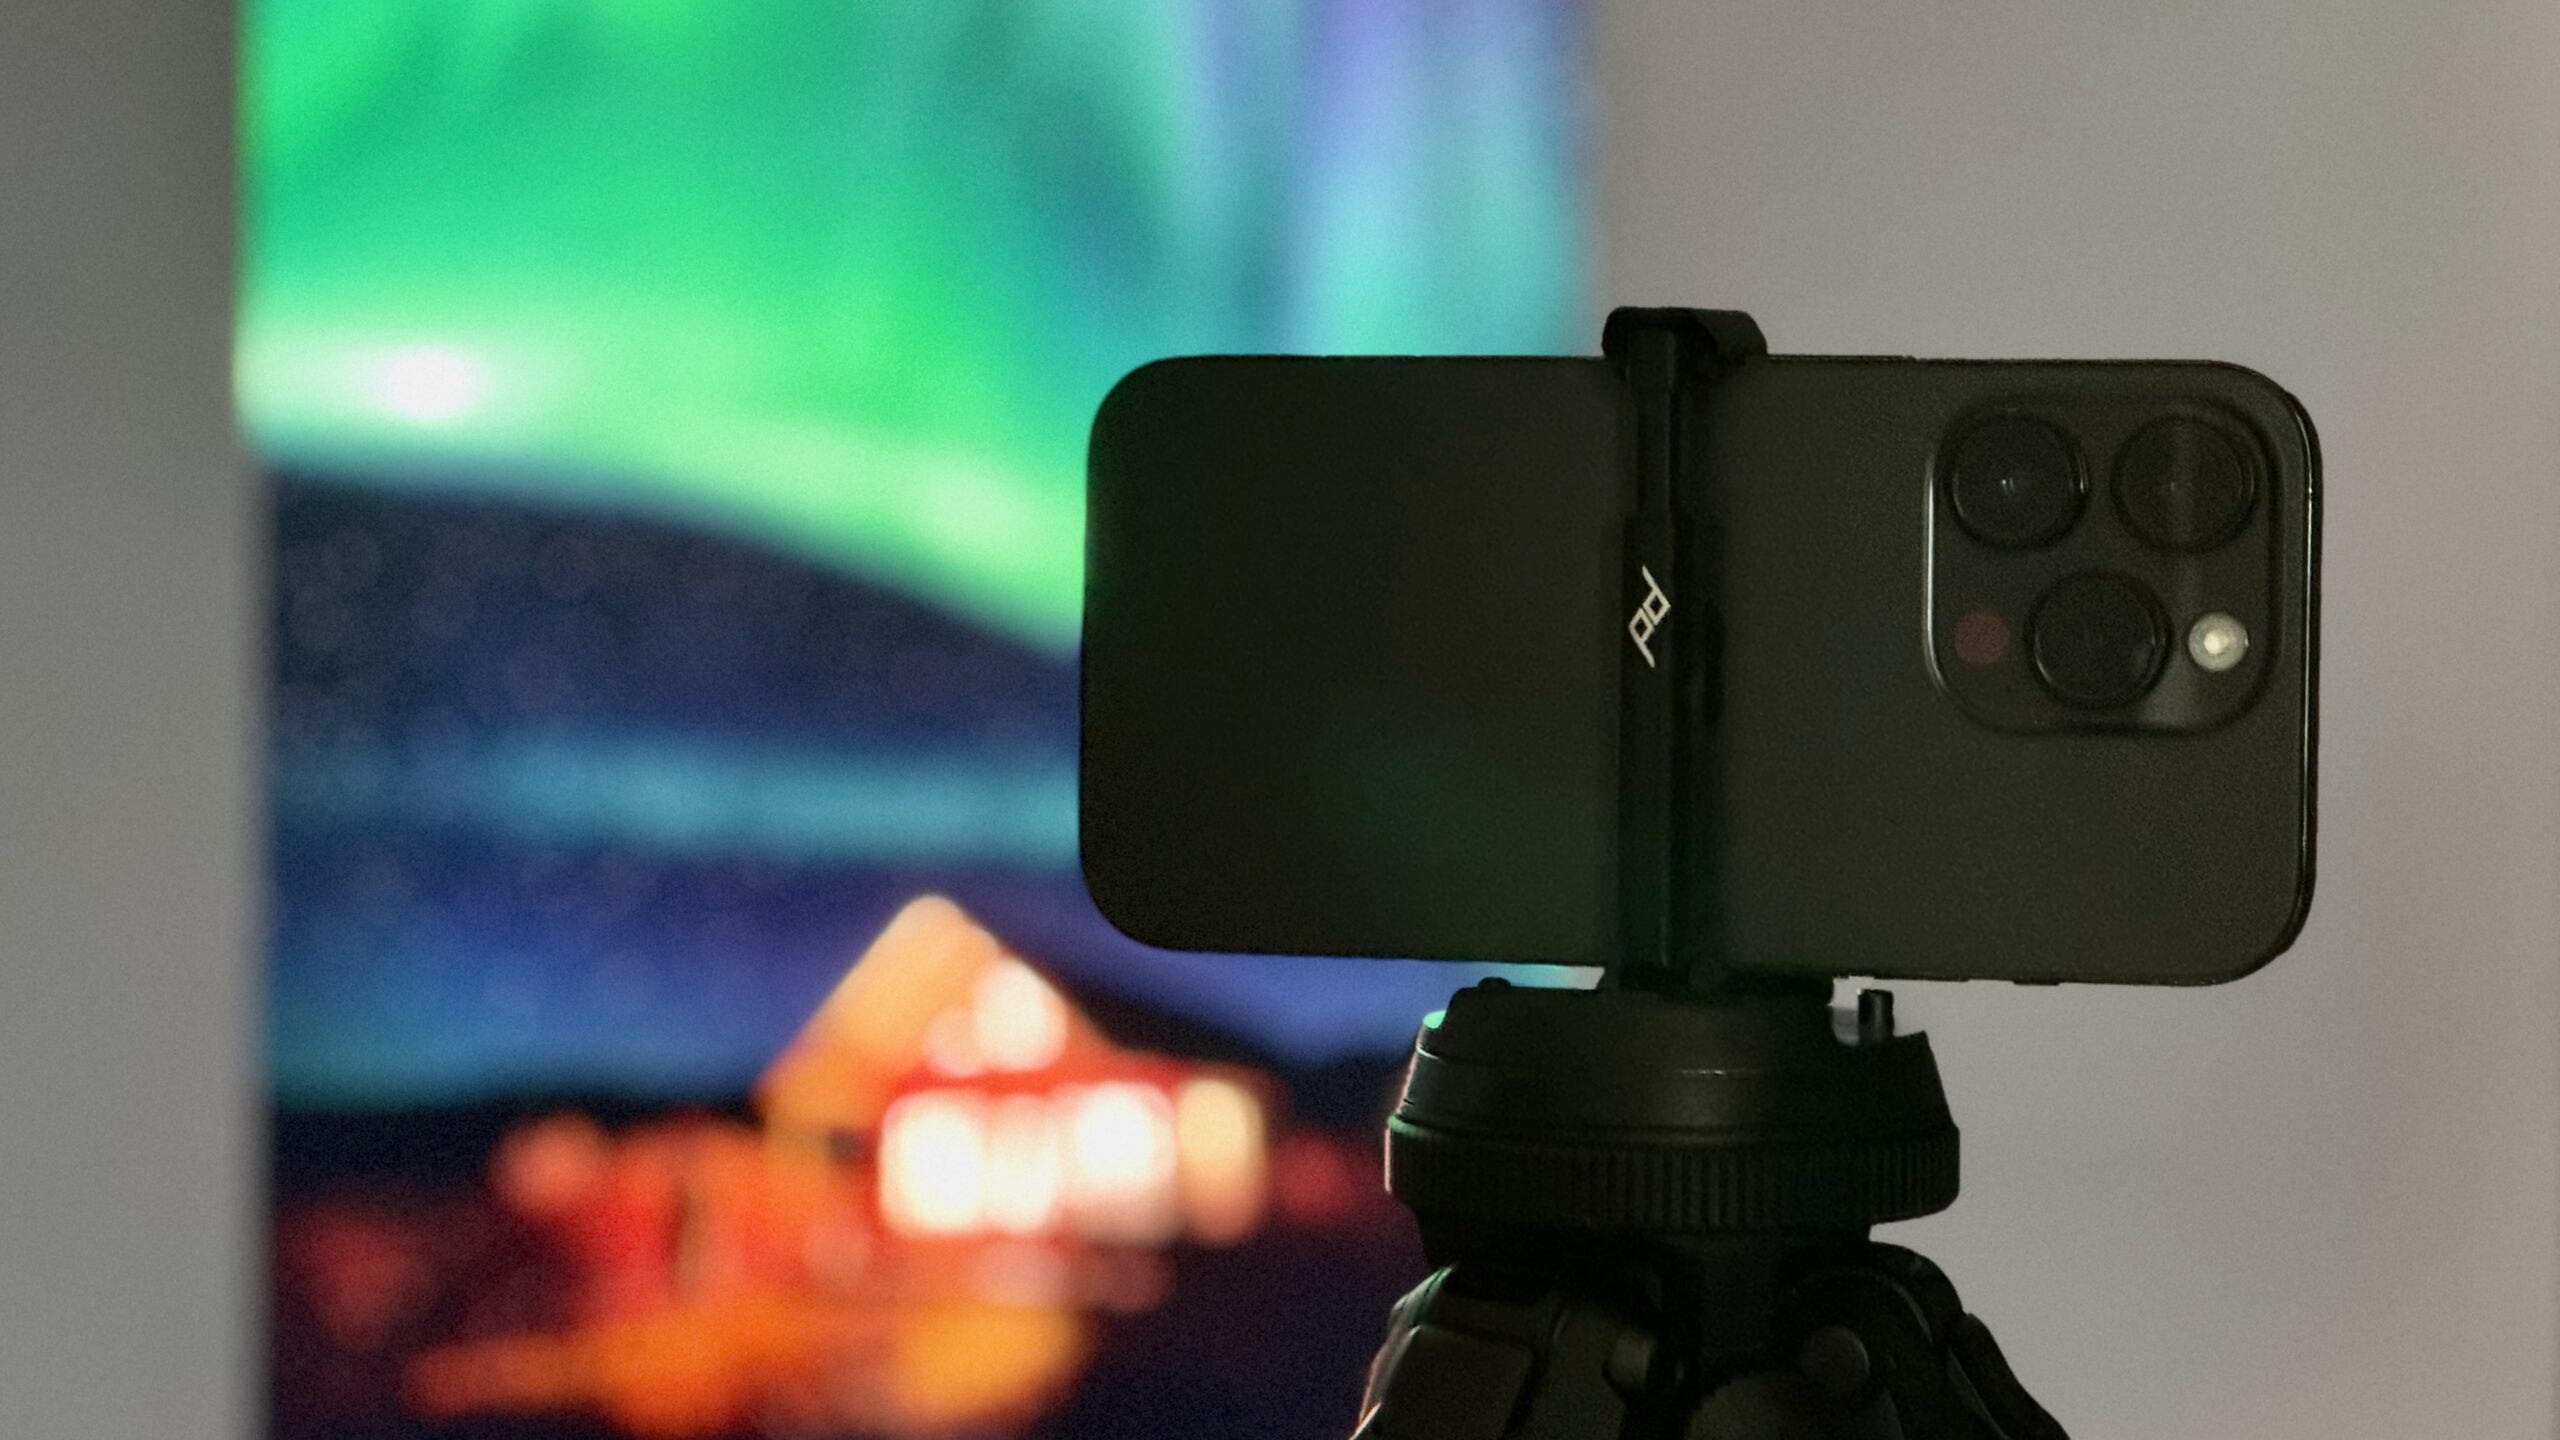
While it is possible to take handheld long exposures with an iPhone, you will get the best & clearest results using a tripod. Even the slightest movement while taking your photograph can result in a blurry photo. After you mounted the tripod, you can use your Apple Watch’s remote camera functionality to photograph without touching your phone. This will help in decreasing any possible movement. If you do not have access to a tripod, try putting the iPhone on a fixed surface.
Step 2: Make Sure To Use The 1x Lens
Many iPhones these days have multiple camera modules and lenses. The lens with the best low light capabilities is by far the 1x wide-angle lens. This is true for every iPhone on the market today. While you could use any lens on your iPhone, it is highly recommended to use the one with the best low light capabilities.
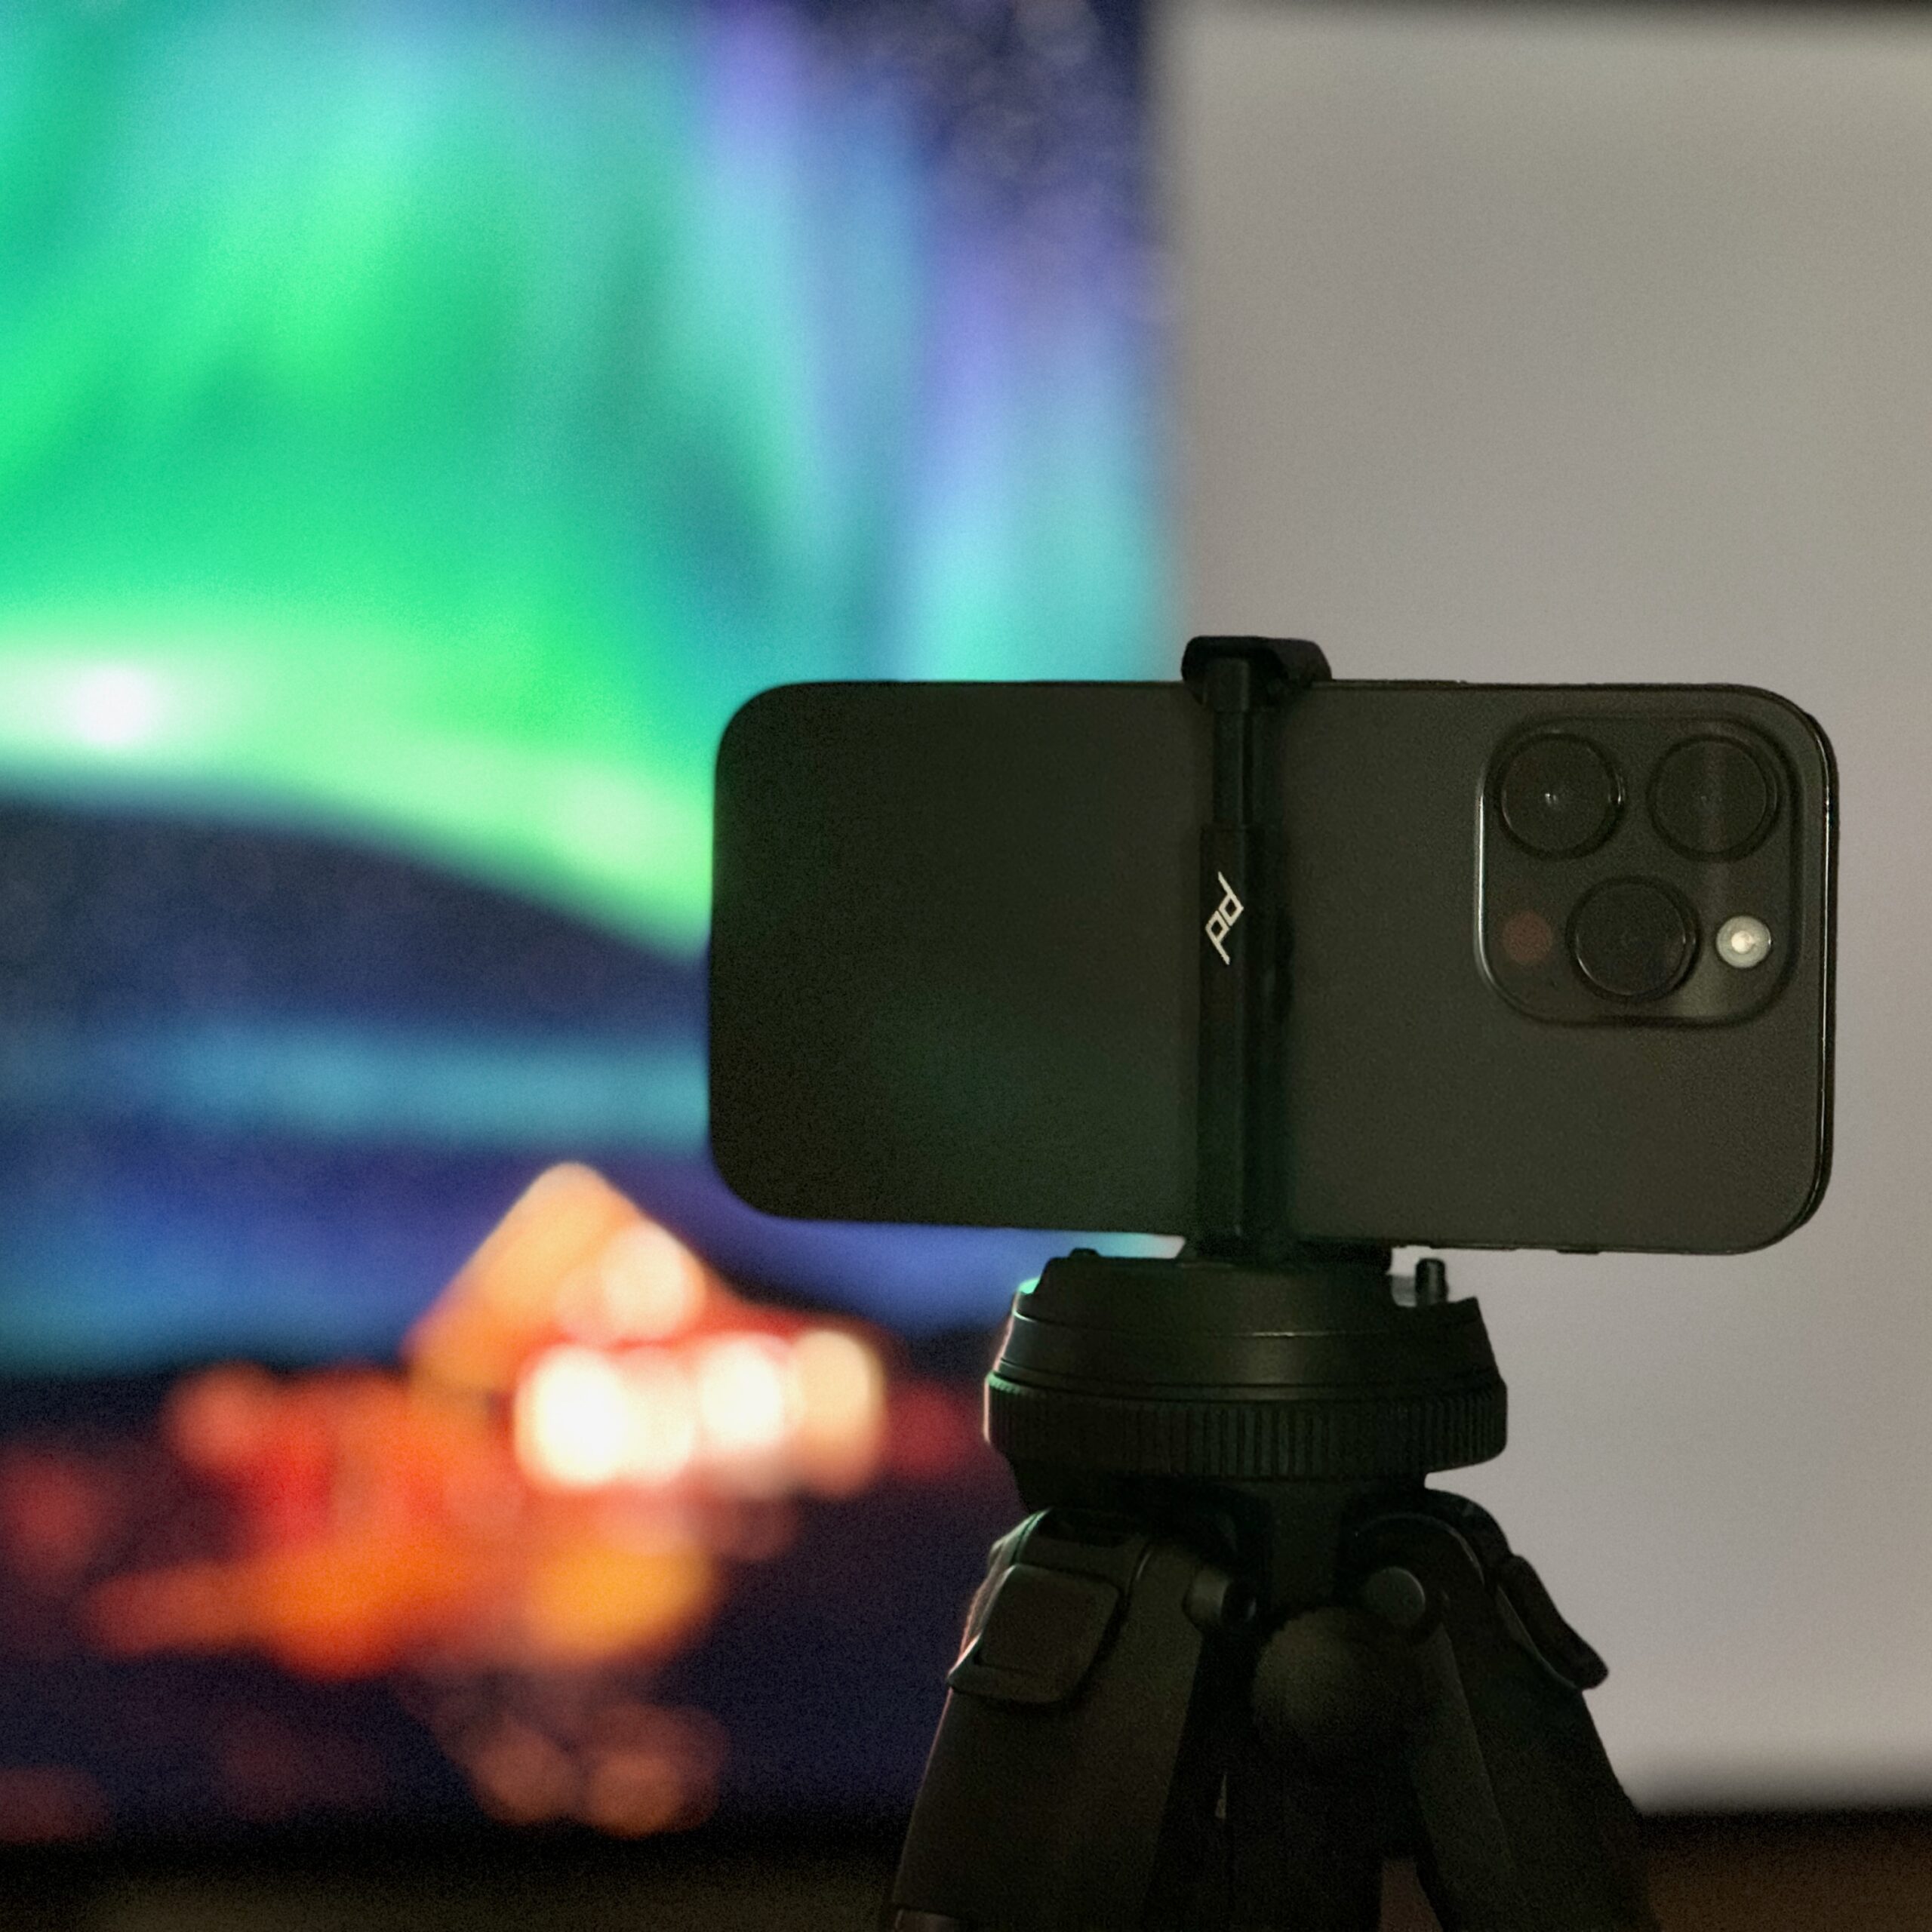
Using a tripod, or stabilising your phone well, means you will get sharper and clearer images from your iPhone.
Step 3: Switch On The Camera App’s ‘Night Mode’
Open the Camera application on your iPhone and enable ‘Night Mode’ (the moon icon) if it hasn’t activated automatically. Usually, if the Camera app detects it is dark, it will automatically switch it on. If it hasn’t, you can enable it at the top left by pressing the moon icon.
What is ‘Night Mode’? Night Mode allows you to take long exposure photographs to get the most out of low light situations. Using clever computational photography and the phone’s gyroscope, it will even allow you to do handheld long exposures.
Step 4: Frame Your Photograph
Decide on a composition! Traditionally, aurora shots include minimal foreground so the focus is mostly on the northern lights themselves. If the northern lights appear more directly above you, you can get the better results by placing your iPhone fairly low to the ground and tilting the phone upwards.
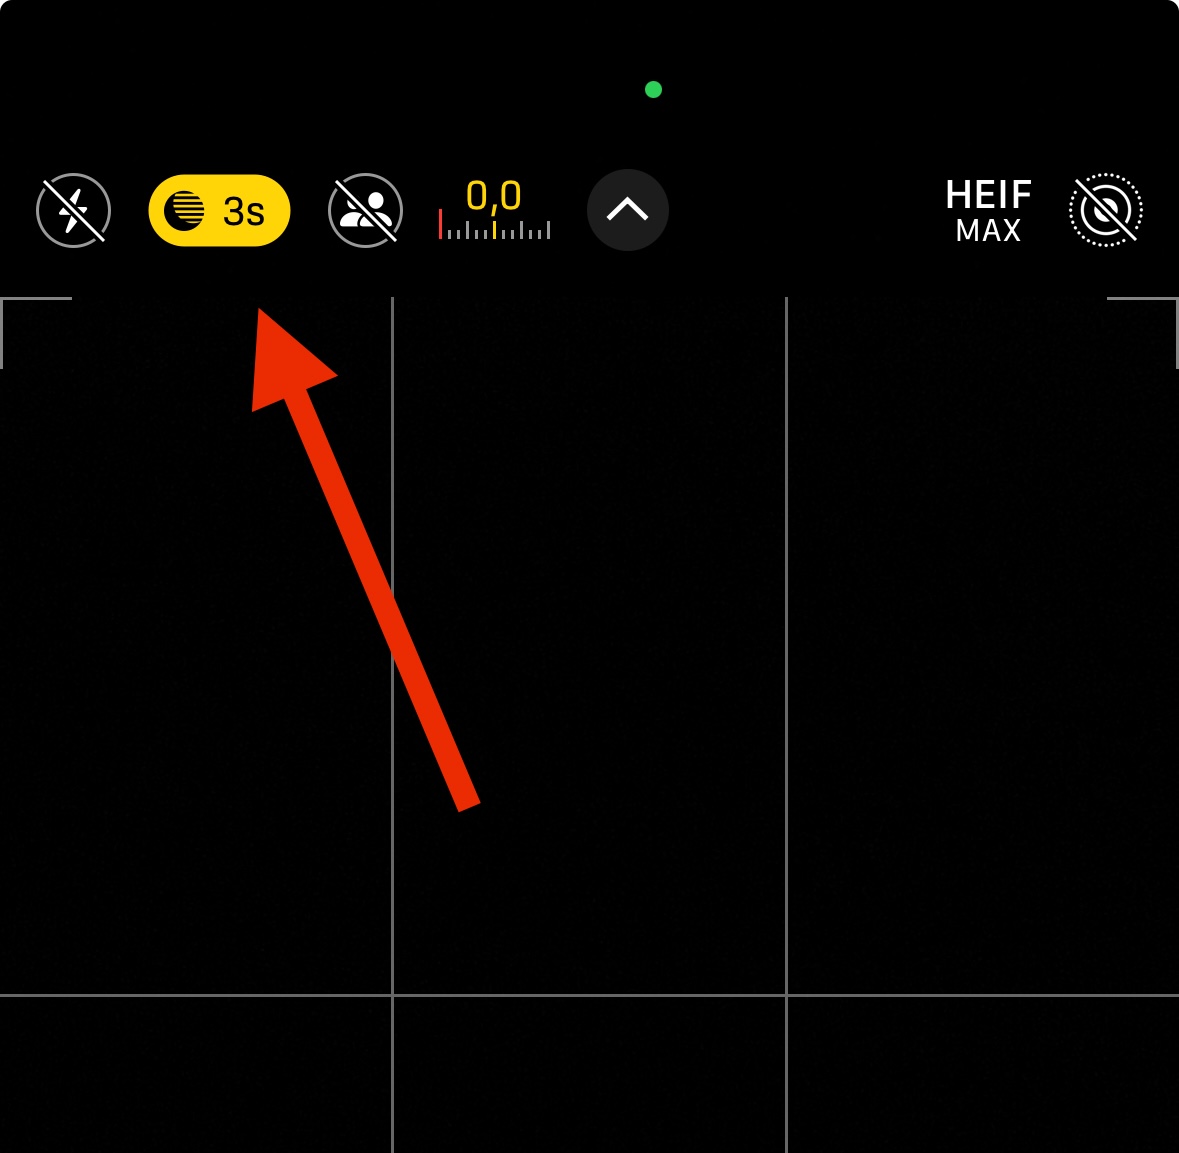
The ‘Night Mode’ functionality should activate on its own but if it doesn’t, you can press this button to enable it.
Step 5: Manually Focus On Your Subject & Take The Shot
Tap on the screen to manually focus on your subject. This could be a fun or interesting object in the foreground, or even yourself if you are attempting to take a selfie under the northern lights. If you want to include only sky, your iPhone will automatically focus to infinity.
Step 6: Adjust The Shutter Speed Manually If Needed
After taking a first test shot, verify how visible the northern lights are on your photograph. If they are quite weak, try increasing the shutter speed. You can do that by swiping up in the middle of the Camera app, and then tapping the ‘Night Mode’ icon. If you are using a tripod to stabilise your iPhone, you will be able to do much longer exposures than when shooting handheld. One final tip: don’t make exposures longer than 20 seconds, as you will get star trails in your shot due to the planet’s rotation.
Step 7: Enjoy The Moment!
Don’t forget to enjoy the show and look at up at the sky — not only through your lens!
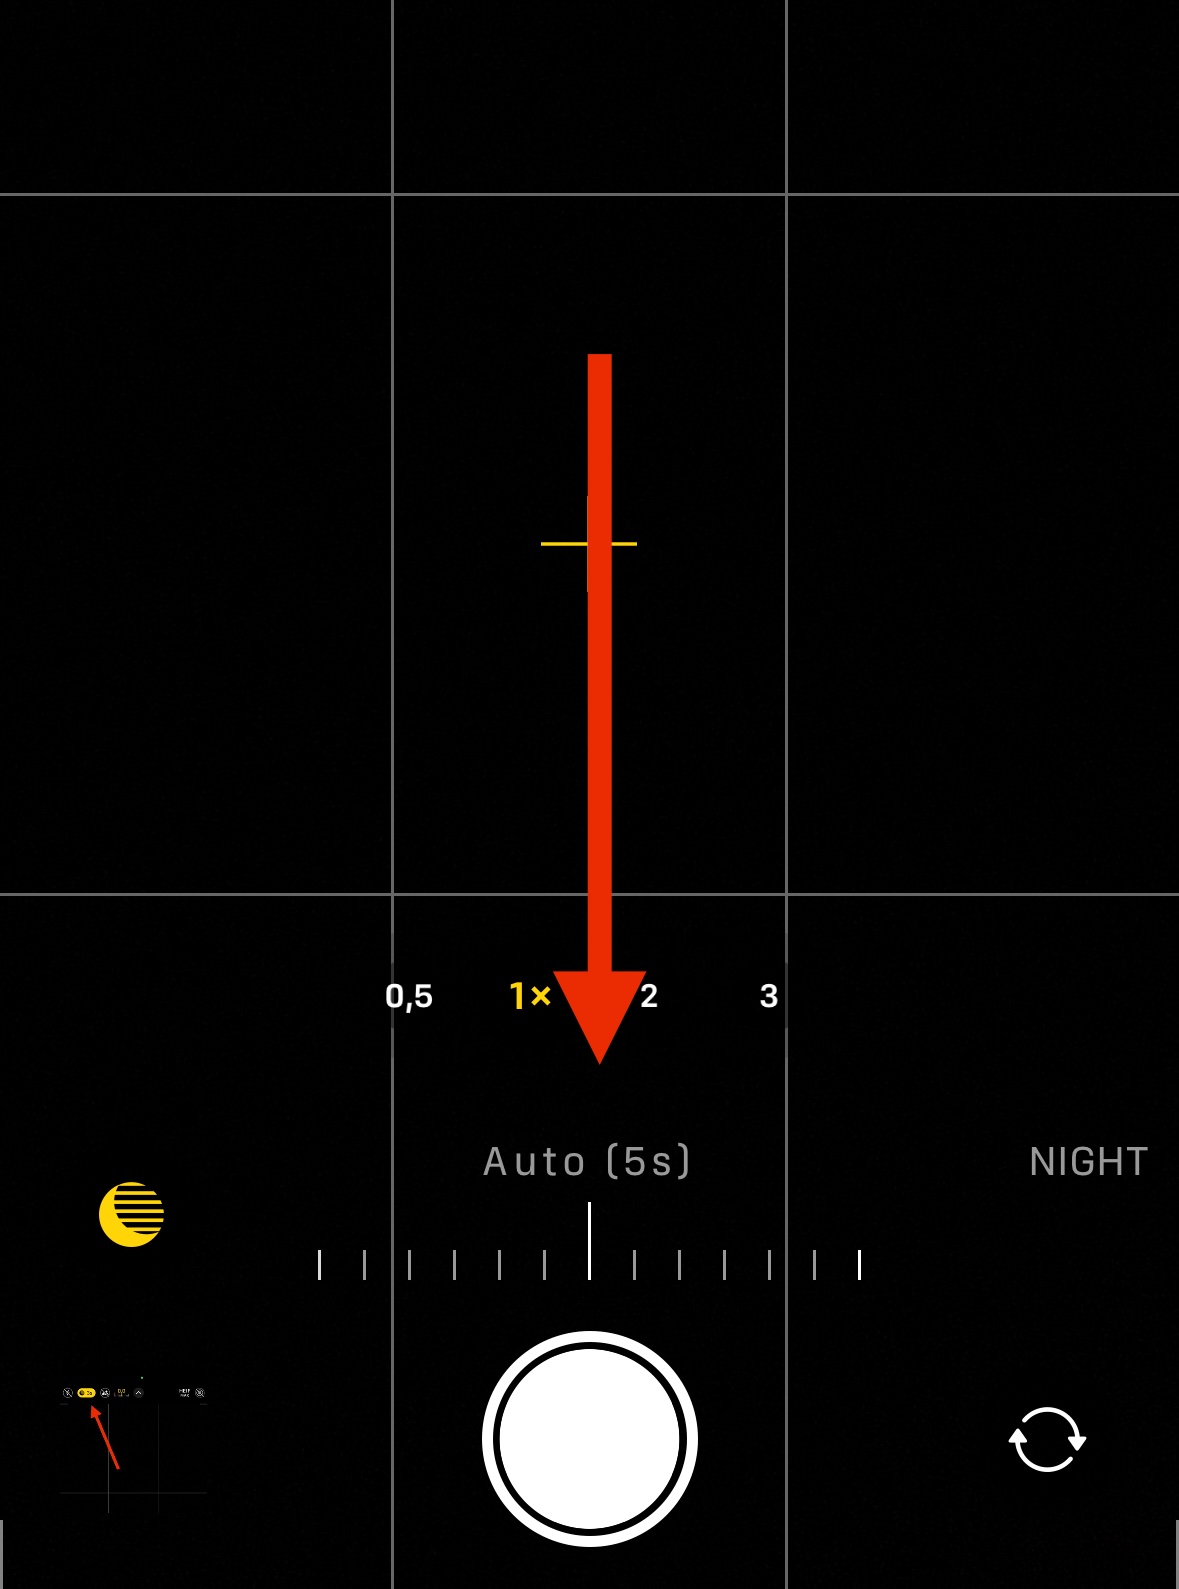
By swiping up on the Camera app, you bring up more options. Find the ‘Night Mode’ icon there and use the slider to fine-tune the shutter speed.
Support Jeroen’s Work
As an independent photographer, Jeroen partially relies on your support to keep producing worthwhile content such as blogs, photographs, books and much more. If you want to support his work, it is possible to do so by buying his e-books & books or prints.
You can also sign up to the newsletter to stay up to date on new blog posts, projects, workshops and other interesting information.
Thank you for considering!

