As a landscape photographer, it’s almost unavoidable to speak about filters for your camera and drone. Over the years, I have used photography filters from different brands, such as Lee & NiSi, in all kinds of shapes and sizes. While in the early days of my photography career I was an avid filter user, I began using them less and less out of frustration with them. Every set I purchased had many flaws. They were bulky, fragile and expensive. Some even had terrible colour cast or degraded the image quality of my photographs, which meant they sometimes ended up being unusable. With my drone camera filters, I’ve had other experiences where the quality of the filters is great but the usability factor is not.
In this review I will be taking a look at the Kase Revolution Magnetic Filters, as well as the Kase Mavic 3 Classic filters. Are they any good? Let’s find out!
Full disclosure: Kase provided me with their Revolution and Mavic 3 Classic filters to review. However, this is not a sponsored review. I am not being paid to write this review nor did anyone at Kase get any input or preview beforehand. All opinions are my own.
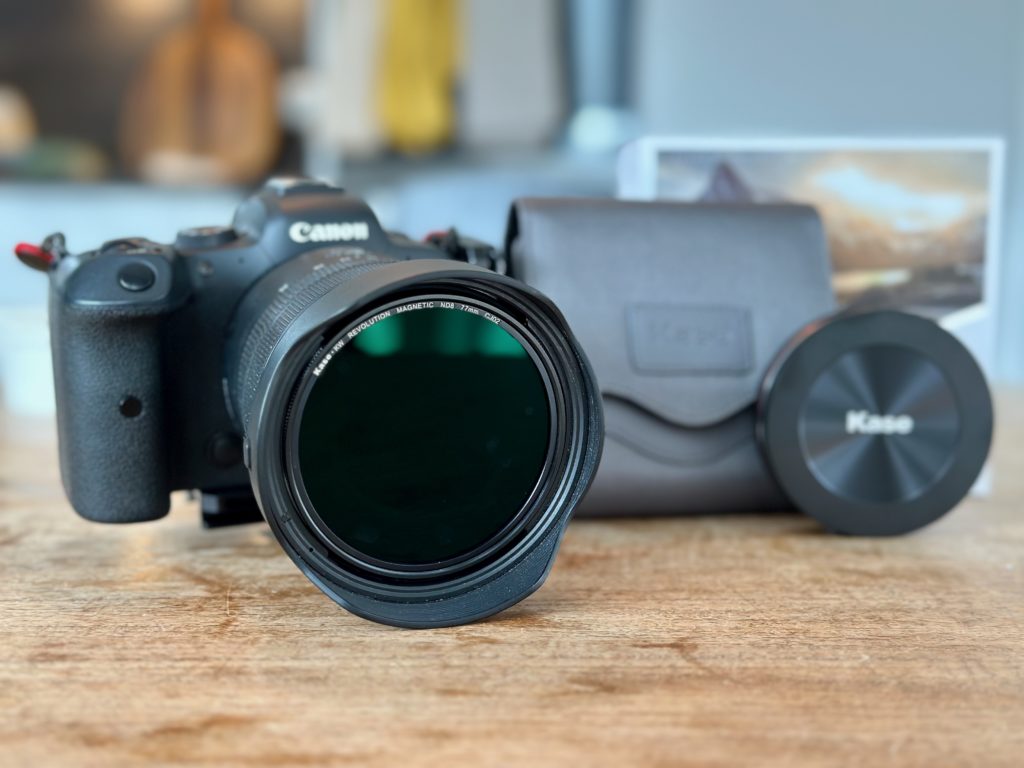
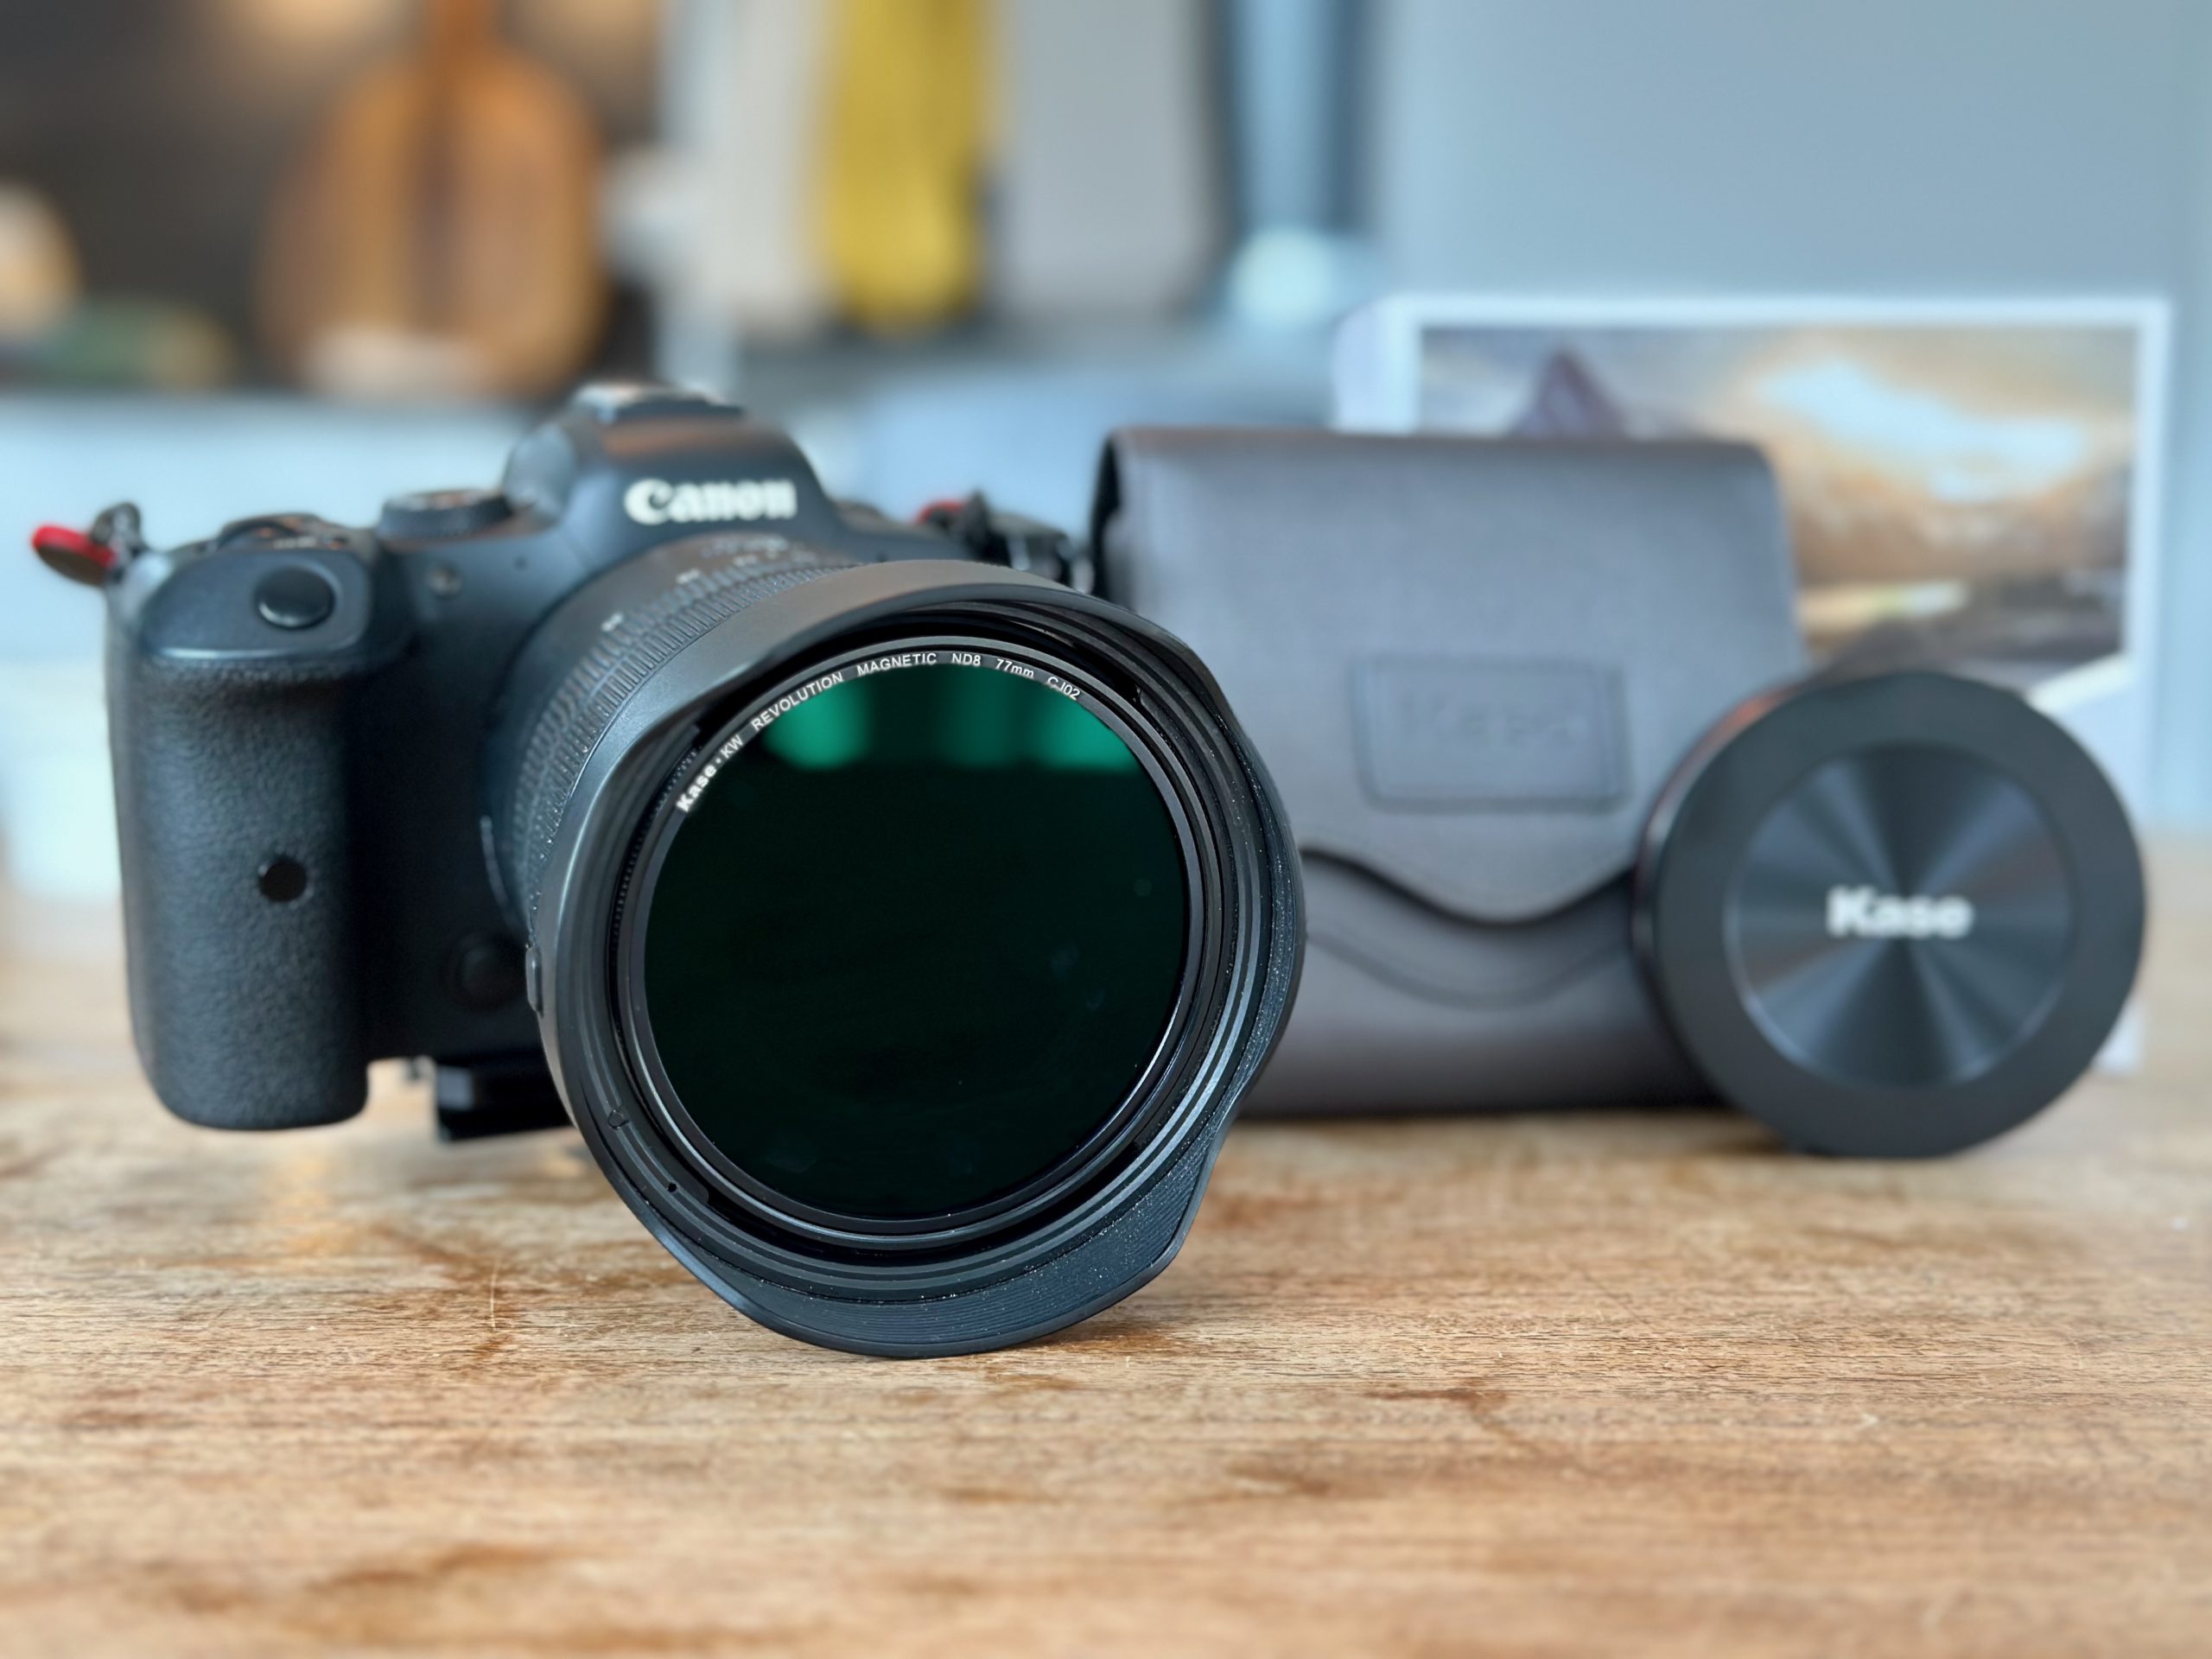
The Kase Revolution Circular Magnetic Pro filter kit installed on one of my EOS R6 cameras.
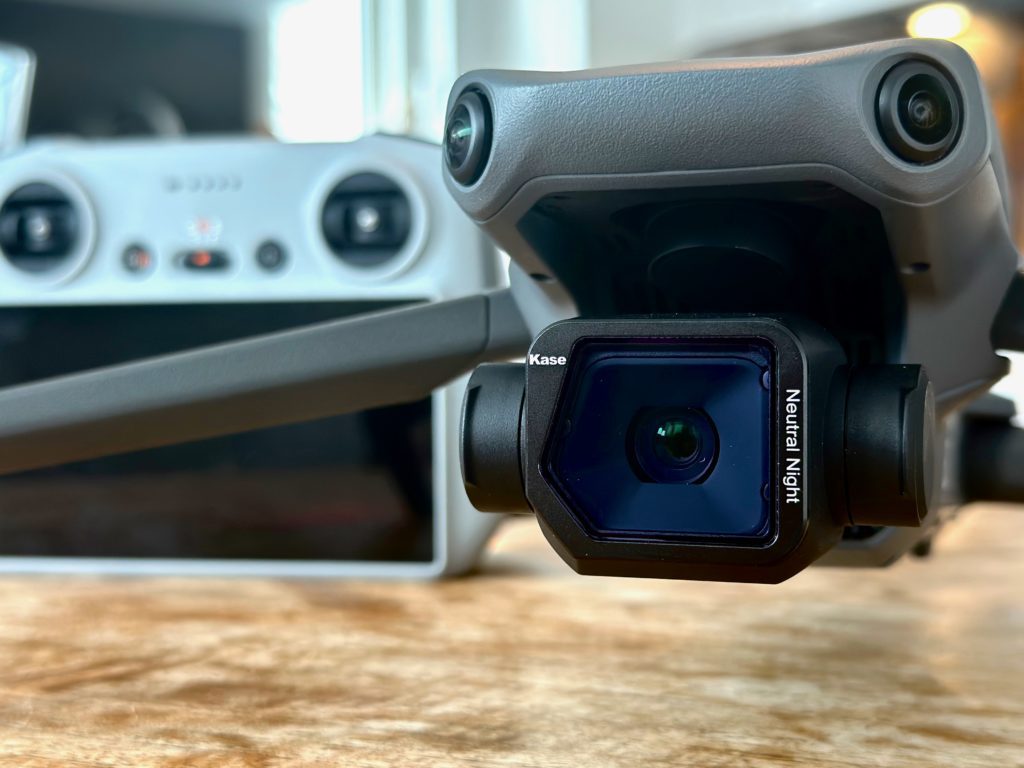
The Kase Mavic 3 Classic Neutral Night filter installed on my DJI Mavic 3 Classic.
Kase Revolution Magnetic Filters
In search for the “right” camera filters that fit my workflow, I started out with Lee Filters after hearing they were the best (TLDR; they weren’t). I then changed up to NiSi filters which were great but very heavy. The whole filter box weighed around one kilogram and took up too much space in my bag. After deciding I needed to minimise my photography gear, I ended up with the Kase Wolverine Magnetic Filters. They were small, easy to use, had virtually no colour cast and no degradation of the image quality. I noticed I began using the filters more due to their ease of use and compact size. However, they had some minor flaws such as the weak magnets, bulky filter pouch and challenging usability in combination with lens hoods and winter gloves.
So how do their successor, the Kase Revolution filters, stack up?
What’s In The Box?
The Kase Revolution filter kits come in two varieties: the Entry and Pro kit.
The Entry kit comes with: a magnetic lens adapter & inlay ring, a magnetic lens cap, a white colour coded magnetic circular polariser, a blue colour coded ND8 (3 stop) neutral density filter, a yellow colour coded ND64 (6 stop) neutral density filter and a carrying pouch.
The Pro kit adds the red colour coded ND1000 (10 stop) neutral density filter.
The whole system is available for 77mm, 82mm and 95mm filter threads and is fully compatible with your previous Wolverine filters.
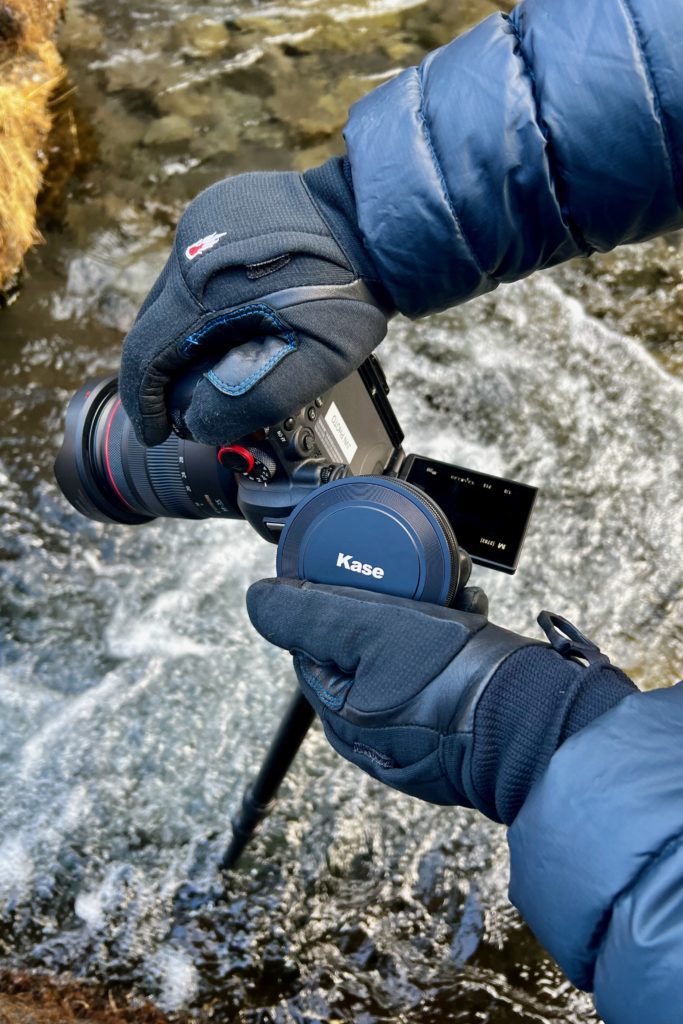
I tested the Kase Revolution filters during both workshops in Iceland & Greenland last March.
What I Like
As I’ve mentioned before, one of the biggest advantages of the Kase Wolverine filters was their small footprint and low weight. This remains unchanged in the Kase Revolution filters. In fact, everything that was great about them is also great about the Kase Revolution filters. The filters have a virtually non-existent colour cast and there is no loss in image quality.
By adding colour coding to the circular filters, Kase has improved the ease of use. Now it’s much easier to recognise which filter you are taking out of your pouch or stack of filters. The strength of the magnets has also been improved. On the odd occasion, I have had a Wolverine filter blown off my camera in heavy winds (not that uncommon here in Iceland) due to the weak magnets. I can confirm the magnet strength is much improved.
Additionally, the filter kit now comes with an inlay ring which is especially designed for ultra wide-angle lenses. Using the provided tool, you can twist this extremely thin ring into the filter thread of your lens. This allows the magnetic filters to sit even closer to your lens removing any possible vignetting that was present on ultra-wide angle lenses with the Wolverine filters.
While the whole kit comes in a nice carry pouch, I have found there is a much better solution for carrying your filters. When purchasing the optional rear magnetic cap, you can actually stack all the filters together while protecting them using the lens and rear caps. This means you can keep all your filters together in a super small stack, which takes up almost no space in your bag. While the carry kit can be useful to hang the filters on your tripod, I much prefer this minimal footprint.
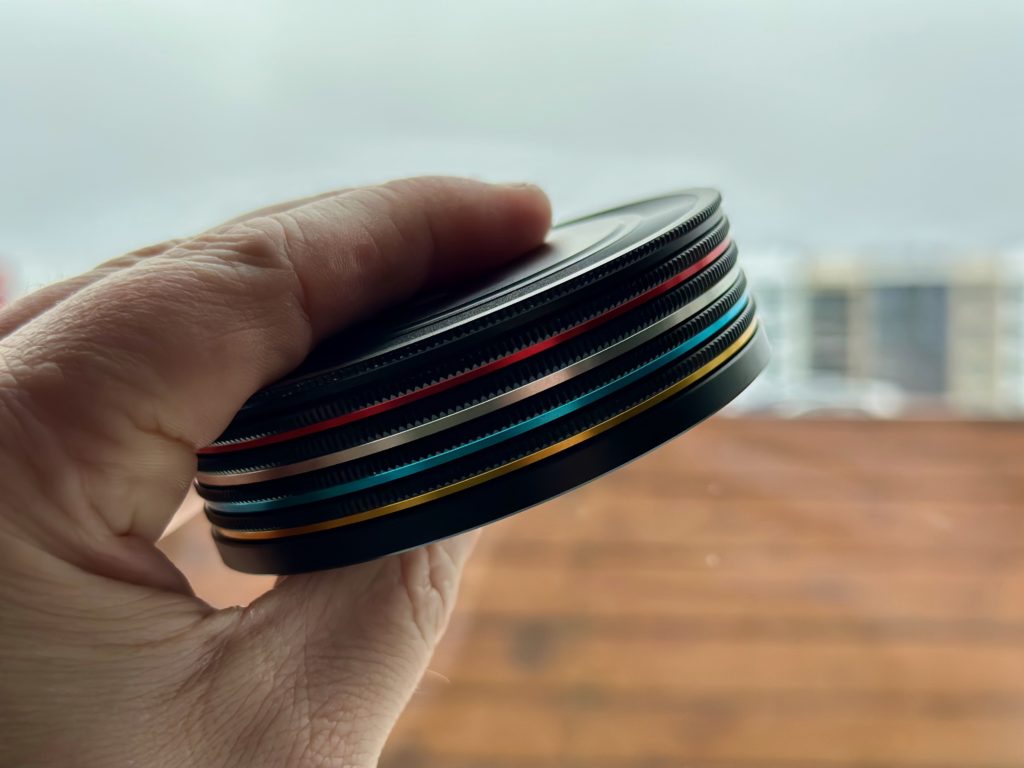
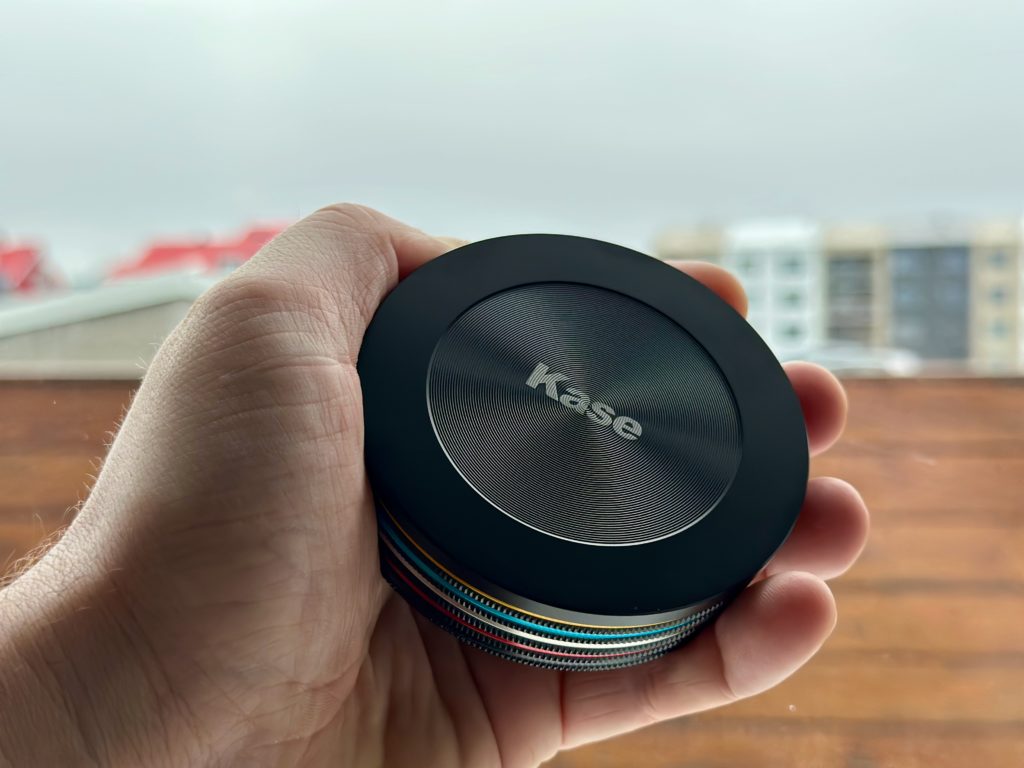
The compact size, when using the magnetic lens & rear caps, are highly appreciated. The footprint and weight of the filters in your bag is so small, you barely notice they are there. Together with the new colour coding, it makes the ease-of-use of the filters very good.
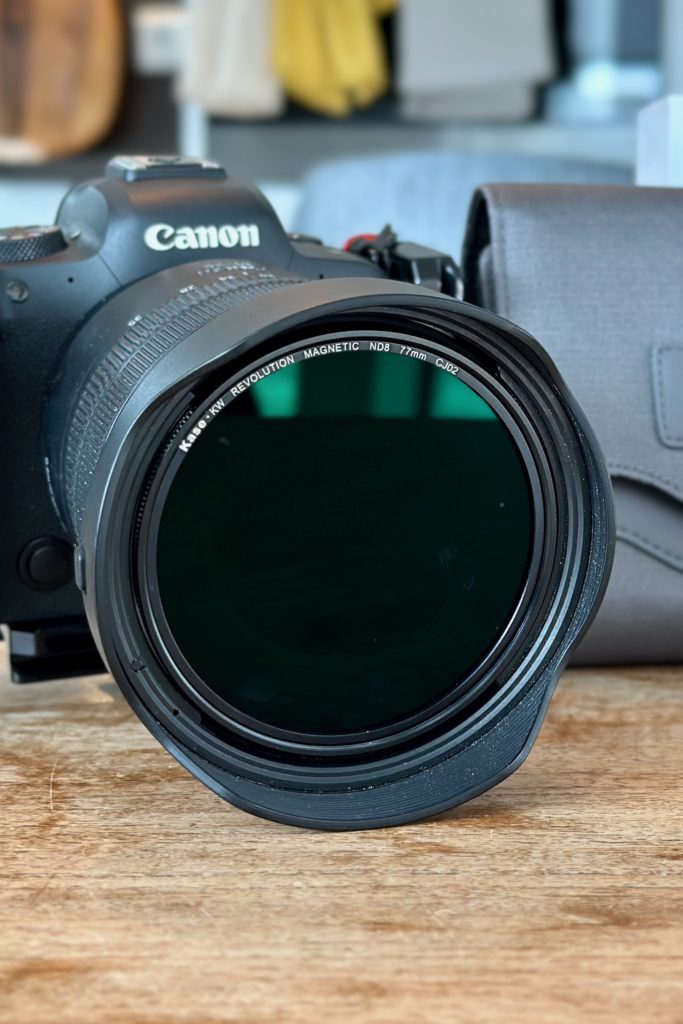
Even with small lens hoods, such as on my Canon RF 14-35mm F4 lens, it’s almost impossible to grab the filter from the magnet ring without removing the lens hood first.
What I Don’t Like
While my overall impression of the Kase Revolution filter kit is great, there are a few minor annoyances worth nothing.
Firstly, while I don’t believe GND filters to be relevant anymore today, it’s worth noting that there are no graduated neutral density filters available. Because of the circular design, it’s not possible to create GND filters for them. If you use GND filters, this might not be the filter kit for you.
Secondly, because the magnets are stronger and the filters are very thin, it can be difficult (or down right impossible) to take them off when using a lens hood. The only way to remove them is by taking off the lens hood first or not using a lens hood at all. If you are using thick winter gloves, it can also be challenging to take the filters off. None of this is a big issue but worth nothing nonetheless if you are often outside in sub-zero temperatures.
The magnetic lens caps are a great way to replace the more bulky standard lens caps that come with your camera. However, the same issue arises with the removal of the lens cap from your camera. It would be really helpful if there was a small handle or clasp sitting in the middle of the lens cap. That would allow you to take off the lens cap without removing the lens hood or gloves.
Finally, I wish Kase would include the rear cap with the filter kits. To me, striving to keep my photography bag as clutter-free as possible, stacking the filters together using the lens and rear caps is the best way. The bulky carrying pouch is unnecessary for most people, as photography bags are padded sufficiently to protect the filters.
Kase Mavic 3 Classic Filters
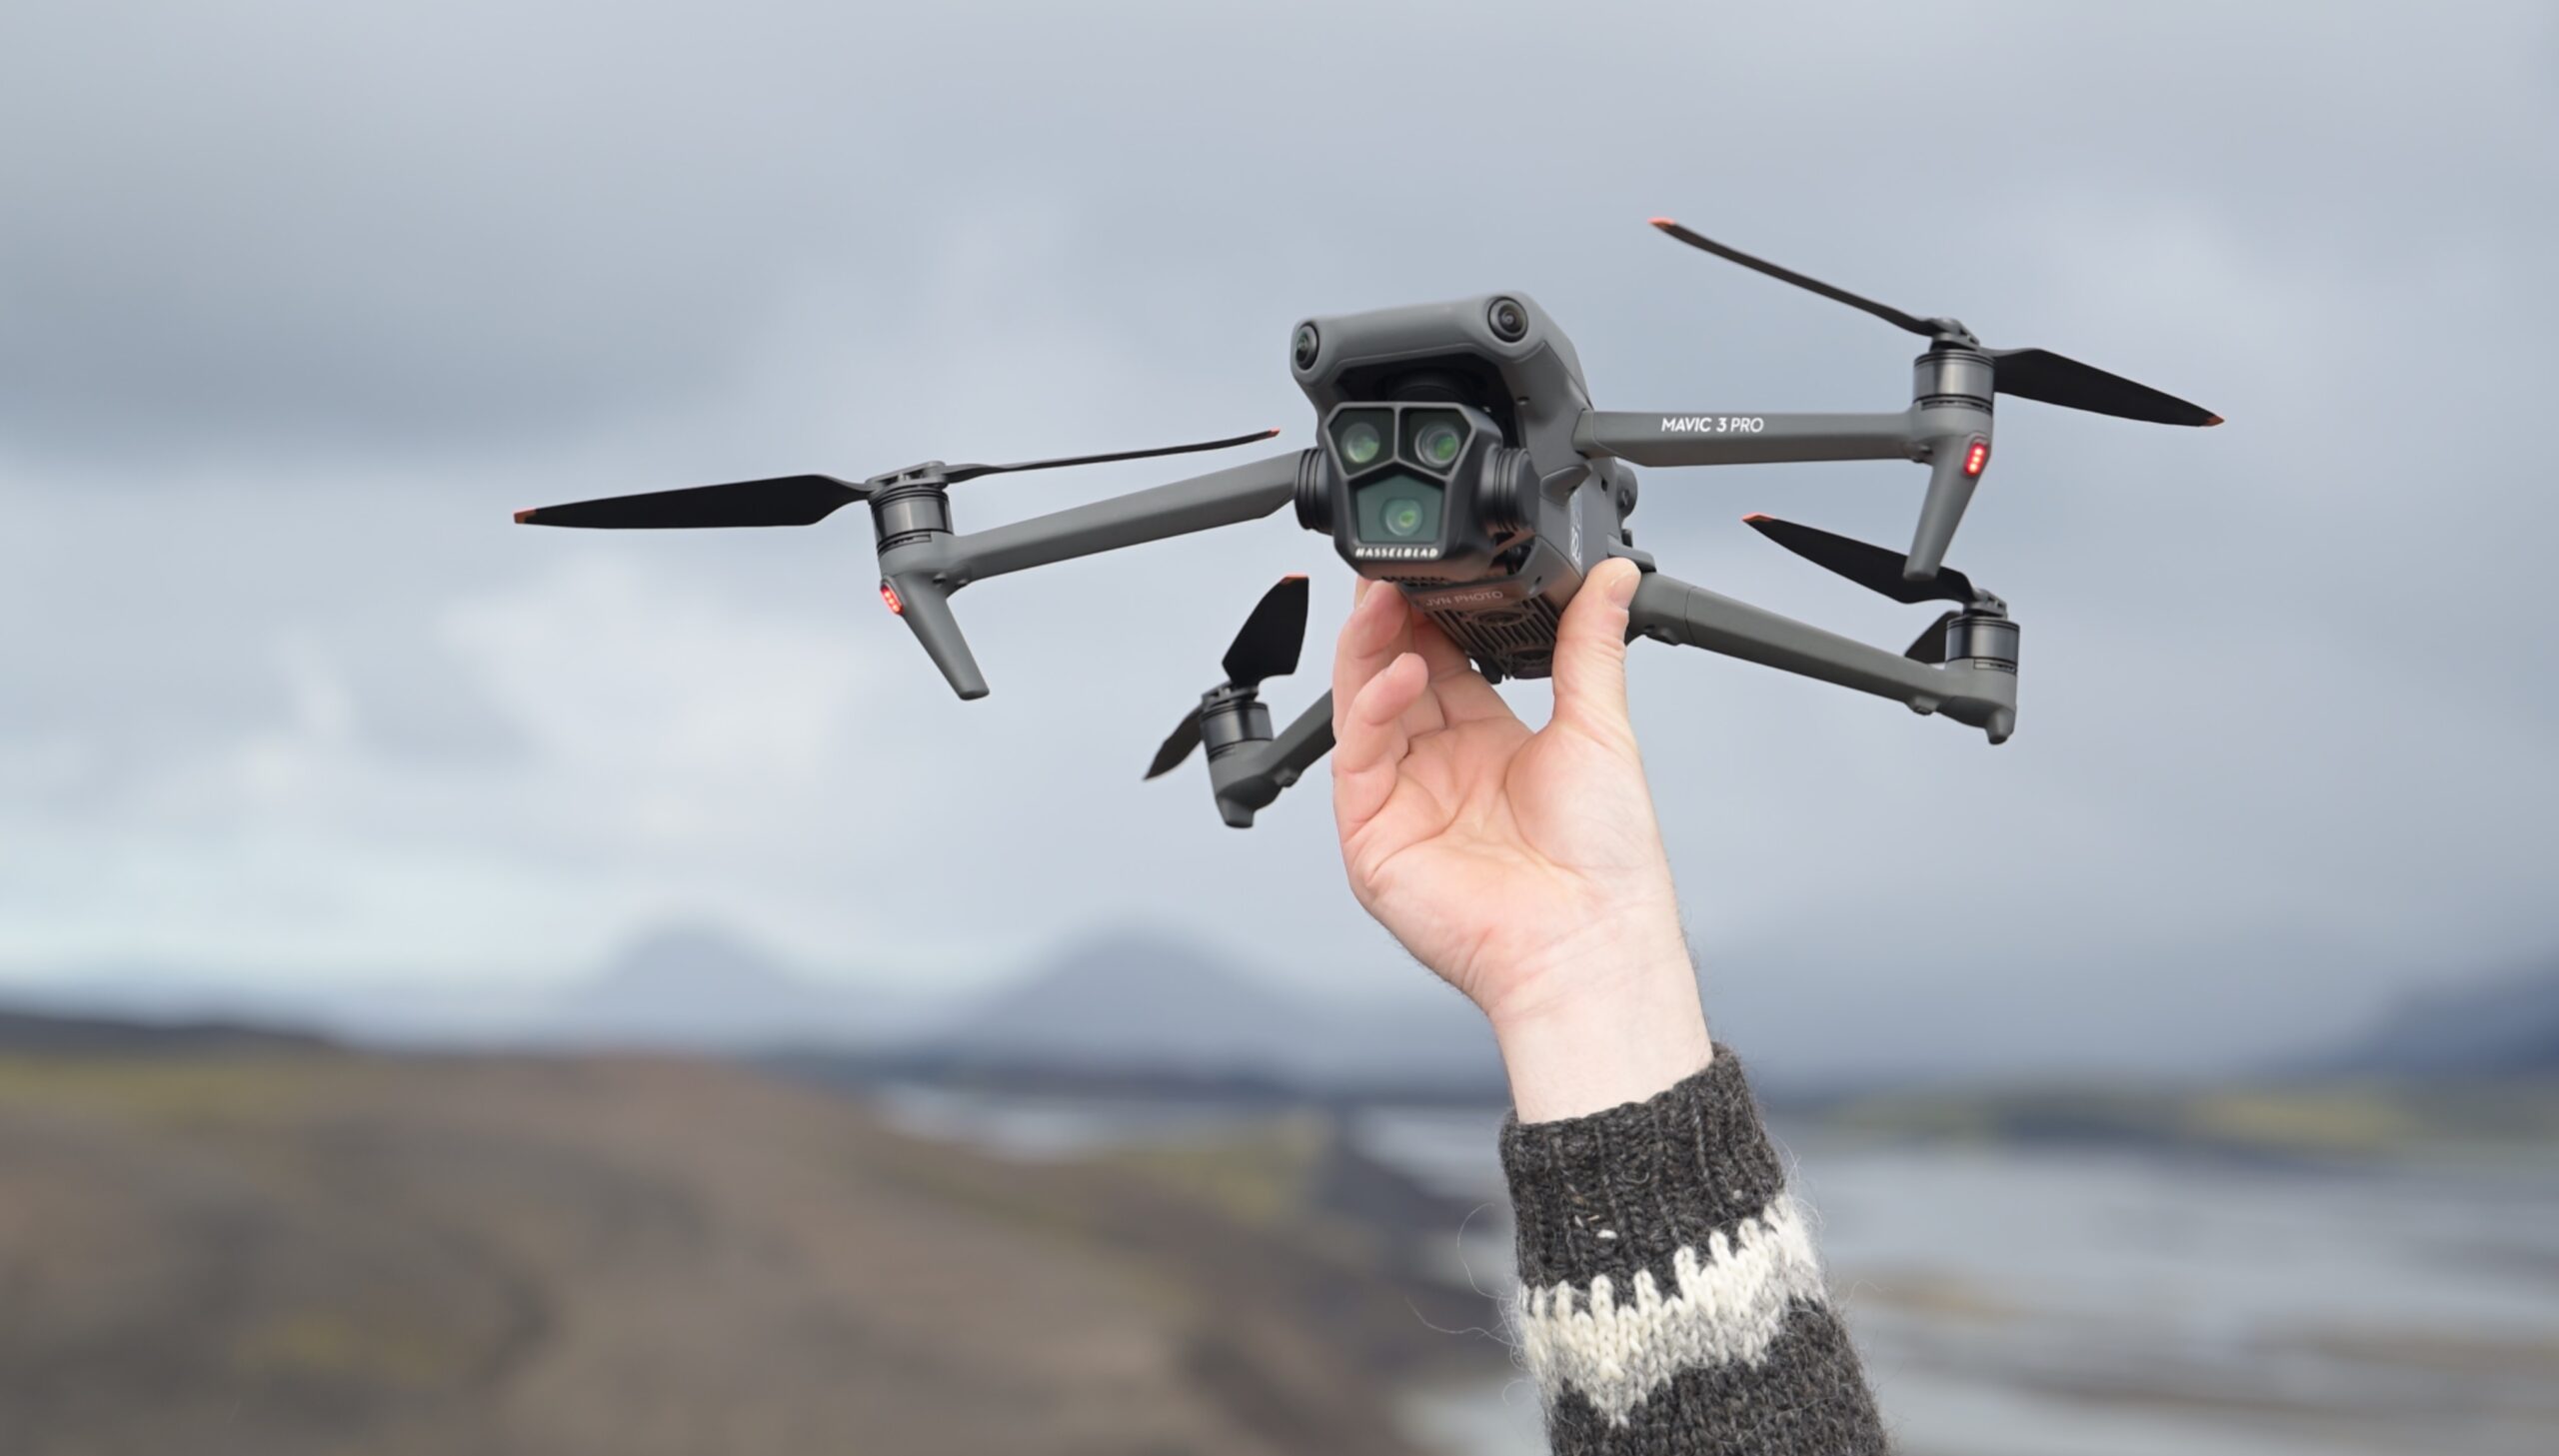
Kase also develops various filters for your drone camera. For this review, I was sent a selection of Mavic 3 Classic filters. I had a look at the ND8/PL (3 stop), ND/16/PL (4 stop) and ND64/PL filter (6 stop) neutral density & polarising filters and the Neutral Night filter.
What I Like
As you would expect, there is virtually no colour cast when using the filters. Just as with the Kase Revolution filters there is also no discernible influence in the image quality. The quality of filters delivered by Kase is definitely very consistent and the best I have used so far.
A great addition to their drone filter line up is the Neutral Night filter. It’s a unique filter which essentially filters out light pollution by reducing the orange sodium glow which is associated with most older street lighting. The filter does a good job at removing the colour cast from street lighting and can be an interesting addition to the Mavic 3 Night Mode. I hope to experiment with it more when the dark nights return after the summer here in Iceland.

The most interesting and unique out of the different filters is definitely the Neutral Night filter which filters out orange light pollution.
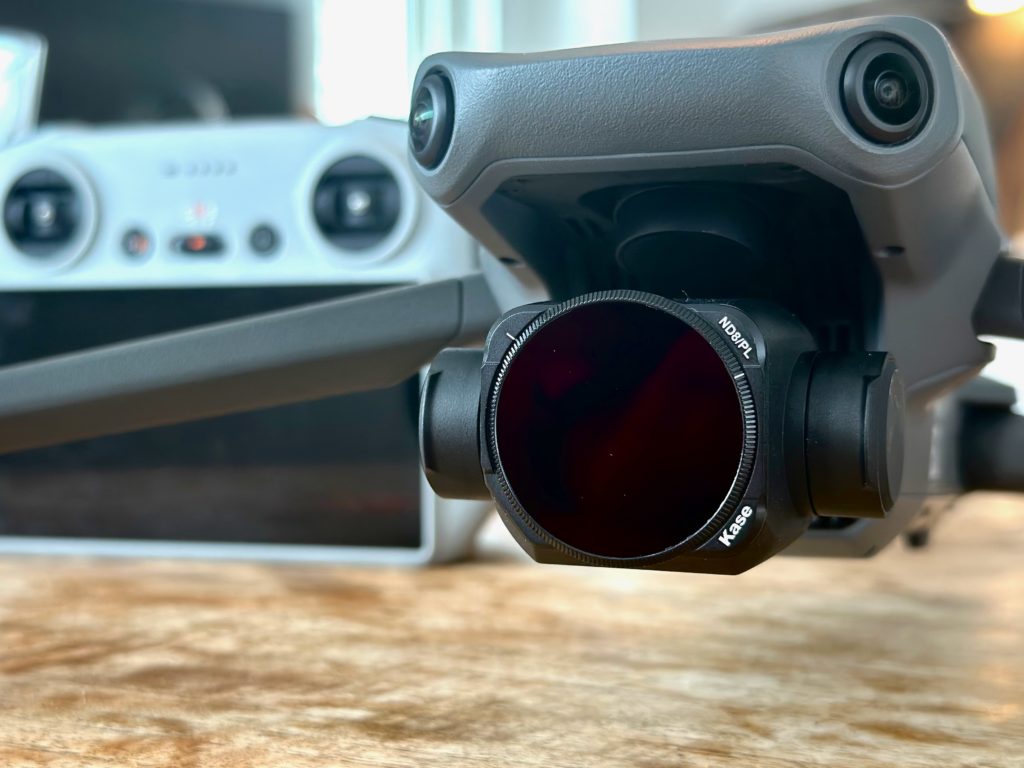
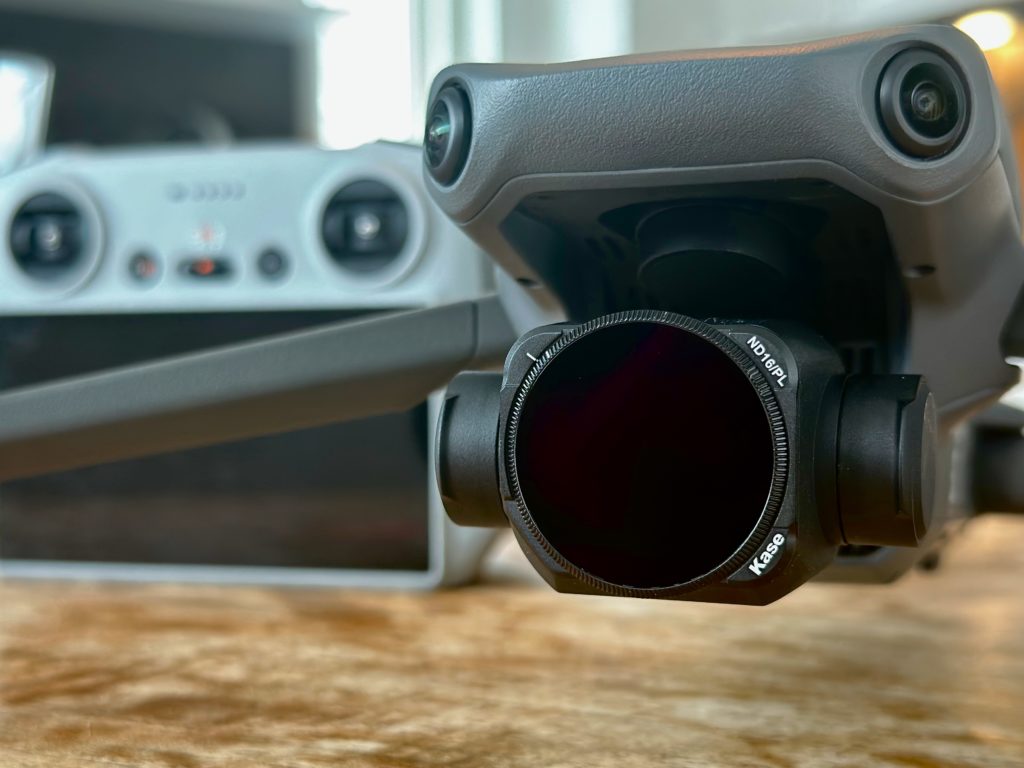
I wish the Kase drone filters would inherit a lot of the features that make the Revolution filters so great. Adding colour coding and a magnetic mount would make these good filters into great ones.
What I Don’t Like
However, there are several improvements which I feel could improve the drone filters a lot.
Firstly, the filters are not easy to install or remove. The Mavic 3 Classic front glass twists off the camera module, which I’m sure most drone users are familiar with. The twisting of this front element gives the impression you might break the camera module or drone gimbal. On occasion I even found it difficult to take the filters off. While this is not entirely a problem of the Kase filters themselves, I can’t help but wonder why they didn’t implement their brilliant magnetic system for their drone filters. It would be extremely convenient to swap filters magnetically.
Secondly, the filters are not colour coded unlike the Kase Revolution filters. It’s a small problem but colour coding the filters improves the usability factor greatly.
Another issue, which can be easily improved, is that each of the filters came in their own separate box. I have searched far and wide but unfortunately there is no filter case available which can hold all of the drone filters together. Keeping 4 tiny filters in 4 large plastic cases is an inefficient use of space. I wish Kase would sell a drone filter kit, which just combines all of the filters in one convenient case.
Finally, while I understand that the ND filters are also polarised as you can’t stack filters onto the camera module, as a photographer I think a polarising filter without the ND would be a great addition to the lineup.
Conclusion: Kase Revolution Magnetic Filters
If you’re in the market for camera filters, I can happily recommend the Kase Revolution Magnetic Filters. They are not only lightweight and convenient to use but they also don’t have any noticeable colour cast or deteriorate the image quality. On top of that, comparing them to other filter brands, they are not expensive.
Pro’s
- Lightweight and compact filter kit
- Non-existent colour cast or degraded image quality
- Strong magnets
- Colour coded filters
- New inlay ring for ultra-wide angle lenses
Con’s
- No variable ND filters available
- Difficult to use with lens hoods and thick gloves
- Rear cap not included in the filter kit
Conclusion: Kase Mavic 3 Classic Filters
While these drone filters are some of the best I’ve used in terms of colour cast and image quality, there are several usability issues. I wish Kase would bring some of the brilliance of the Revolution system to their drone filters to bring the experience up to par.
Pro’s
- Non-existent colour cast or degraded image quality
- Neutral Night filter
Con’s
- Difficult to install and remove
- No colour coding
- Filters come in separate boxes
- No polarising filters available without ND
Links
Buy it: https://geni.us/jvn-revolutionfilters
Disclaimer: when you make a purchase using the link in this article, Jeroen may earn a small commission.
DISCOUNT
The Drone Photography Masterclass
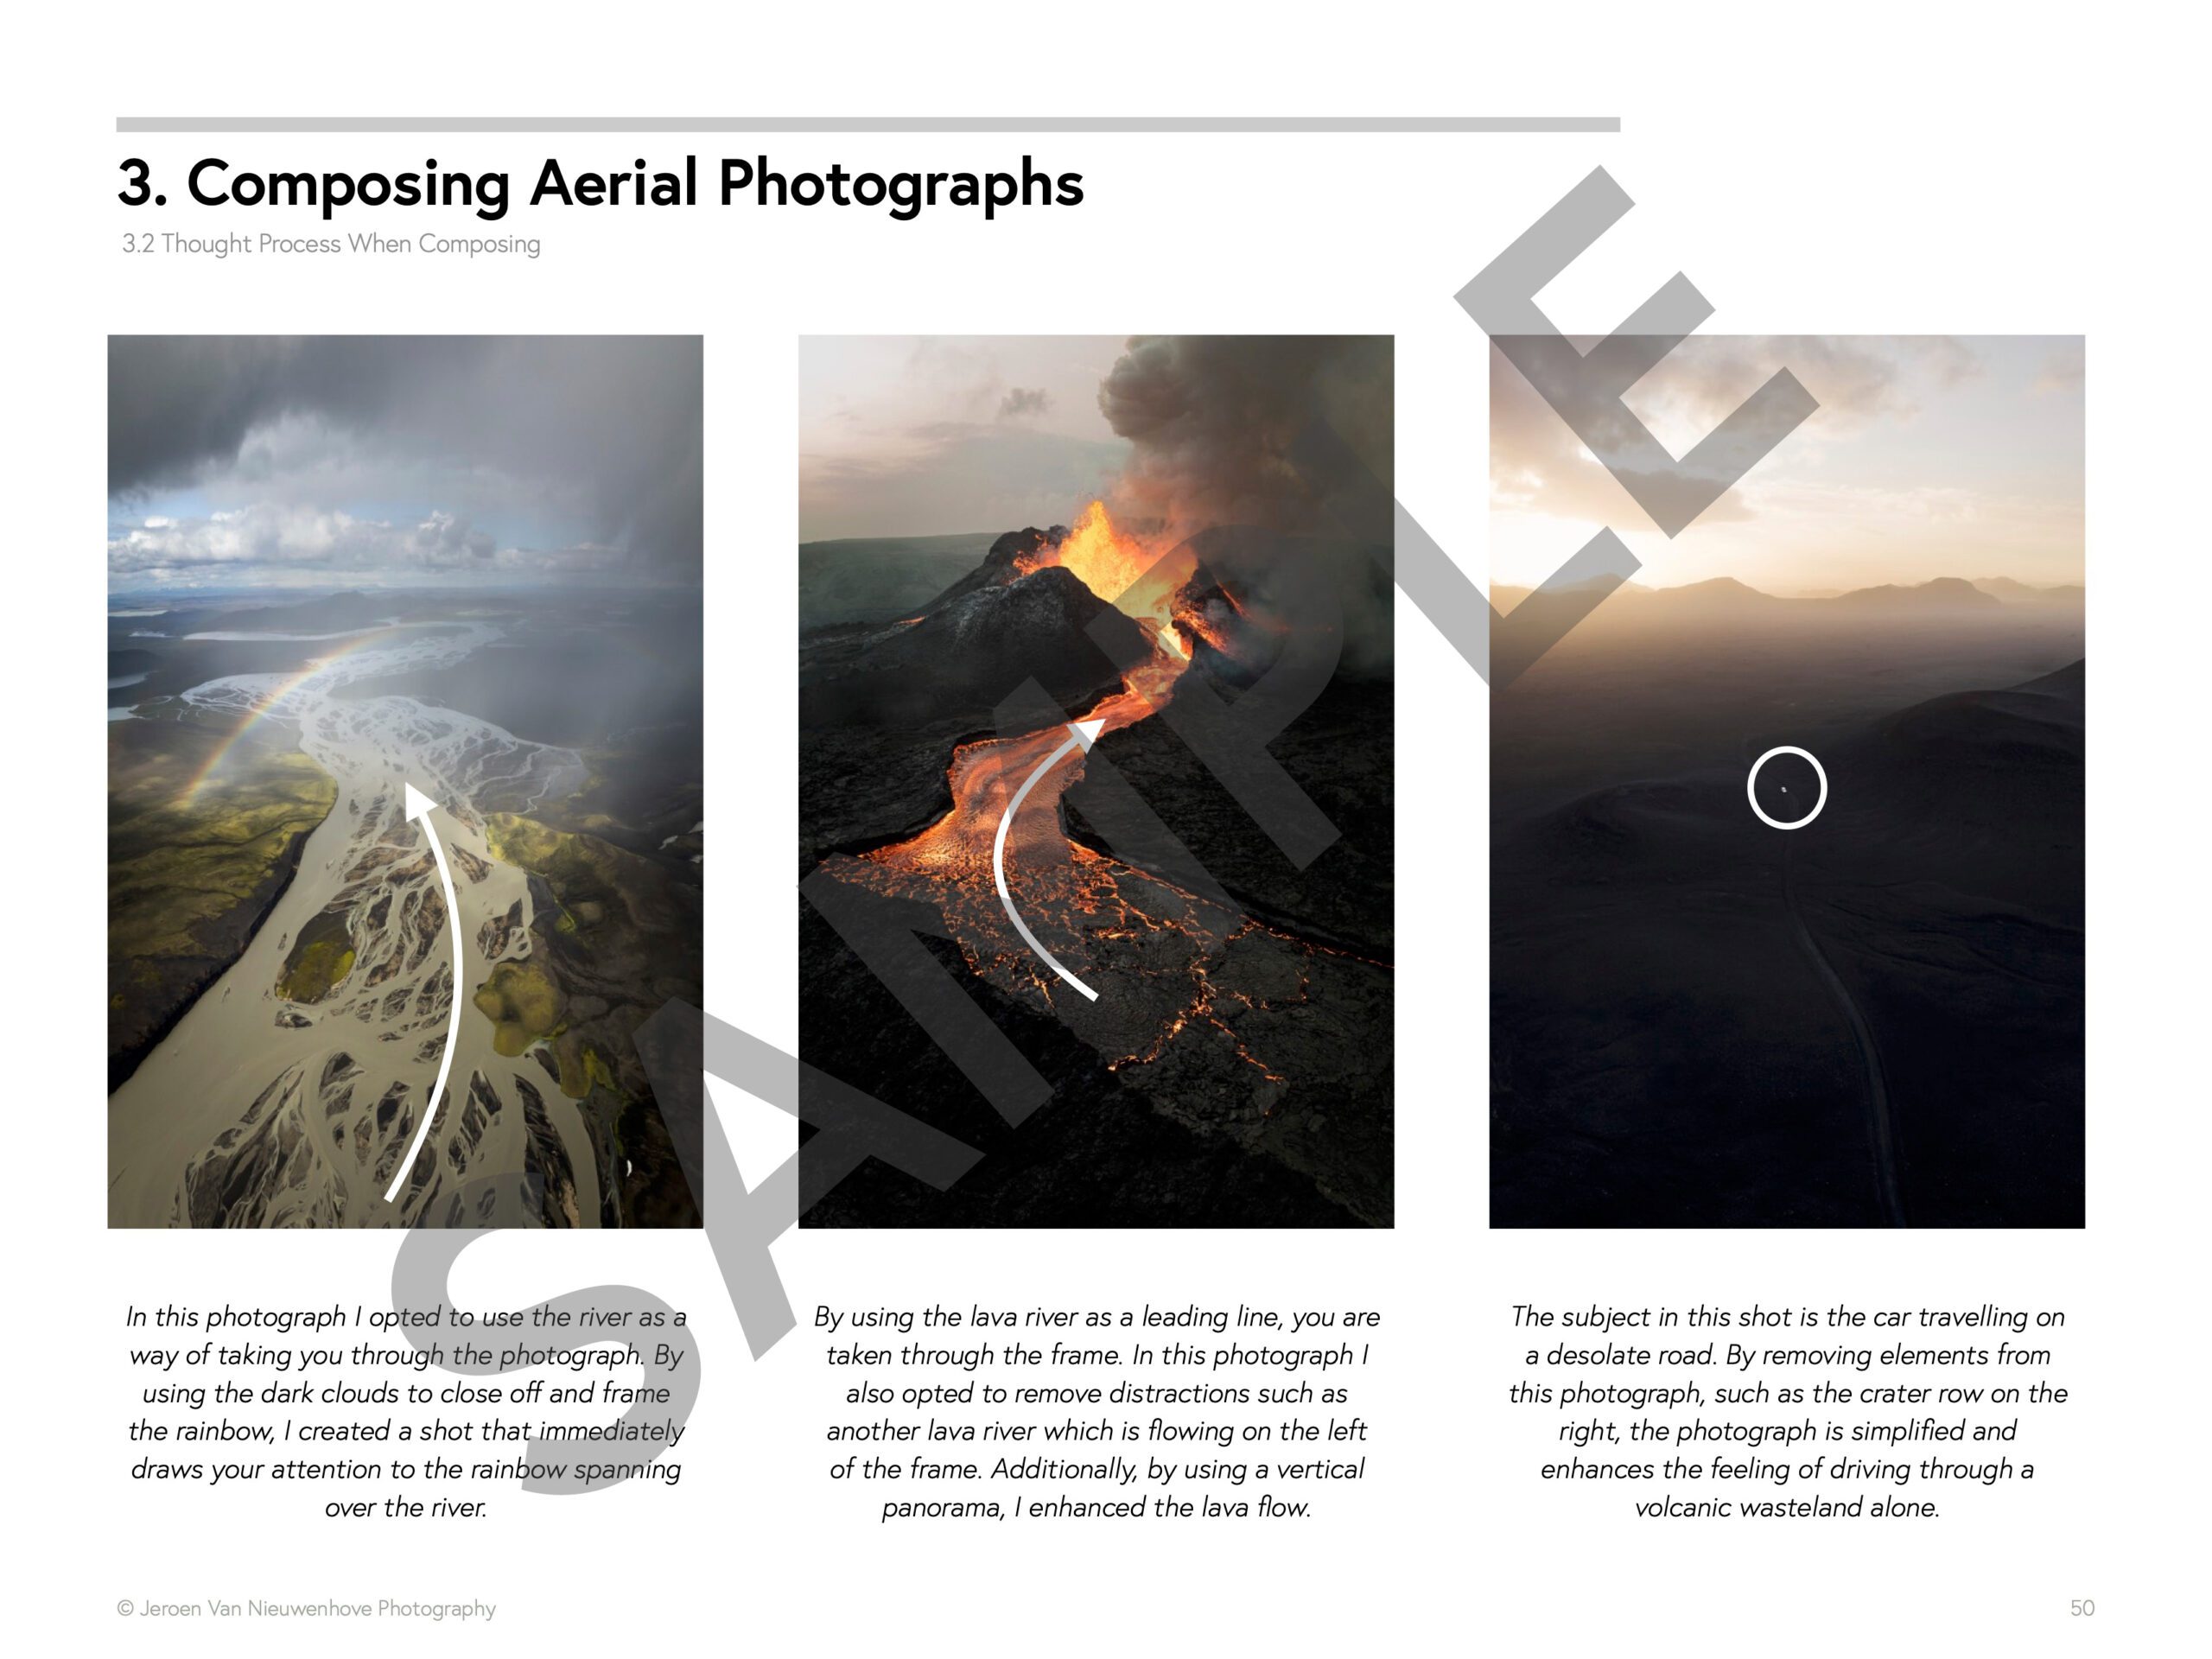
Nigel Danson & Jeroen Van Nieuwenhove‘s complete drone masterclass will explore everything you need to know to start creating the best aerial photographs using any type of drone in 50+ detailed videos. Whether you are a complete beginner or an advanced drone pilot, this video course contains a vast amount of information to level up your drone photography skills.
Learn Drone Photography With My E-Book
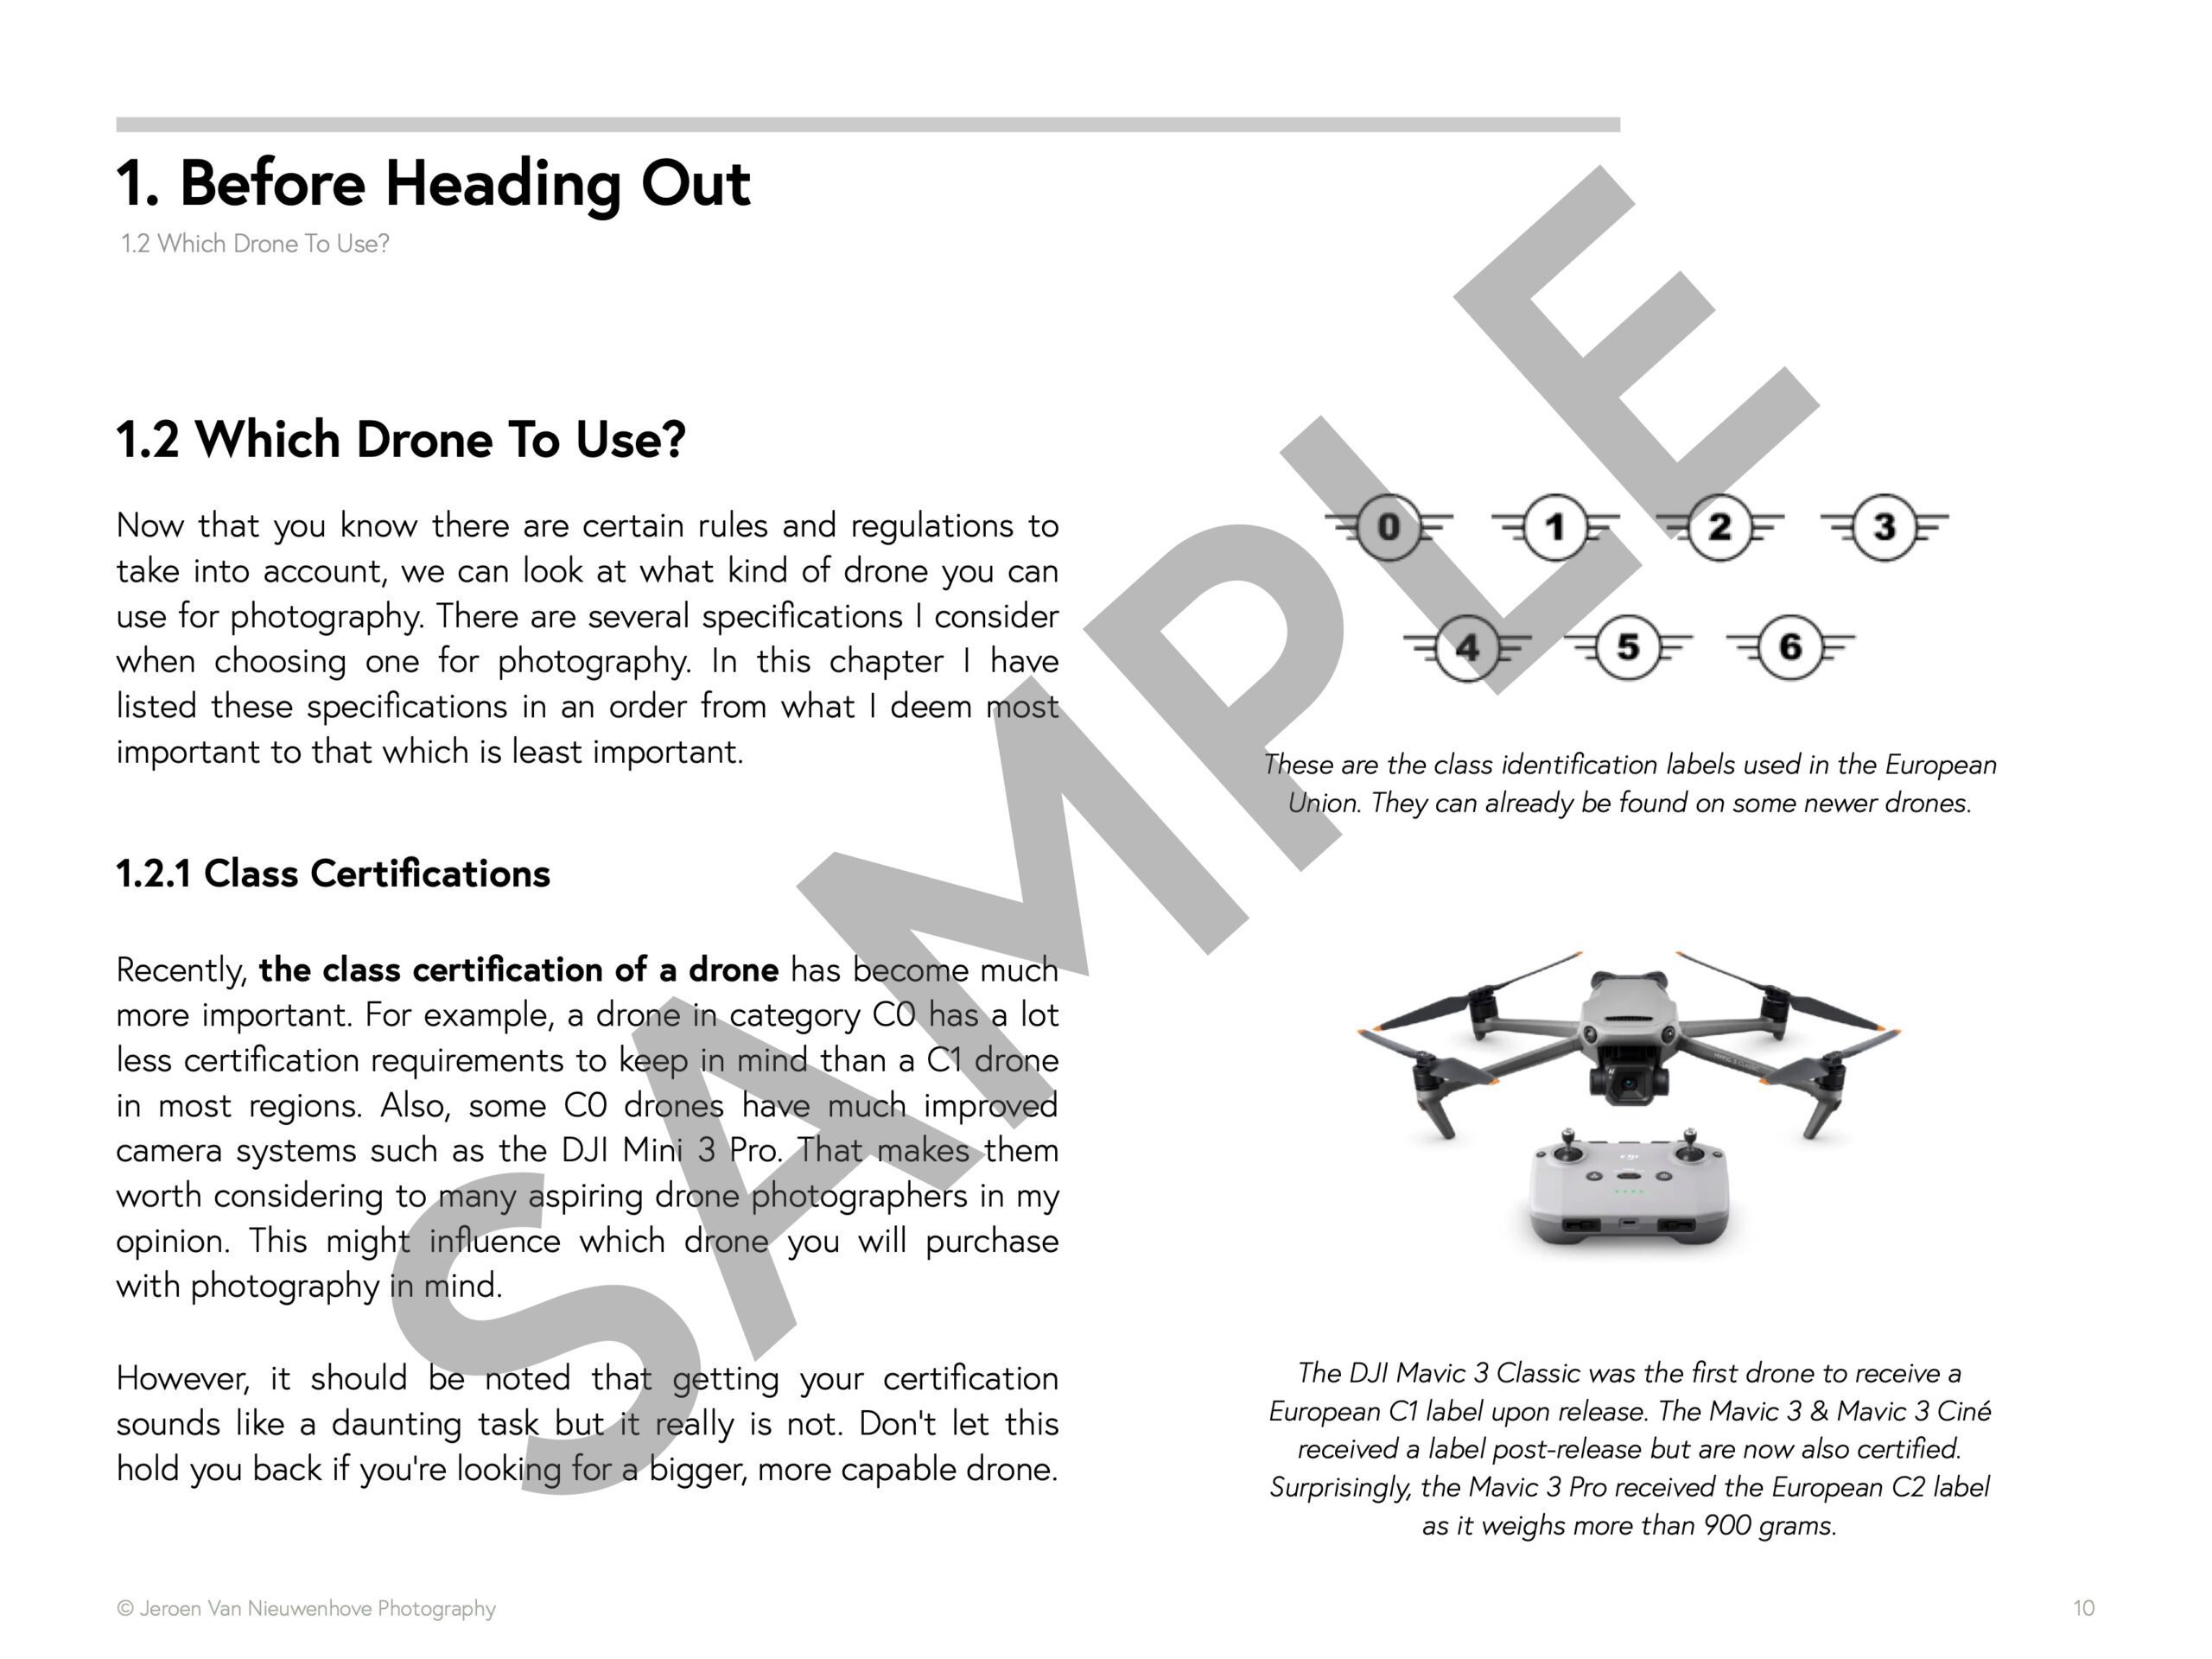
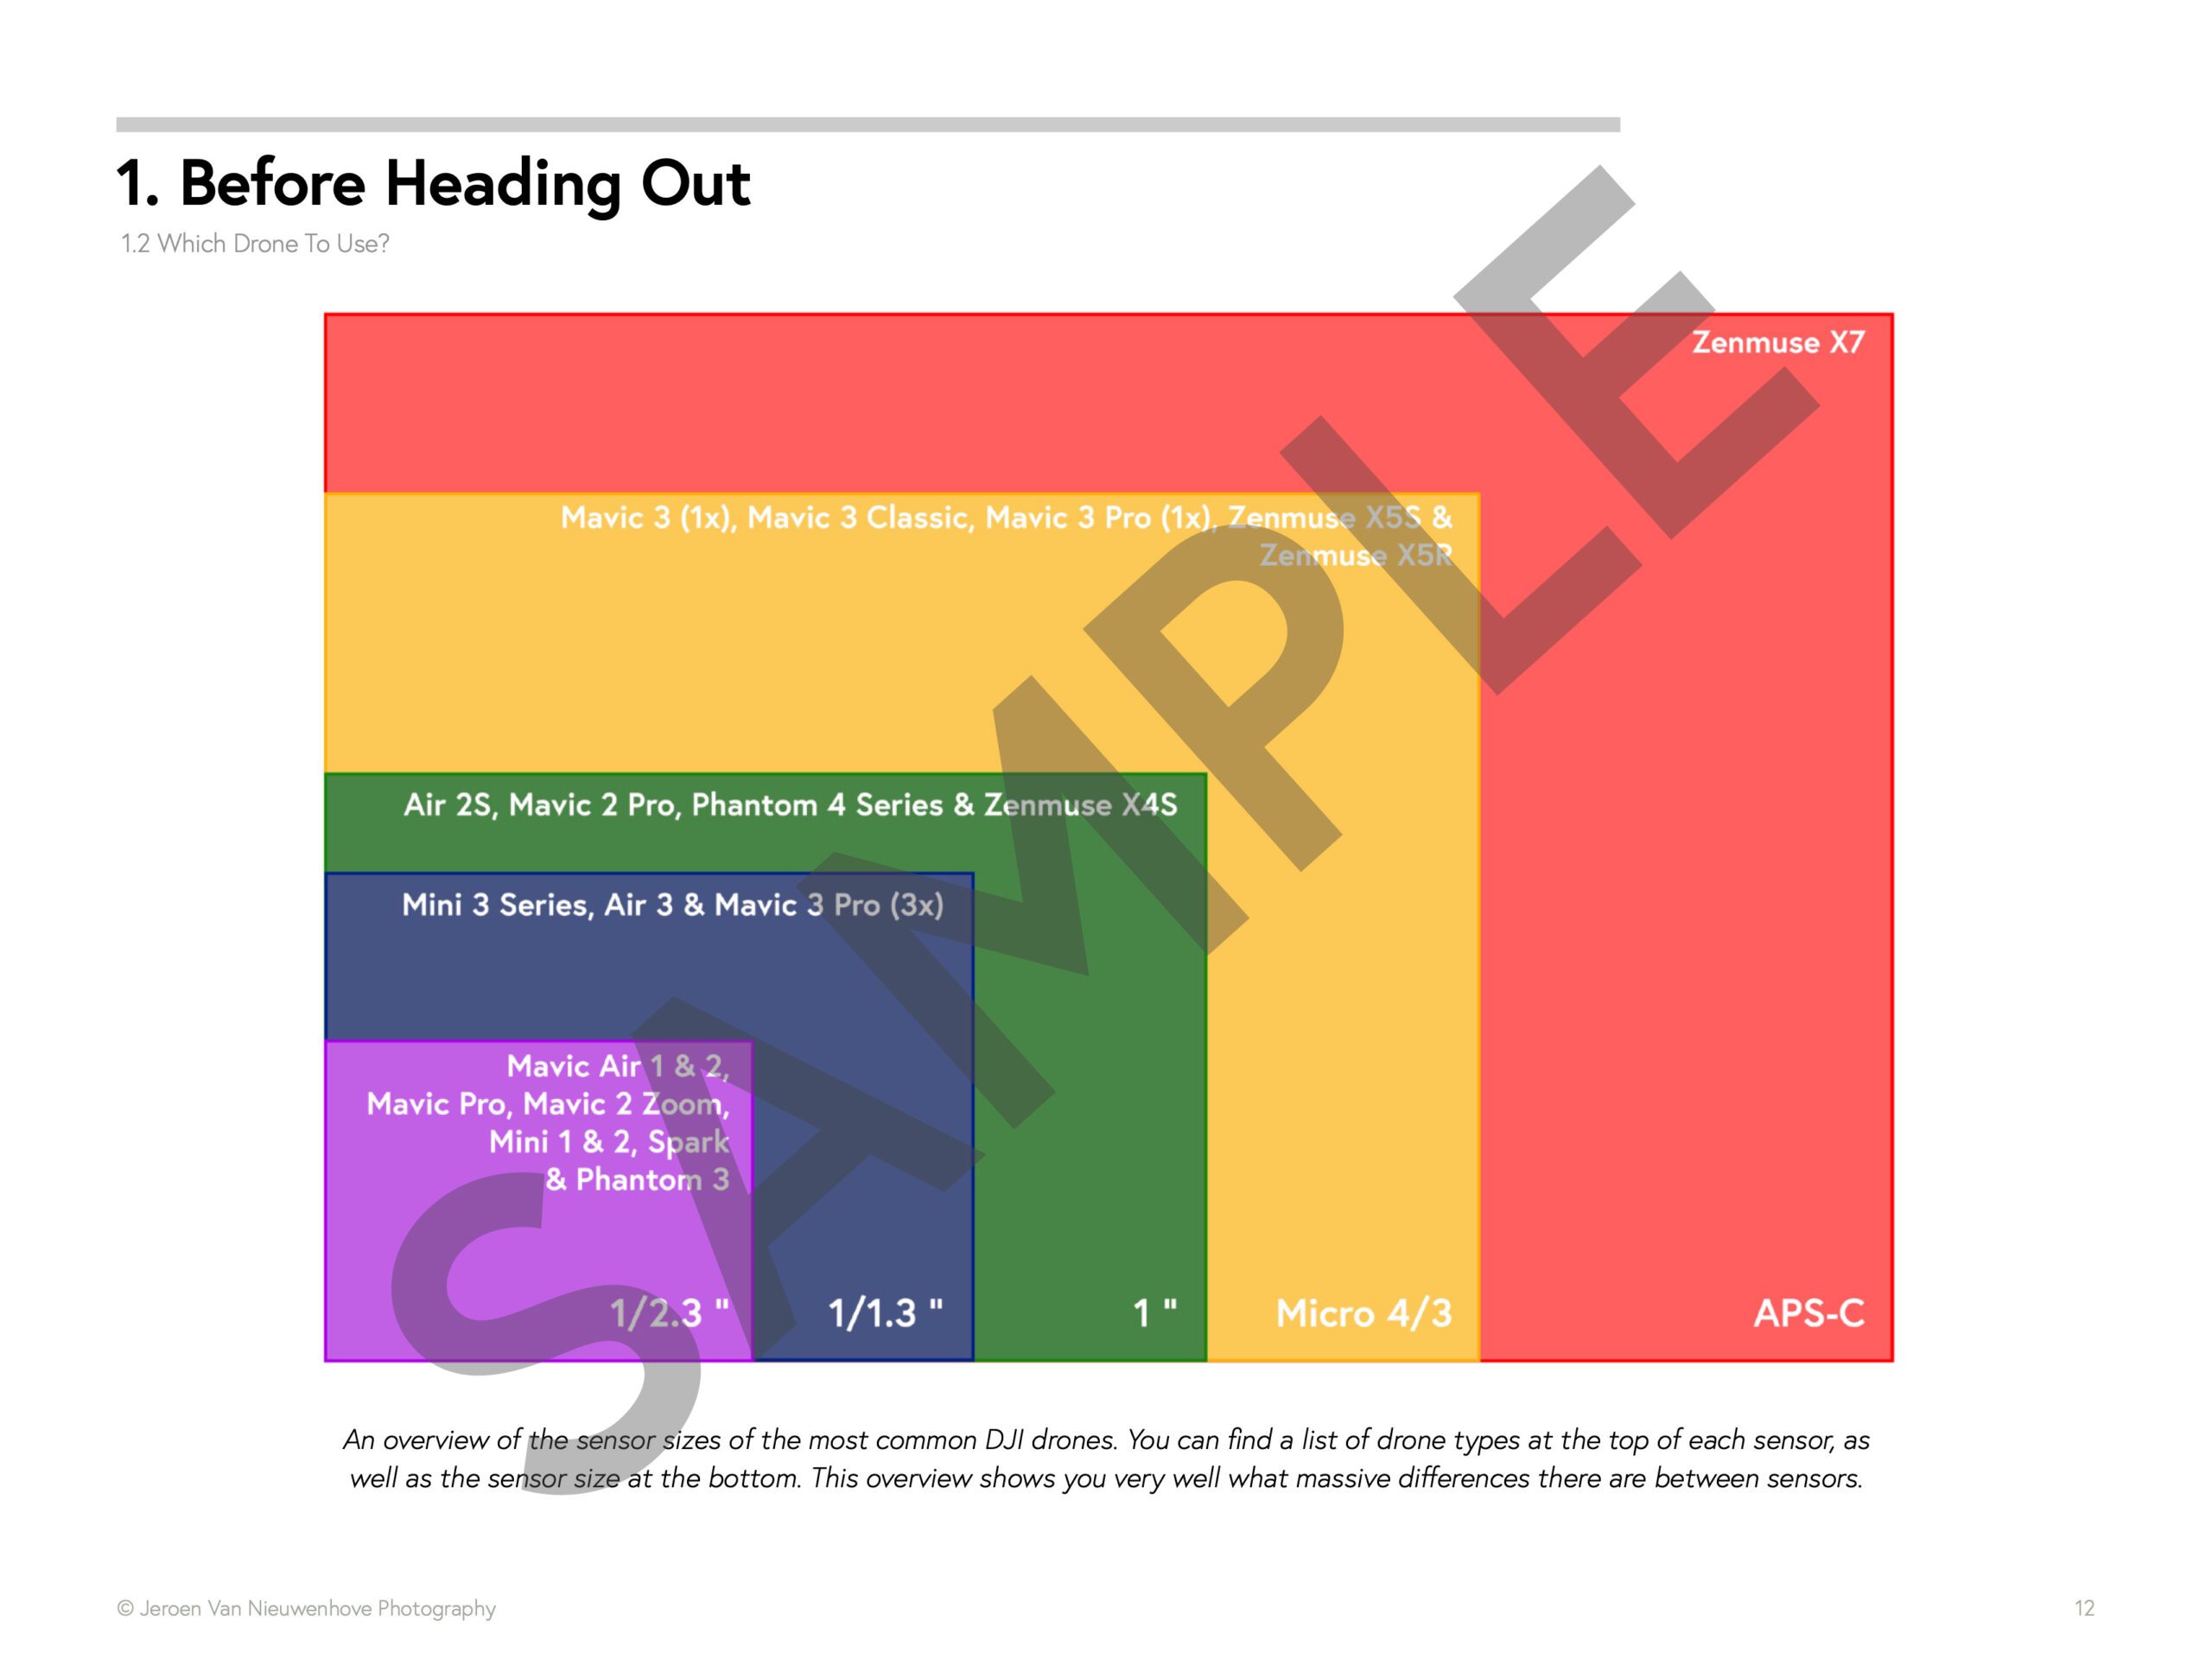
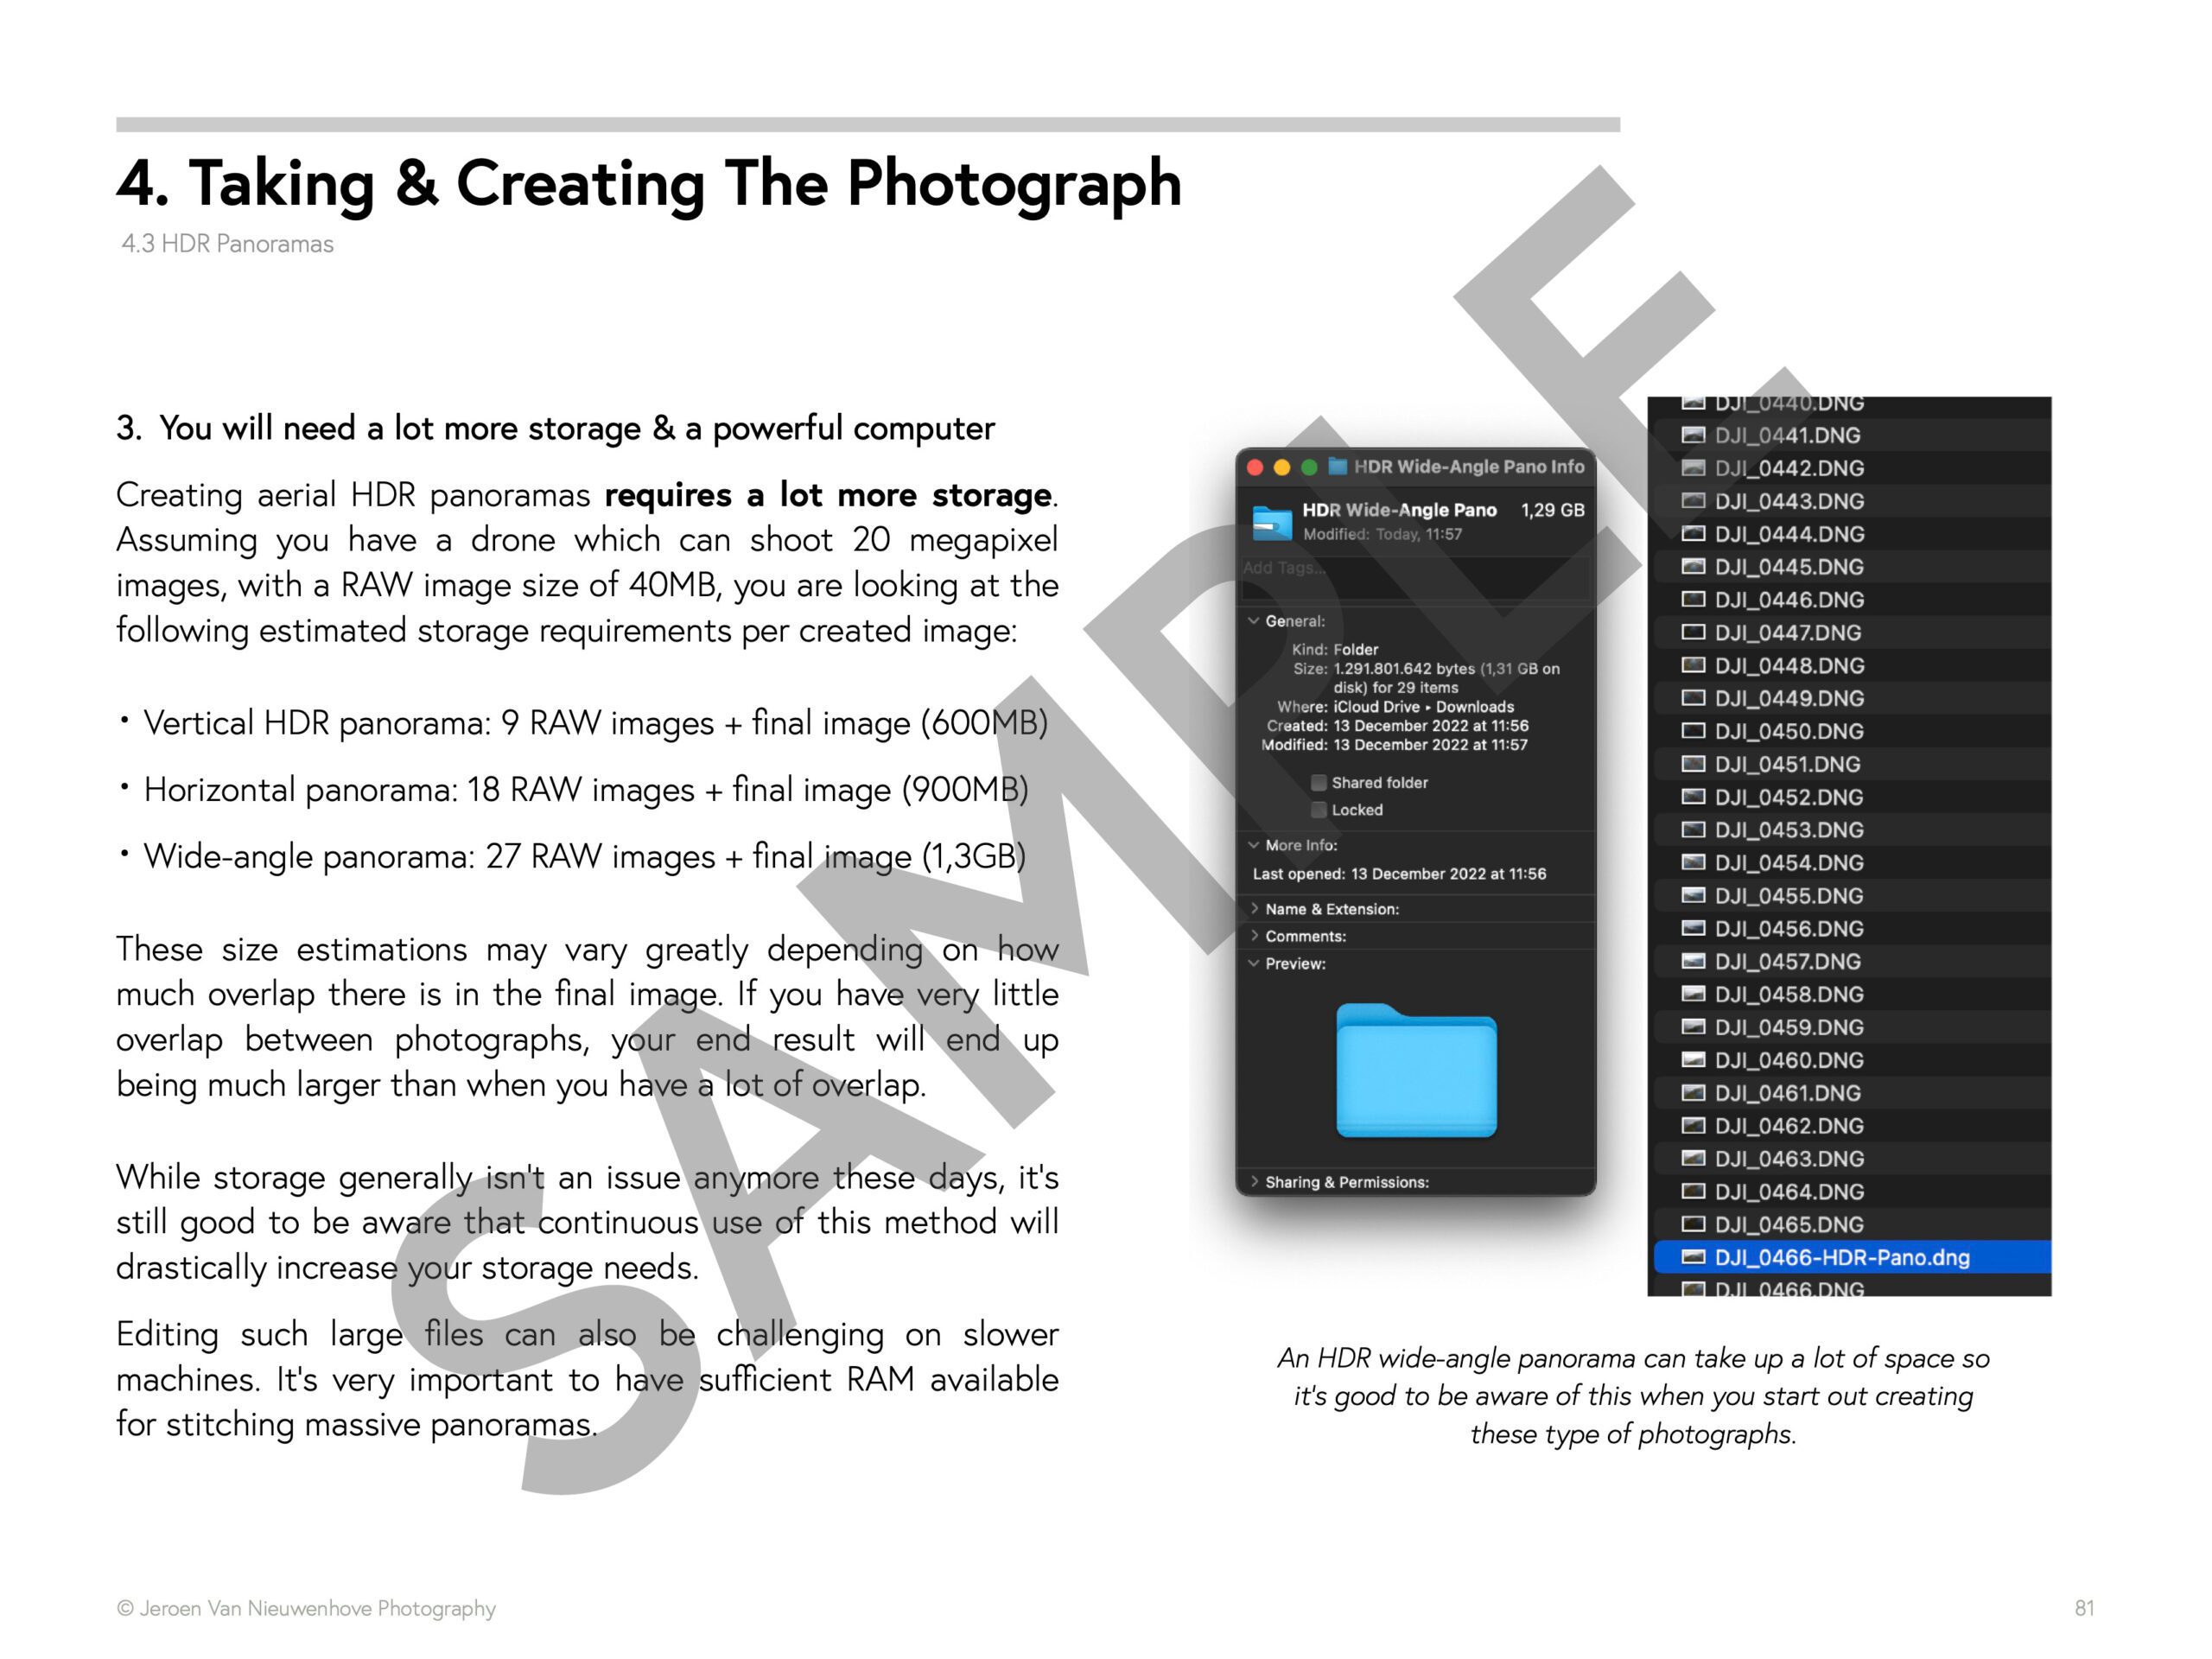
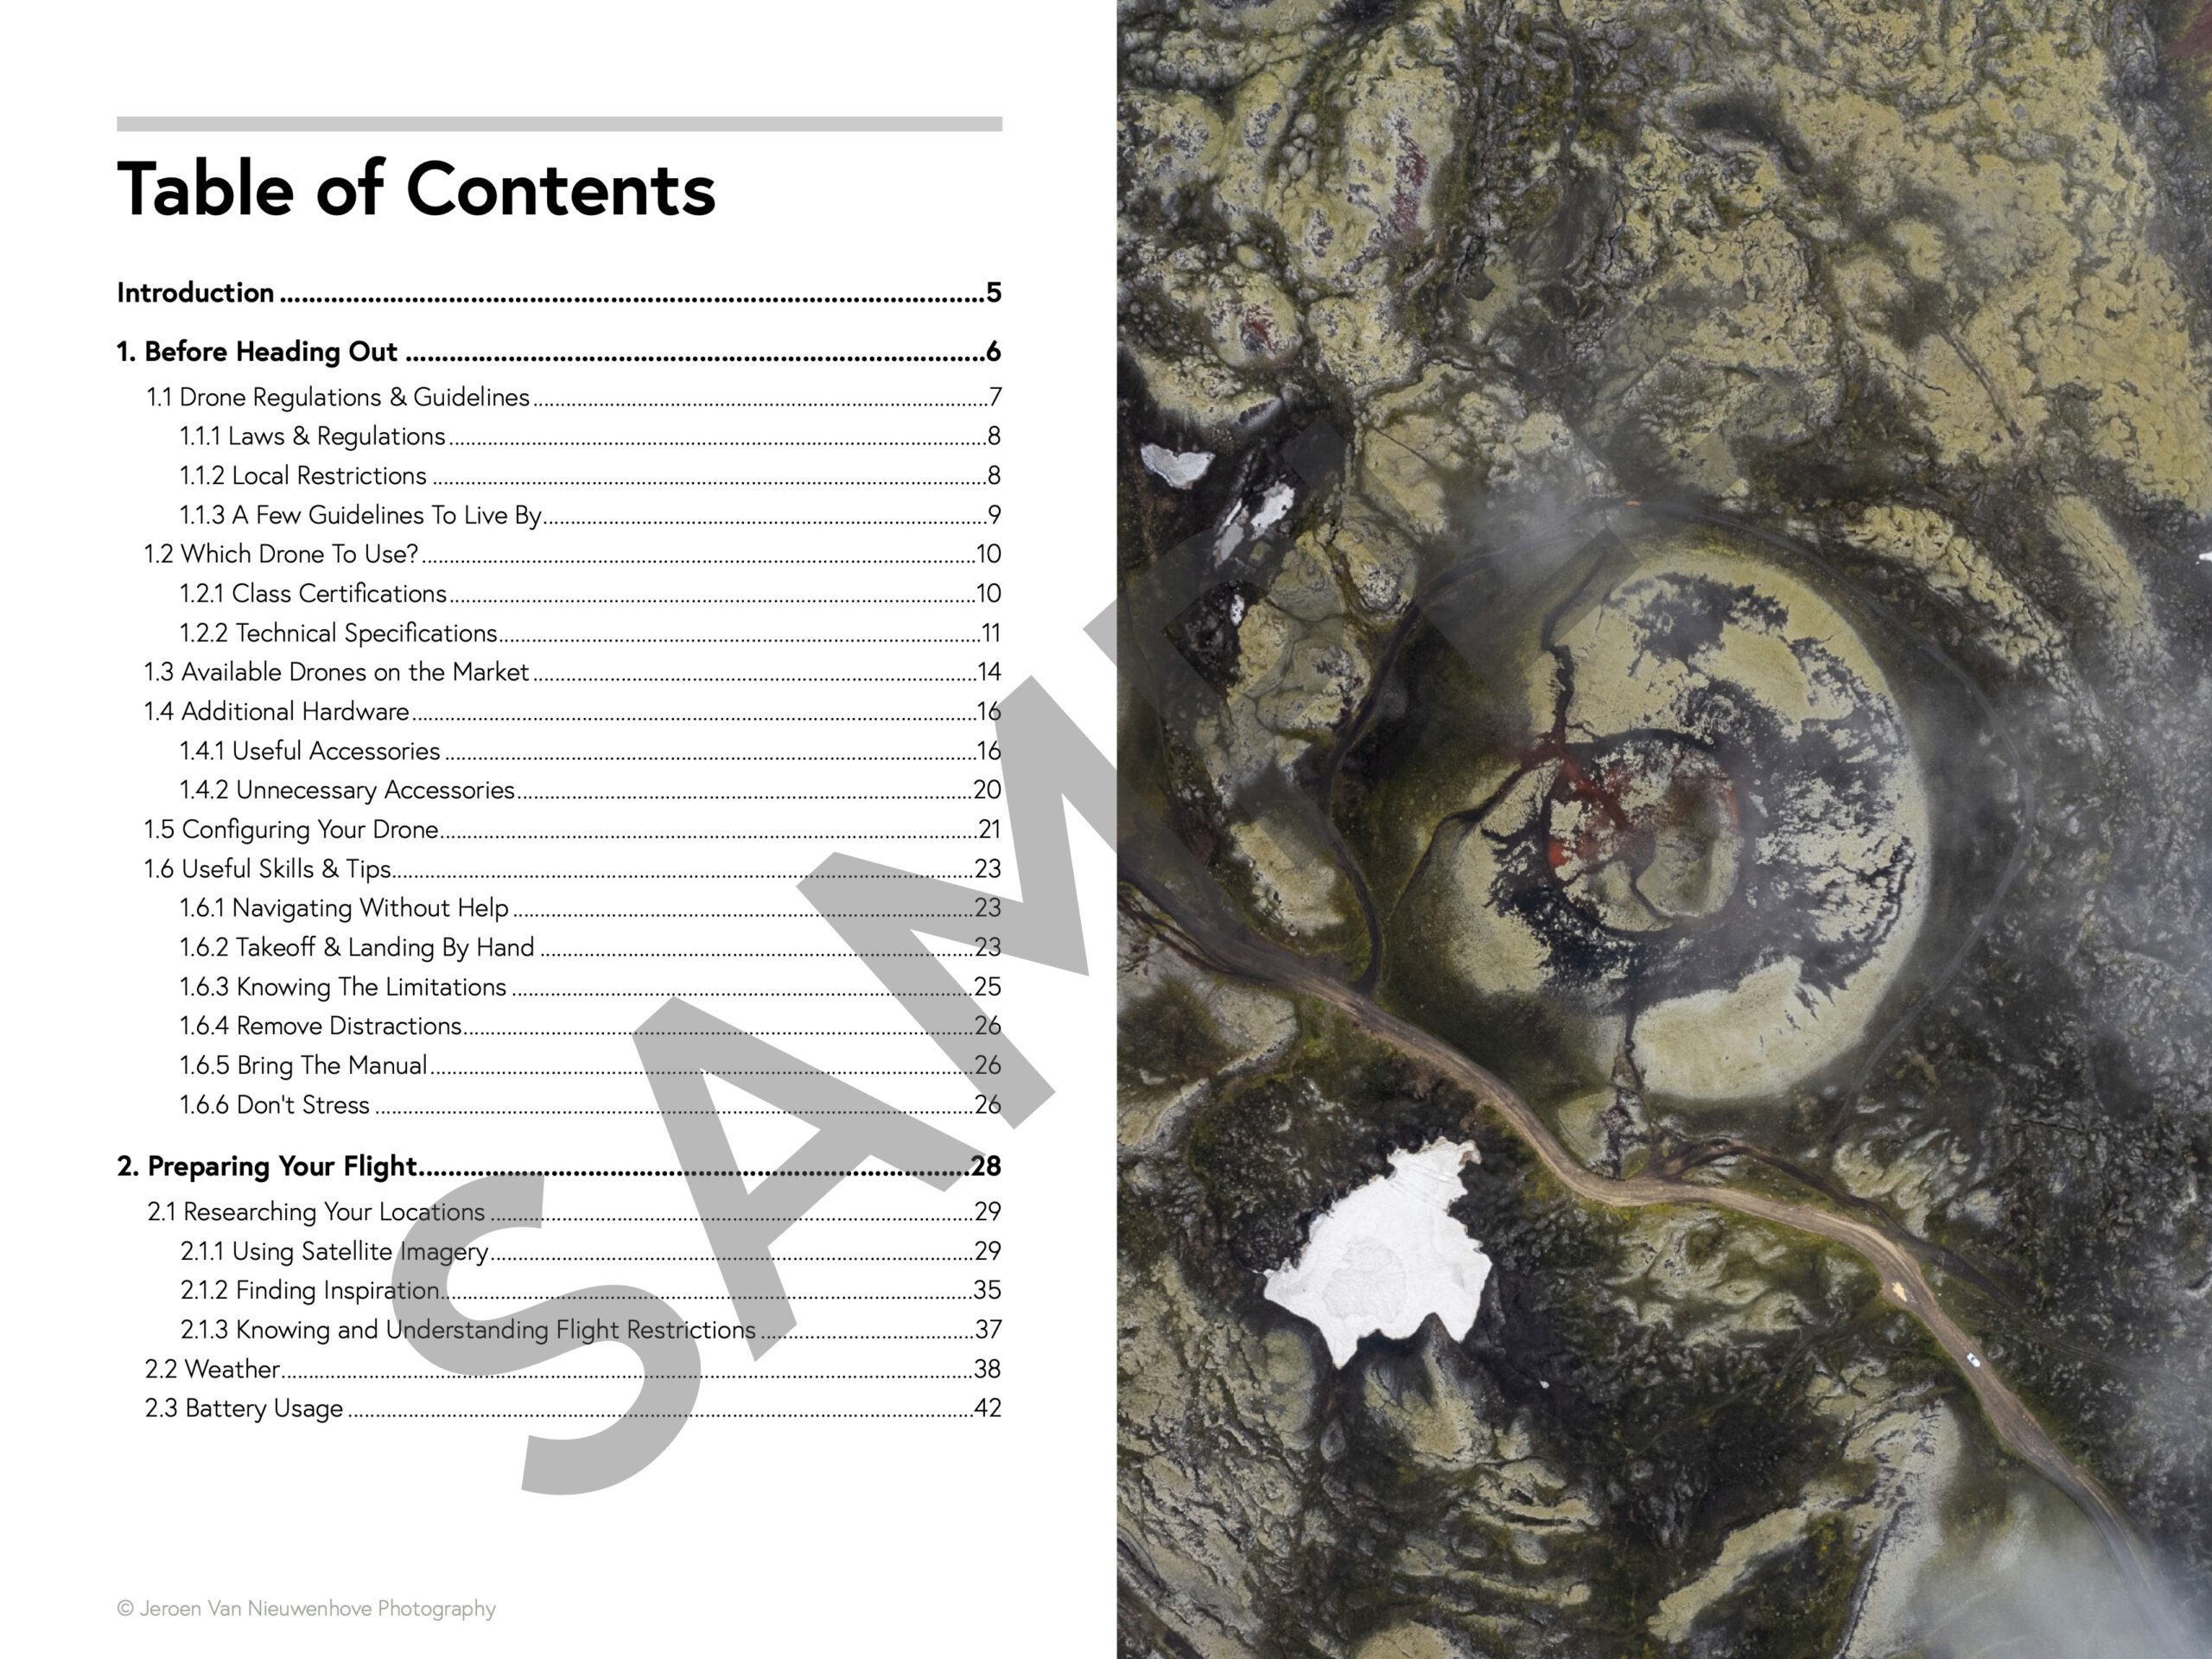
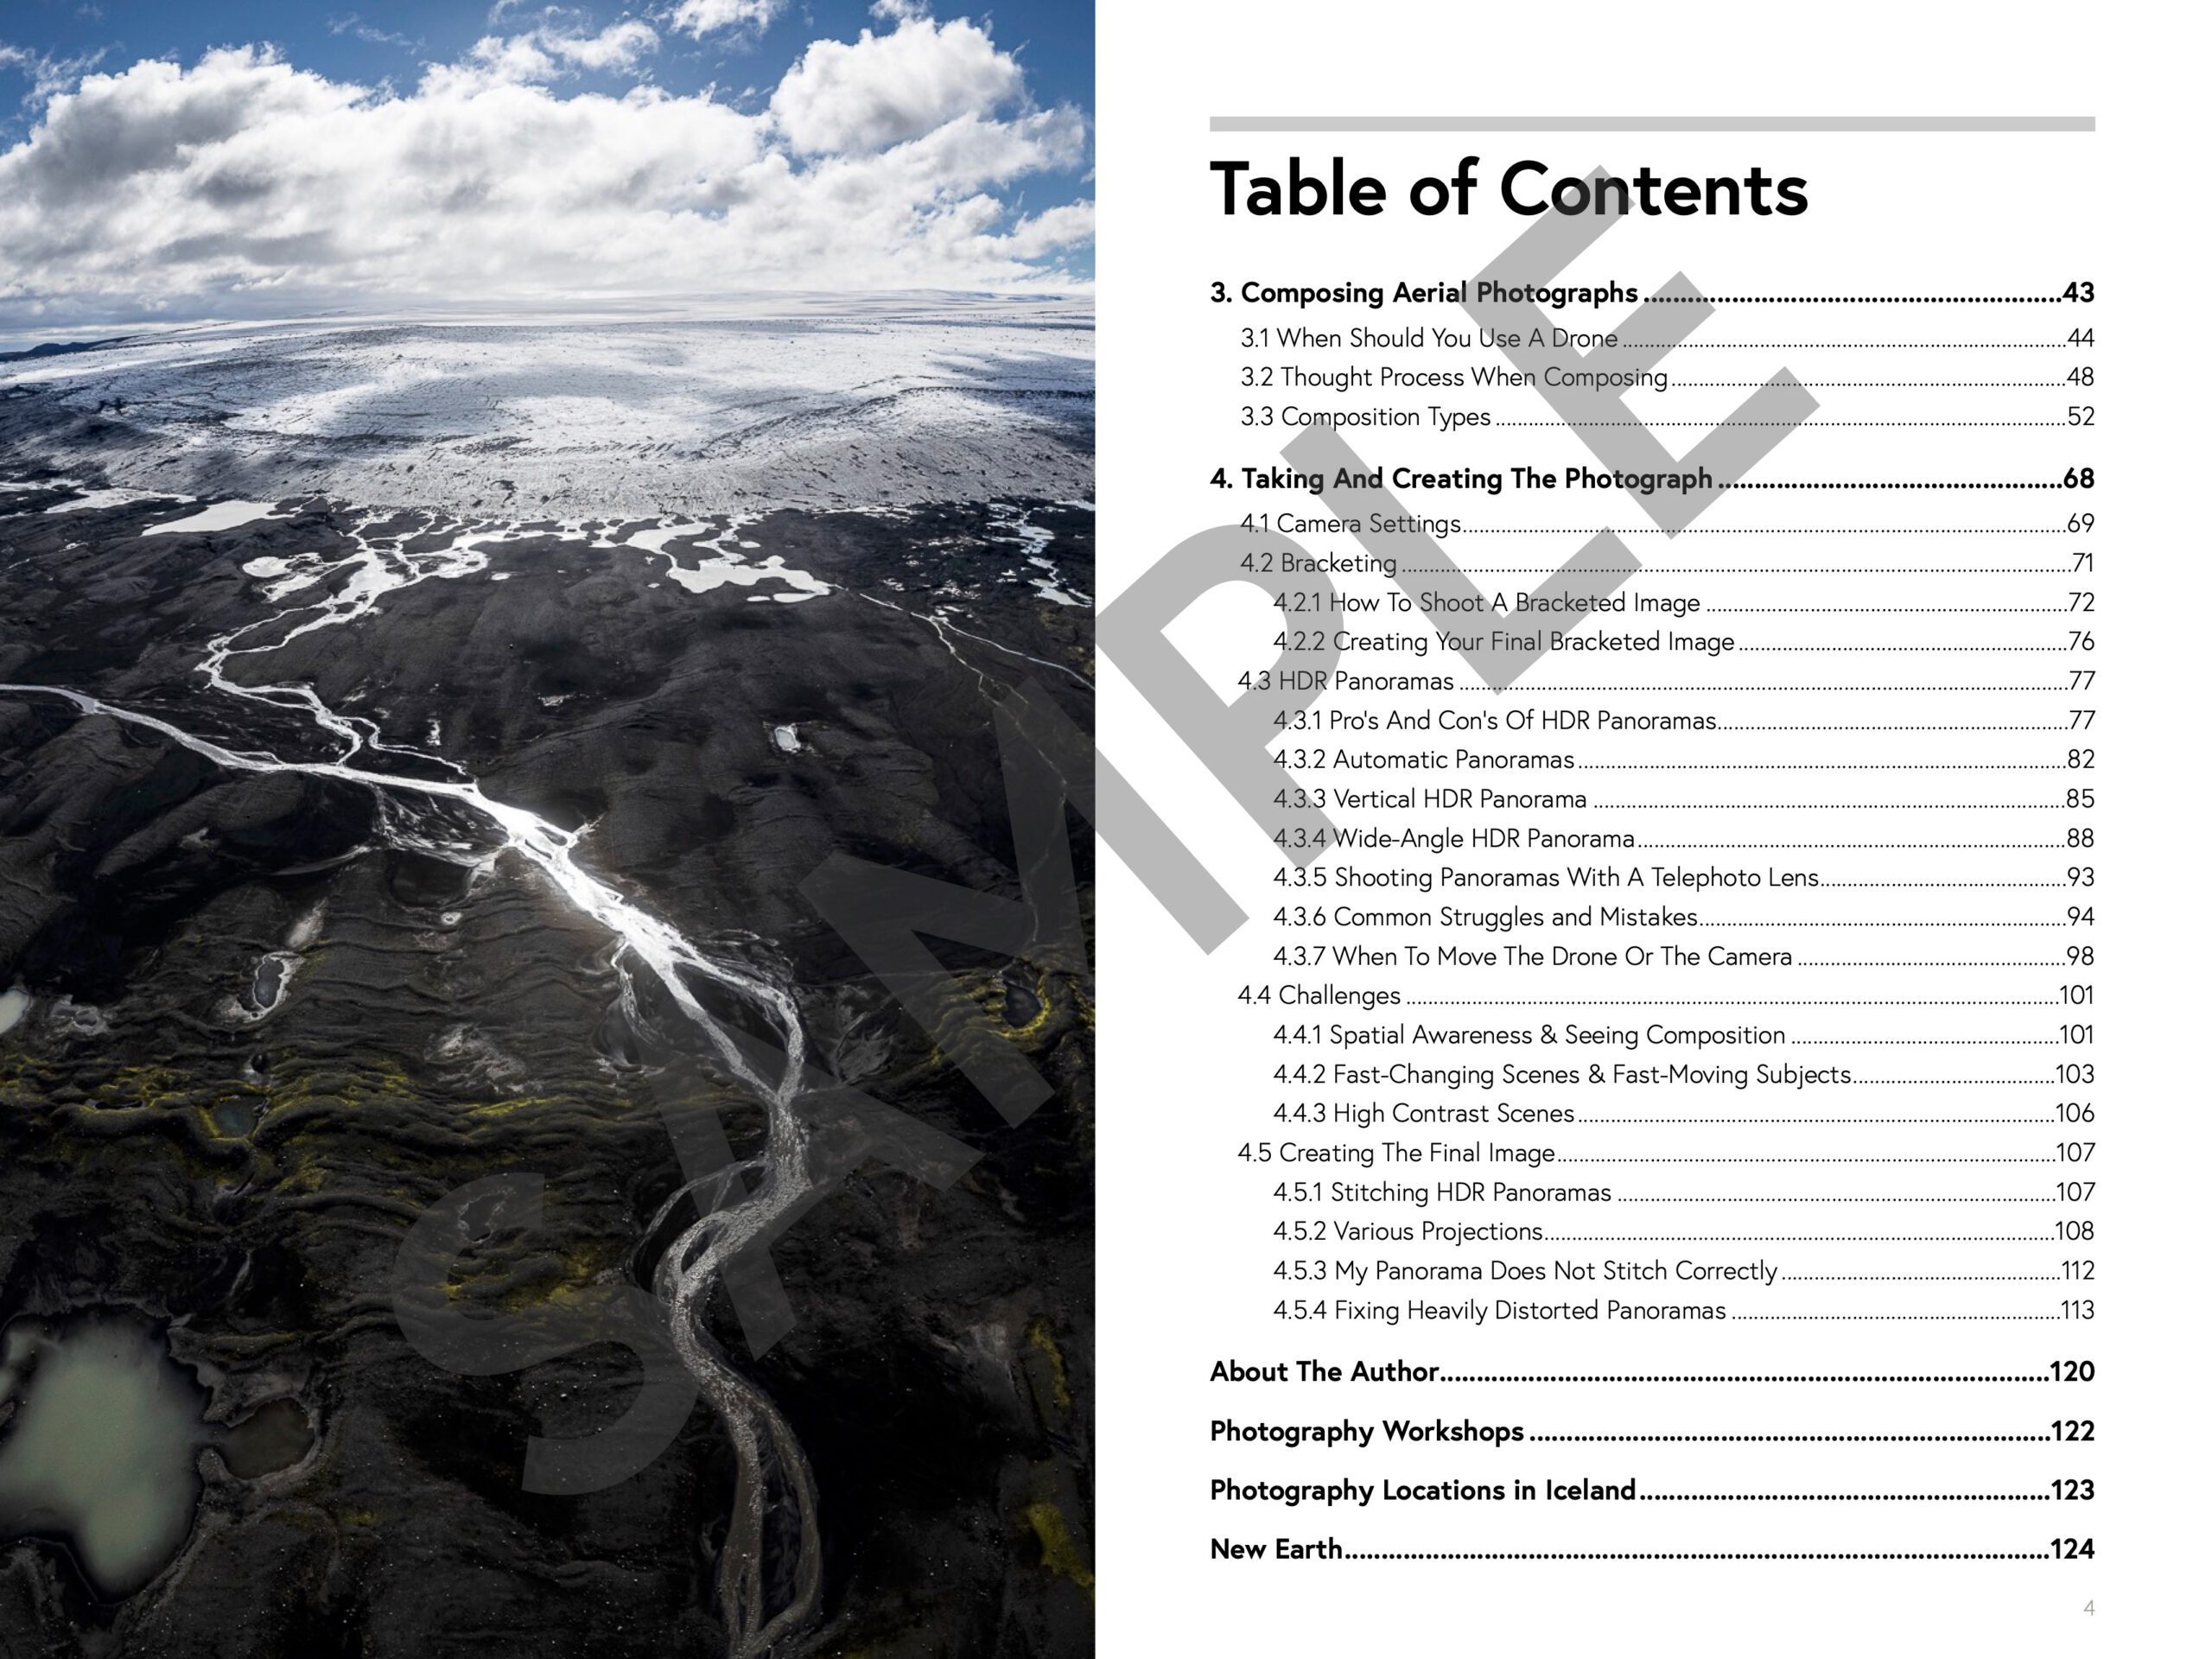
Want to learn how to get the best results with your newly purchased drone? I wrote the most comprehensive guide available on drone photography which teaches you a technique to get the DSLR-like results out of even the cheapest drones.
In 125 detailed pages I explore everything you need to know to start creating the best photographs using any type of drone. Whether you are a complete beginner or an advanced drone pilot, this e-book contains a vast amount of information to level up your drone photography skills.
What to Expect?
- A 125-page educational PDF about nature drone photography with very detailed explanations
- Which drone to get for photography and why
- Important settings and configuration options
- A list of useful skills & tips
- A list of useful accessories and what not to buy at all
- How to research locations for drone photography
- How to compose with a drone and insight into Jeroen’s thought process with plenty of examples
- Thoughtfully planning ahead for your drone shoot
- The how and why of creating bracketed images
- The how and why of shooting HDR panoramas
- What challenges you might face and how to deal with them
- Common mistakes & how to deal with them
- How to stitch your panoramas together
Use EBOOK20 to get 20% off your Nature Drone Photography (E-Book) purchase!
Support Jeroen’s Work
As an independent photographer, Jeroen partially relies on your support to keep producing worthwhile content such as blogs, photographs, books and much more. If you want to support his work, it is possible to do so by buying his e-books & books or prints.
You can also sign up to the newsletter to stay up to date on new blog posts, projects, workshops and other interesting information.
Thank you for considering!

