

The summer photography workshop season is just around the corner, which means I will be almost constantly on the road for the next three months. When spending so much time on the road, I find it’s vital to keep the gear I carry around to a minimum without compromising on my workflow. People who have seen my solution for carrying around my tech while travelling often respond with amazement, which is exactly what inspired me to share my setup in a blog. This article won’t be focused on my photography gear (you can find that on my Gear-page if you’re interested) but rather all of the other tech accessories I carry around while travelling. To make it even more useful, I have added a few suggestions on other items I would use if you have different needs. Let’s dive in!
Disclaimer: This article is not sponsored in any way. All of the items mentioned here were purchased & used by me and no one asked me to mention specific products. However, when you make a purchase using links in this article, I may earn a small commission.
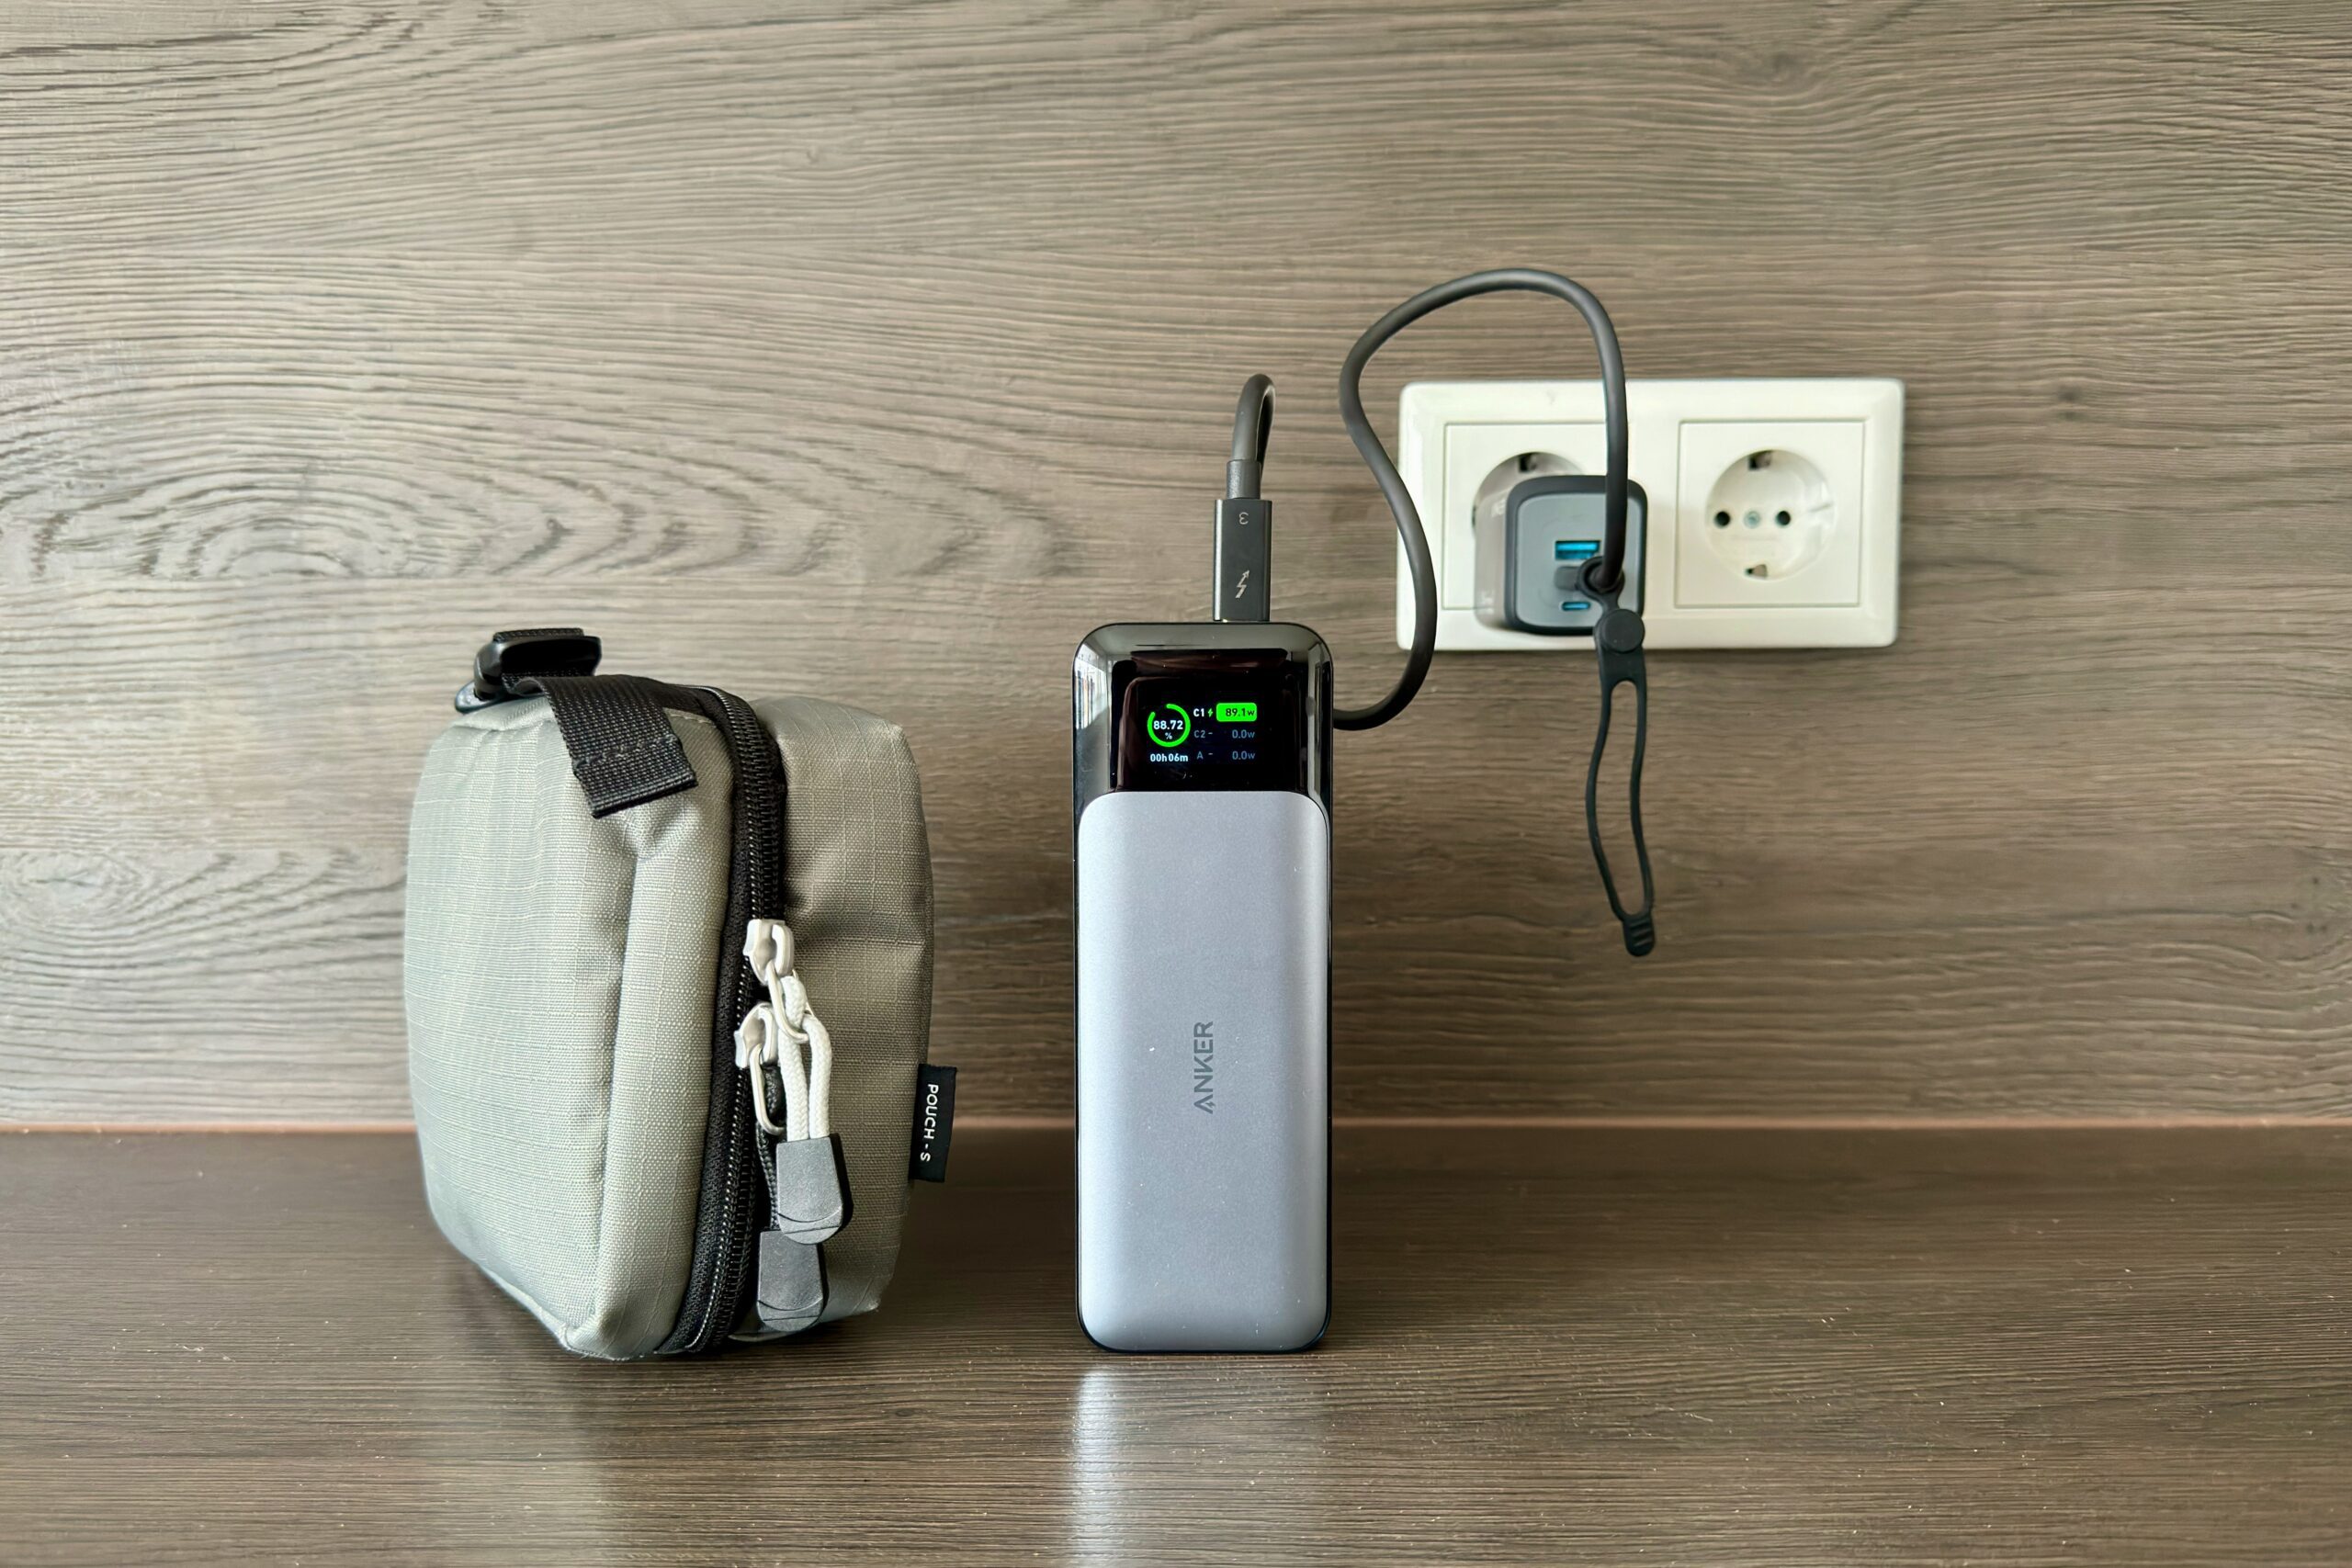
Travelling as light as I possible can, is a goal I constantly strive for. One of my biggest annoyances over the years was that the charging equipment I was carrying was bulky and heavy, which I have solved in a convenient way.
The Best Tech Pouch Is Not A Really Tech Pouch
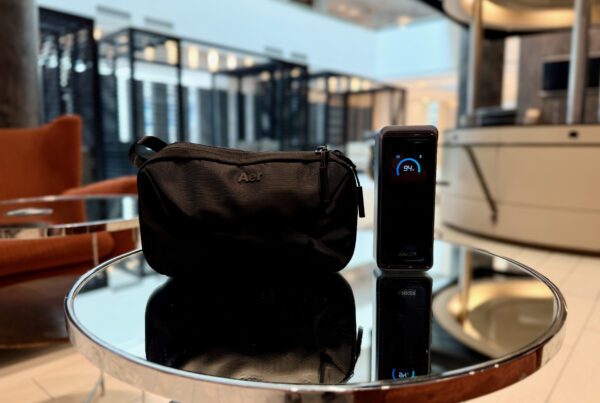
First things first: the tech pouch I carry all of my accessories in. Or well, my tech pouch isn’t exactly a tech pouch. I use a super small f-stop Welded Accessory Pouch which I use to contain all of my charging equipment & more. It has two mesh pockets on one side and one large mesh divider on the other side. The whole pouch is padded nicely to keep everything inside protected. While most people use & recommend a dedicated tech pouch because of the many dividers they have, I have always found those way too bulky. My goal is to keep everything nice and compact so I can easily chuck it into my luggage without it adding more bulk or weight than needed. If you want to carry more accessories with you, you can get slightly bigger accessory pouches too without increasing the footprint all that much. Even the medium f-stop Welded Accessory Pouch is still smaller than most tech pouches I have seen.
Purchase f-stop Welded Accessory Pouch (Small): https://geni.us/jvn-fstopaccsmall
Purchase f-stop Welded Accessory Pouch (Medium): https://geni.us/jvn-fstopaccmedium
Purchase f-stop Welded Accessory Pouch (Large): https://geni.us/jvn-fstopacclarge
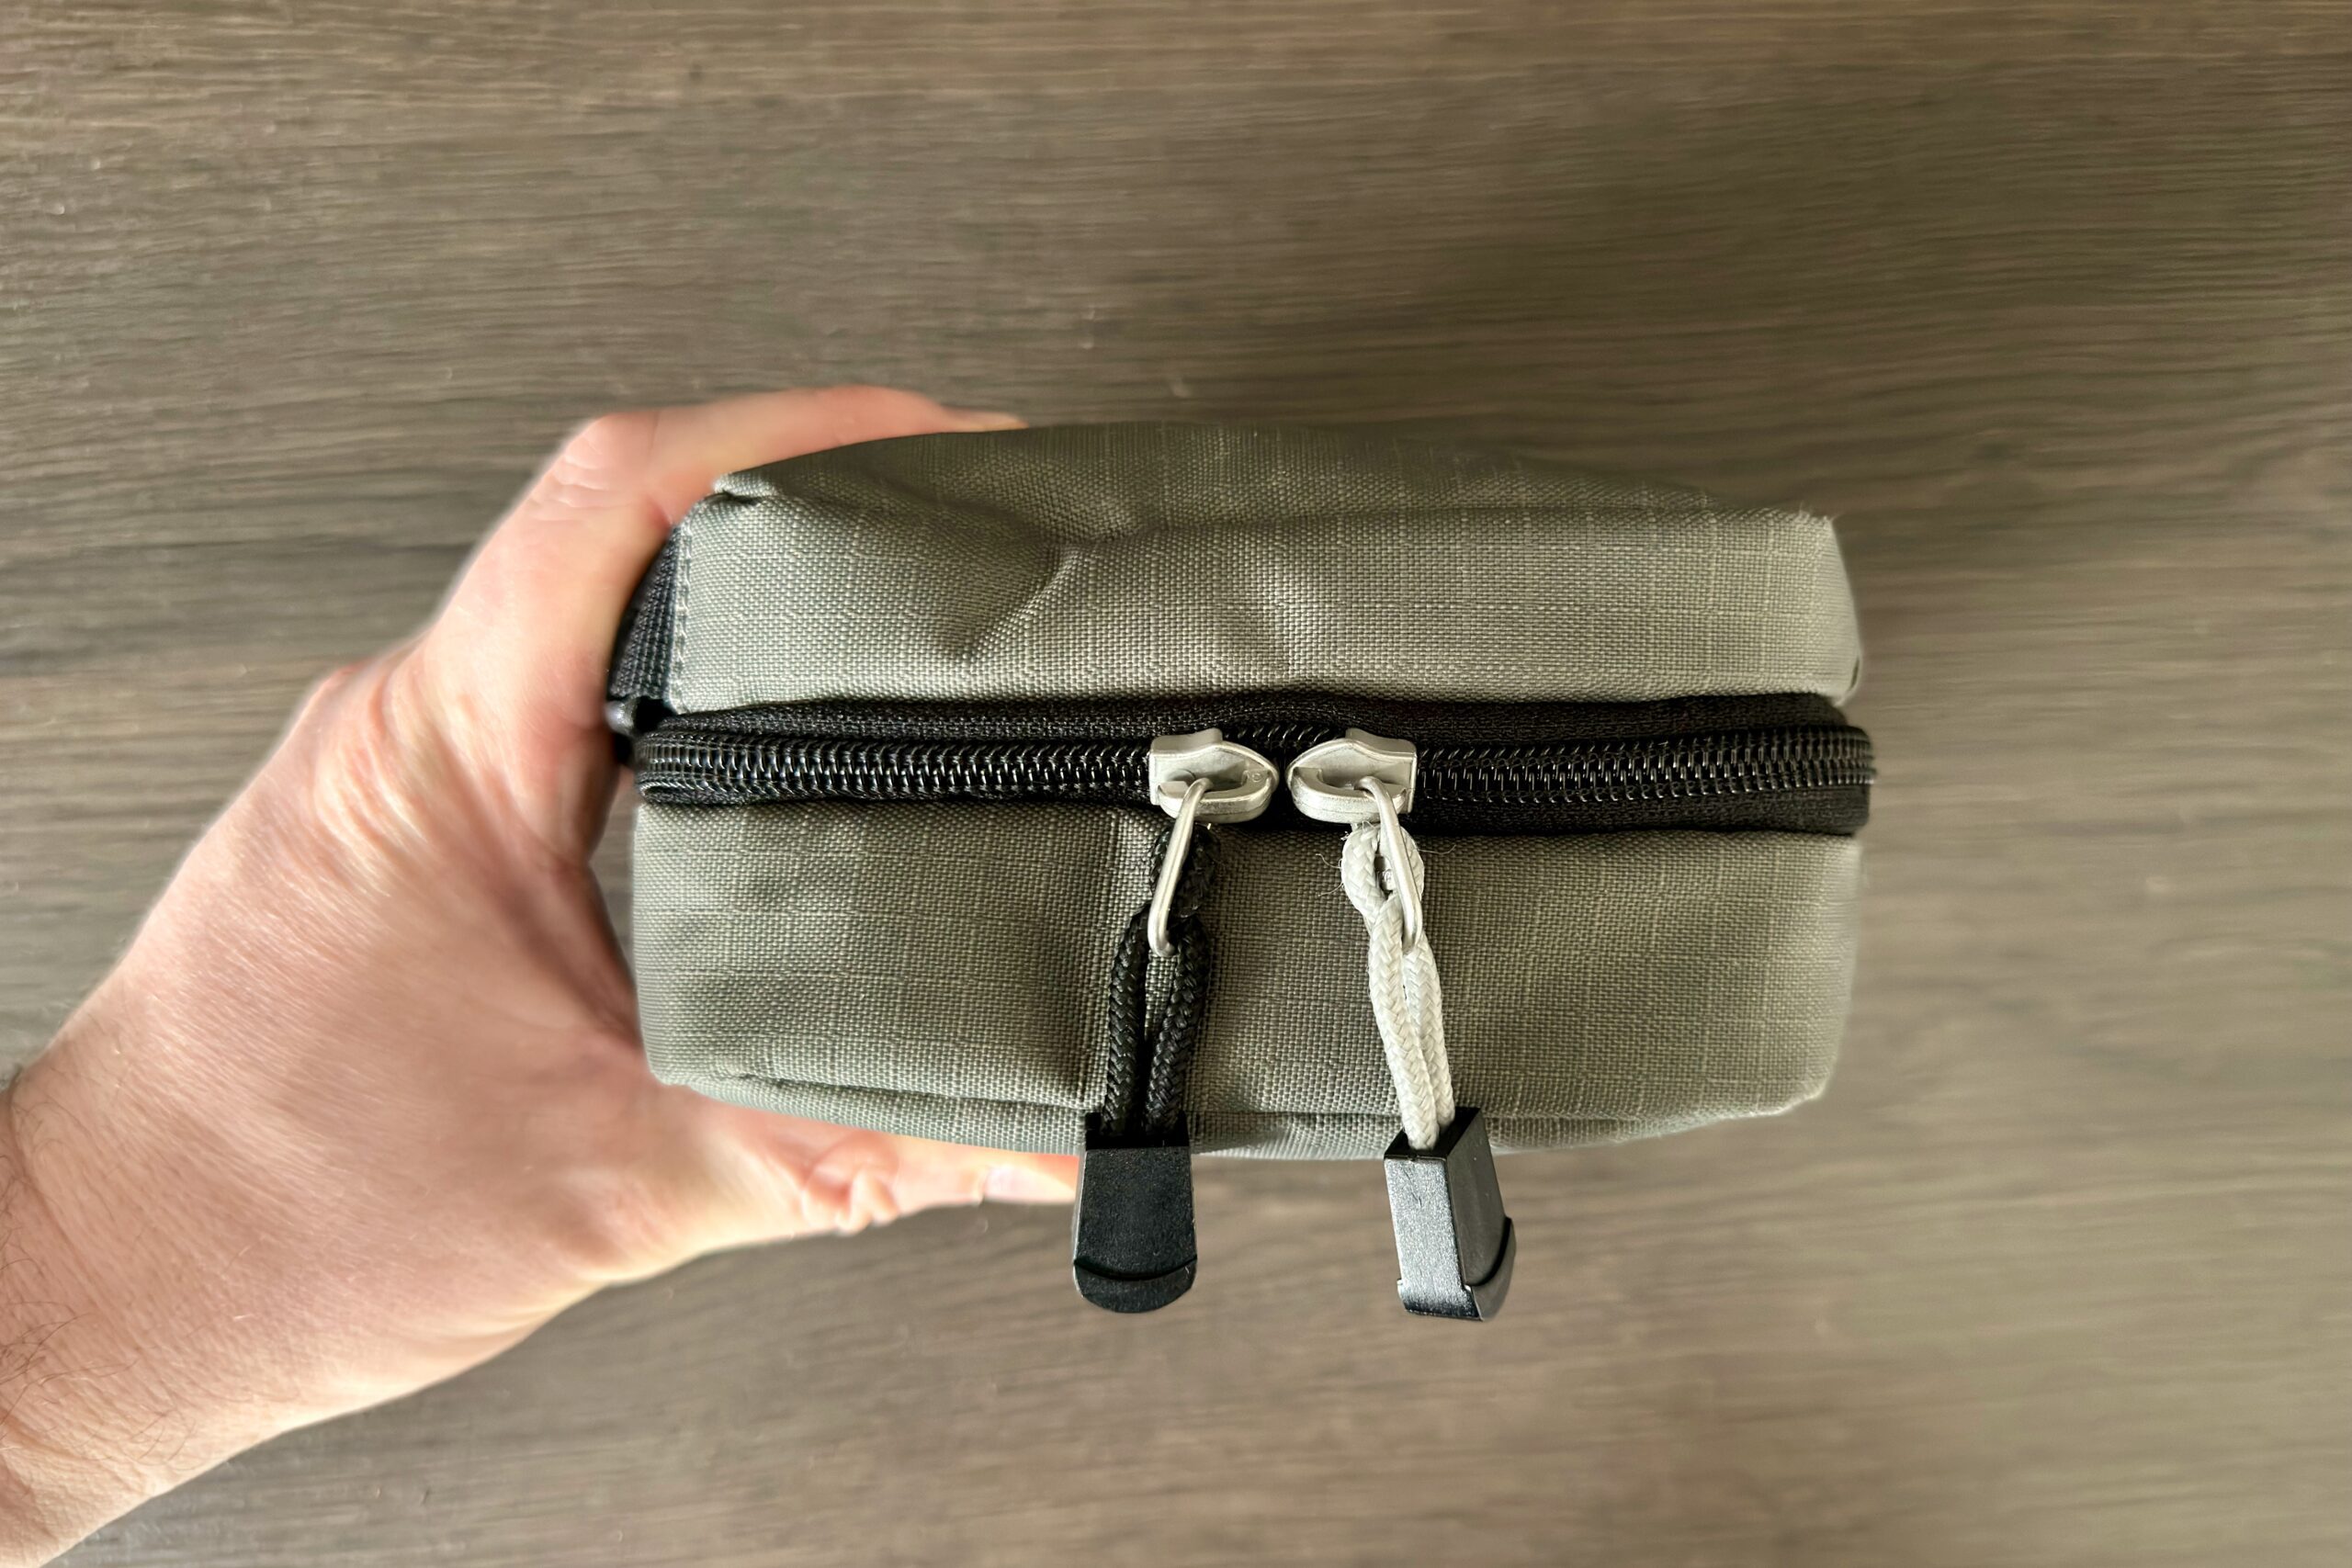
The small f-stop Welded Accessory Pouch is not really designed to be a modern-day tech pouch but it more than fits my needs because it’s not bulky and contains all my tech and charging equipment.
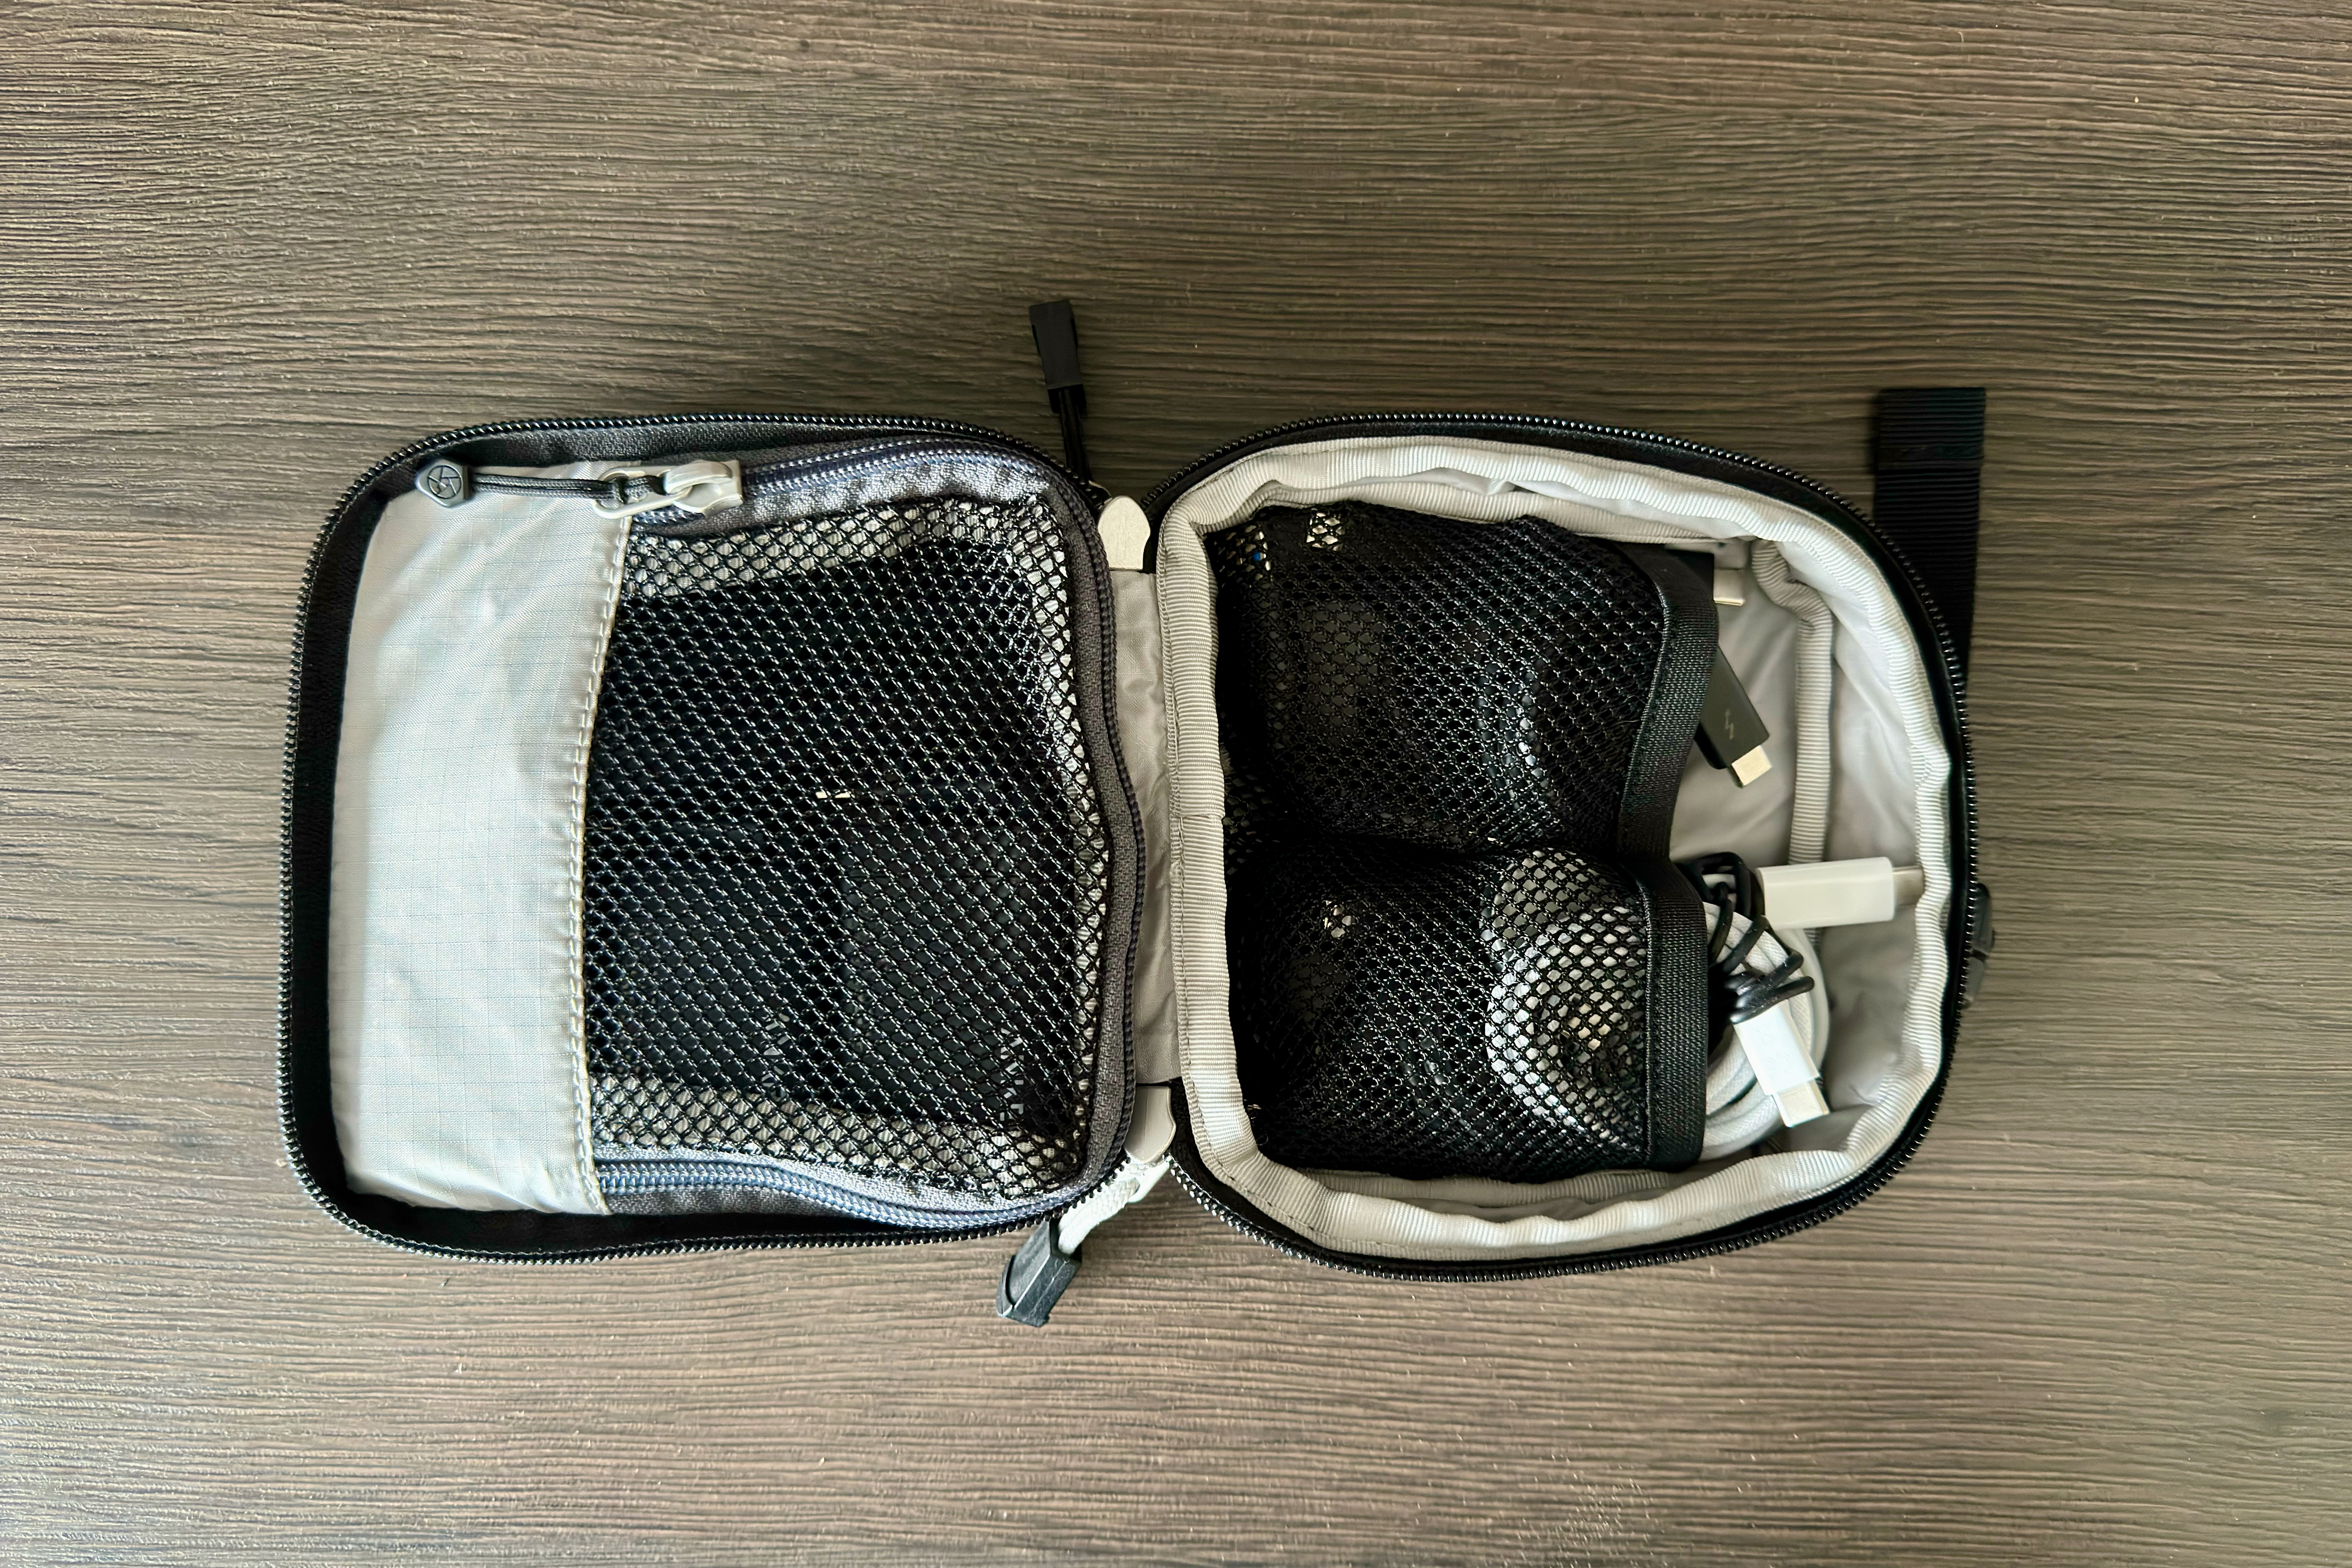
Inside of the small f-stop Welded Accessory Pouch you can find one zipped mesh pouch and two smaller mesh pockets with elastic bands.
How I Keep All My (Photography) Gear Charged
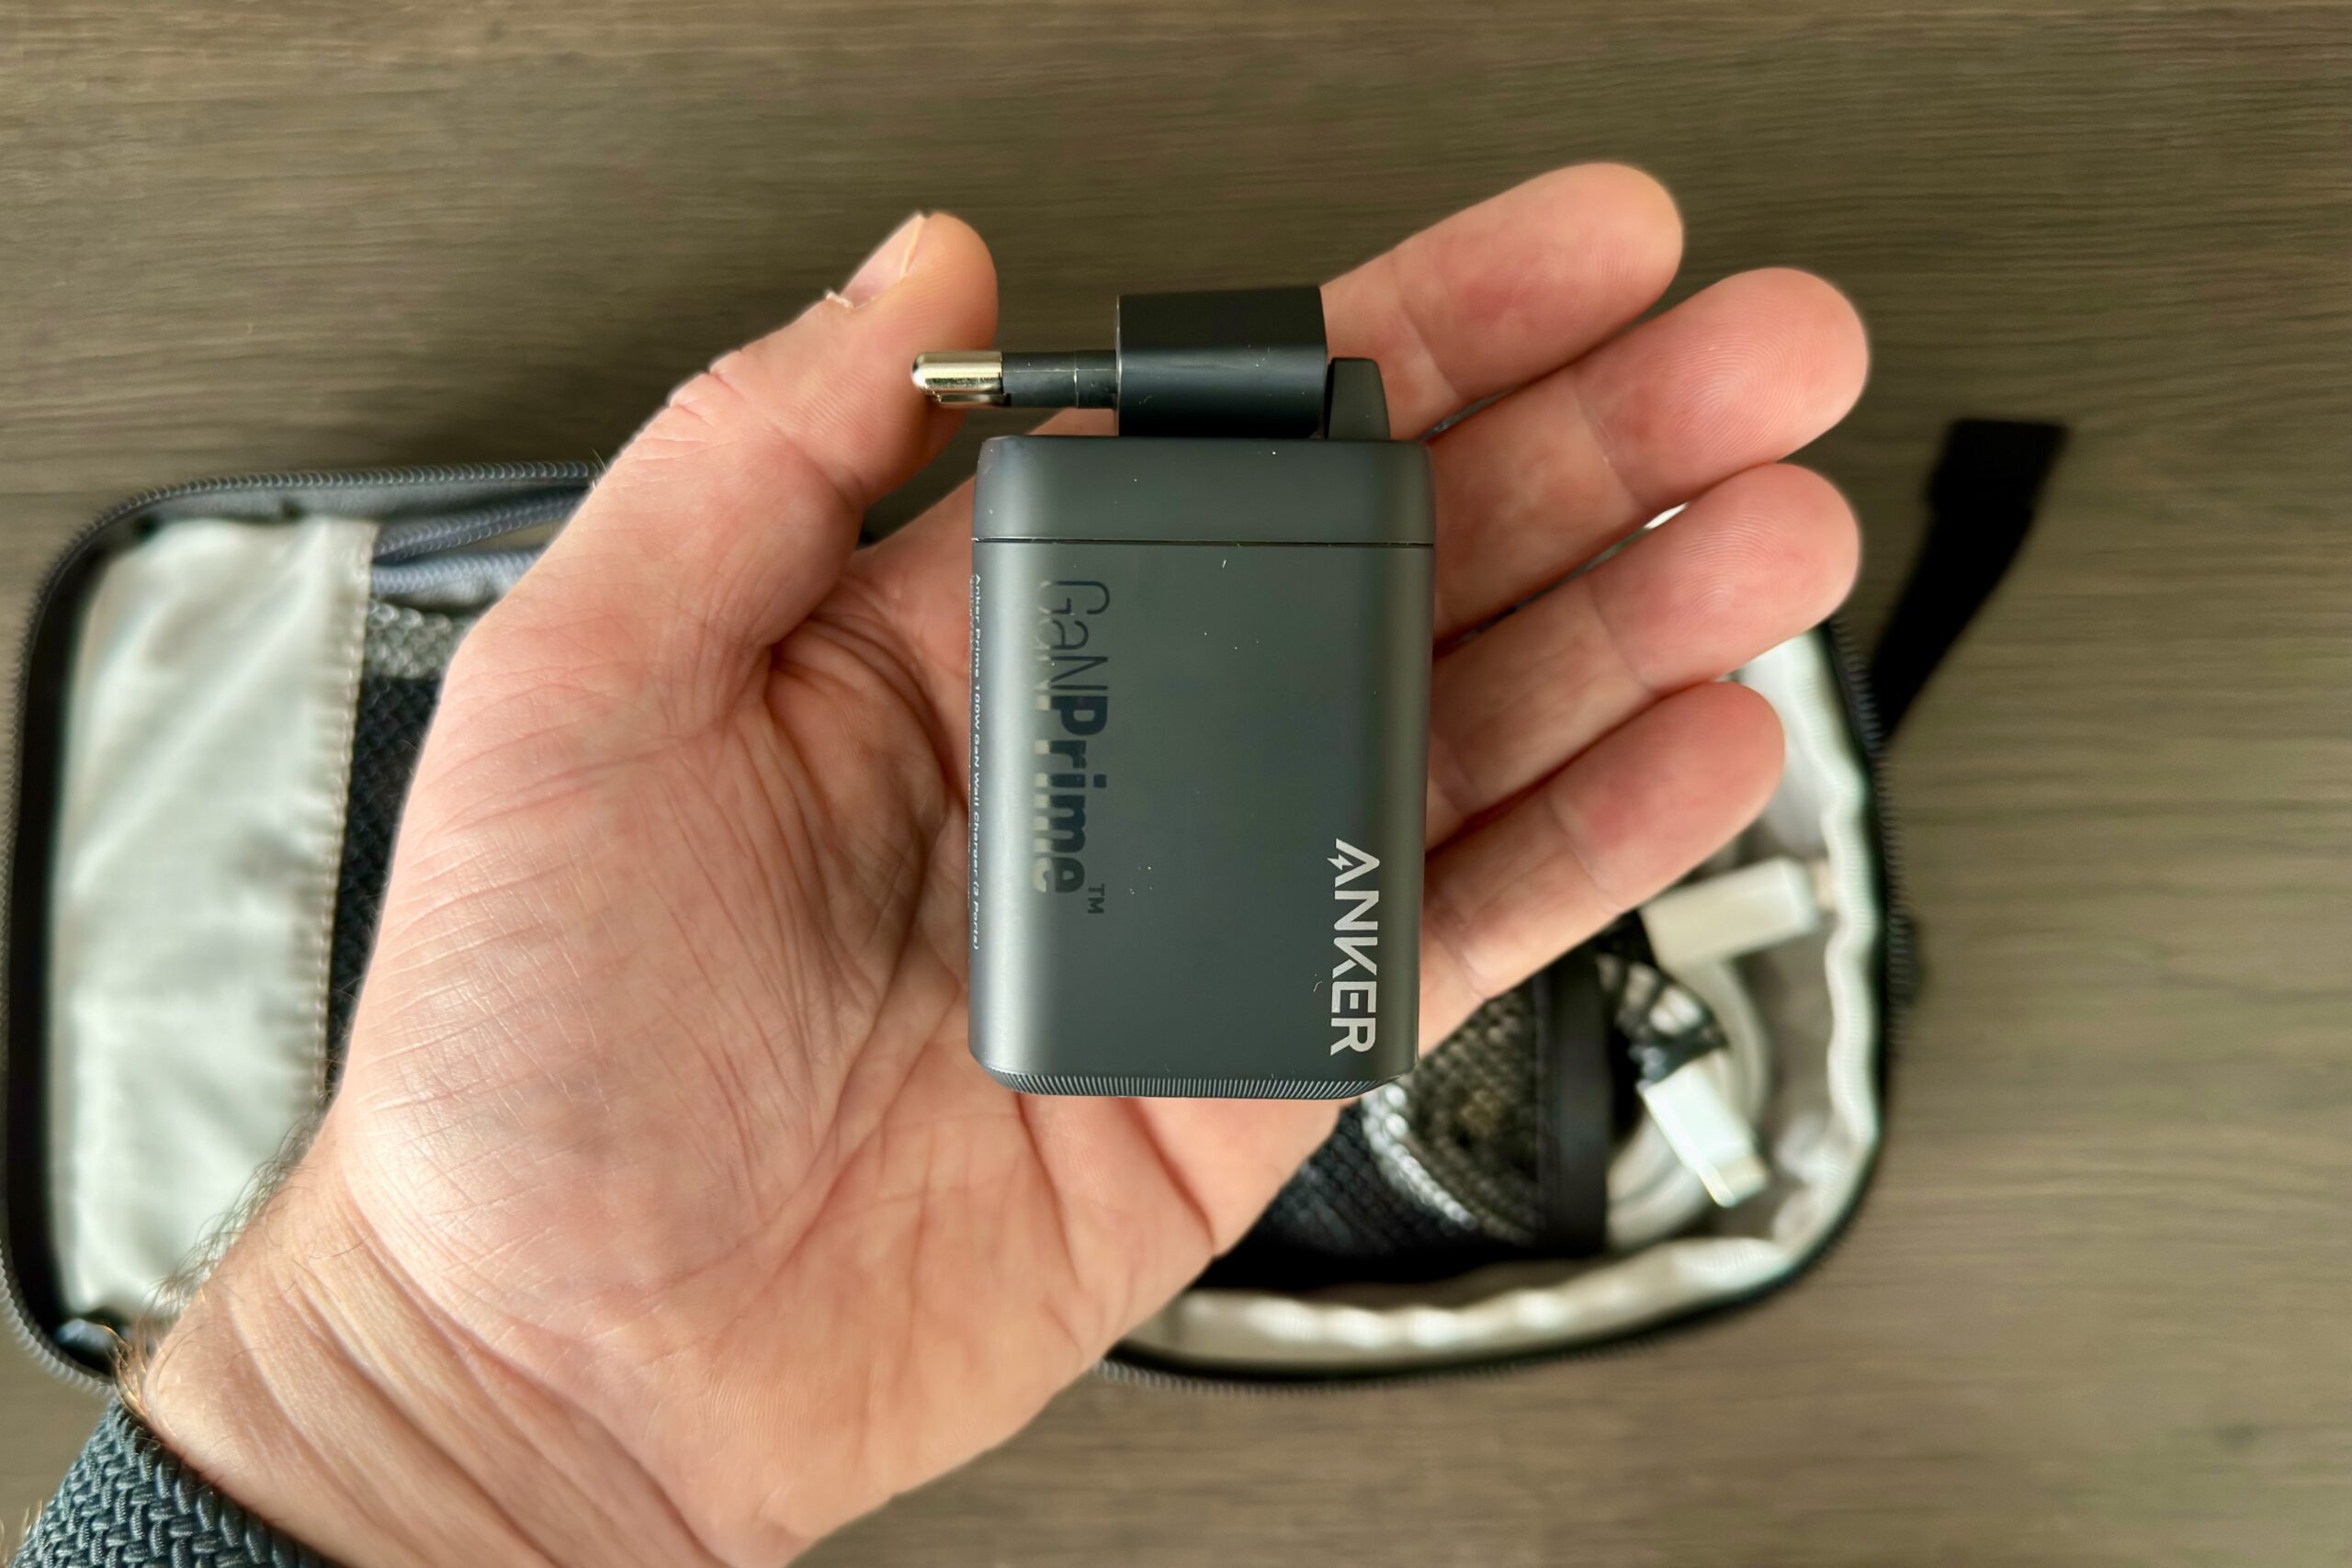
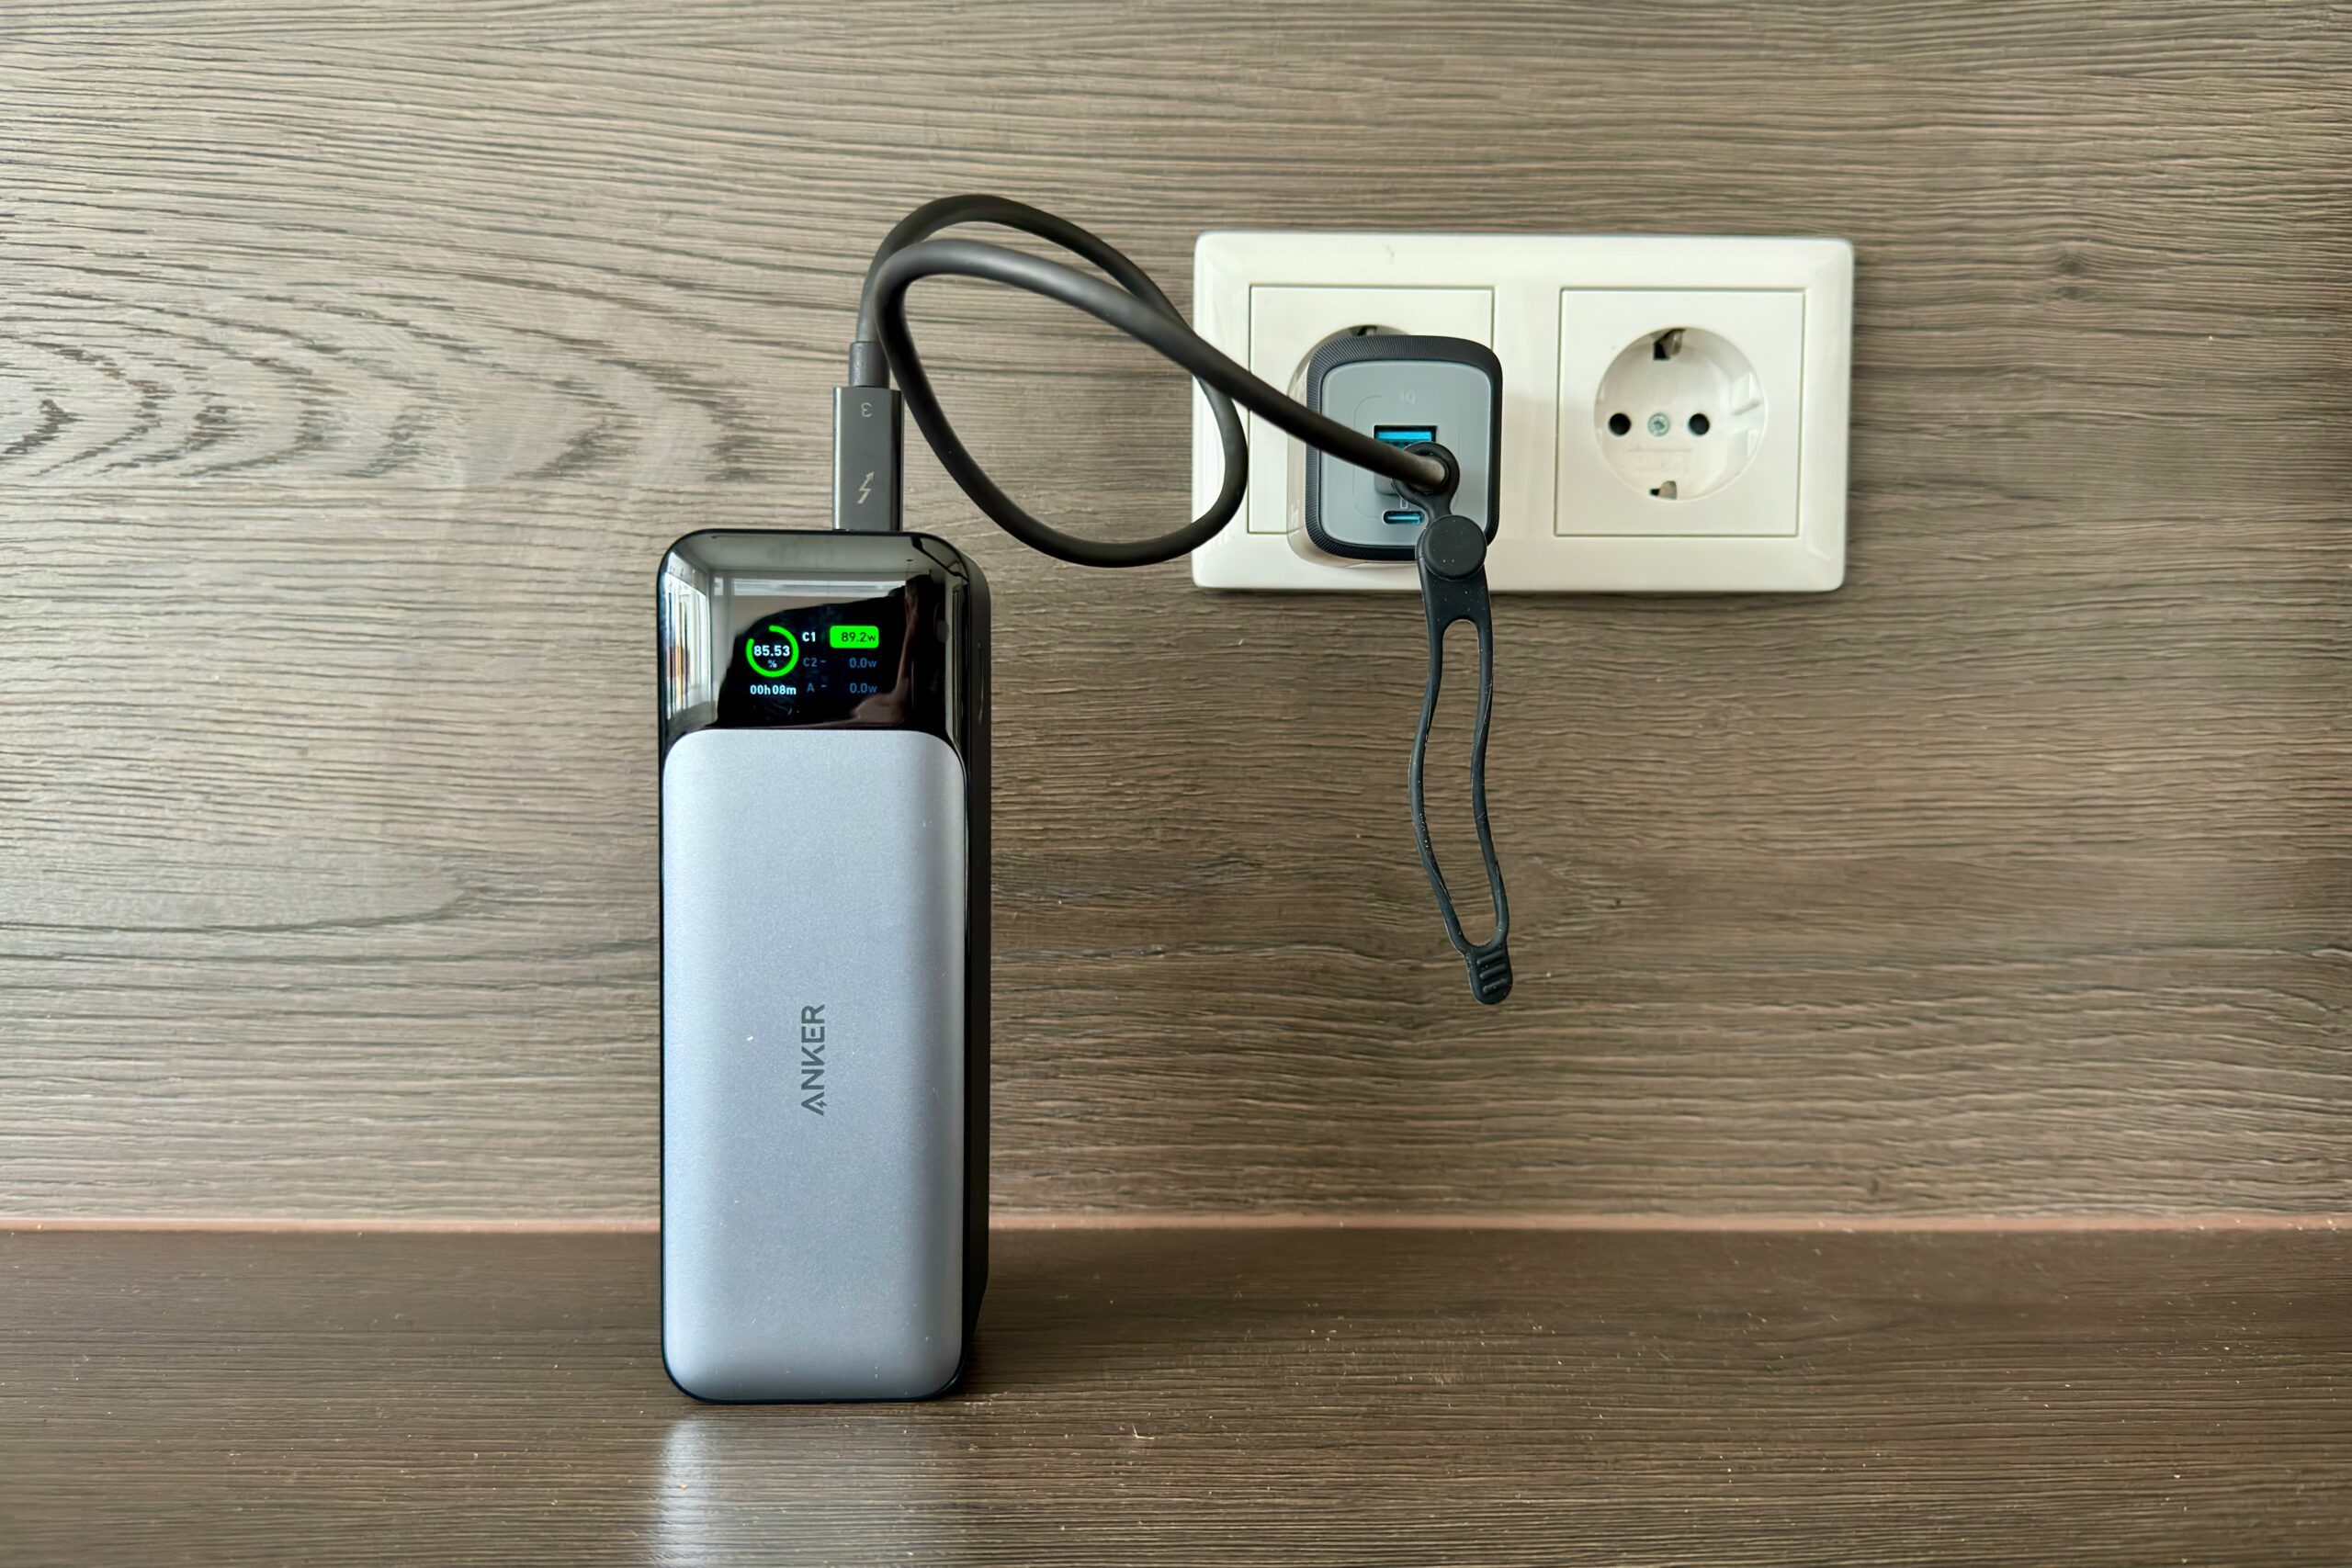
Inside of my f-stop Welded Accessory Pouch I keep 3 USB-C charging bricks: two Anker Prime 100W chargers and one Anker Prime 67W charging brick. I especially like these because they have foldable European pins, which you usually don’t get on chargers such as these (unless you are using US or UK plugs). Using these means they take up less space in my pouch. This number of charging bricks is sufficient to charge all of my camera equipment, iPhone 15 Pro, Apple Watch and Macbook Air simultaneously. It also means I can leave the bulkier chargers, such as the one for my Canon EOS R5/R6 batteries, at home as I can charge all my gear directly using USB-C.
In my accessory pouch I also keep a set of short, 50 centimetre long Anker Thunderbolt 3 cables, an Apple USB-C charging cable, an Apple Watch charging cable and a short USB-A to micro USB cable (for my head torch). The reason I have Thunderbolt 3 cables is that they are rated up to 100W of charging, which means I don’t have to have different types of USB-C cables for different devices.
For my drone, I keep a separate Anker Prime 100W charging brick, the Mavic 3 100W charging dock and two Thunderbolt 3 cables inside the drone pouch I use. The reason I keep that in there is to keep everything drone-related together in case I decide to only carry my drone pouch or leave that behind on trips where I don’t need my drone at all.
Purchase Anker Prime 100W charger: https://geni.us/jvn-anker100w
Purchase Anker Prime 67W charger: https://geni.us/jvn-anker67w
Purchase Anker Thunderbolt 3 cable: https://geni.us/jvn-ankertb3
By using multi-port USB-C chargers, I can keep all my gear charged simultaneously using the same charging bricks without having to drag along specific chargers for each device.
The 50 centimetre long Anker Thunderbolt 3 cables I use are as short as they come, which is great because that means they do the job without taking up a lot of space in my bag. Using rubber bands, I keep them neatly rolled up.
Getting Work Done On My Apple MacBook Air
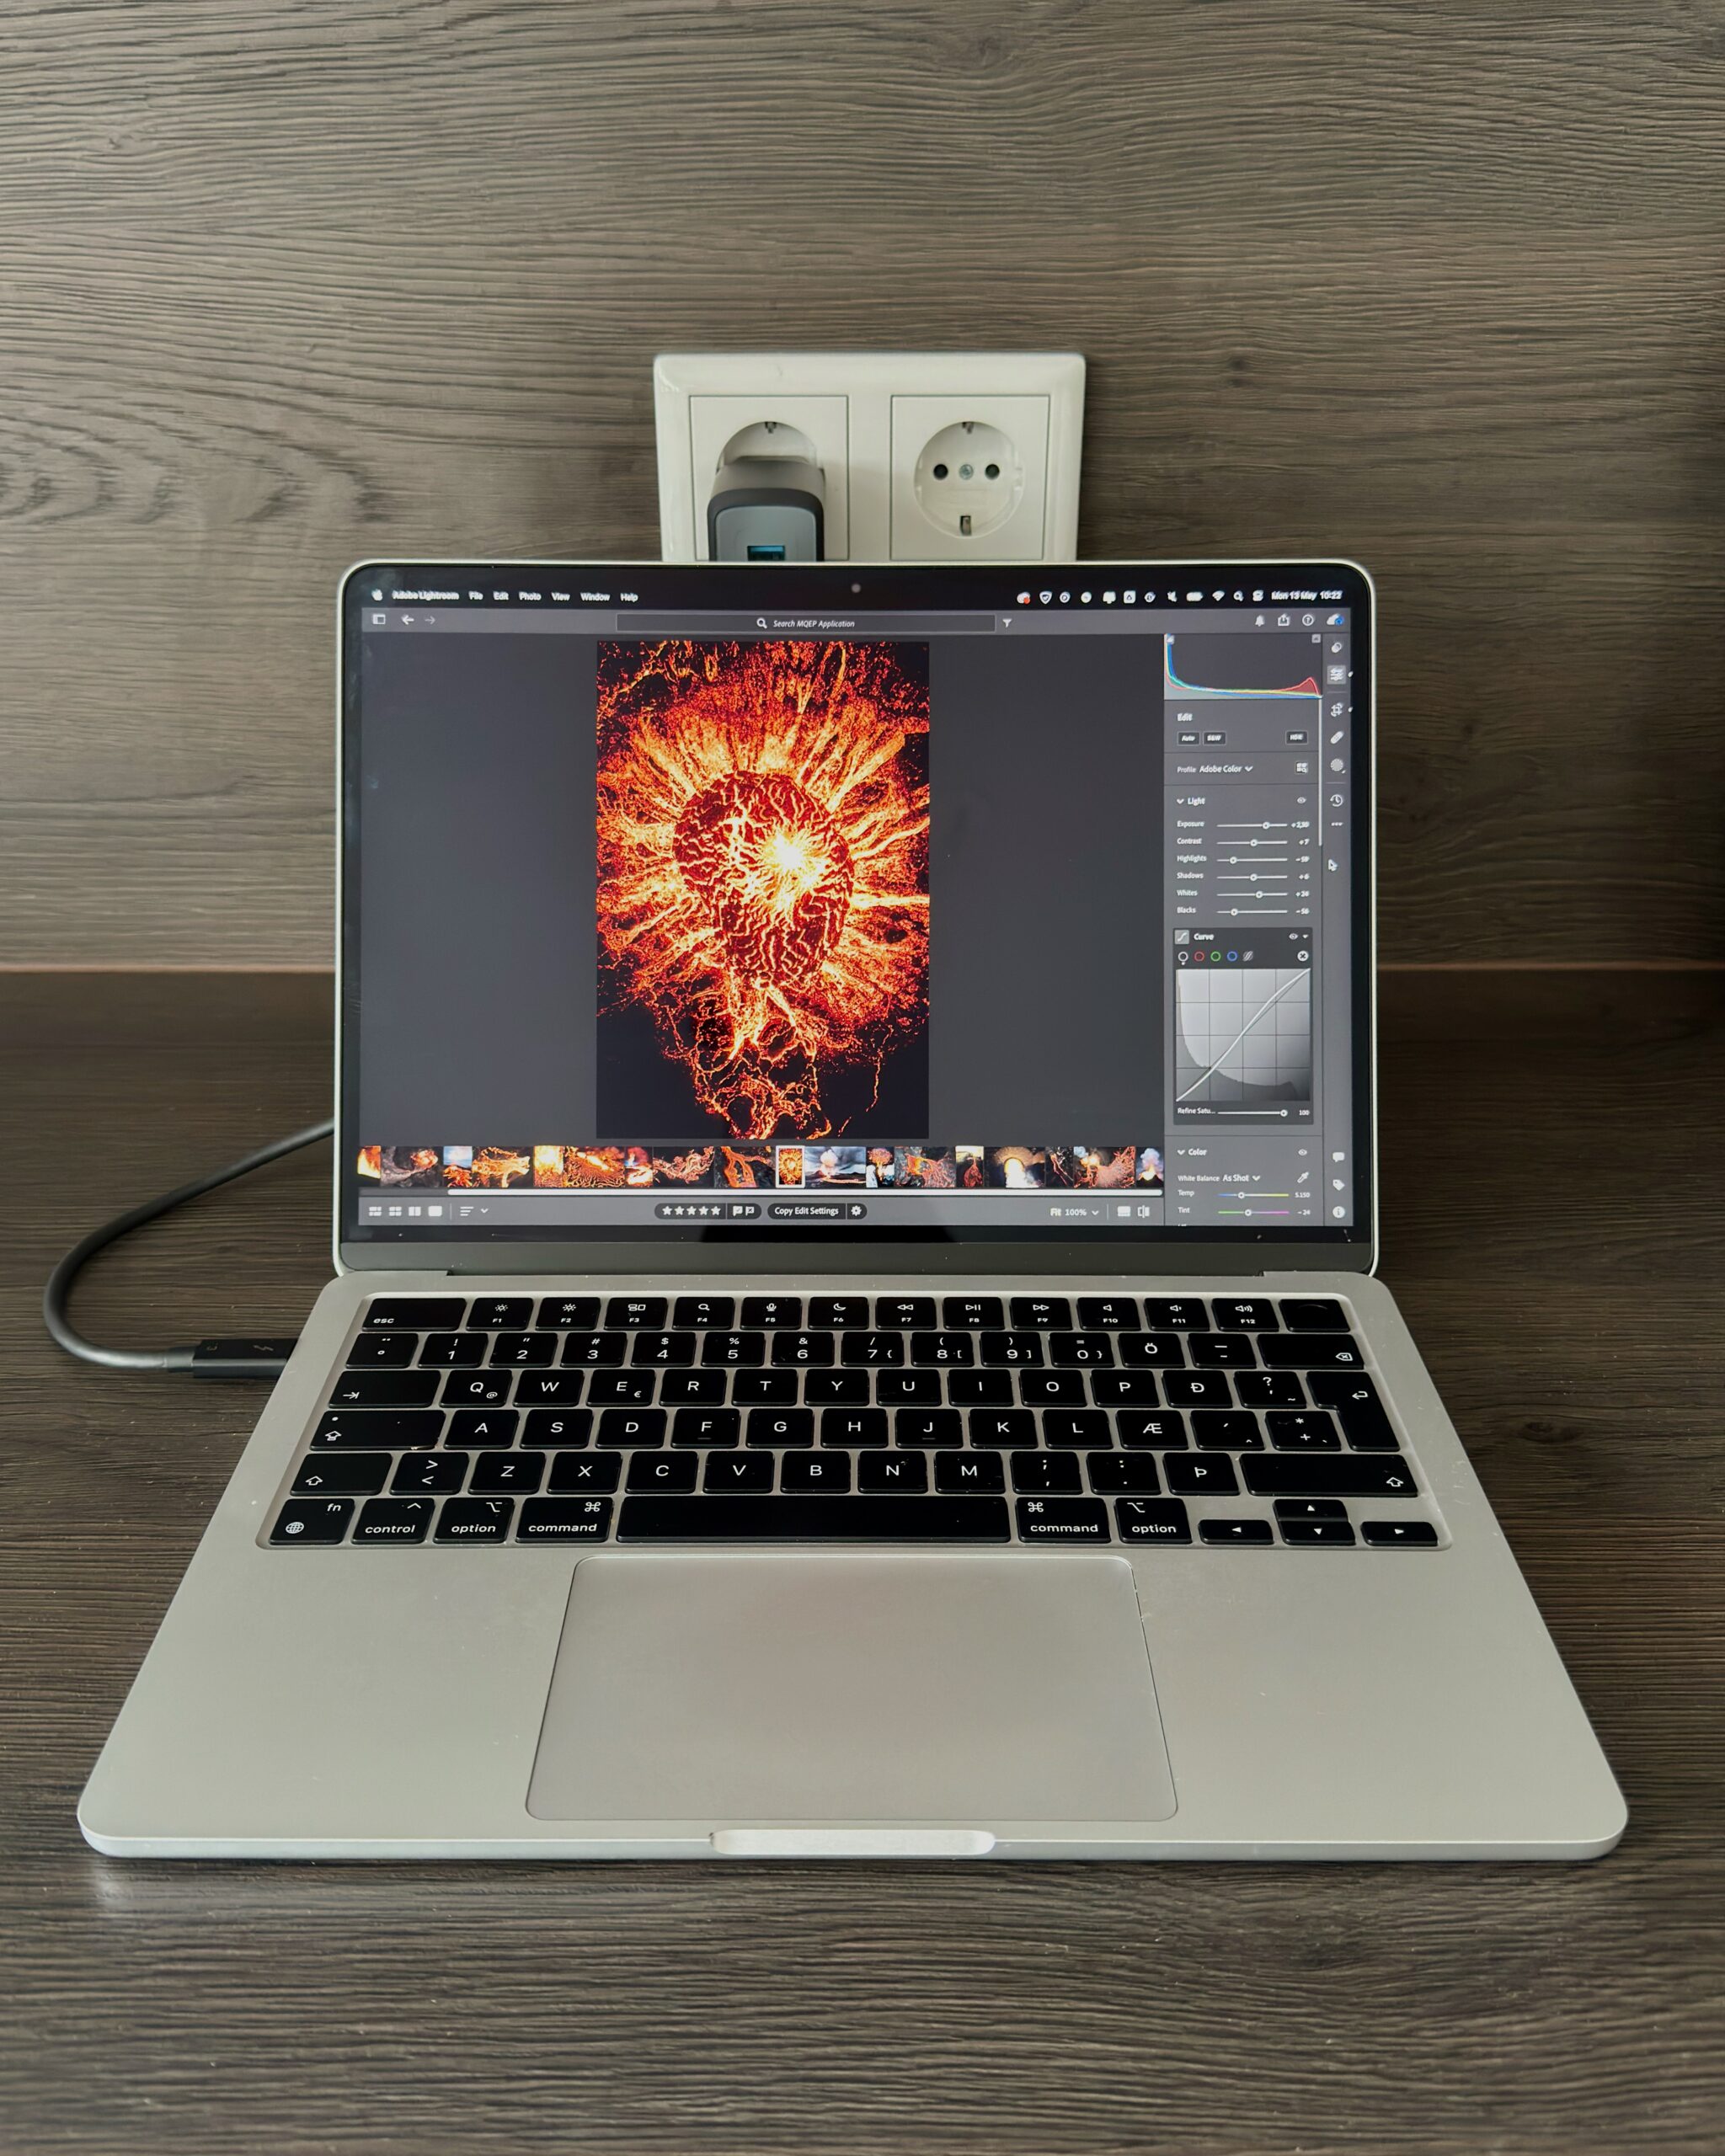
While I use a Mac Studio at home, to get work done & edit on the road, I travel with a custom Apple MacBook Air with an M2 chip, 24GB of RAM and a 1TB hard drive. While it doesn’t shine in persistent performance, due to its lack of active cooling, it’s a very lightweight machine and still very capable when I need it to be. I can easily edit photographs, stitch drone panoramas, answer emails, edit videos and much more without having to worry about battery life or performance. Thanks to USB-C, I can also keep it charged using the same cables I use for my other gear.
So why am I not going really lightweight and bringing only an iPad on my travels? While I have used an iPad Pro for many years, I got frustrated with its limitations and lack of full desktop applications. My biggest annoyance was probably with the iPadOS version of Adobe Lightroom as it still lacks support for stitching panoramas & merging HDR images, which I need to be able to do as a drone photographer. If Apple would allow macOS applications to run on iPadOS, or Adobe finally fully develops Lightroom on iPad, it could be a game changer for me.
Purchase Apple MacBook Air M2: https://geni.us/jvn-macbookairm2
While I could travel with an iPad, I feel it still has too many compromises to allow me to get work done efficiently while on the road.
Keeping My New Content Backed Up On-The-Go
Inside my f-stop Welded Accessory Pouch I also keep a Samsung T7 Shield SSD drive, which I use as a backup drive while travelling. I connect it to my MacBook Air with one of the Thunderbolt 3 cables I also use for charging my gear.
My on-the-road backup solution is pretty straightforward. Every night, I copy all my photos and videos to the Samsung T7 Shield. After backing up to that drive, I copy my photographs into Lightroom (Cloud) and my video files are copied into a special Google Drive folder. Both will synchronise to my home computer once I connect the MacBook Air to the internet.
Purchase Samsung T7 Shield hard drive: https://geni.us/jvn-samsungt7
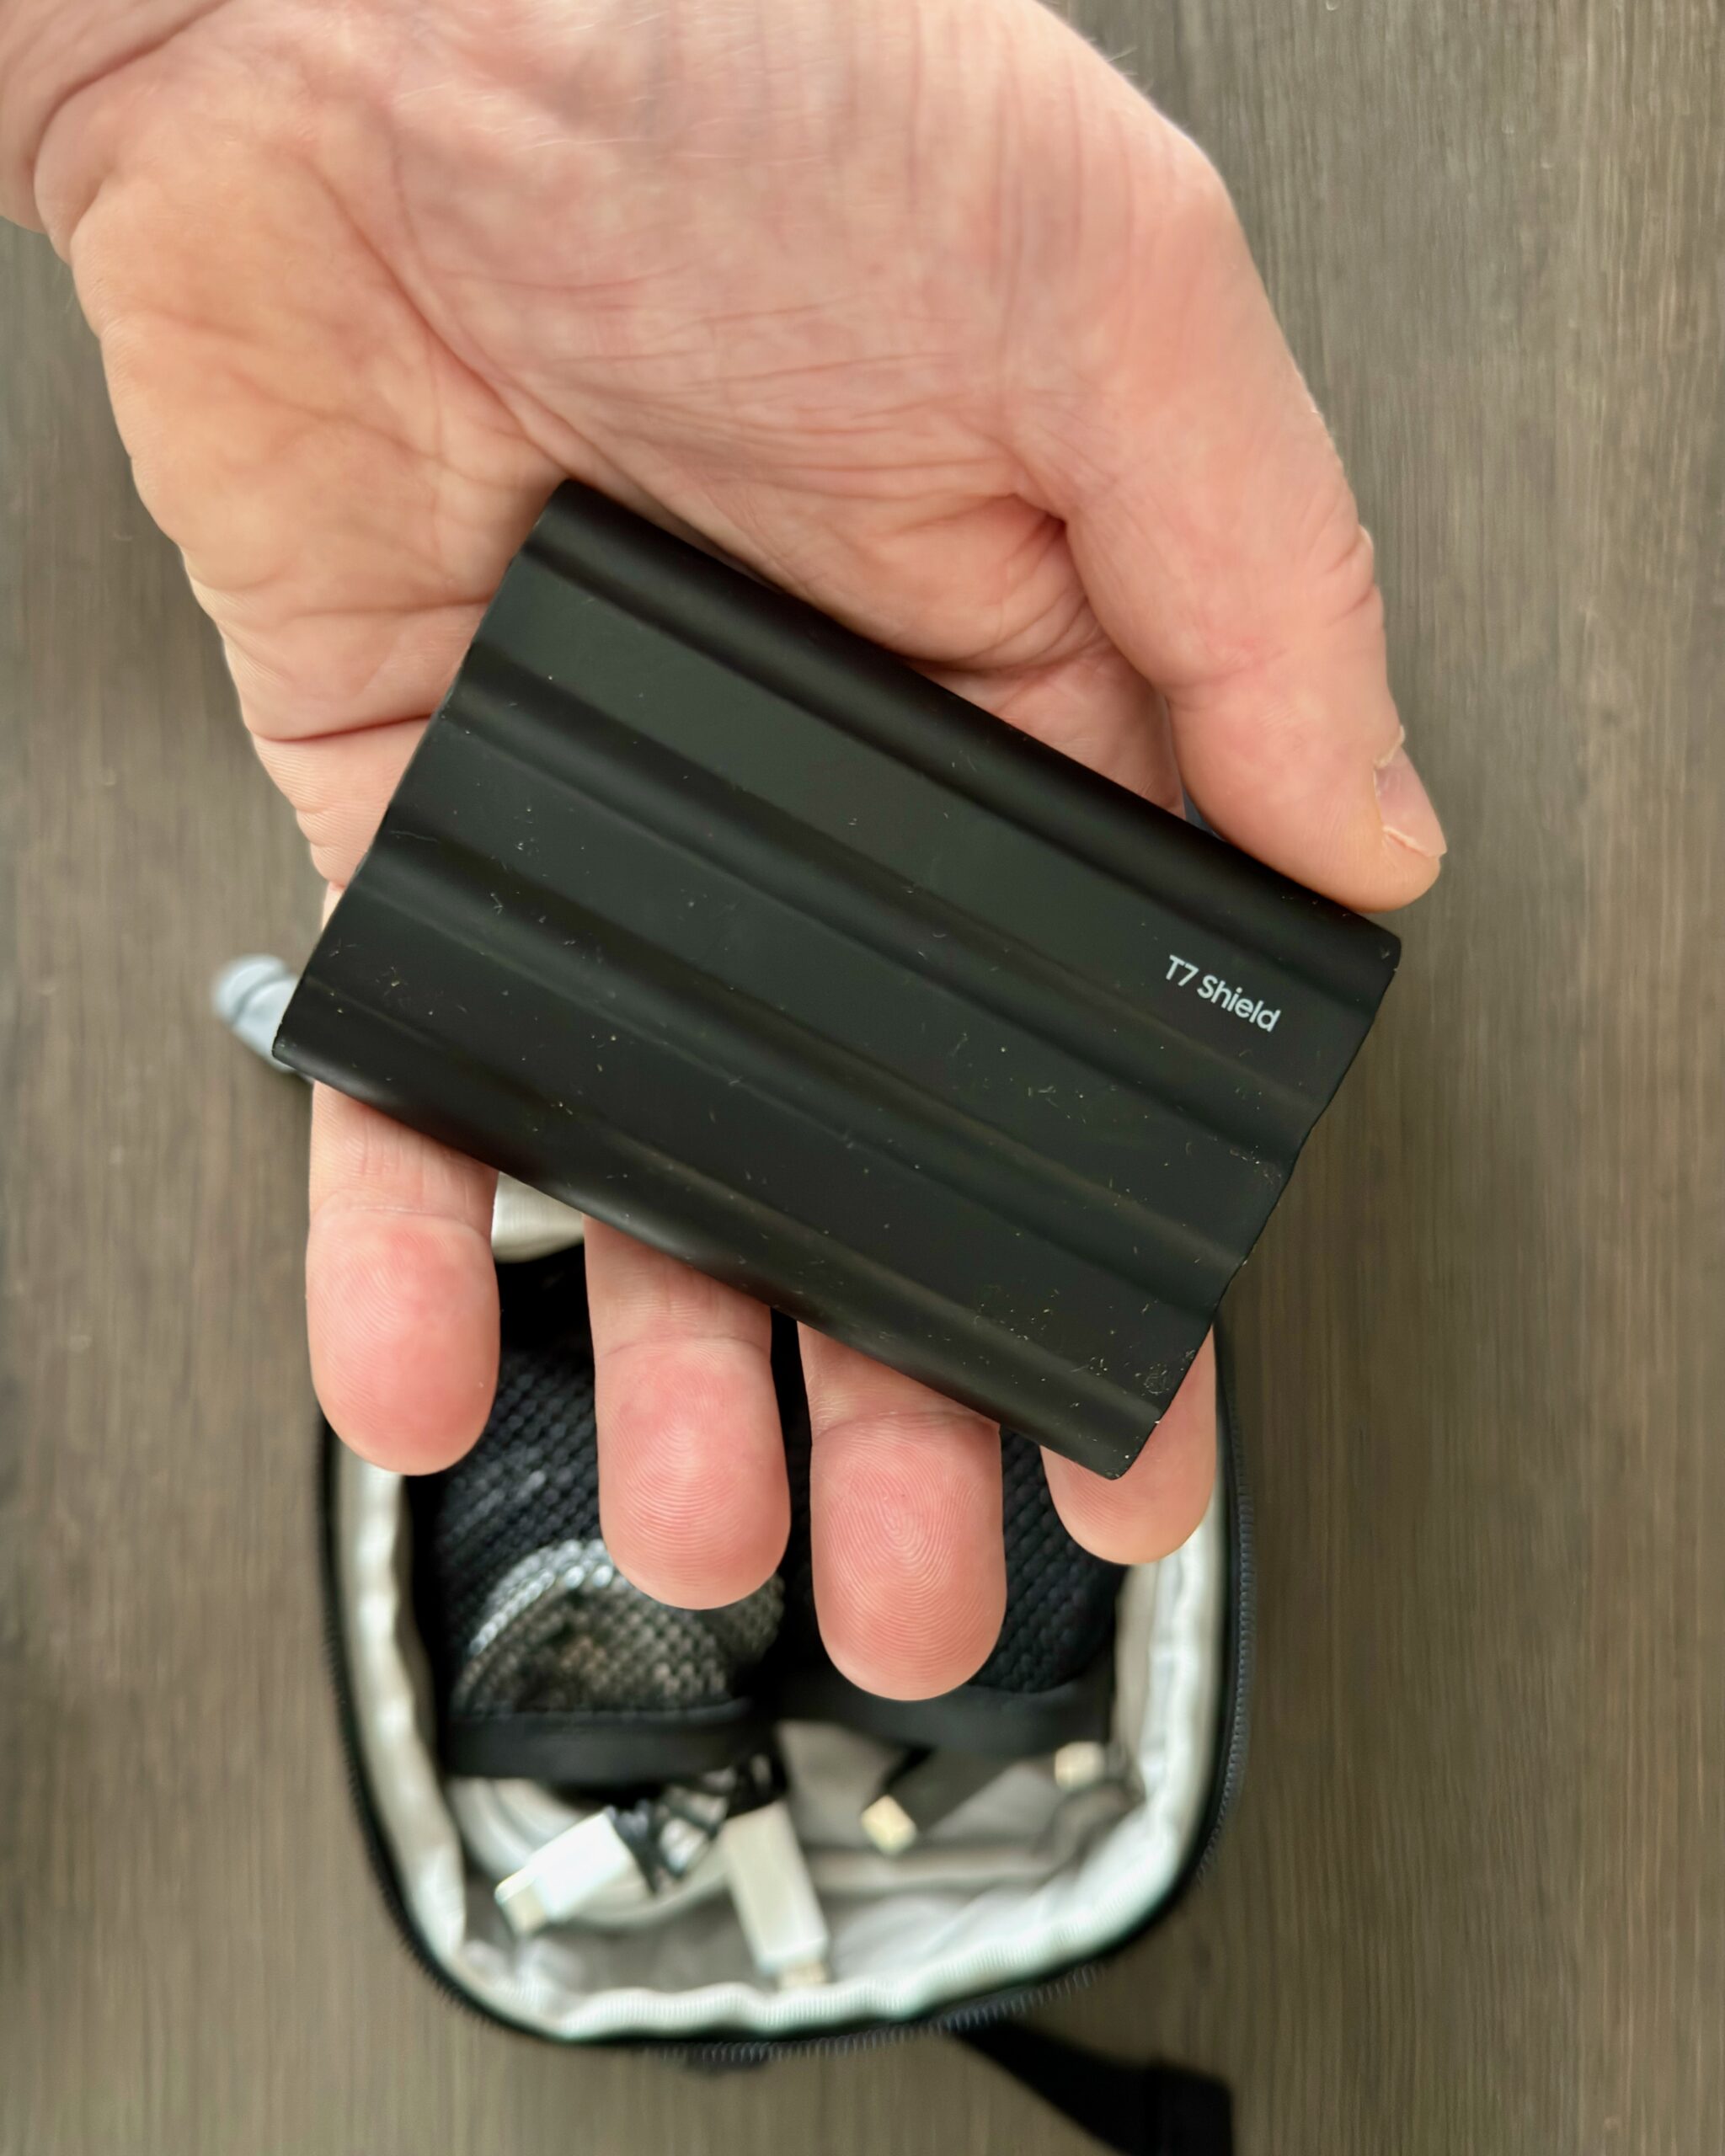
The Samsung T7 Shield SSD drive has proven to be very reliable, fast and sturdy. While I haven’t harshly tested the ruggedness of the drive, I love the fact it has a rubber cover which means it doesn’t slide around on your desk (or even your laptop when moving around).
What Else Do I Travel With?
Finally, I keep a few other small items in my f-stop Welded Accessory Pouch. One is a USB-C SD Card reader, which I could probably do without by using a Thunderbolt 3 cable but it’s so lightweight, it doesn’t really get in the way. I also carry a USB-C to HDMI/USB-A dongle and a mobile Wi-Fi device. The latter I use when the hotel Wi-Fi is not fast enough.
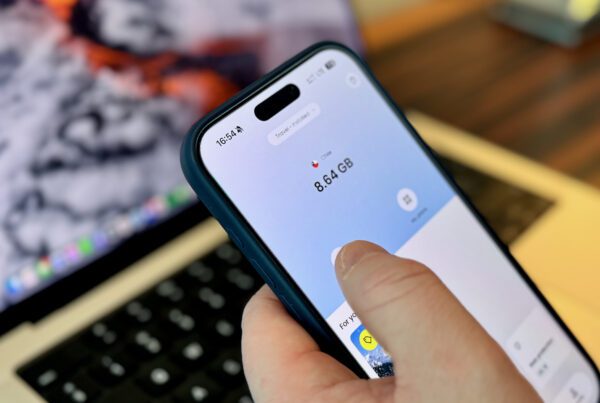
One final item that goes with me on every international trip, is an Anker 737 Power Bank (24000mAh). I really enjoy this power bank because it’s well-built, has a high capacity and can charge compatible devices up to 140W, which is more than I could ever need. It’s also just about the allowed battery size when taking it along on a flight.
Purchase Apple USB-C SD Card Reader: https://geni.us/jvn-applesdreader
Purchase Apple HDMI/USB-A dongle: https://geni.us/jvn-applemultiport
Purchase Anker 737 Power Bank (24000mAh): https://geni.us/jvn-anker737powerbank
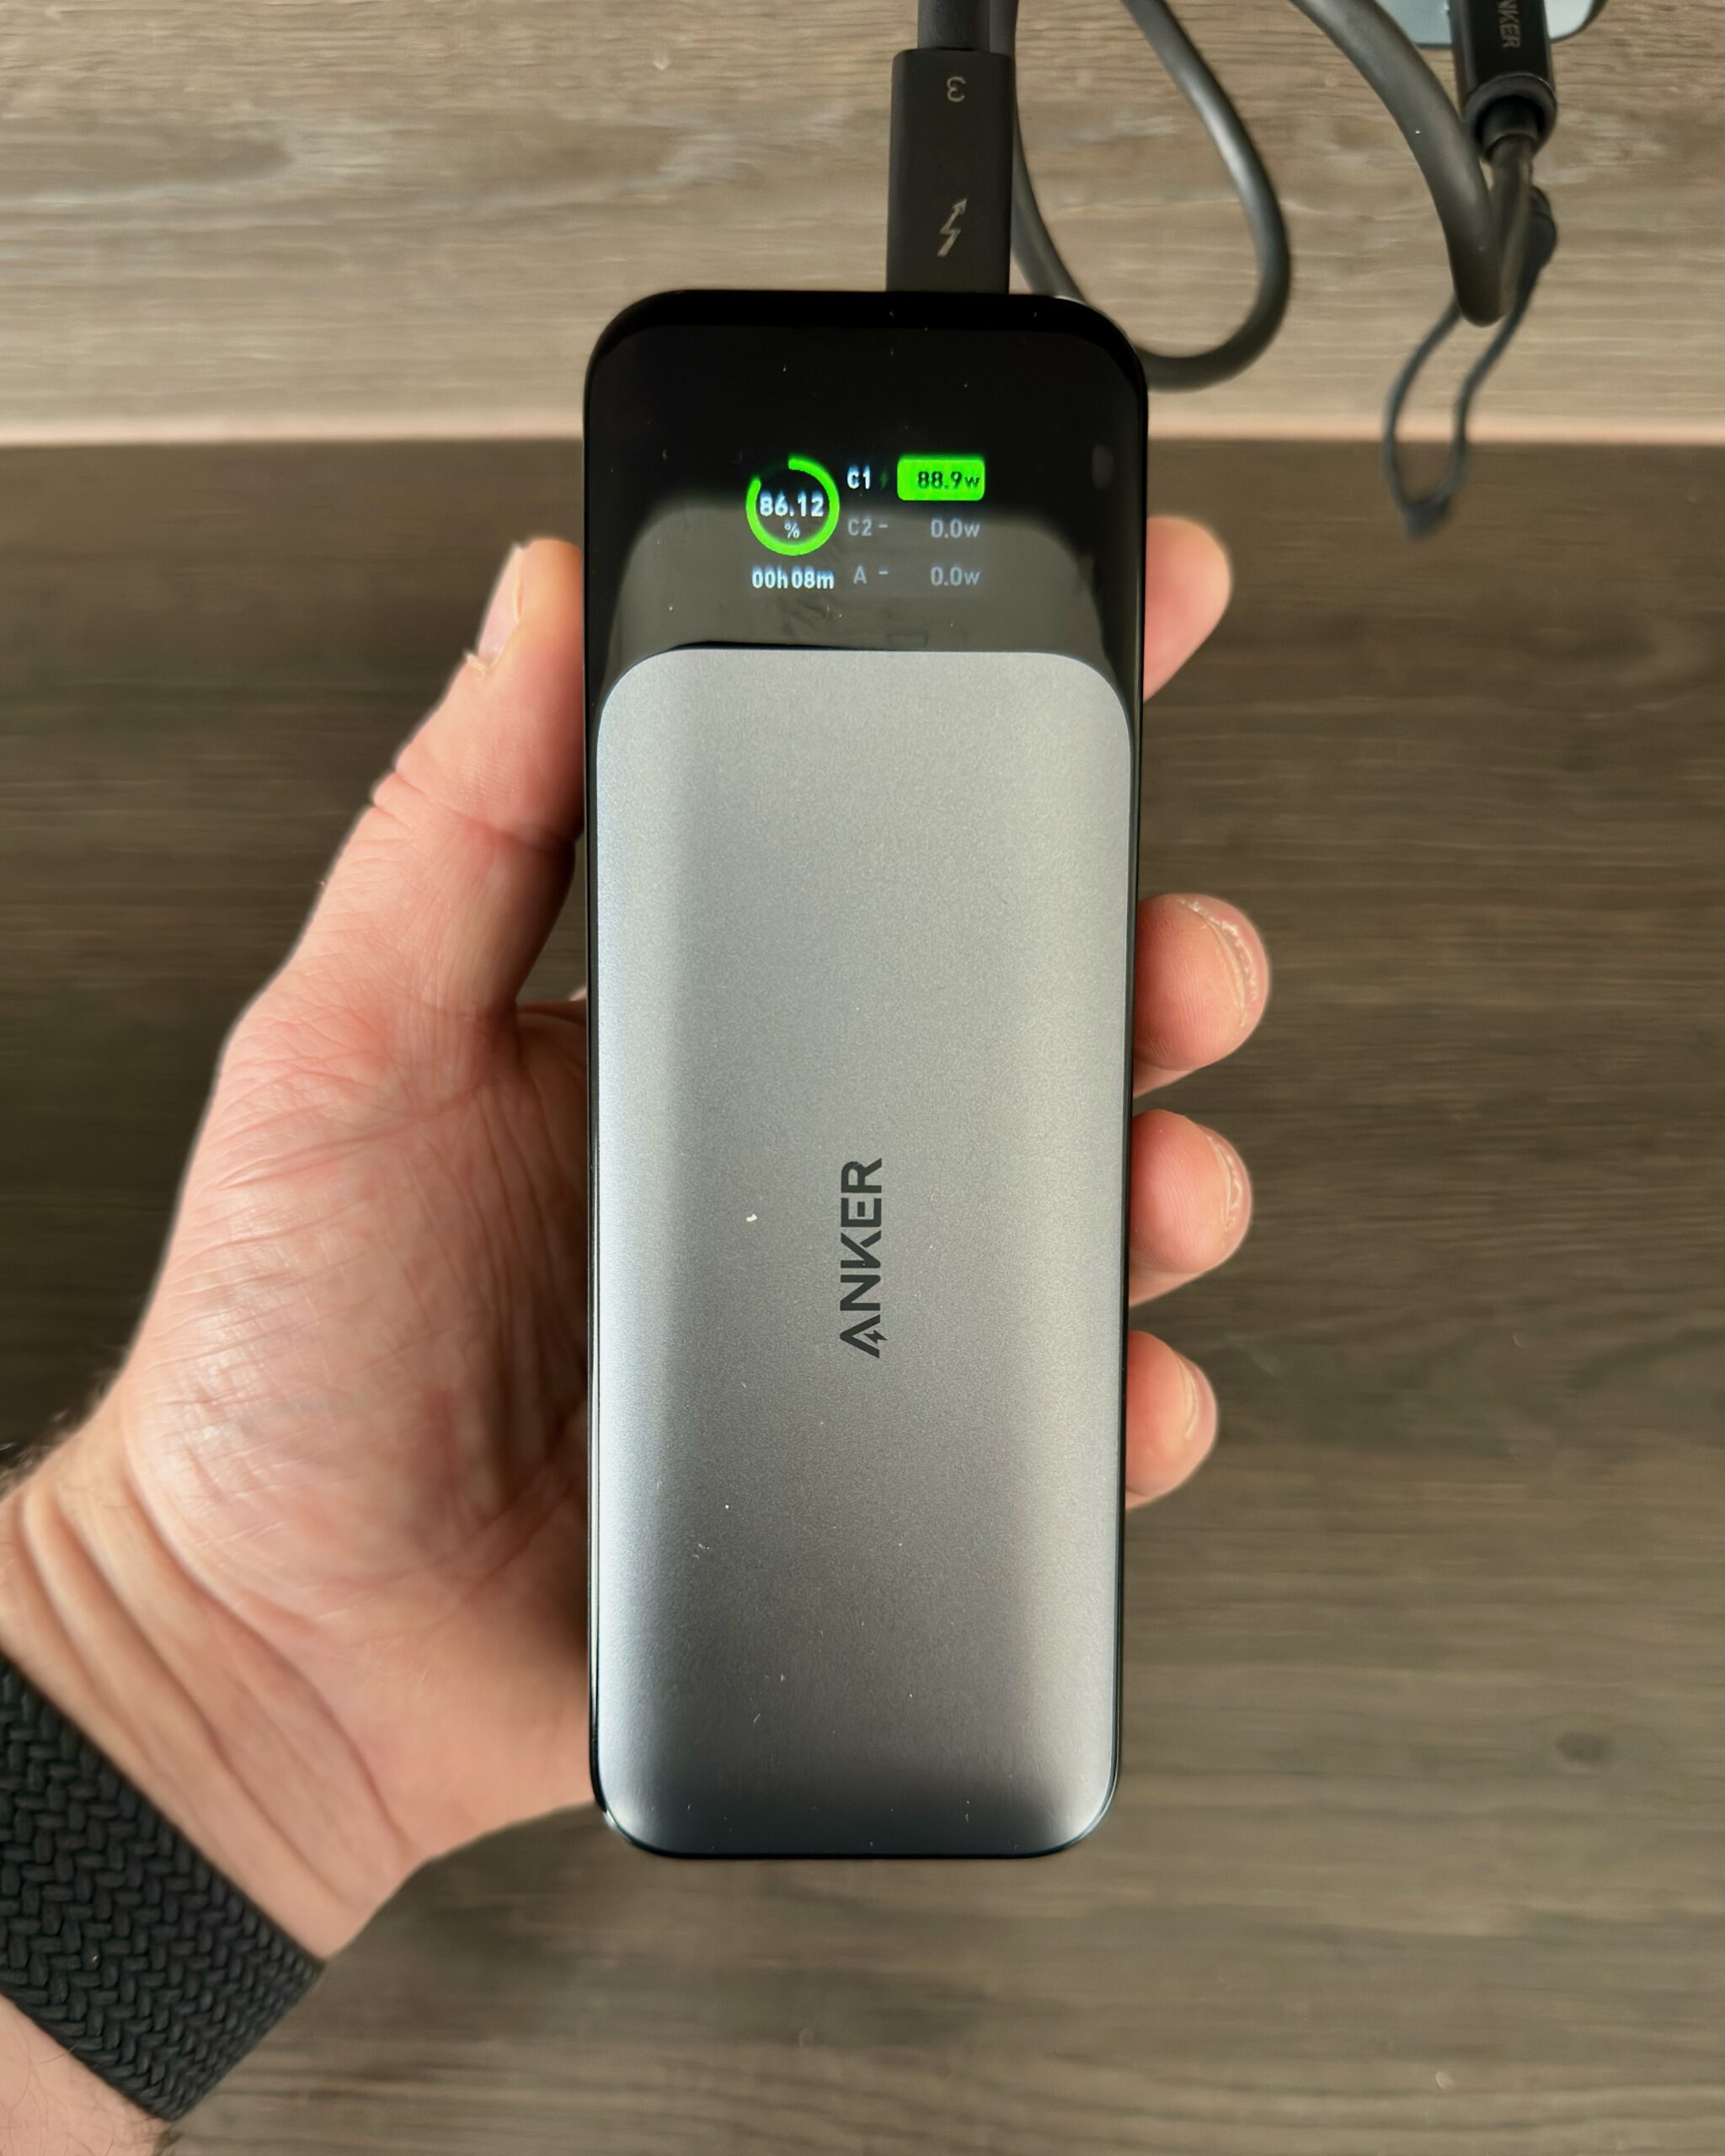
I have been using the Anker 737 Power Bank (24000mAh) for the last year and I have thoroughly enjoyed it. It’s easy-to-use, powerful and quick to recharge when needed.
Conclusion
While this is my current setup, it’s constantly evolving and changing to make my life easier. I am always looking at new developments to make my kit as compact and lightweight as possible. If you have any tips or contributions yourself, feel free to leave them in the comment section!
Discover Jeroen’s Photo Workshops in Iceland, Greenland & Beyond
Ready to take your photography to the next level? Join me, Jeroen Van Nieuwenhove, on unforgettable photo workshops in Iceland, Greenland, Antarctica and other exciting destinations. Whether your passion is wildlife photography, bird photography, landscape adventures, or mastering drone photography, each workshop is designed to give you hands-on guidance in some of the world’s most spectacular locations.
From puffins in the midnight sun to Arctic foxes in the wild, from glaciers and volcanoes to dramatic coastlines seen by drone – these journeys are more than workshops; they’re once-in-a-lifetime experiences. Group sizes are kept small, ensuring personal mentoring and plenty of shooting opportunities.
Looking for something specific? Check out Jeroen’s…
- Wildlife & Bird Photography Workshops (Puffins, Arctic Foxes)
- Drone Photography Workshops
- Photo Workshops in Iceland
- Photo Workshops in Greenland
- Photo Workshops in Antarctica
Spots are limited – secure your place today!
Are You Looking For A Specific Photo Workshop?
All Upcoming Photography Workshops With Jeroen
Explore all upcoming photography workshops with Jeroen and take your skills to the next level in some of the world’s most extraordinary locations. From the volcanic landscapes of Iceland to the ice-filled fjords of Greenland and the wildlife-rich polar regions such as Antarctica, each workshop is designed to help you grow creatively while experiencing unforgettable moments in the field. Browse all upcoming departures below and find your next adventure!

Puffins in the Midnight Sun 2026 Photo Workshop
LAST SPOT

West Greenland 2026 Photo Workshop
SOLD OUT

Aerials of the Icelandic Highlands 2026 (08-15 July)
SOLD OUT
Aerials of the Icelandic Highlands 2026 (01-08 August)
SOLD OUT

Aerials of the Icelandic Highlands 2026 (13-20 August)
SOLD OUT
Aerials of the Icelandic Highlands 2026 (22-29 August)
SOLD OUT
East Greenland Photo Expedition 2026
LAST SPOT

East Greenland With James Popsys 2026
SOLD OUT

Autumn in West/North Iceland 2026 (with Mads)
SOLD OUT

Iceland in Winter 2026 Photo Workshop (with Mads Peter Iversen)
SOLD OUT
Antarctica & South Georgia Photo Expedition 2028
OPEN FOR BOOKINGS
What Previous Participants Shared About Their Experience
Choosing the right photography workshop is about more than just visiting iconic locations. It’s about experience, safety, timing, and personal guidance. Below you’ll find honest reviews from photographers who have joined me on landscape, wildlife & drone photo workshops in Iceland, Greenland and other locations. These testimonials reflect real experiences in small groups, hands-on instruction in challenging conditions, and the level of care Jeroen aims to bring to every workshop.
These reviews are verifiable on Jeroen’s public Google Business profile.


")

")


Support Jeroen’s Work
As an independent photographer, Jeroen partially relies on your support to keep producing worthwhile content such as blogs, photographs, books and much more. If you want to support his work, it is possible to do so by buying his e-books & books or prints.
You can also sign up to the newsletter to stay up to date on new blog posts, projects, workshops and other interesting information.
Thank you for considering!


It’s certainly a great way to pack – only problem is, I left such a pouch behind at home on my last trip to Svalbard (power bank, back-up ssd, chargers, cables). That gave me quite an expensive shopping experience in Olso airport.
Yikes! That’s not good considering how pricy airport shops are in general for this stuff!