Over the last few years, drone photography has become more and more a cornerstone of my photography. I have really taken it to the next level with lots of practice and spending time on figuring out the right techniques to use. I transformed my aerial photography from taking ordinary snapshots to intentionally creating, well-composed panoramic aerial images. My drone photography has even evolved to the point where I almost never take a normal drone photograph anymore, only manually created drone panoramas. But why is that? Why do I swear by manual drone panoramas?
In this blog, I share with you the biggest advantages of manually composing and shooting drone panoramas. But before we do that, I want to tell you why drone panoramas, manual or not, are a game changer for your drone photography.

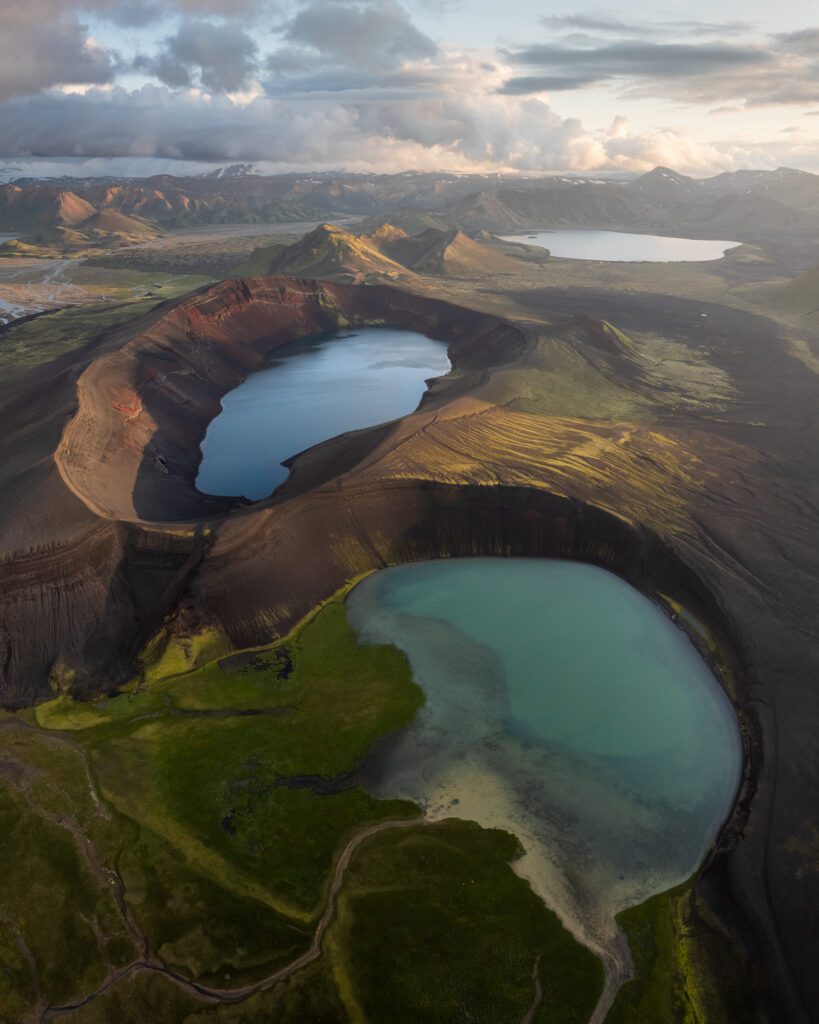
Even this seemingly ordinary photography is a combination of images so I could achieve a true vertical orientation in my final shot.

By playing with panoramas, you can virtually create any perspective and focal length with your fixed camera drone.
The ‘Why’ Of Drone Panoramas
When I am out photographing with my drone, I will always compose my images by taking some sort of panoramic image made up of at least 3 photographs. It does not matter whether it is a vertical, horizontal or even wide-angle orientation. To go even further, after looking through my drone photography, I have found that in only 1% of the cases I will take a single photograph using my drone. But why do I do that?
Unlike a mirrorless or DSLR camera, with drone cameras we are somewhat limited in the image department because we get a fixed focal length and a smaller sensor. By capturing panoramas, I try to circumvent these constraints. There are a great number of advantages to taking panoramas compared to single photographs. You can create much higher resolution images, simulate different focal lengths by creating wider-than-normal shots, create vertical oriented photographs, … The possibilities are endless!
To get the best results, I take every panorama manually, in a very intentional way, even though there is a much easier-to-use automatic panorama feature on every drone these days. But why? Why don’t I use that more convenient automatic drone panorama feature to capture my drone photographs?

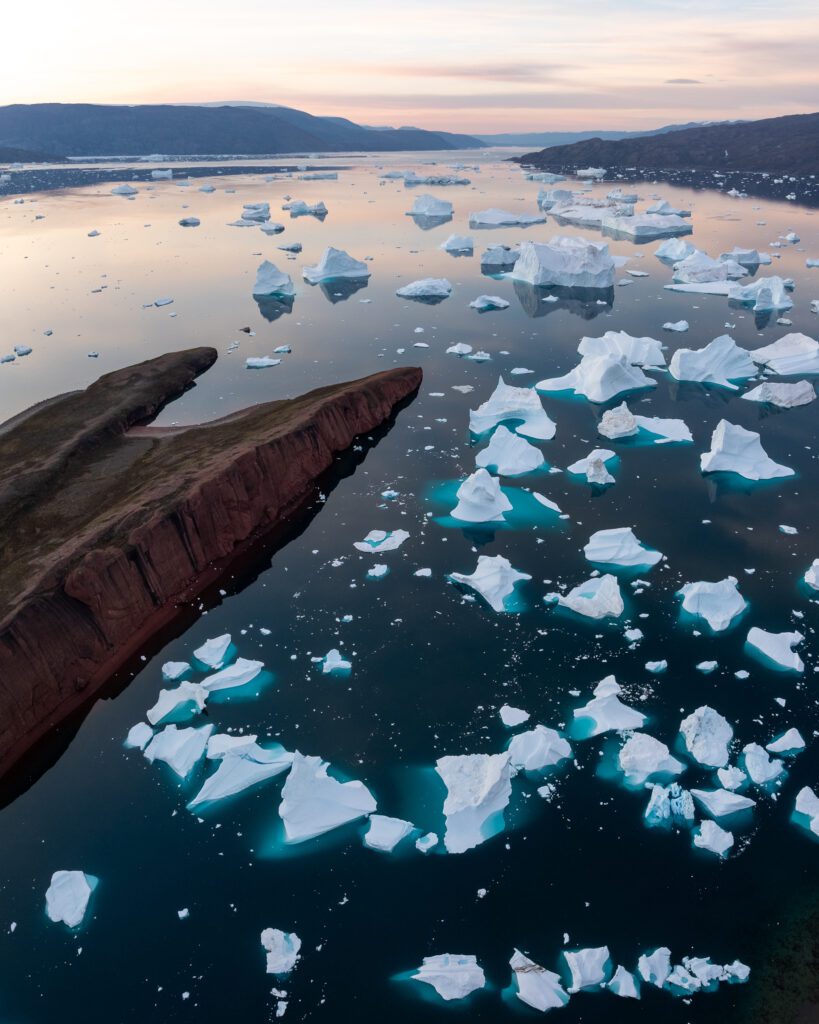
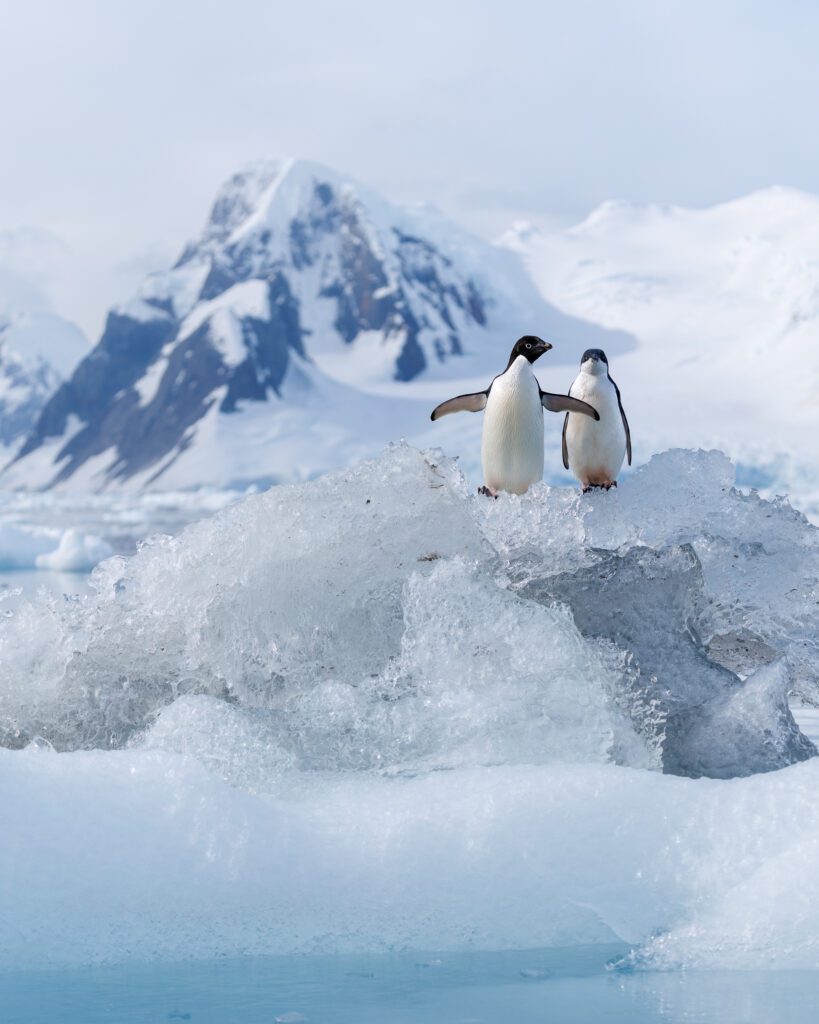
Because I captured this image, which you could easily capture in a single shot, as a panoramic image, I have a very high resolution version of it which is perfect for printing.

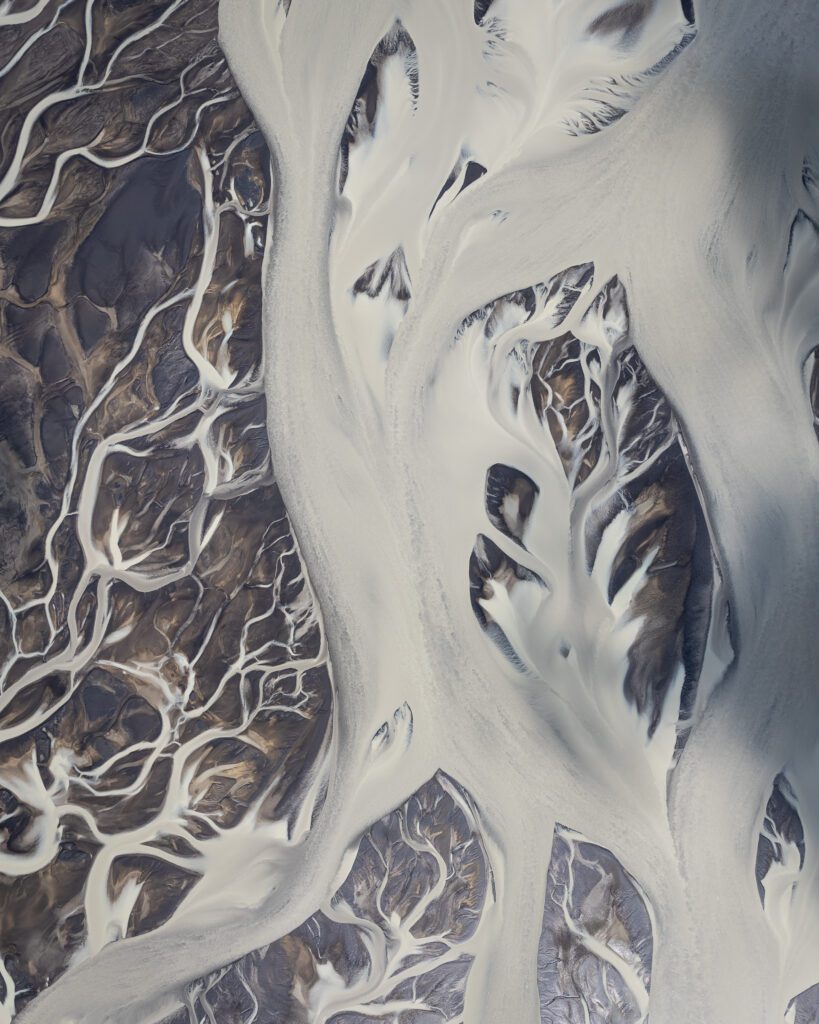
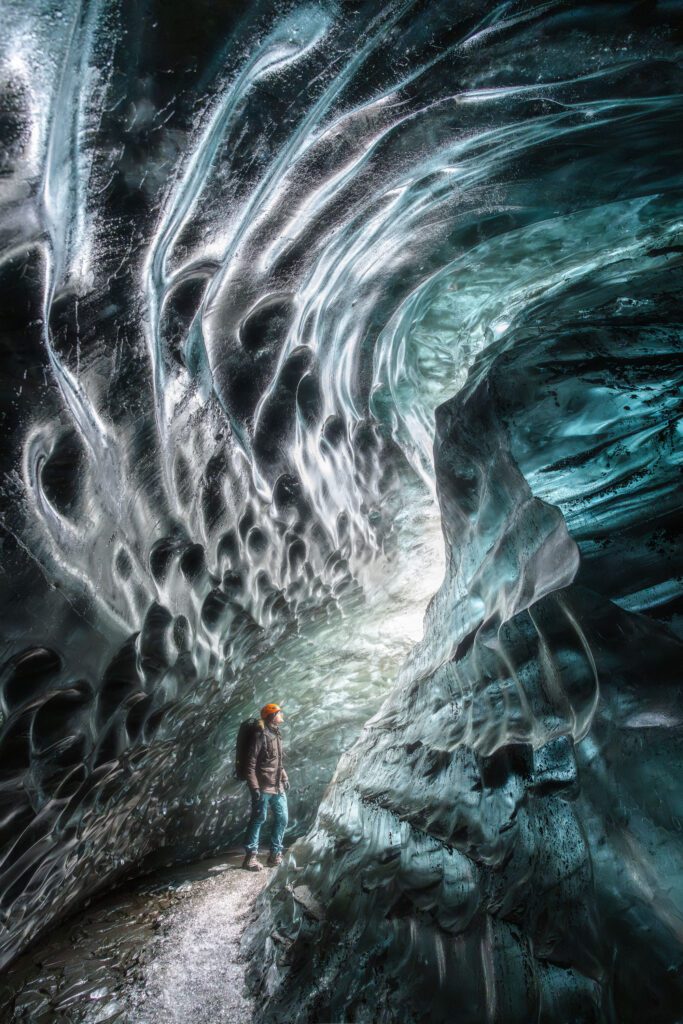
Using a vertical panorama, I was able to achieve a final image that almost looks as if I was stood on the ice with my ultra-wide angle lens on my DSLR.
1. Taking Automatic Panoramas Is A Slow Process
Using the automated panorama feature on DJI drones is slow and, depending on the size of the panorama and the processing power of the drone, it can even be extremely slow. The reason for this is that after taking all the required shots for the panorama, the drone tries to stitch the panorama which prevents you from doing anything else while it finishes stitching. This process is also totally useless for anyone who is thinking of editing their panorama afterwards because it stitches the JPEG images into a JPEG panorama. This means you have almost no headroom for editing and correcting over- or underexposed areas in your panorama. If you are planning to edit your image afterwards, you should be stitching the panorama manually from RAW files anyway.

Especially when your subject, or subjects, are moving, being able to shoot as fast as possible is vital. This photograph would have been almost impossible using the automated panorama feature.
2. You Have No Control Over The Desired Perspective Or Outcome Of Your Panorama
Essentially, using the automated panorama functionality, prevents you from having control over what the panorama will look like. Let me illustrate that with a few examples.
First of all, automated panoramas always have the same size and aspect ratio depending on the orientation you chose. This is a big issue because I find that, for example, the vertical panoramas ends up being too long and too narrow which renders them unusable. This also prevents you from playing with the amount of overlap on a panorama, which can help you accentuate the foreground elements as if you were using an ultra-wide-angle lens on your regular camera.
Secondly, with the wide-angle panorama option, you also often get a result that makes the whole landscape look spherical when stitching it together in Adobe Lightroom. This is due to the drone gimbal making a strange rotation when it takes a photograph towards the left and right. The photograph you end up with has an extremely curved horizon. This especially seems to be an issue with drones such as the DJI Mavic 3 series and the DJI Air 2s. However, you might still be able to fix that with post-processing warping. Interestingly enough, the JPEG panorama the drone stitches does have a normal horizon.
Finally, it is very difficult to determine what will be the center of the panorama, preventing you from creating any meaningful compositions. Because of that, I find that it’s quite difficult to figure out how your panorama will end up looking with the automated functionality. More often than not I ended up pointing the camera at the wrong place which meant ending up with an image that didn’t work.

Automatic panoramas are unusually long and have the problem that they almost always put the horizon in the center of the frame, which is almost never the right compositional choice. In this case, the sky is also overexposed as the automatic choice of lighting was incorrect.
3. You Can’t Use Manual Exposure Settings
This is a big one! You can’t manually expose automatic panoramas on a DJI drone. To me, this is a big issue because often it will incorrectly assess the overall exposure needed to get a balanced final image. When taking aerial or drone panoramas, you are almost always working with big contrasts in lighting. Often the sky will be much brighter in comparison to the ground, which means you need to have manual control to decide how you will expose the image to make sure everything is well-lit, without blowing out the highlights or having the shadows be too dark.

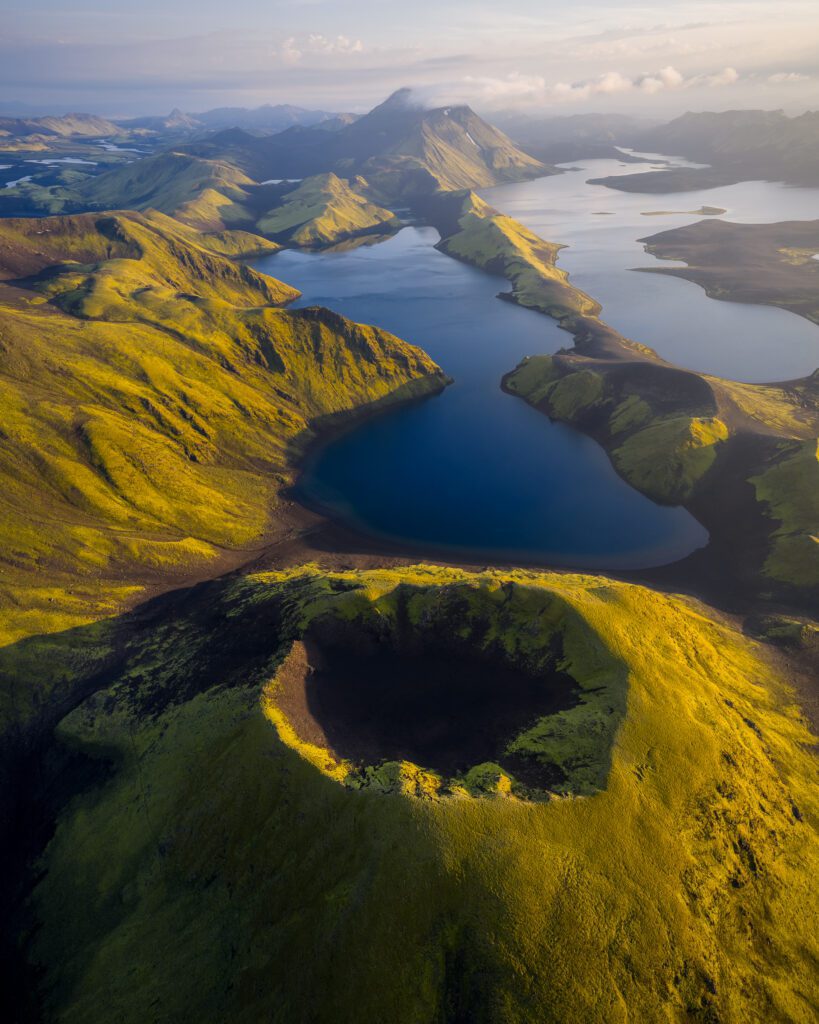
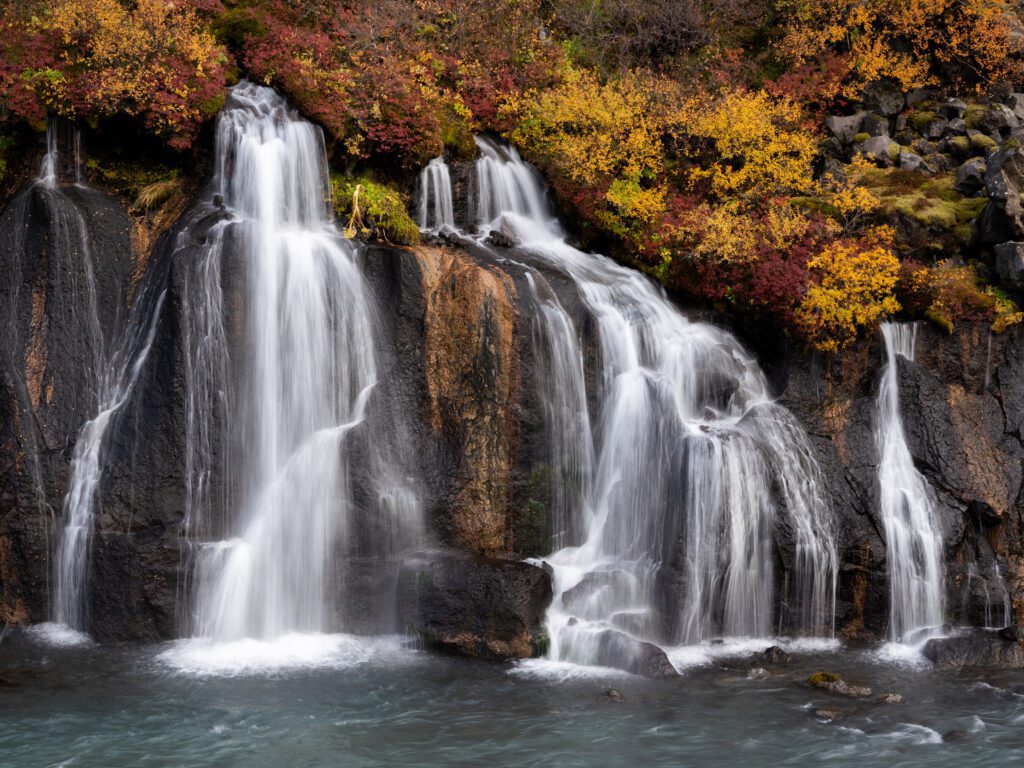
Being able to bracket your exposures gives you much-needed extra dynamic range to work with. This is especially important in more complex scenes such as this one where you have a contrast between a well-lit subject and surroundings veiled in shadows.
4. There Is No Easy Way To Bracket Exposures
Bracketing when using the automatic panorama functionality, so you get the best possible dynamic range and quality, is impractical and pretty much impossible. The problems are multiple. First of all, as mentioned before, the automatic panorama functionality only allows for automatic exposures. This means that the only way to bracket your shots is by using the exposure compensation slider and manually setting your exposure to, for example, -1EV or +1EV. But, because of the automatic exposure settings, the exposure settings the drone picked may have changed when you take the next set of images depending on whether the light is changing. Additionally, because of how slow the automatic panorama functionality is (due to the unnecessary stitching), the drone may have moved slightly which can cause problems when you try to stitch the bracketed panorama. Finally, because you take the brackets in an unusual way, stitching software may also have issues figuring out what images belong together.
Do You Want To Learn More About Drone Photography?
I have developed a unique set of comprehensive video courses that explain everything there is to know about drone photography. Whether you already own a drone or are looking to buy your first one, this is for you!
DISCOUNT
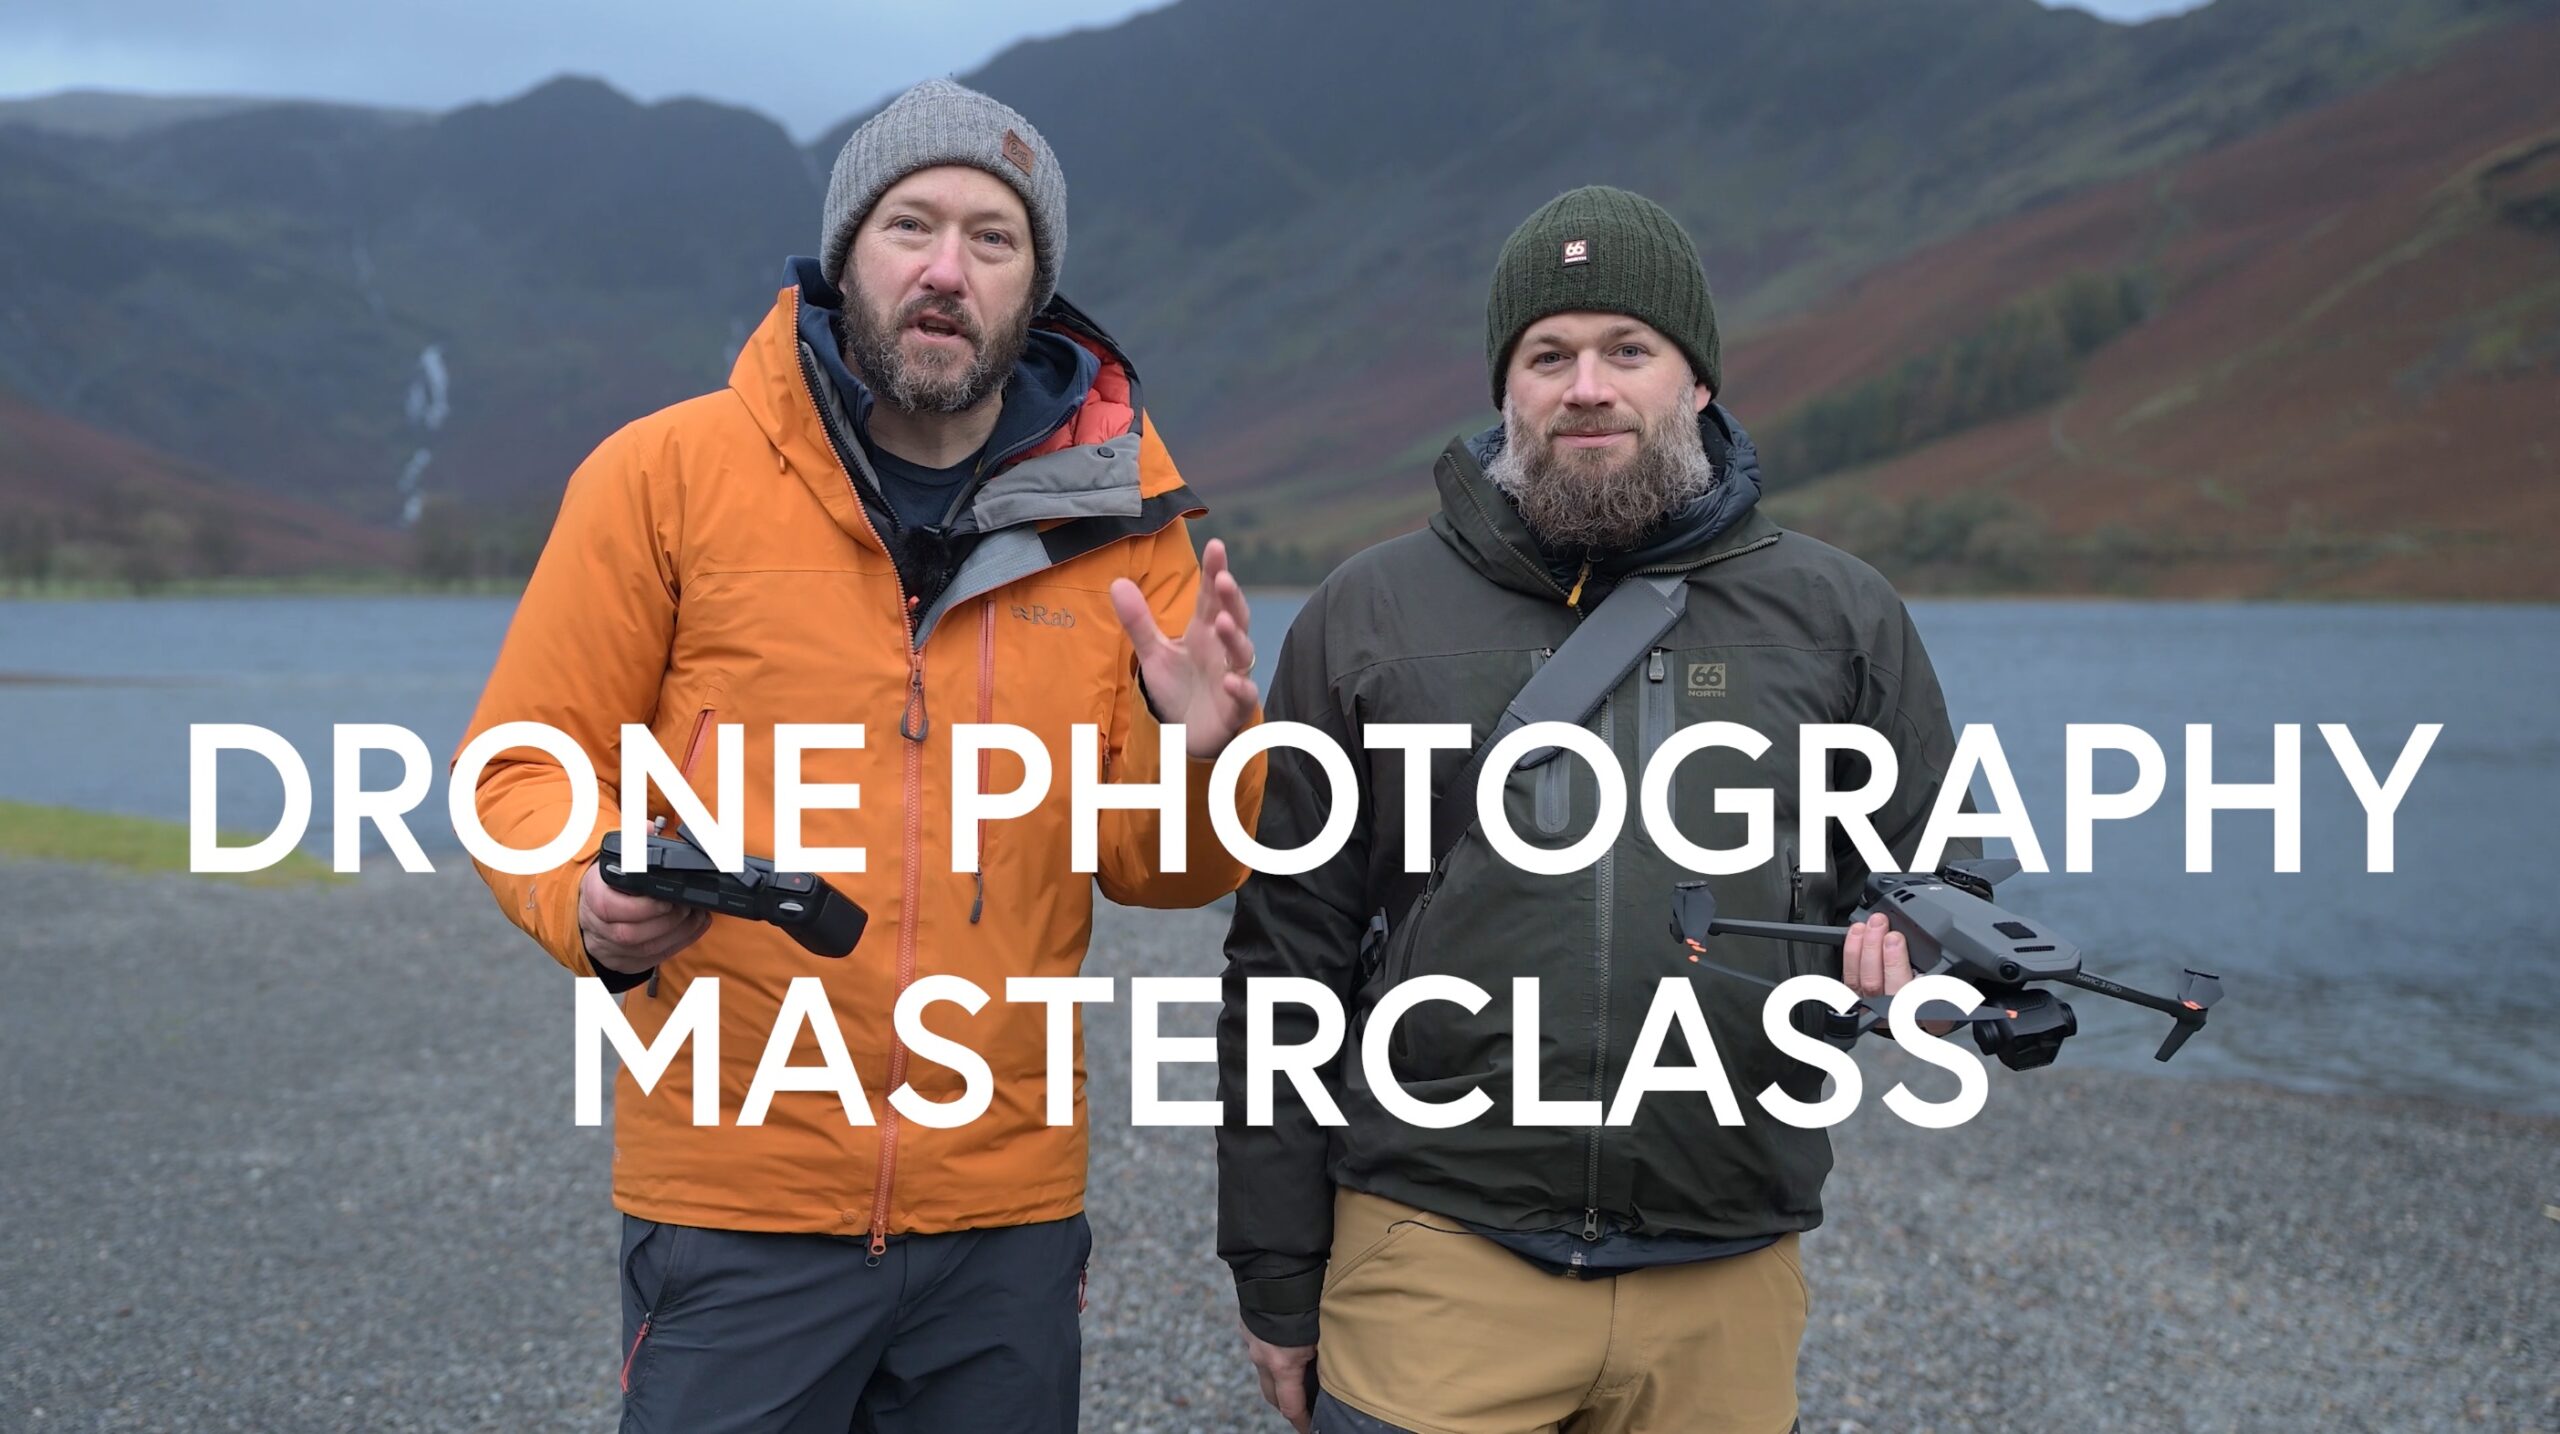
The Drone Photography Masterclass – Video Course
Nigel Danson & Jeroen Van Nieuwenhove‘s complete drone photography video masterclass will explore everything you need to know to start creating the best aerial photographs using any type of drone in 50+ detailed videos. Whether you are a complete beginner or an advanced drone pilot, this video course contains a vast amount of information to level up your drone photography skills.
Discover Jeroen’s Photo Workshops in Iceland, Greenland & Beyond
Ready to take your photography to the next level? Join me, Jeroen Van Nieuwenhove, on unforgettable photo workshops in Iceland, Greenland, Antarctica and other exciting destinations. Whether your passion is wildlife photography, bird photography, landscape adventures, or mastering drone photography, each workshop is designed to give you hands-on guidance in some of the world’s most spectacular locations.
From puffins in the midnight sun to Arctic foxes in the wild, from glaciers and volcanoes to dramatic coastlines seen by drone – these journeys are more than workshops; they’re once-in-a-lifetime experiences. Group sizes are kept small, ensuring personal mentoring and plenty of shooting opportunities.
Looking for something specific? Check out Jeroen’s…
- Wildlife & Bird Photography Workshops (Puffins, Arctic Foxes)
- Drone Photography Workshops
- Photo Workshops in Iceland
- Photo Workshops in Greenland
- Photo Workshops in Antarctica
Spots are limited – secure your place today!
Are You Looking For A Specific Photo Workshop?
All Upcoming Photography Workshops With Jeroen
Explore all upcoming photography workshops with Jeroen and take your skills to the next level in some of the world’s most extraordinary locations. From the volcanic landscapes of Iceland to the ice-filled fjords of Greenland and the wildlife-rich polar regions such as Antarctica, each workshop is designed to help you grow creatively while experiencing unforgettable moments in the field. Browse all upcoming departures below and find your next adventure!

Puffins in the Midnight Sun 2026 Photo Workshop
LAST SPOT

West Greenland 2026 Photo Workshop
SOLD OUT

Aerials of the Icelandic Highlands 2026 (08-15 July)
SOLD OUT
Aerials of the Icelandic Highlands 2026 (01-08 August)
SOLD OUT
Aerials of the Icelandic Highlands 2026 (13-20 August)
SOLD OUT
Aerials of the Icelandic Highlands 2026 (22-29 August)
SOLD OUT
East Greenland Photo Expedition 2026
SOLD OUT

East Greenland With James Popsys 2026
SOLD OUT
Autumn in West/North Iceland 2026 (with Mads)
SOLD OUT
Iceland in Winter 2026 Photo Workshop (with Mads Peter Iversen)
SOLD OUT
Antarctica & South Georgia Photo Expedition 2028
OPEN FOR BOOKINGS
What Previous Participants Shared About Their Experience
Choosing the right photography workshop is about more than just visiting iconic locations. It’s about experience, safety, timing, and personal guidance. Below you’ll find honest reviews from photographers who have joined me on landscape, wildlife & drone photo workshops in Iceland, Greenland and other locations. These testimonials reflect real experiences in small groups, hands-on instruction in challenging conditions, and the level of care Jeroen aims to bring to every workshop.
These reviews are verifiable on Jeroen’s public Google Business profile.


")

")


Support Jeroen’s Work
As an independent photographer, Jeroen partially relies on your support to keep producing worthwhile content such as blogs, photographs, books and much more. If you want to support his work, it is possible to do so by buying his e-books & books or prints.
You can also sign up to the newsletter to stay up to date on new blog posts, projects, workshops and other interesting information.
Thank you for considering!